Figure Drawing Course
6 Steps to an accurate Figure Drawing
Easy Steps to Follow for Figure Drawing
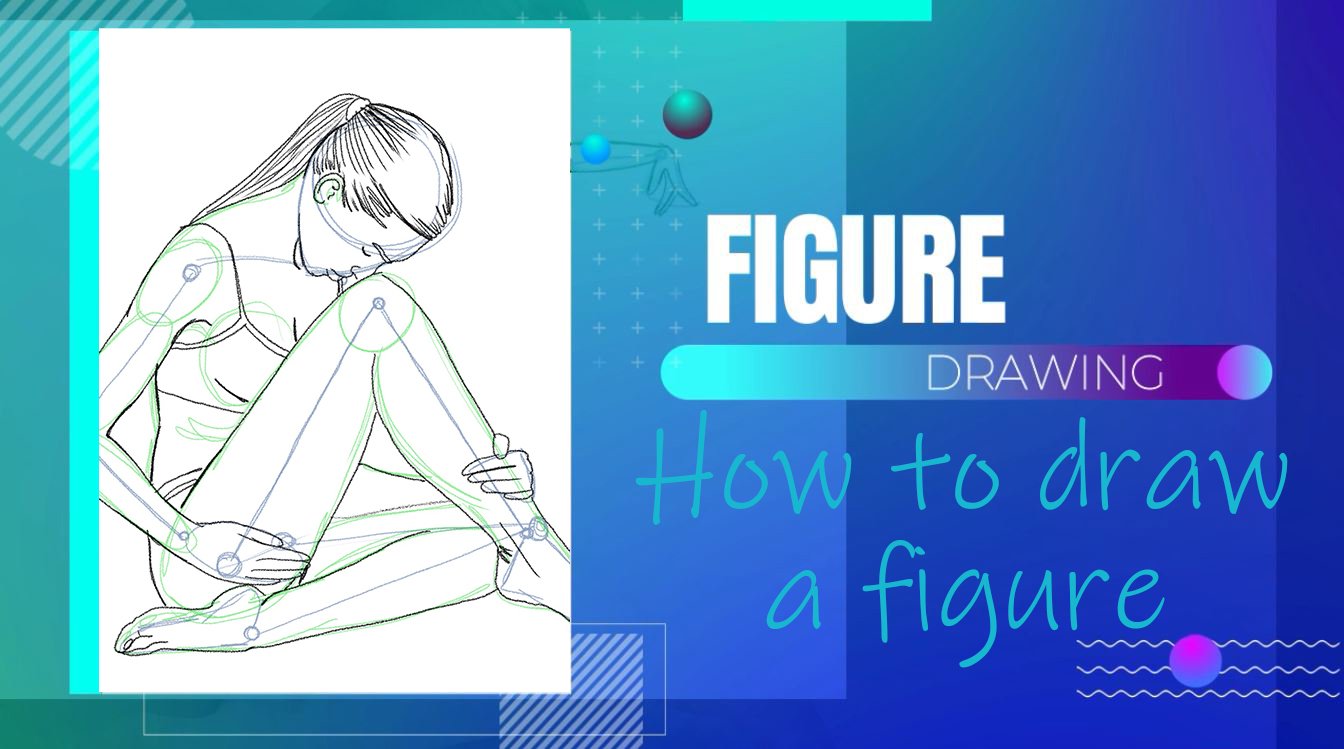
In this lesson, this third part of this human figure drawing course, I’m going to be breaking figure drawing down into easy-to-understand steps and I’m going to show you how to start and slowly construct the human body. These are the basic steps for starting a figure drawing. I am going to run through all six of them.
- Medial Line
- Measurement
- Gesture
- Construction
- Basic Shapes
- Outline
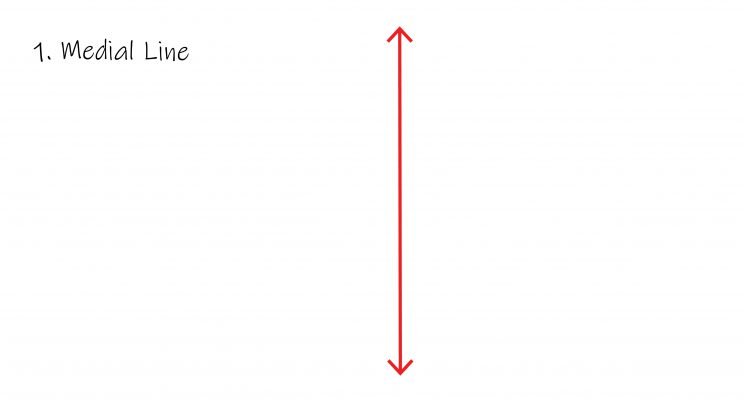
We usually start by drawing the medial line. The medial line is the line that runs through the middle of the figure or human body.
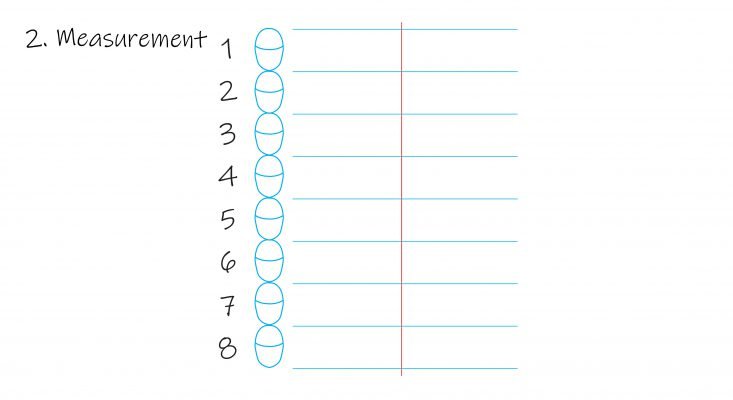
Your next step is to plot out your measurements so we are using the eight head canon so we would like to plot out eight heads. The human body is the length of eight human heads.
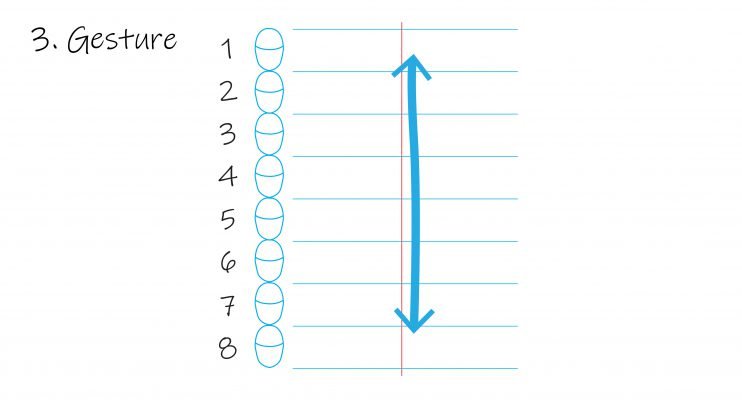
When we are drawing a human body in various positions I will now be adding or capturing the gesture line which is the line of movement, however, we are now drawing a static standing human body so our gesture is just upright.
We then move on to the construction of the body and remember our VIP guest the skeleton we need to first plot out the joints which I just do with a little circle everywhere your body can really move.
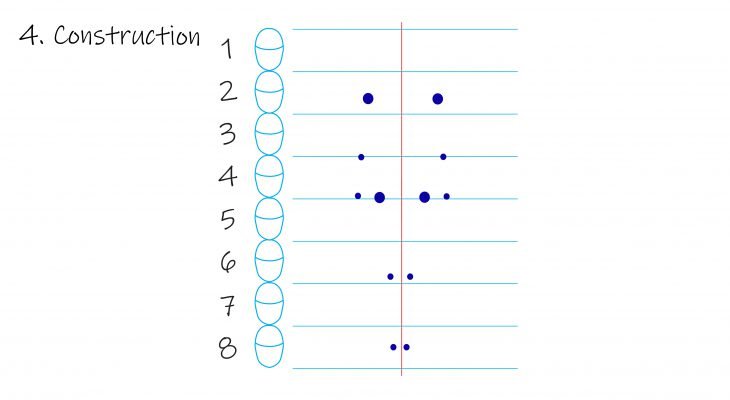
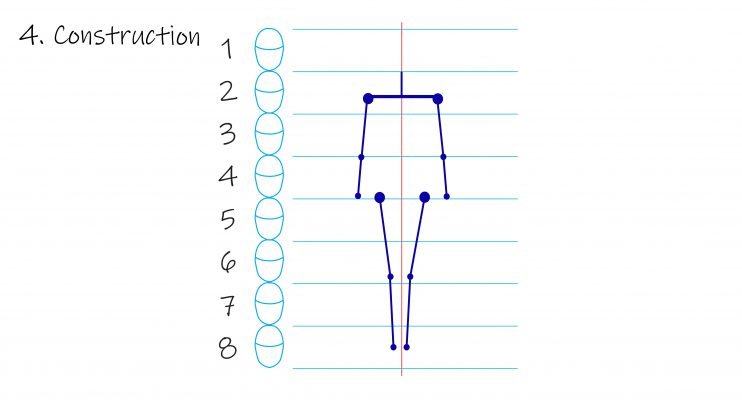
I then add the construction lines which is a little simplified skeleton. I usually then simplify the pelvis into a half a sphere and I add the lungs, the head, hands and the feet – just as basic shapes. This then completes my little skeleton.
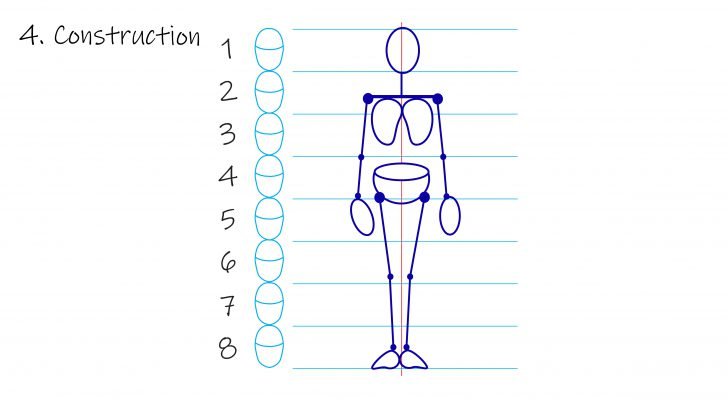
Once I have established the structure and completed the construction I move on to breaking the human body down into basic shapes – remember there are only five shapes in the universe – if you haven’t watched that video of mine please head over there and watch the basic shapes video and then come back to this one.

Once we have the basic shapes we are now ready to proceed to our outline of the human body. We then add a beautiful defined outline remember your line quality – thick, thin, speed – go and watch the line quality video if you guys haven’t seen it yet but it will really help you to define your outline of your body.
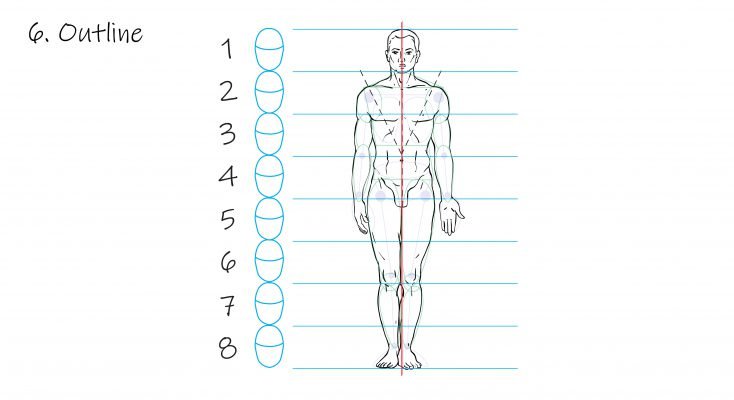
Those are the simplified steps for drawing a human body.
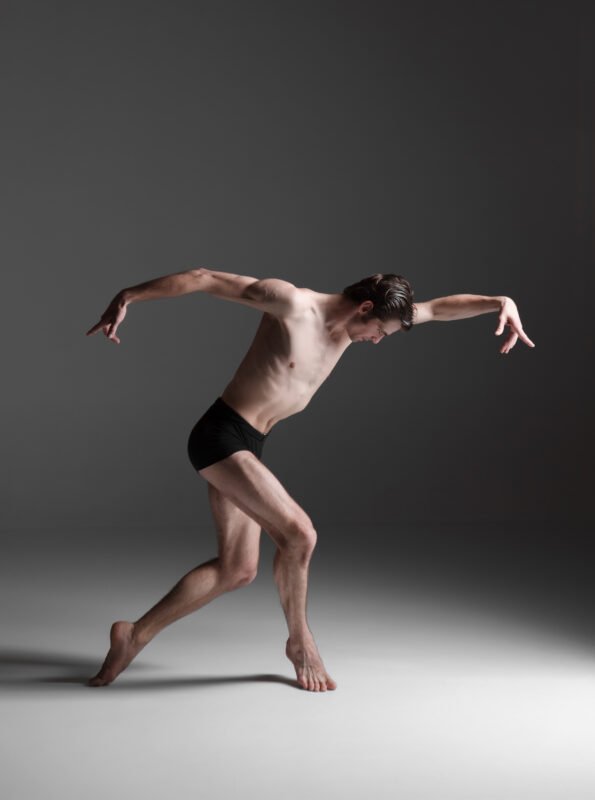
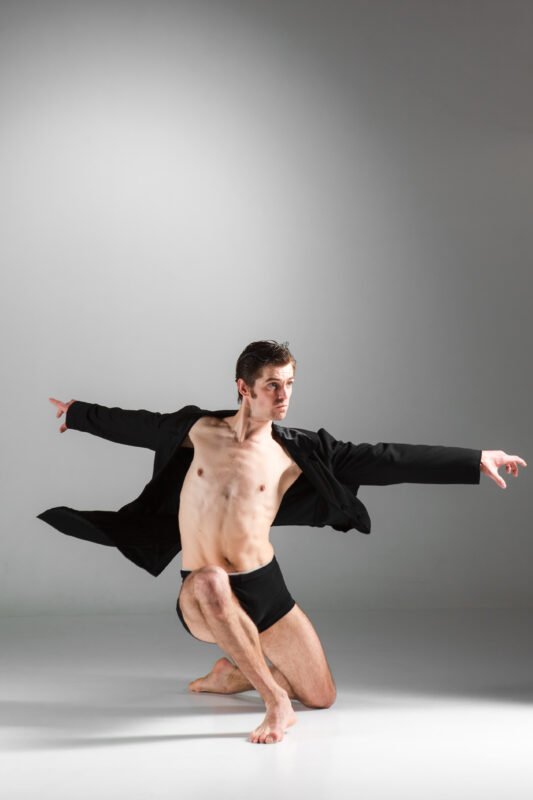
Exercise 1: I want you to pause here and just practice drawing the human body and figure, breaking it down into these steps. Okay so now let’s move on to dynamic figures – none of us are standing like a ruling Pharaoh. We are all human after all and constantly shifting and moving so how do we capture movement, how do we capture the dynamic human body. It’s very important that you go and watch my video on gesture drawing how to capture the energy of a body, go and practice that and then come back here.
Now that you understand gesture let’s apply these six steps to a dynamic moving figure drawing. Okay you can change the six steps around, you don’t have to do them in this order and depending on the body that you’re going to draw you might not need all of them. For this figure drawing I didn’t use the medial line but I did capture the gesture I added the joints, I added the basic shapes and then did the outline. It’s important to stay loose remember you’re learning a new skill and you’re discovering new stuff don’t be too freaked out or get bogged down in the detail. I can hear a lot of you going “whoa Lilian that’s a bit cray-cray”. Okay let’s slow it down, bear with me.

Exercise 2: I want you to download the pack, print it out, take a nice black koki/marker and I want you to draw onto the printouts. Practice finding the joints, breaking it down into a skeleton, find the gesture line, add the basic shapes and see if you can get used to breaking down dynamic movements in humans. I did mine on my iPad but you guys can do it on paper with pen whatever is comfortable for you. Once you’re confident with the structure of a moving figure I want you to practice by drawing these out on your own now without a printout. And that is the last exercise for this lesson.
Figure drawing course: The 8 canons and Figure drawing course: Outline and introduction
DOWNLOADS FOR THE EXERCISES
