Kids Art Projects
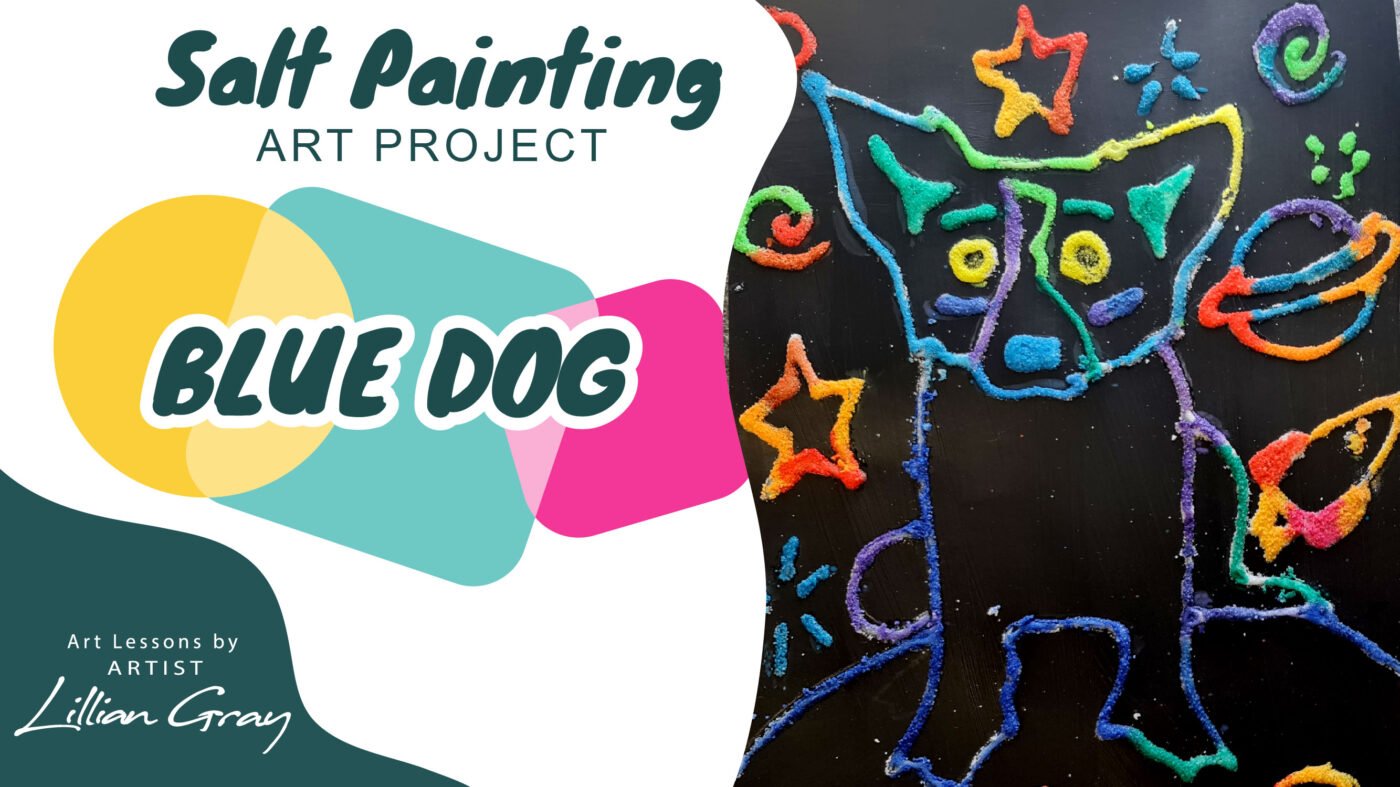
How to do a raised salt painting in 9 easy steps.
Art Project based on artist George Rodrigue’s Blue Dog
Hello, I am Artist Lillian Gray. In today’s lesson, I am going to show you how to make a raised salt painting with watercolours based on American artist George Rodrigue Blue Dog.
The Blue Dog paintings, based on a Cajun legend of the Loup-garou, catapulted George Rodrigue to worldwide fame.
He painted a bright blue dog with yellow eyes doing all kinds of things, such as Blue dog in space, Blue dog visiting the White House, Blue dog as a cowboy, Blue dog at the beach and even blue dog on a flying carpet!
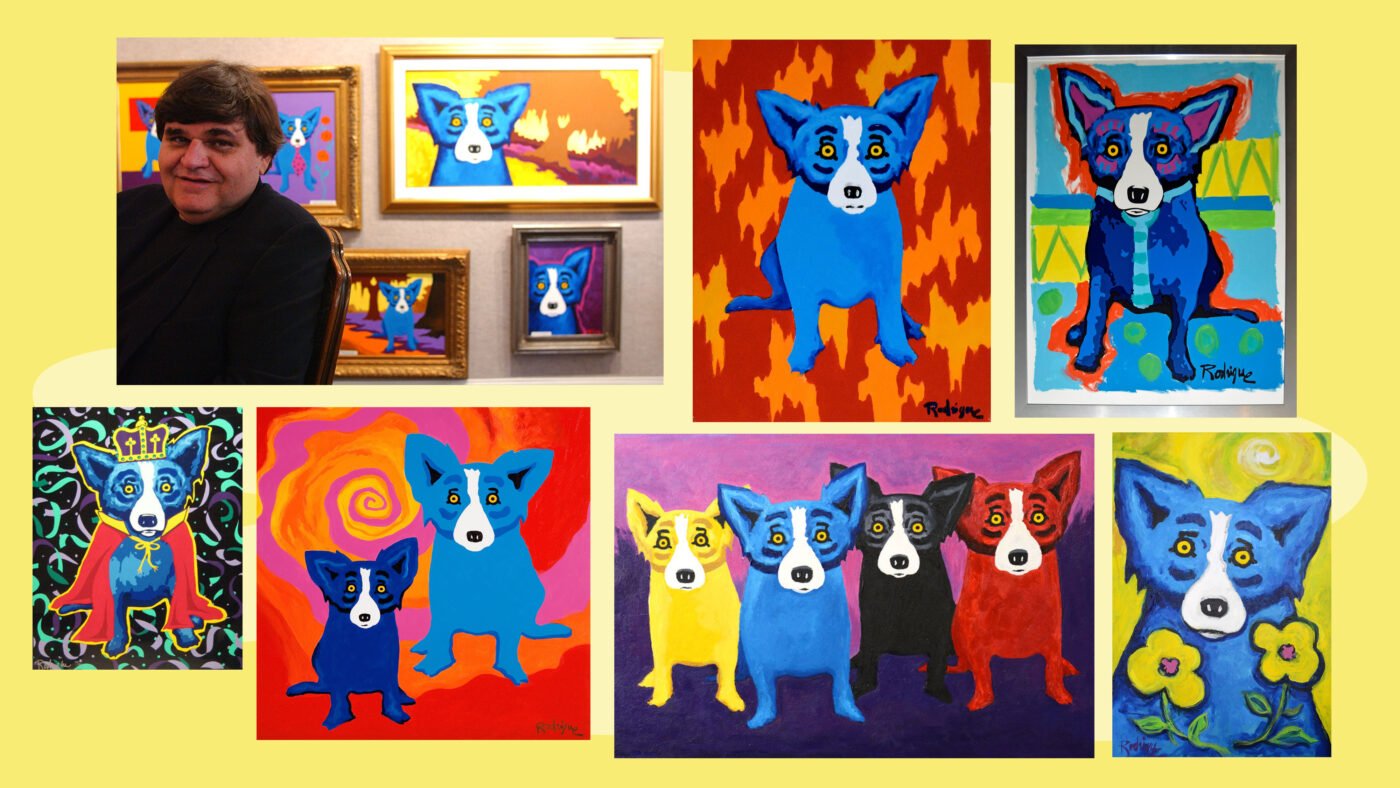
If you would like to know more about Blue Dog, Cajun Culture and George Rodrigue watch my History video on George before you do this project.
This video comes with our fun George Rodrigue worksheets for ages 6 – 9 It includes colouring pages, word search, maze, join-the-dots and the template for this art project. Available on our TeachersPayTeachers store and our website.
Step 1: Setup your station and art supplies
For this project, you will need:
- Our awesome worksheets,
- a pencil,
- thick card paper,
- masking tape,
- paper towel
- liquid glue,
- watercolours,
- jar of water,
- paint brush,
- lots of table salt,
- dish or tray to work over.

Step 2: Make Coloured Paper (Optional)
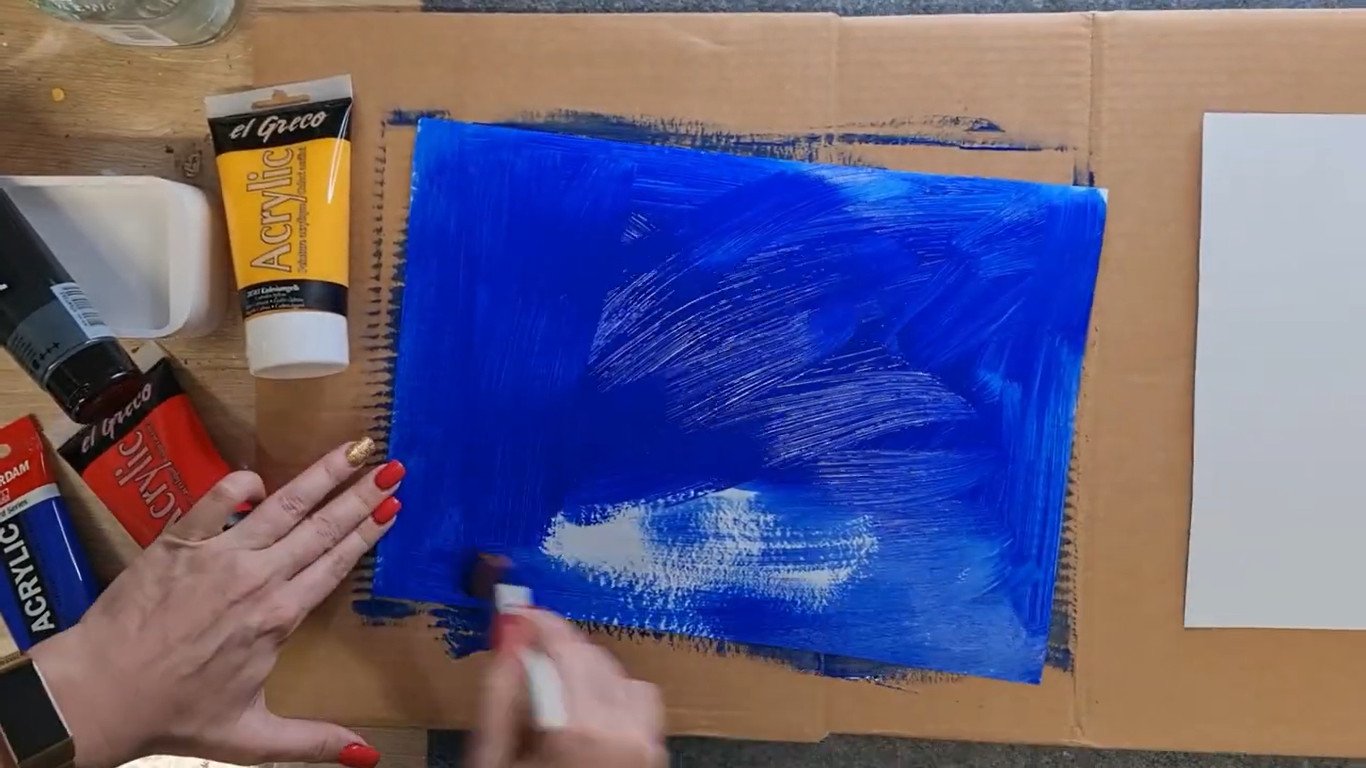
This step is completely optional. You are welcome to use white paper. I wanted to add some colour and didn’t have thick coloured paper in my studio. So I decided to use what I have and paint my various sheets in different colours. I stuck with the bright vibrant primary colours that Artist George Rodrigue often used in his Blue Dog Paintings. Blue, Yellow, Red, and also added black for some high contrast.
Step 3: Transfer the Image
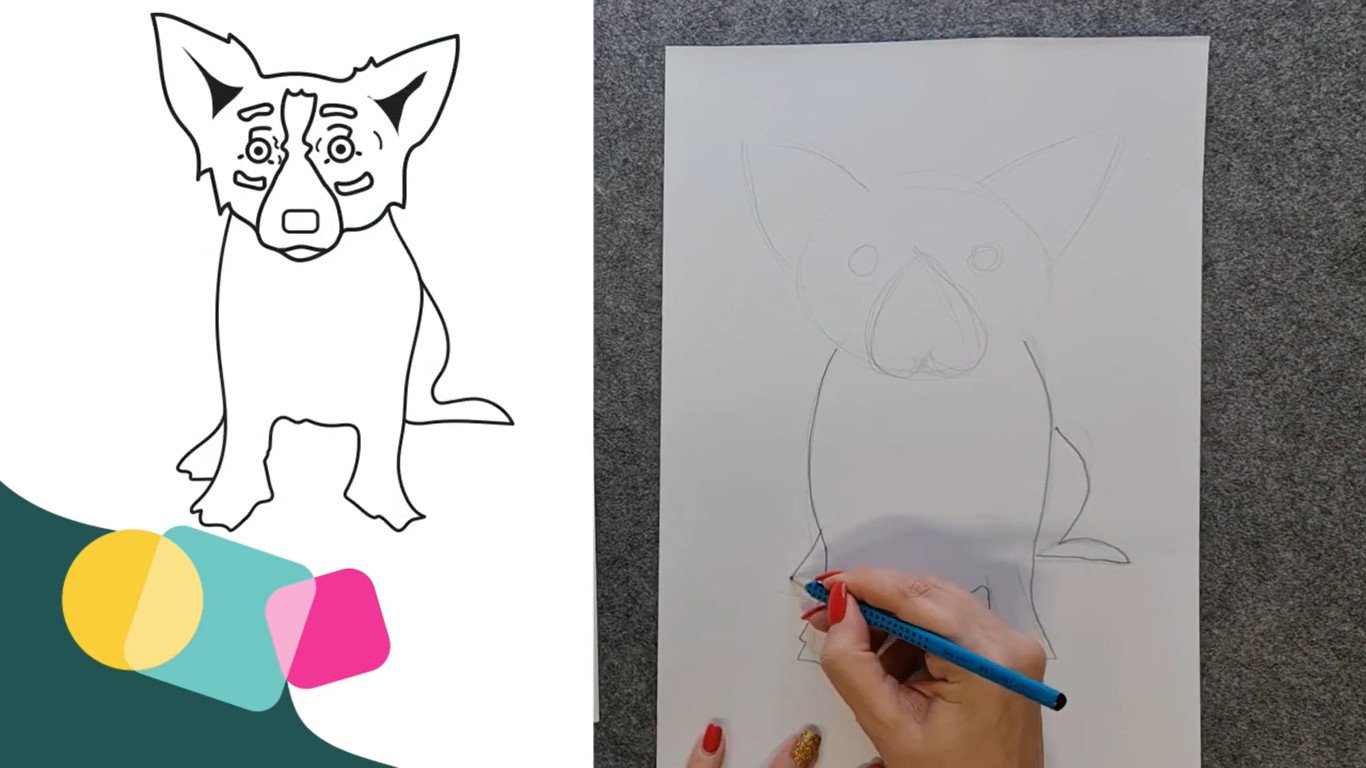
For this step, you will need the last sheet in our Worksheet pack for artist George Rodrigue ages 6 -9. I am going to show you an easy method to transfer this image to your sheet of card paper. Flip the image over. At the back of the image colour the image with a pencil.
Ensure the grey of your pencil covers all the lines of the drawing you would like to transfer. Flip the image back over. Tape the image with a piece of masking tape. This prevents the image from moving around. Now use your pencil and trace over all the lines of the blue dog. Once you lift your page you will see the outlines you have traced on your card paper.


Alternative: Simply draw your image.
If you are feeling confident in your drawing skills, why not just draw Blue Dog? I recommend breaking him or her down into basic shapes. Once you have your basic shapes down, drawing the refined outline becomes much easier.
Step 4: Add fun accessories to Blue Dog
Nice, you have your basic Blue Dog outline drawn and traced it is time to add some fun elements to your artwork. Ask yourself “What is Blue Dog doing on his adventure?” Is he at the beach, is he in space? Is he dressing up in a costume? Is he riding a bike or playing a sport? Draw the accessories to go with your particular setting for Blue Dog. PRO TIP: Keep your accessories large with little details. If you draw them too small and with too many details you will struggle with the next step.
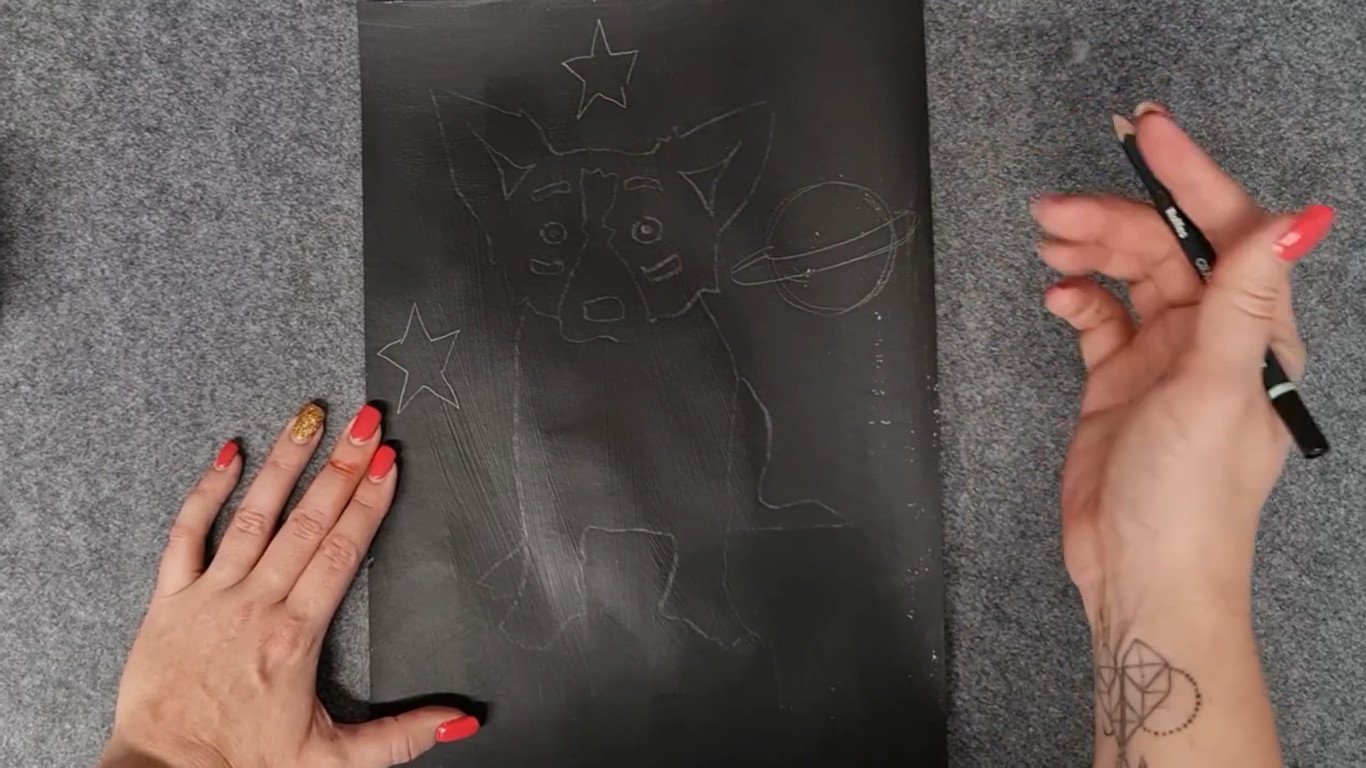
Step 5: Trace your lines with liquid glue
Using Liquid Glue, Elmers Glue or Wood Glue, trace all your outline with glue. Be careful and trace slowly. The glue will expand a bit so try and keep your lines as thin as possible.
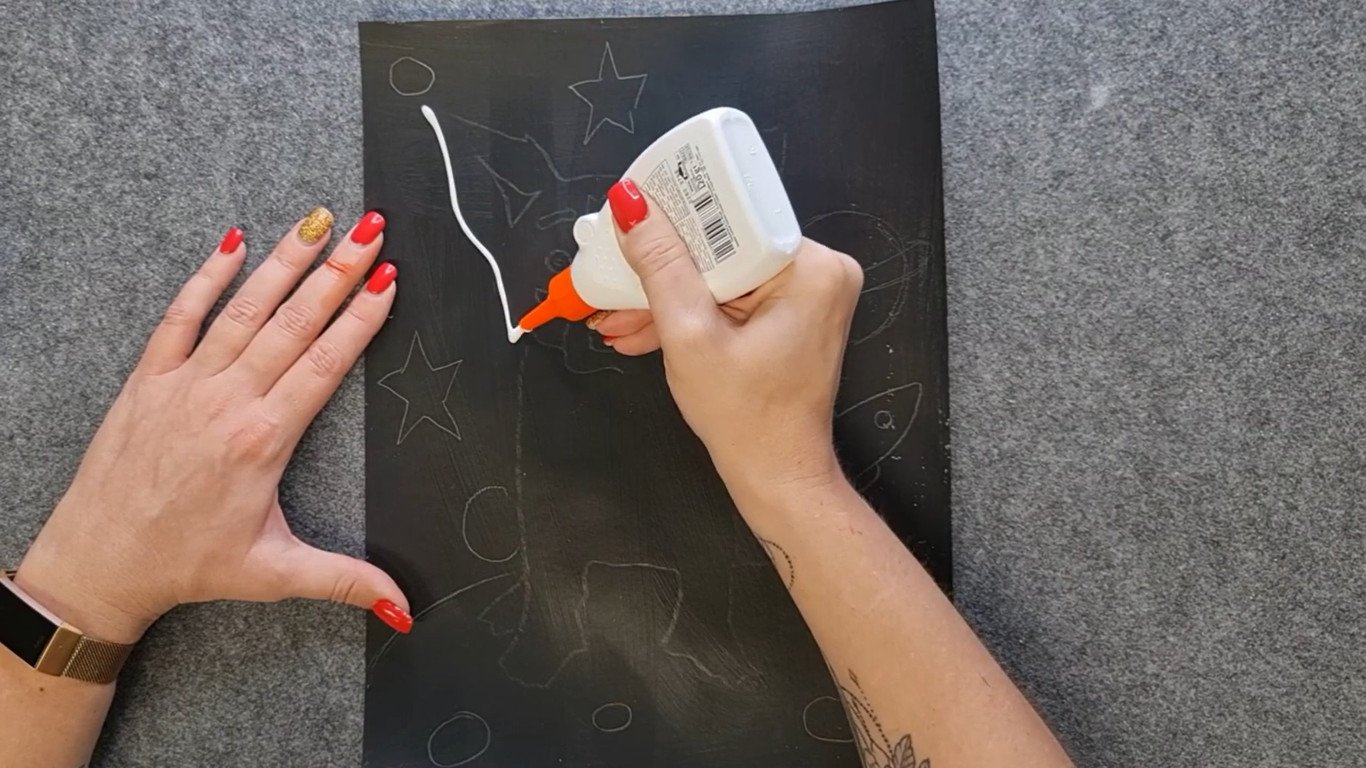
Step 6: Sprinkle Salt all over the glue.
Now it is time to add Salt to your glue lines. I am working over a baking tray to prevent a mess and to be able to pour the salt back into the box to use again for my next salt painting. Make sure you cover all the glue lines with salt. Lightly shake off the excess salt into the tray.
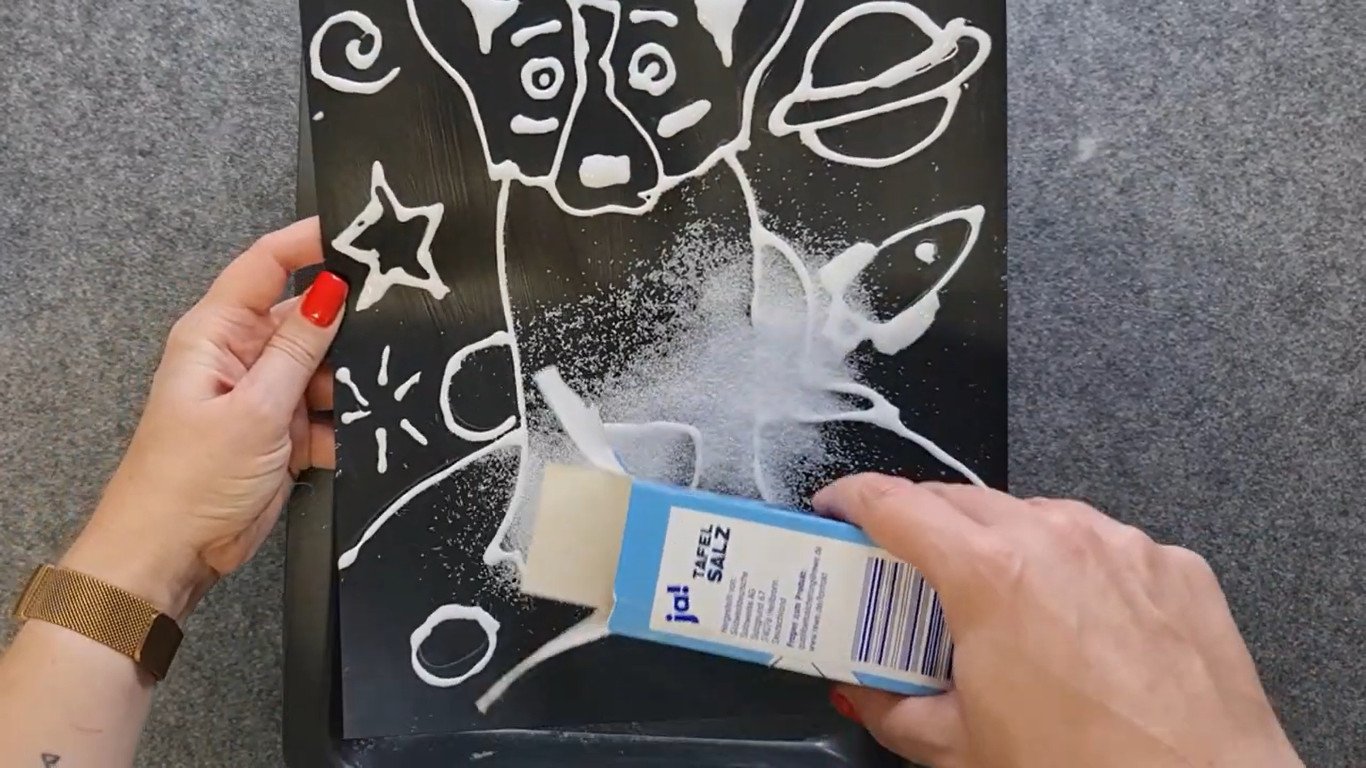
Step 7: Let it dry.
Now you need to set it aside to dry. Don’t fiddle with it too much or touch it. You could smudge your beautiful outlines. I usually use a hairdryer to speed up the drying process but you can also just leave it to dry on its own. Drying time depends on the weather and the type of glue you have used.

Step 8: Let’s add colour
Once it is dry it is time to add watercolour. This is the best part! Now you will need your watercolours, a brush and a jug of water. When activating your paint, use plenty of water. Now dab the watercolours into the salt and watch it spread like magic. Colours will blend together as you apply them. If you use too little water your colours won’t flow into the salt. Salt attracts and absorbs the watercolour quite quickly. You can do some awesome rainbow combinations of colours.
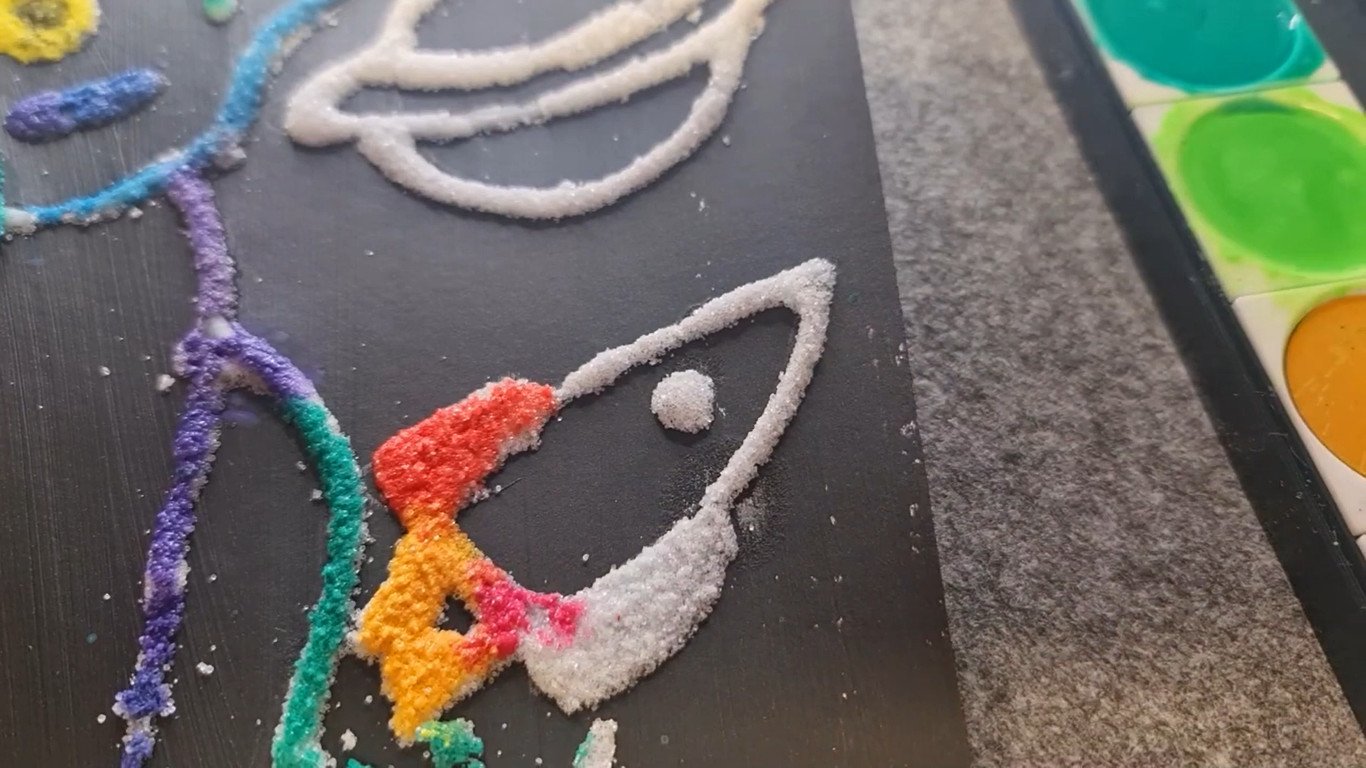
I am keeping my colours clean by constantly cleaning my brush and wiping it with a paper towel before I move to the next colour.
ProTip: How to fix a mistake.
Add clean water on a clean brush to the messed area, lift the watercolour pigment and water with some paper towel.
Step 9: Let it dry for a bit and then display it.
Wow, you are done! Well done. Now you can let it dry for a bit and then display it.
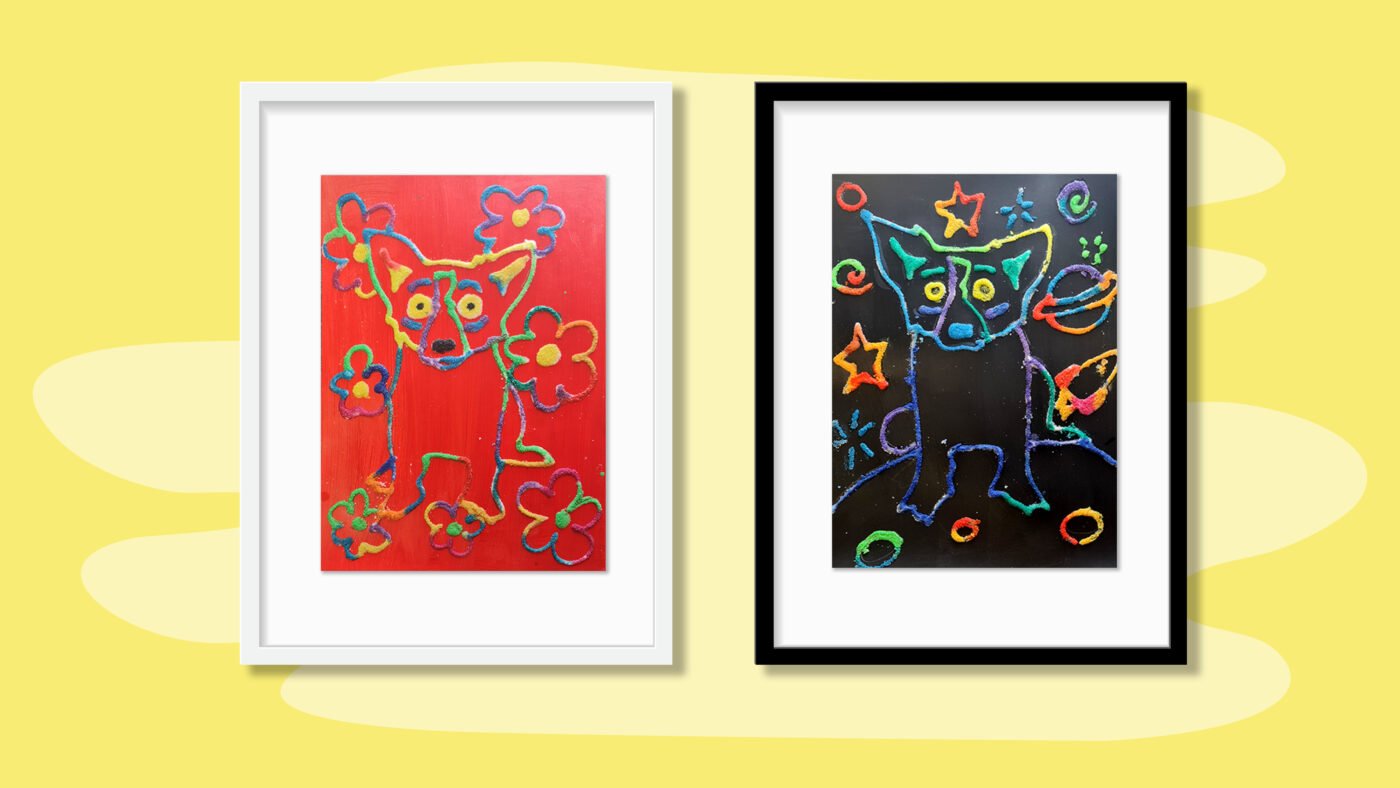
Stay tuned for some extra time lapses as I do more salt dog paintings. I have decided to do four Blue Dog paintings and hang them next to each other like an Andy Warhol Project. George Rodrigue was also often inspired by Andy Warhol’s work.
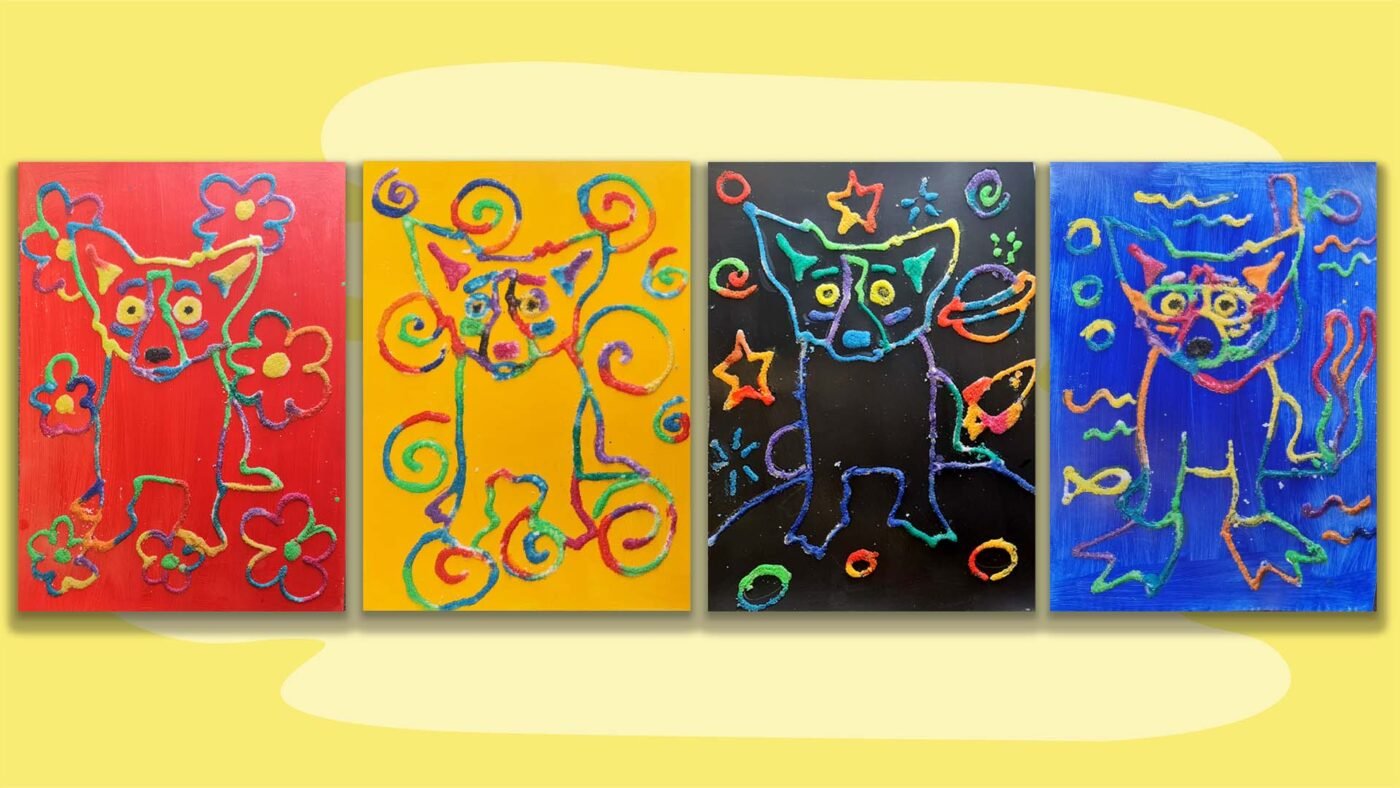
I am artist Lillian Gray, until next time.
BUY OUR GEORGE RODRIGUE WORKSHEETS
Worksheet pack that includes notes and fun activities. Ideal for art students and history students to learn more about George Rodrigue

