Kids Art Projects
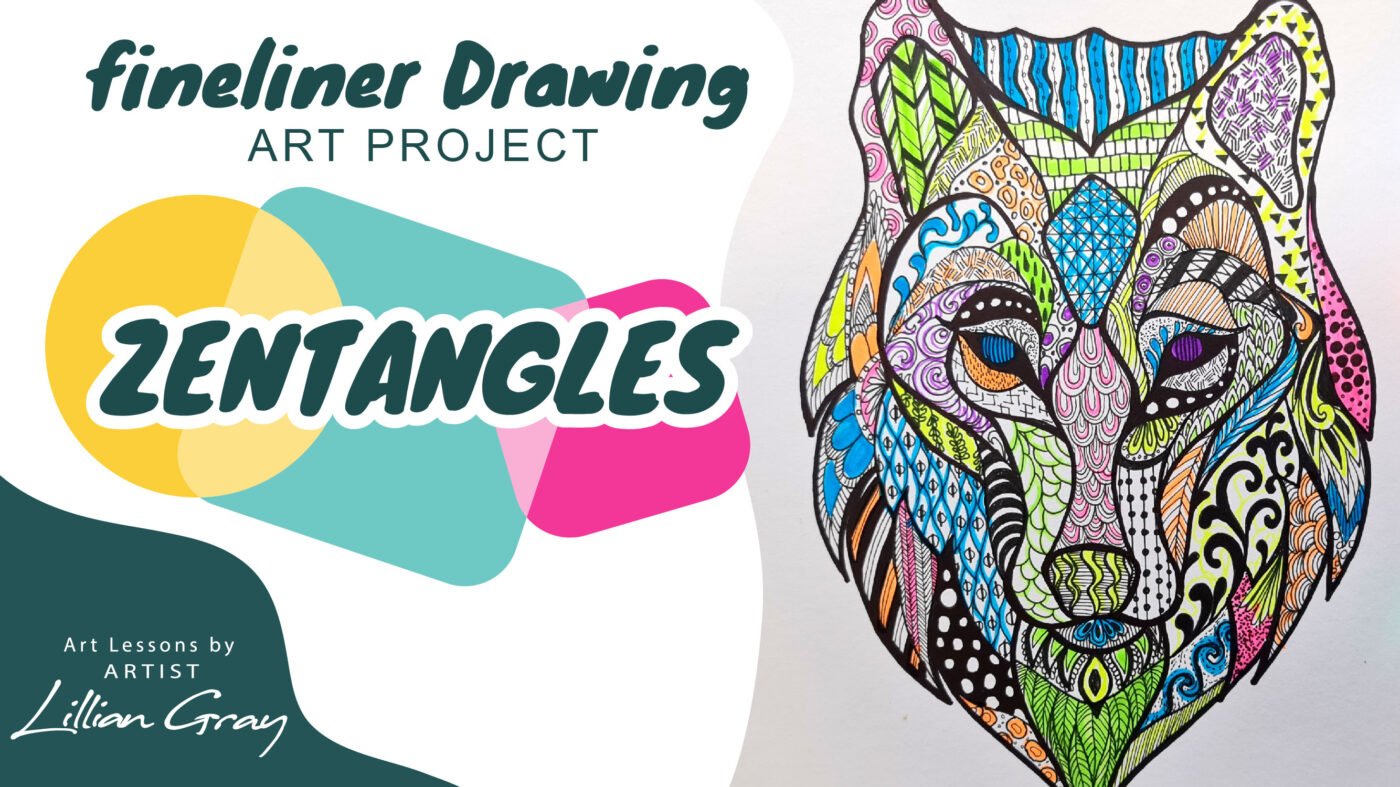
Zentangle Art Step by Step
Dec
Hello, I am Artist Lillian Gray. In today’s lesson, I am going to show you how to make Zentangles and use them in an art piece.
This video comes with our fun Zentangle worksheets for various ages. Available on our TeachersPayTeachers store.
What are Zentangles?
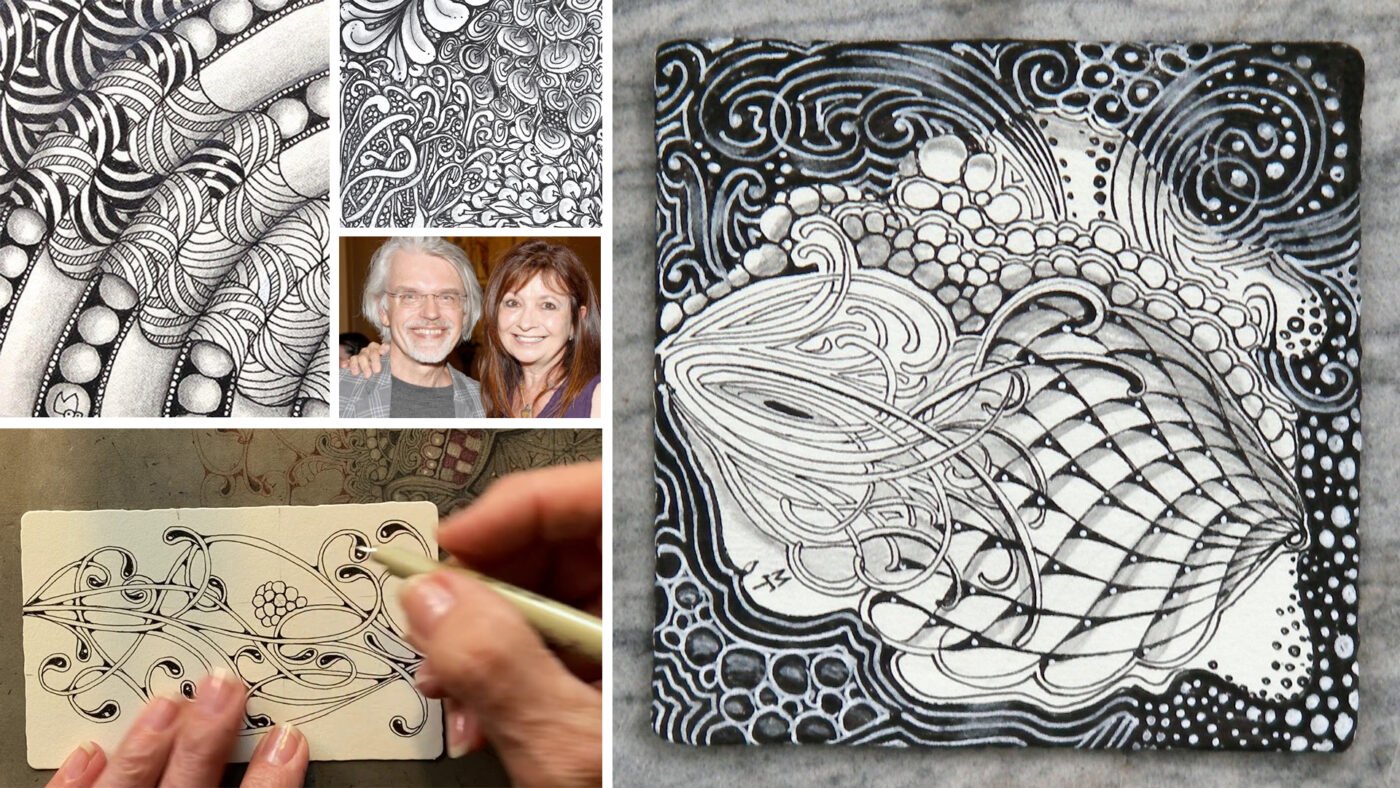
Zentangles is a drawing technique focused on developing concentration, personal well-being and creativity. It was developed in America by a monk named Rick Roberts and an artist named Maria Thomas. It strives to combine meditation and art, blurring the lines between art and art therapy. I personally believe that all art has a meditative healing aspect to it, whether you paint, draw or do pottery. However, Zentangles has been developed with Art Therapy as its primary focus.
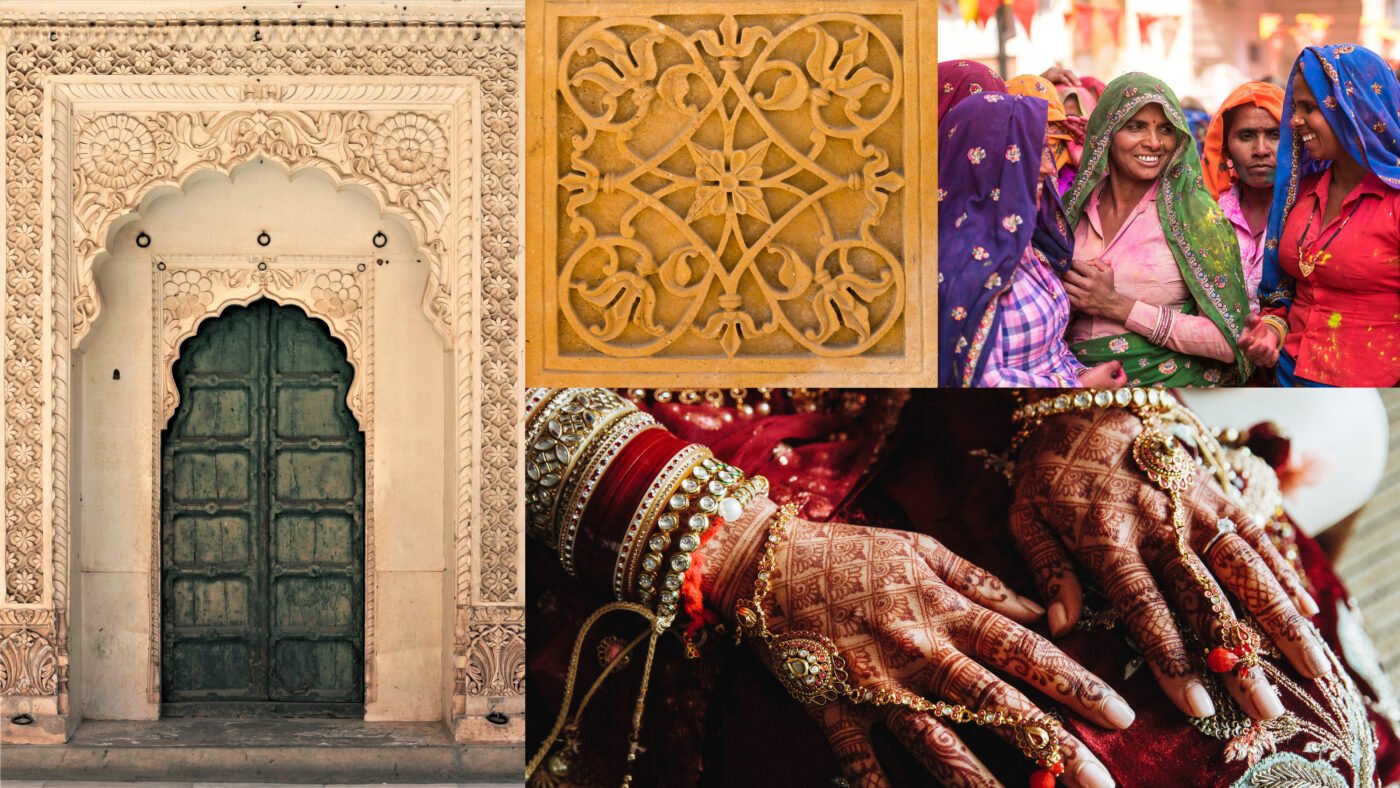
I also believe Zentangles are as old as time, maybe not the name but definitely the designs. So many ancient cultures have similar patterns and tangles in their art. Think of the Mayans and the Incas repetitive patterns. The Indian Culture with its Henna Designs, Mandalas and intricate stone carving and Vibrant geometric Moroccan Tiles.

What is the difference between Doodles and Zentangles?
People have always wanted to leave their mark since early cave paintings. It is in our nature to doodle, create, and express ourselves.
Many people doodle, especially when on the phone, in a Zoom meeting or in classrooms. However, not so many people practice the art of Zentangles. The vital difference to note is the level of concentration and intent.
Doodling is often done out of boredom. Zentangles are about developing your concentration, focus and mindfulness. You show up with the intent to purposefully draw and not divide your attention to something else.
Are there set Zentangles?
There is no real set of Zentangle Patterns; however, it does follow a fixed method with structure. The tiny blocks or small organic sections are used to enhance your focus and prevent you from feeling overwhelmed. There are set guides for composition and method. There is also a visual library of patterns to draw from. This gives this artform a consistently polished look when compared to doodles.
While it is important to stay focused and use repetitive lines and patterns, you are also encouraged to create your own tangles. It is not about right or wrong but the process of focusing on making repetitive patterns.
The first time I tried Zentangles I thought, Aa this will be easy. But it is harder than it looks. In the beginning, I struggled to focus and made a few mistakes. It is important to just keep going and just bring your attention back to your artwork. Don’t give up and don’t stop. You can take a break but commit to finishing your artwork.
Characteristics of Zentangles
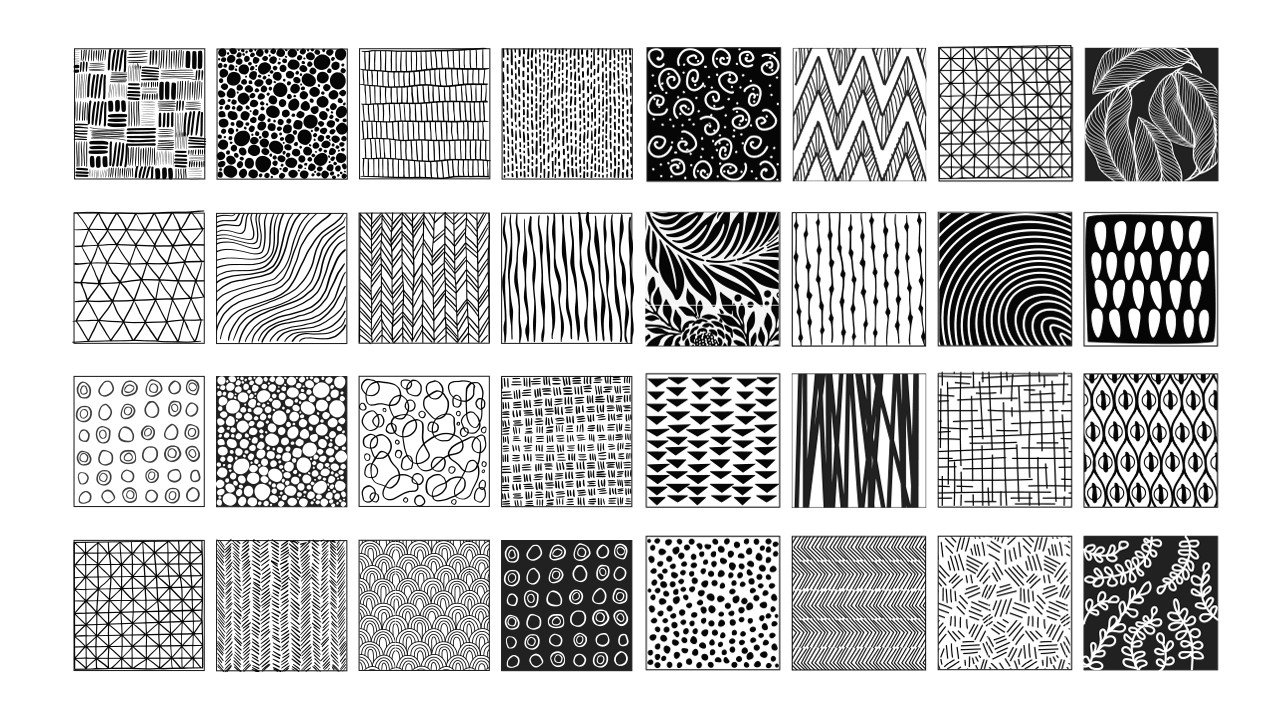
Let’s start by looking at other Zentangles and see if we can see some shared characteristics.
You will notice that Zentangles are shaped by constant repetition. With time you will recognize that you are using the same movements again and again to create your pattern.
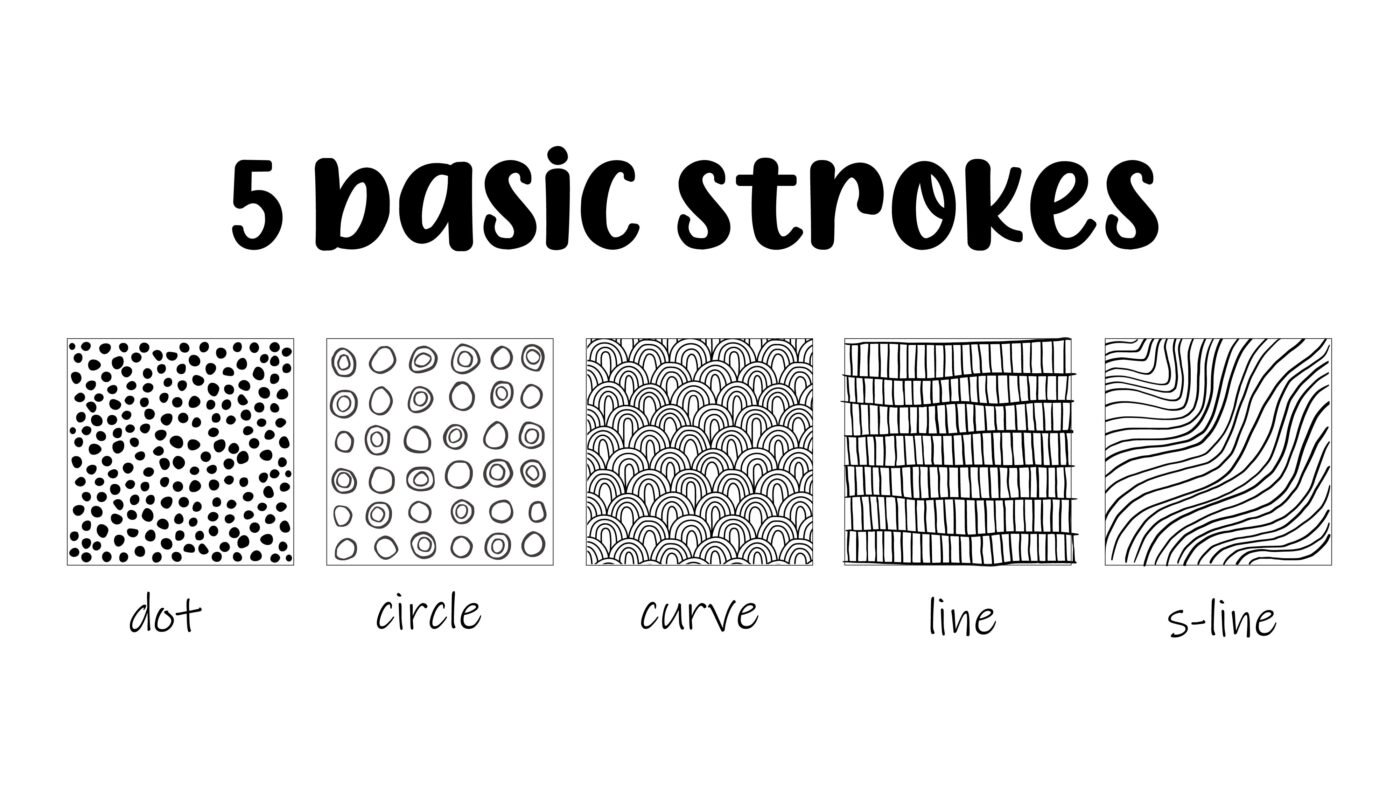
Most Zentangle consists of a combination of five basic strokes that are found in almost every pattern:
- dot
- circle
- curve
- line
- s-shaped line
When observing Zentangles, it is important to note the use of the following aspects as well.
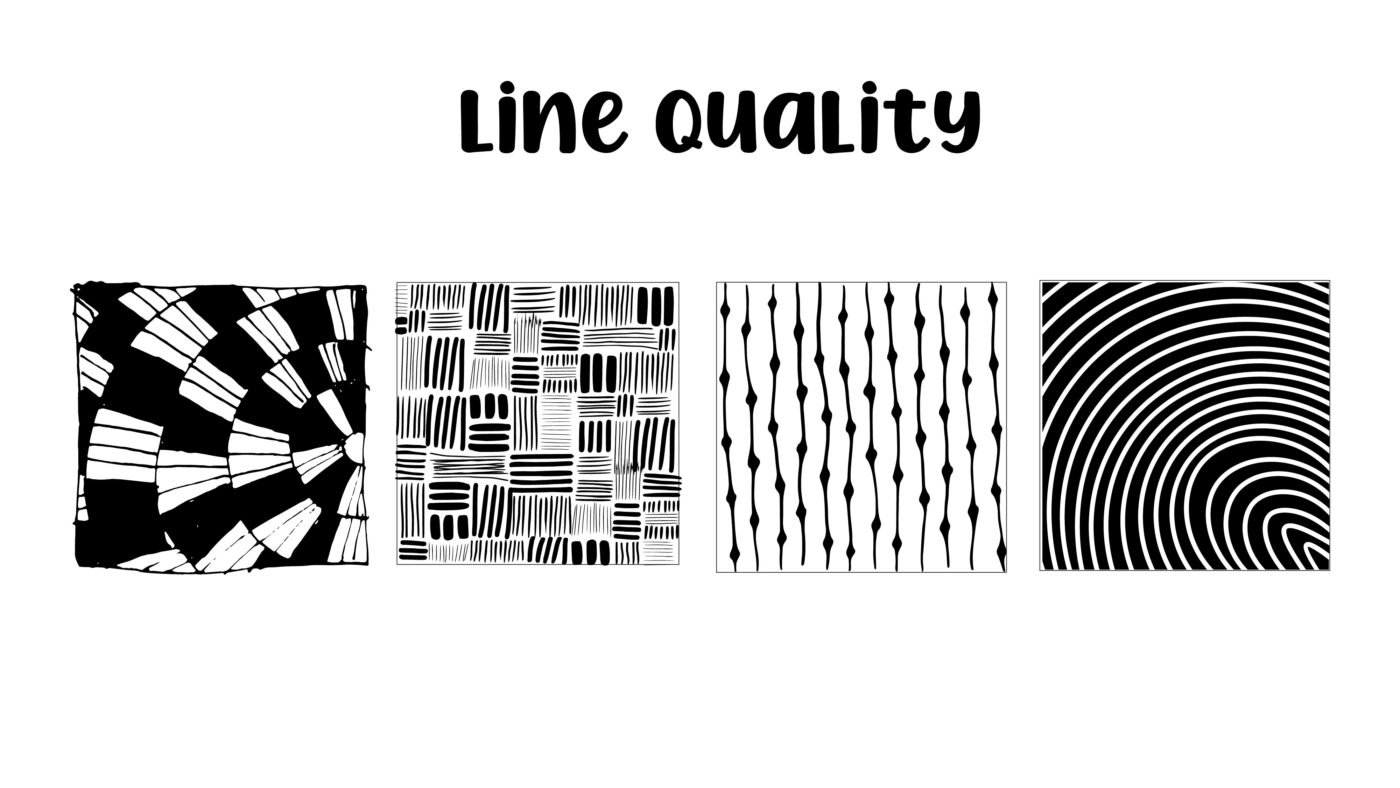
The use of line quality. Lines alternate between thick and thin, making them visually more interesting.
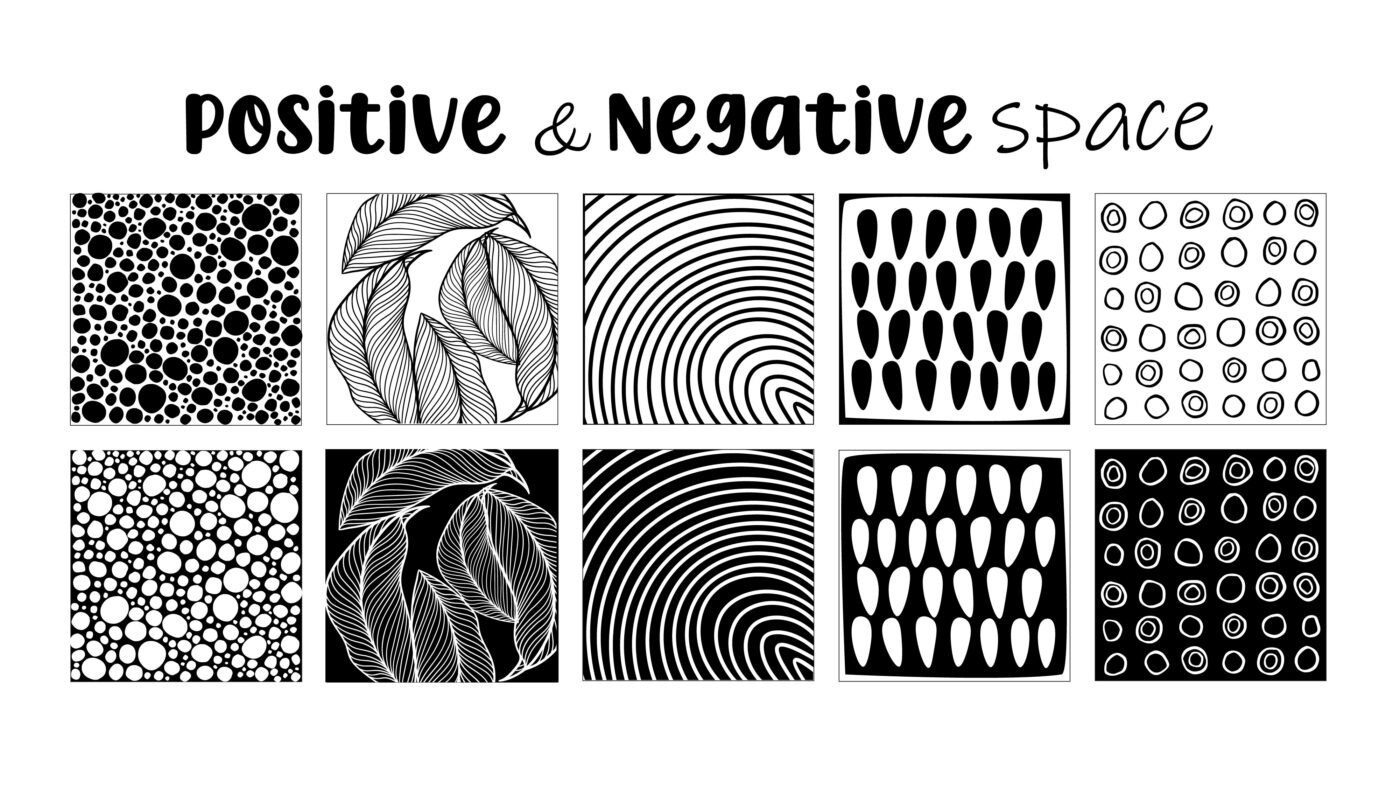
The use of positive and negative space. Sometimes the area and space around the object become the pattern.
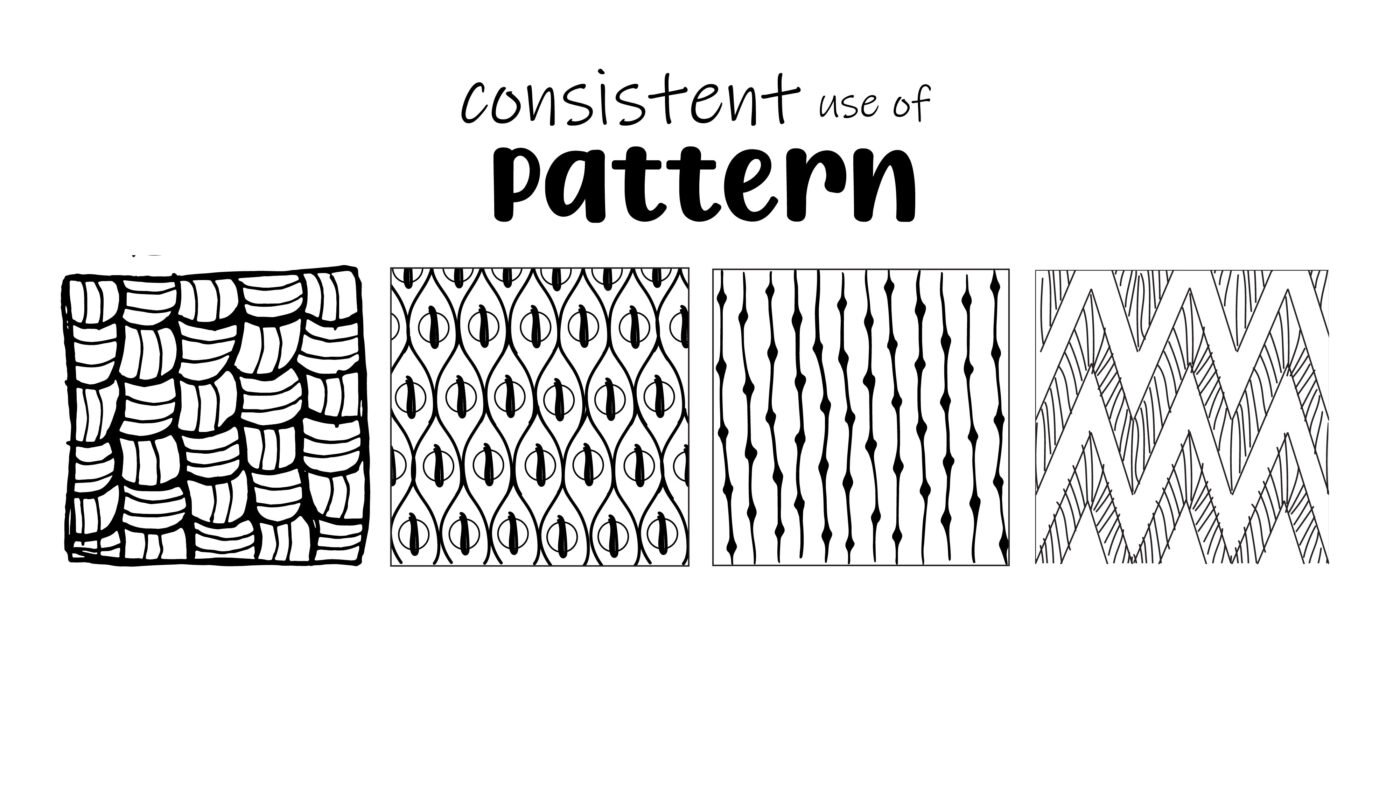
The consistent use of pattern. How the lines, shapes and forms are repeated.
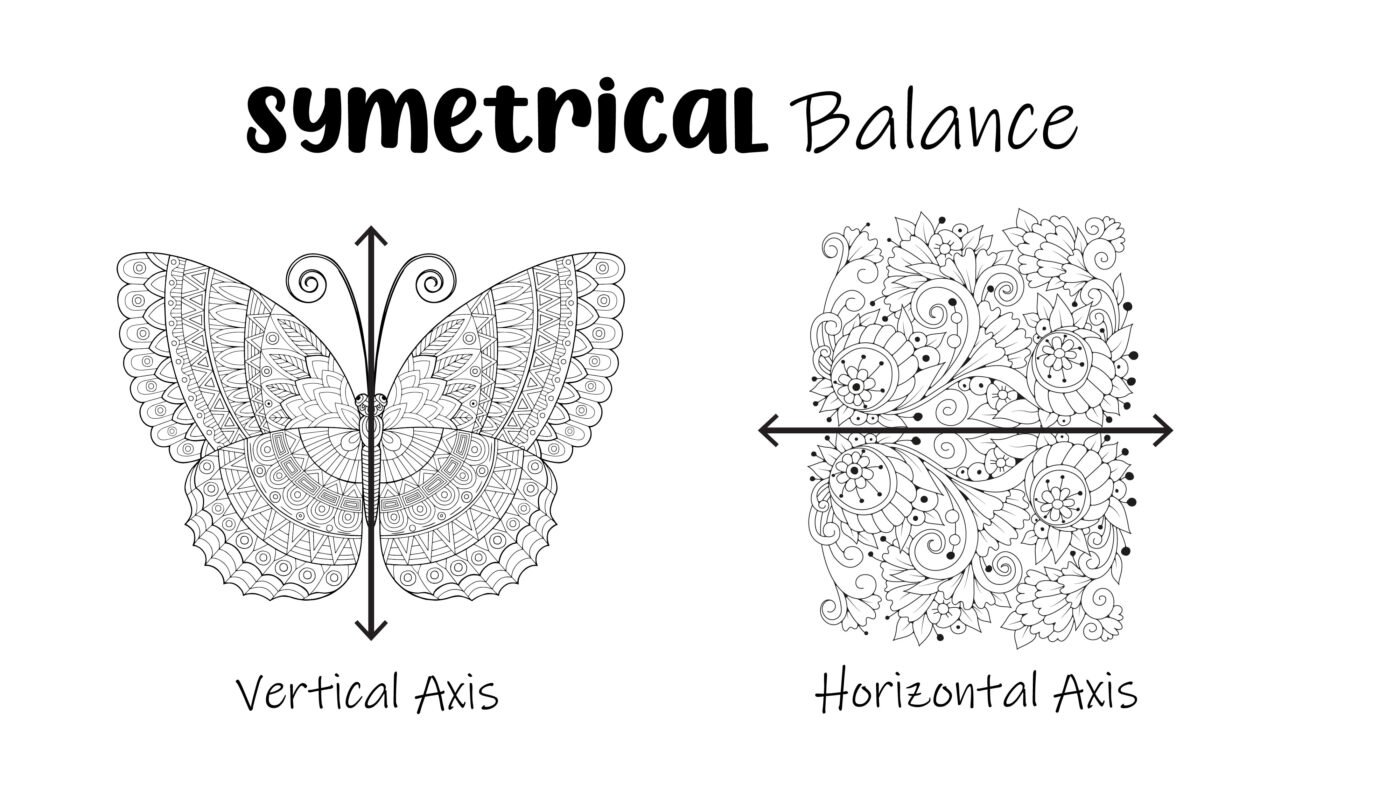
The use of symmetrical balance when the artwork’s one side is a mirror image of the other side.
Now that you are armed with this visual knowledge, let’s start practising some Zentangles.
Set up your station and art supplies
For this lesson, you will need
- Our Awesome Worksheets
- paper to work on
- fine liners and thick black koki
- Masking tape
- Colouring Pencils/ Koki’s / Highlighters
- Good Lighting
- No other distractions. Don’t do this in front of the TV or with your sibling playing gaming next to you. I listen to soothing music with no lyrics.
Practicing Zentangles
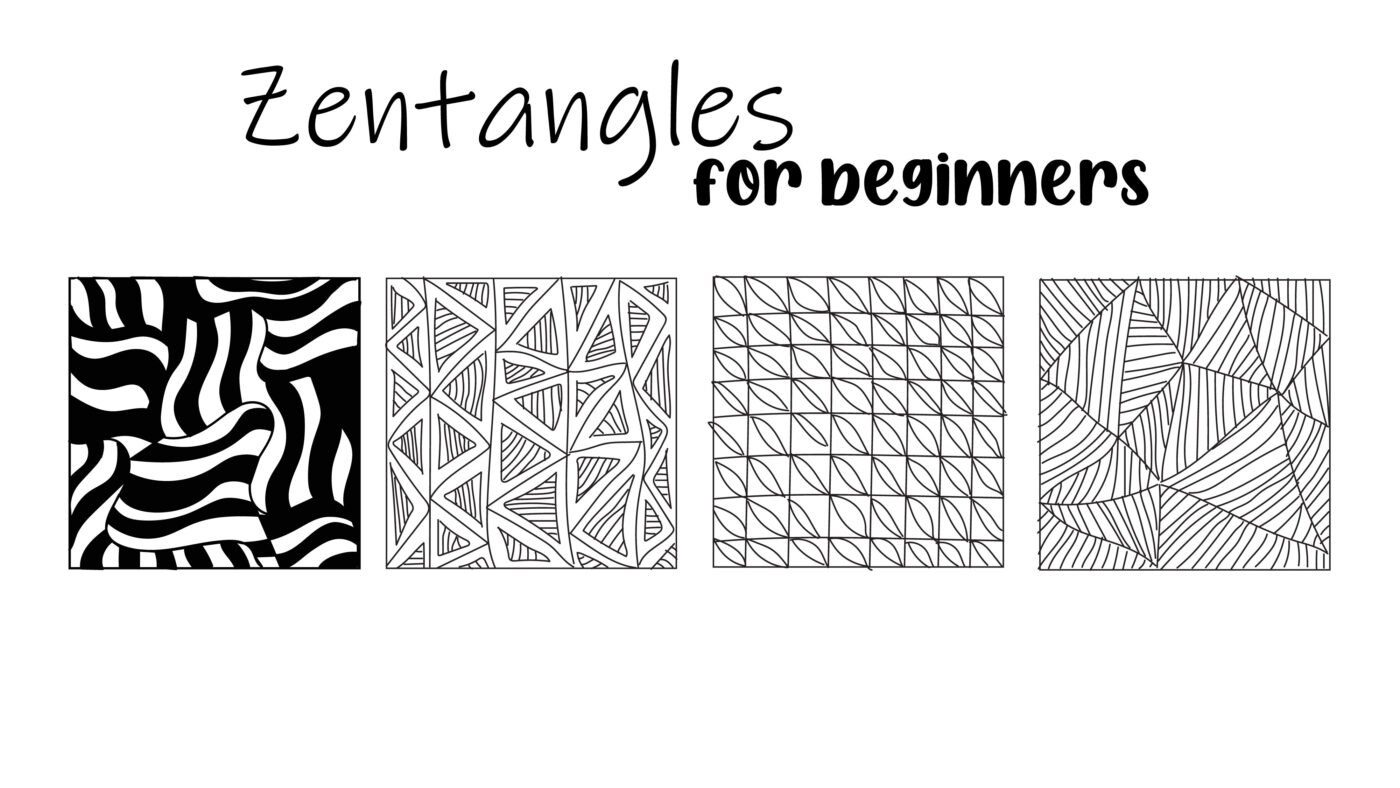
Here are four Zentagles to start with that are easy for beginners. We begin with a simple structure and then add more and more details as we go along. Here are some step by step examples.
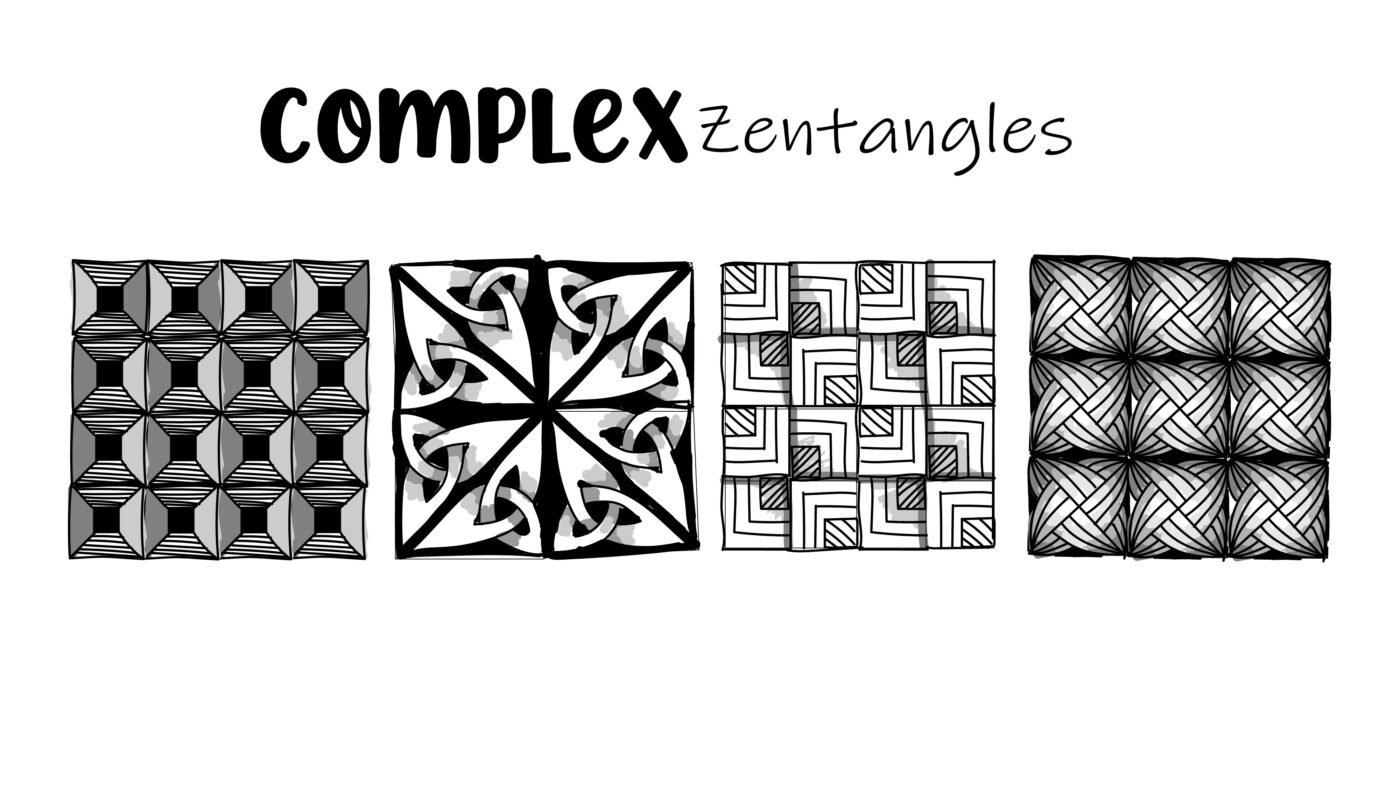
More complex Zentangles.
Zentangles can get more complicated using set geometry. Here are more complex examples. Divide your squares into even sections and then fill each section to create a larger square. These Zentangles designs require even more concentration.
Practice your various Zentangle techniques. You can copy some from a visual library, or you can invent your own.
Let’s create an Zentangle Artwork – Bugs & Insects
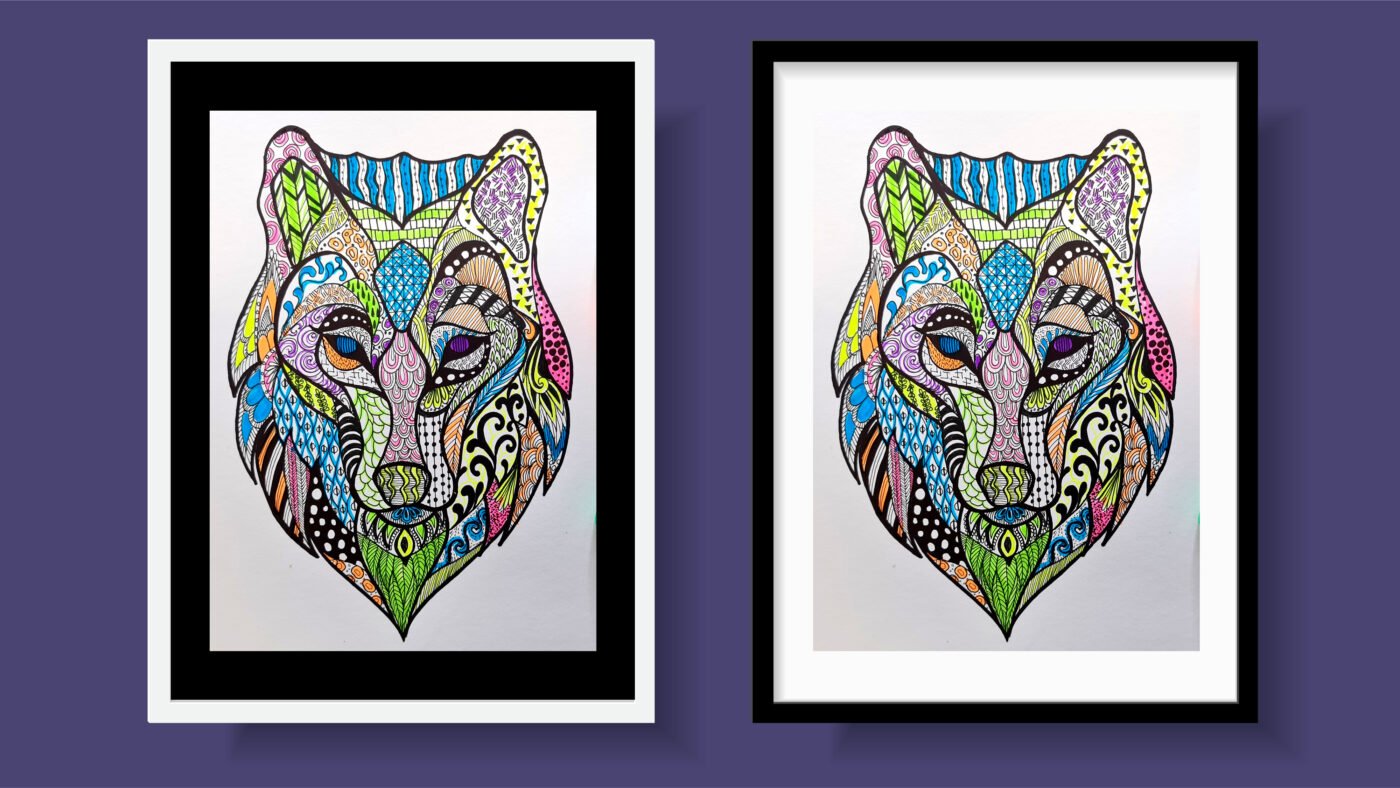
Now that you are familiar with how to create Zentangles let’s create a finished artwork. In our worksheets, we are using bugs and insects for the youngsters and animals for the tweens and teens. I will do one of both.
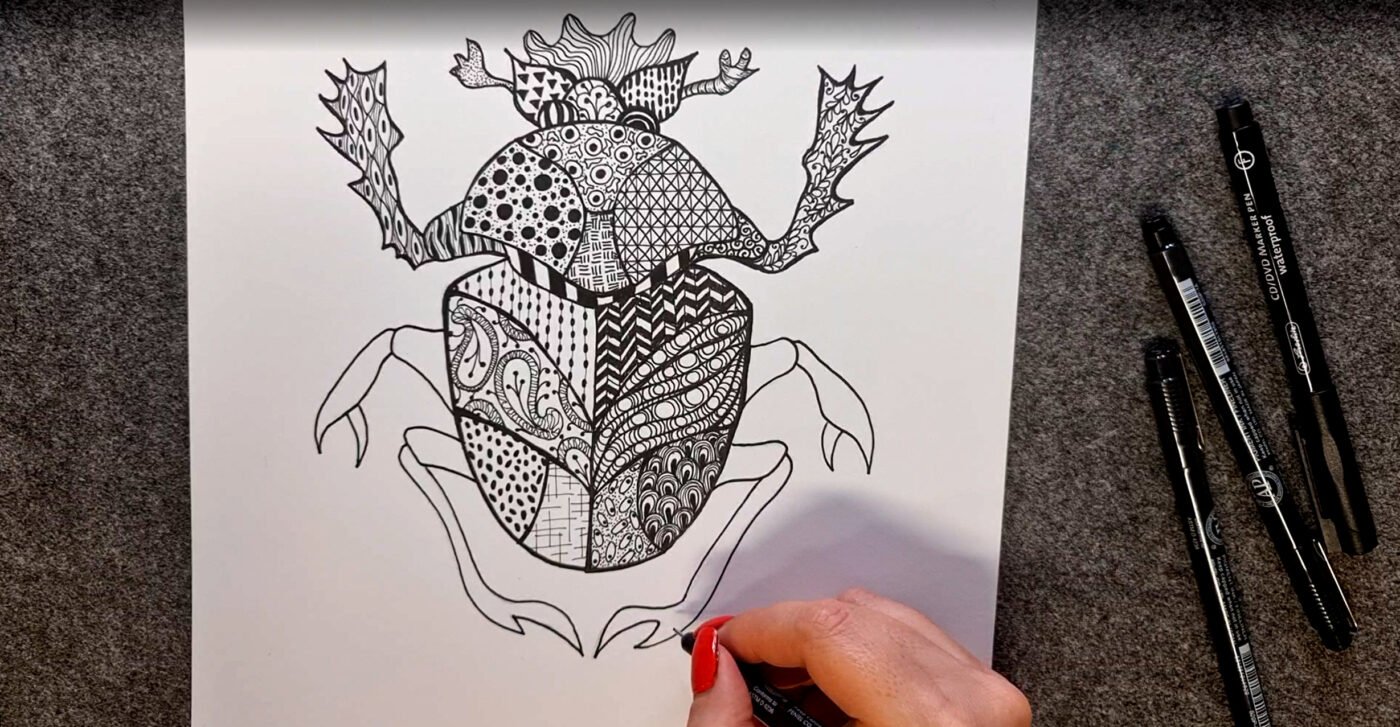
First, I have my beetle’s outline. The idea is to fill each section with a different pattern. The beetle is drawn symmetrical, but I don’t want to make my pattern balanced for this artwork.
Step 1: Transfer the image
For this step you will need the sheets in our Worksheet pack. I am going to show you an easy method to transfer this image to your sheet of card paper. Flip the image over. At the back of the image colour the image with a pencil. Ensure the grey of your pencil covers all the lines of the drawing you would like to transfer. Flip the image back over. Tape the image in place with a piece of masking tape. This prevents the image from moving around. Now use your pencil and trace over all the lines of the image. Once you lift your page you will see the outlines you have traced on your card paper.
Step 2: Fill with Zentangles
Do not place the same pattern next to each other. Try to have organic patterns next to geometric patterns for a nice contrast and rhythm.
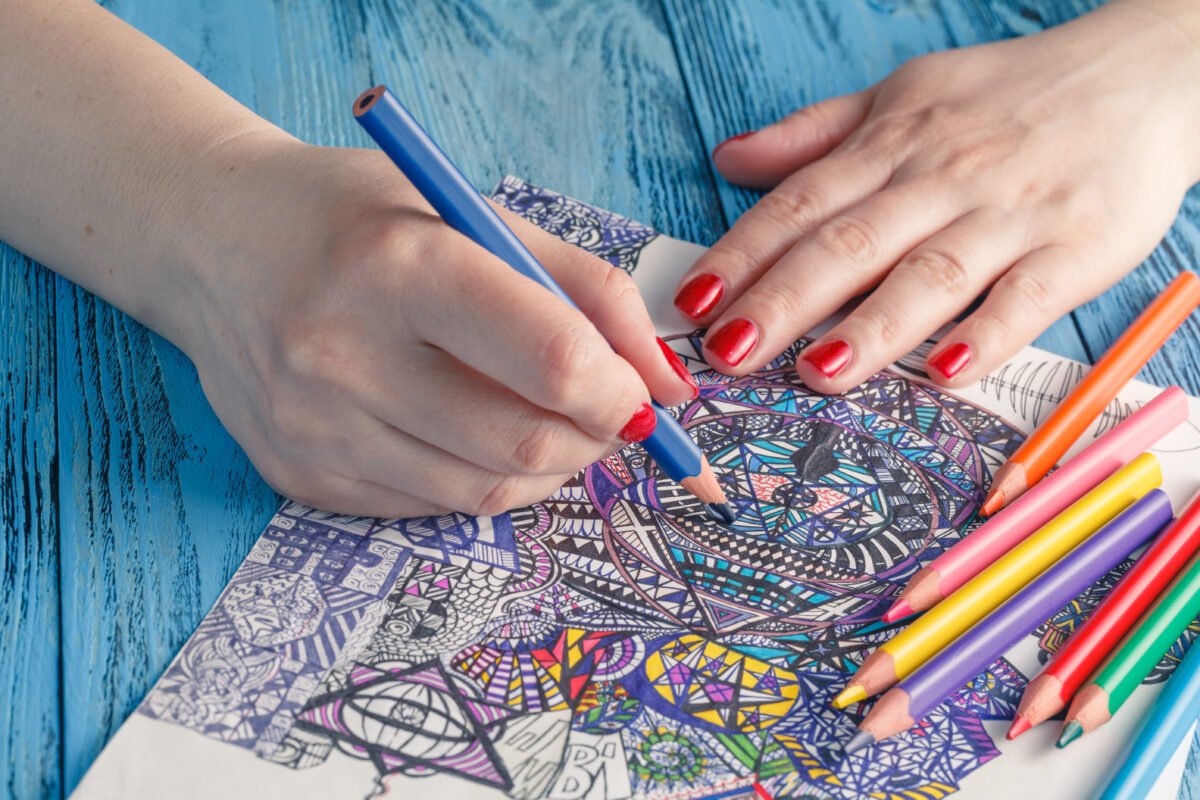
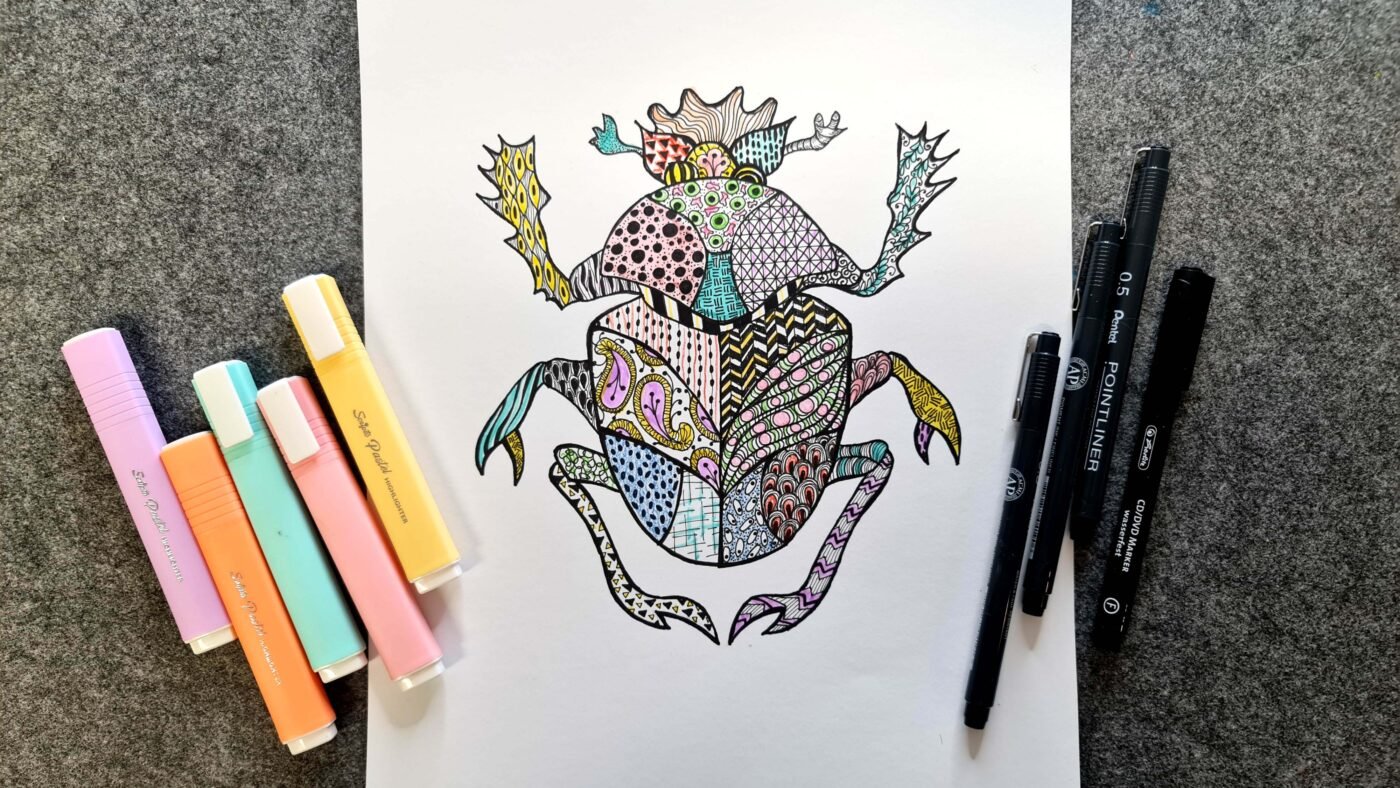
Step 3: Add a bit of colour
Using your coloured pencils, koki’s or highlighters, you can add a bit of colour to your artwork. Or you could add shading for extra depth. I am going to add some colour.
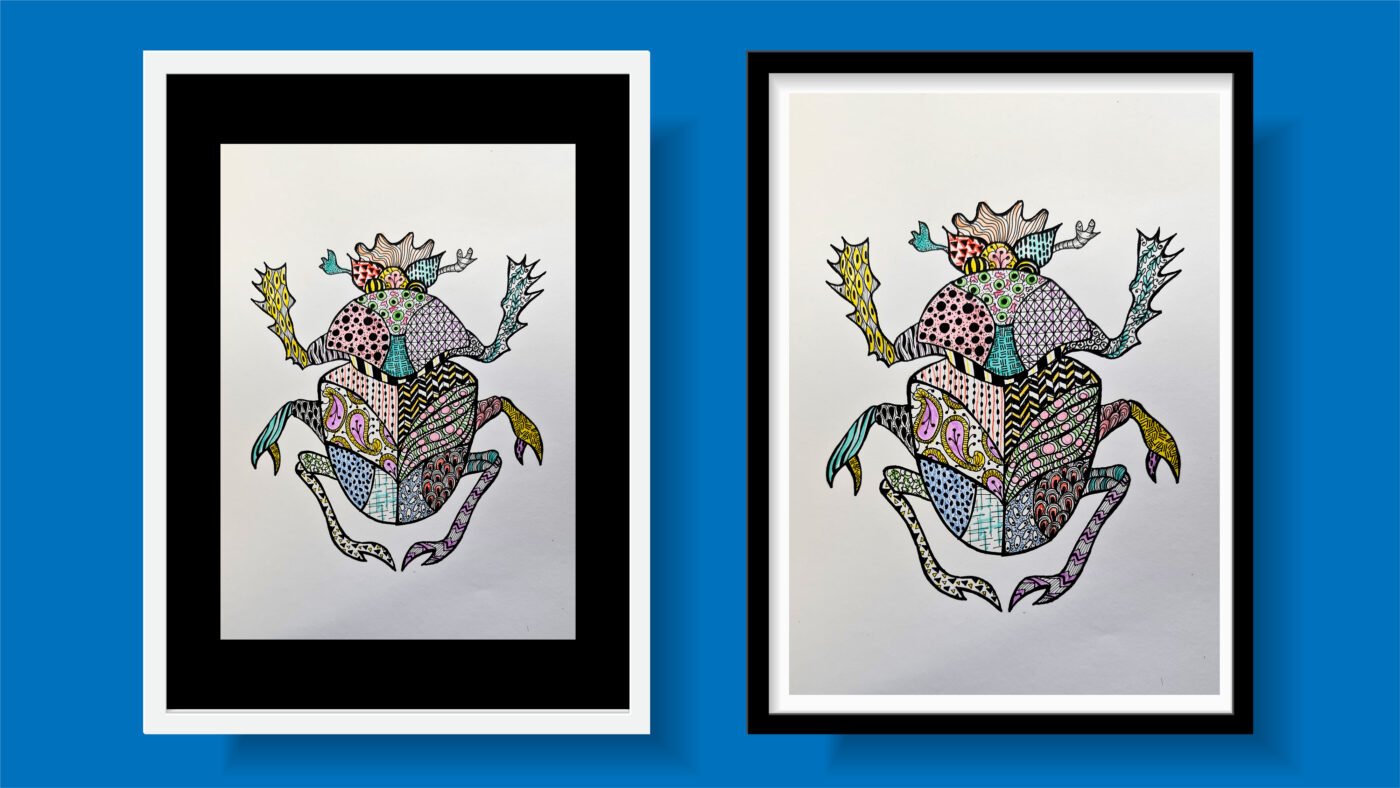
Step 4: Now display it.
Wow, you are done! Now you can display it. Presentation is everything. Mounting it on black paper will make the artwork even more striking. Enjoy what you have created.
If you’re new to our channel, please click subscribe so you can be notified whenever we have a new video.
BUY OUR ZENTANGLE WORKSHEETS
Worksheet pack that includes notes and fun activities. Ideal for art students and history students to learn more about the art of Zentangles
I am artist Lillian Gray, until next time.
Professional Zentangle Artists to follow
- https://www.instagram.com/maahyart/
- https://www.instagram.com/enioken/
- https://www.instagram.com/ifragoso_art