Kids Art Projects
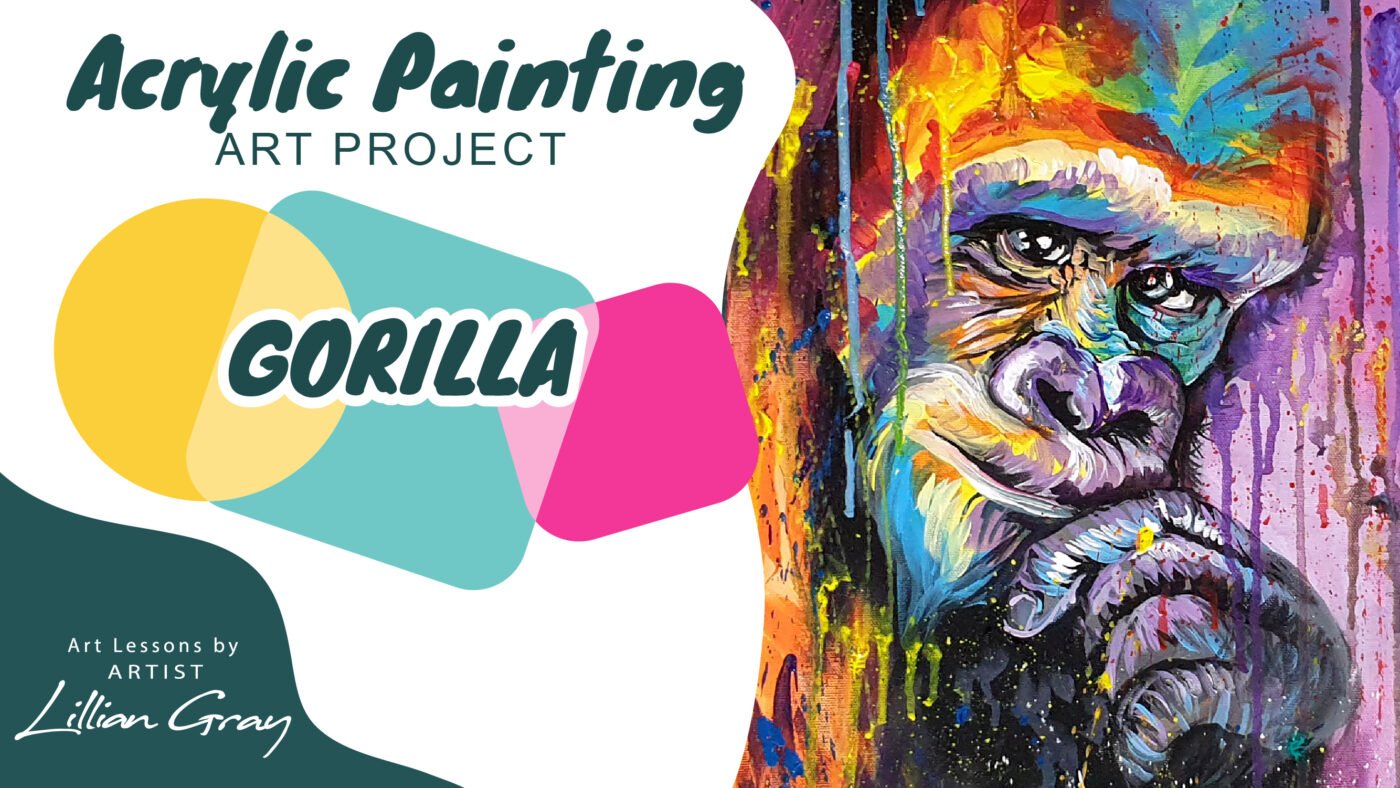
Create an Acrylic painting masterpiece in just 3 easy steps
Jun
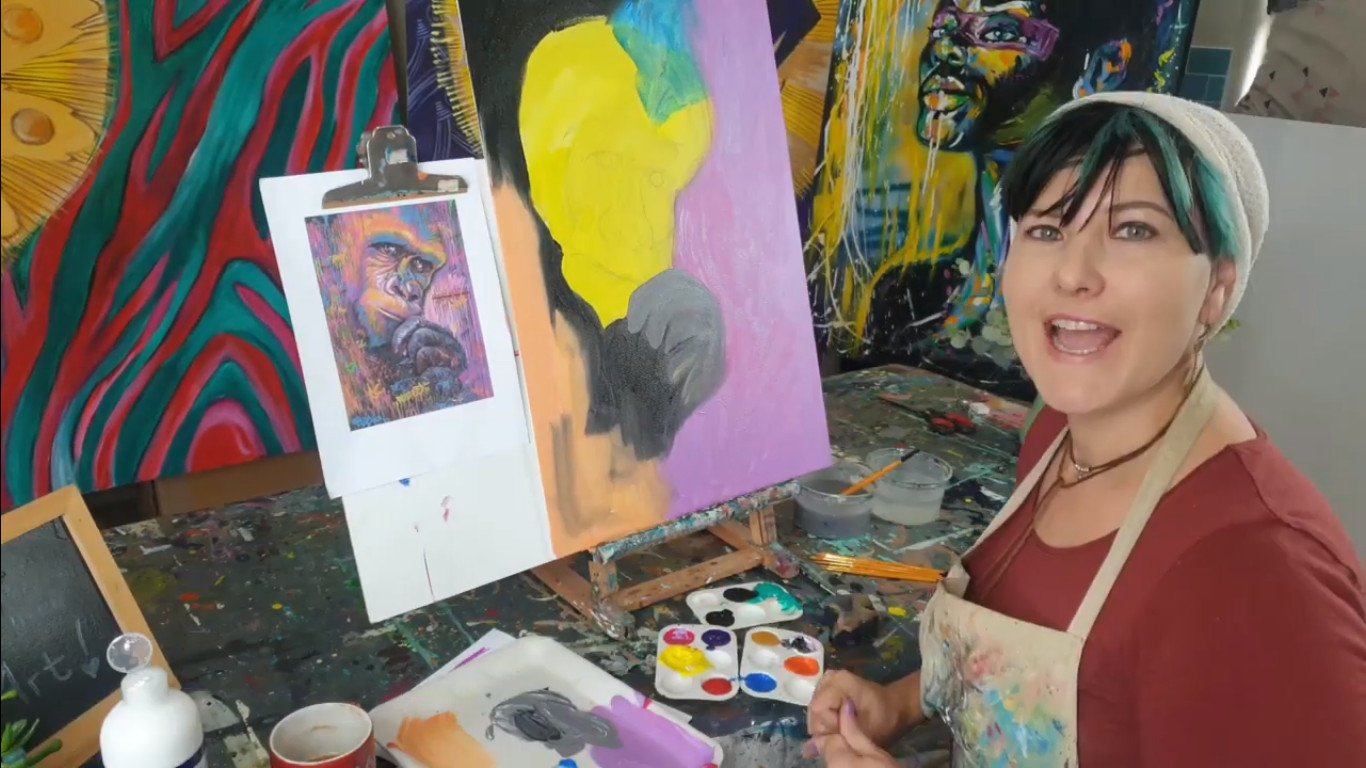
Hi, I’m Lillian Gray, South African fine artist, and today I’m going to show you how to start an acrylic painting.
Some basics
- Setting up your paint station
- Tying your apron
- Brushes – Brush Care / Paint on Brushes / What Brush to Use / Where should I hold my Brush
Setting up your station
Just with setting up your station. So it’s really important that you set up a station where you are really comfortable. I am painting on an easel. I’ve got a nice table easel. I am NOT working flat. Flat causes a lot of issues in drawing in proportion because you see this, this then this, and when you tilt it up everything is out of proportion.
It’s important to work on an easel. You can even make a really cheap easel out of a cardboard box. Maybe we’ll do a video on that. The next thing that I’m doing is that I’m keeping whatever I am painting eye-level and parallel. You do not want to look like you’re getting your driver’s license by having your reference on the table and you keep going up, down, up, down, up, down trying to figure out what you need to do.
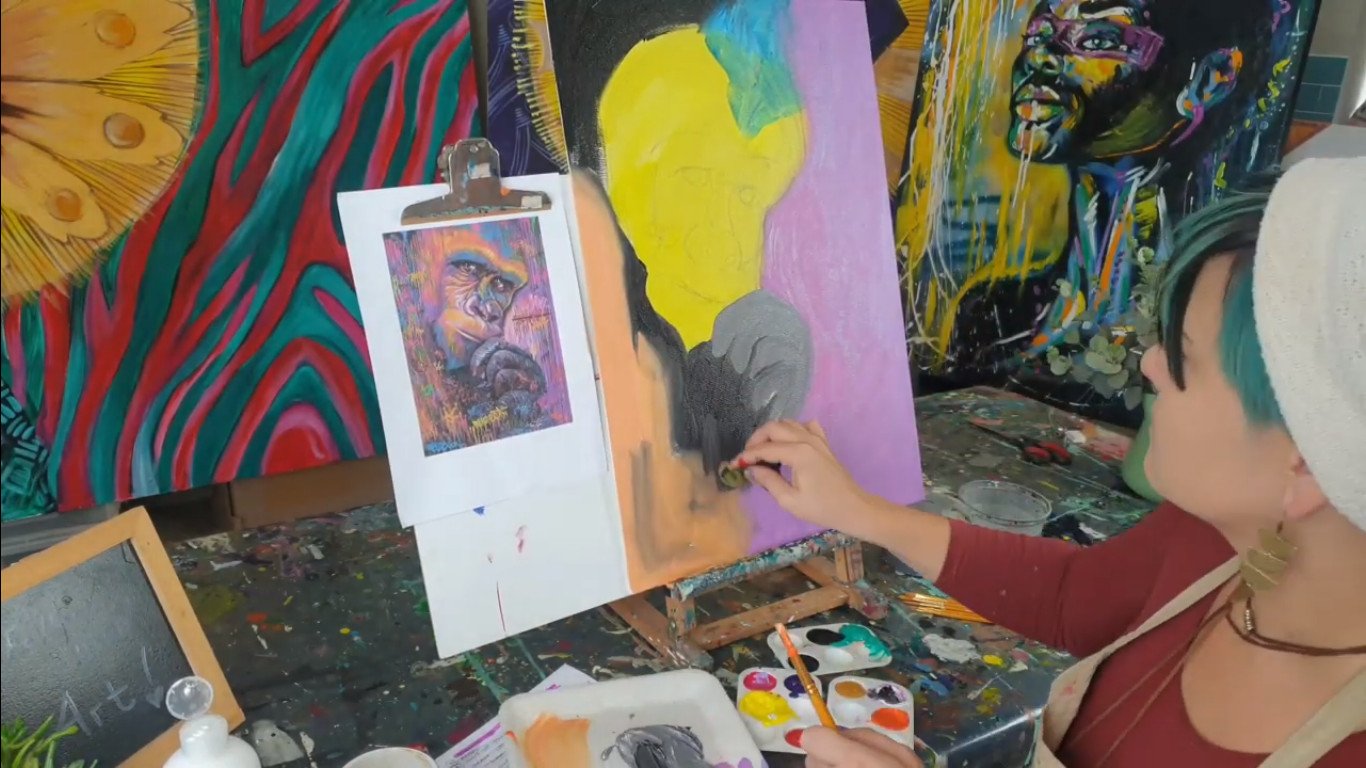
You need to have a backing board, so I’ve got a board. If my canvas is portrait my backing board is horizontal. If I’m painting landscape my backing board is vertical. The reason is I want it to protrude and stick out on the side so that I can clip my reference on with my bull clip. If you are left-handed your reference will be on the right-hand side. If you are right-handed your reference will be on the left-hand side. The reason is when I am painting and my reference is behind my dominant hand, I can’t see properly.
It’s really important to make yourself as comfortable as possible when you paint. Just a note to yourself, if you do not respect your art nobody else is going to respect your art. You need to treat your art with dignity and you need to treat the space in which you’re creating. I don’t care if you’re doing it in the broom closet but set up a proper little mini studio for yourself because that’s going to make people realize, Wow you’re serious about your art.

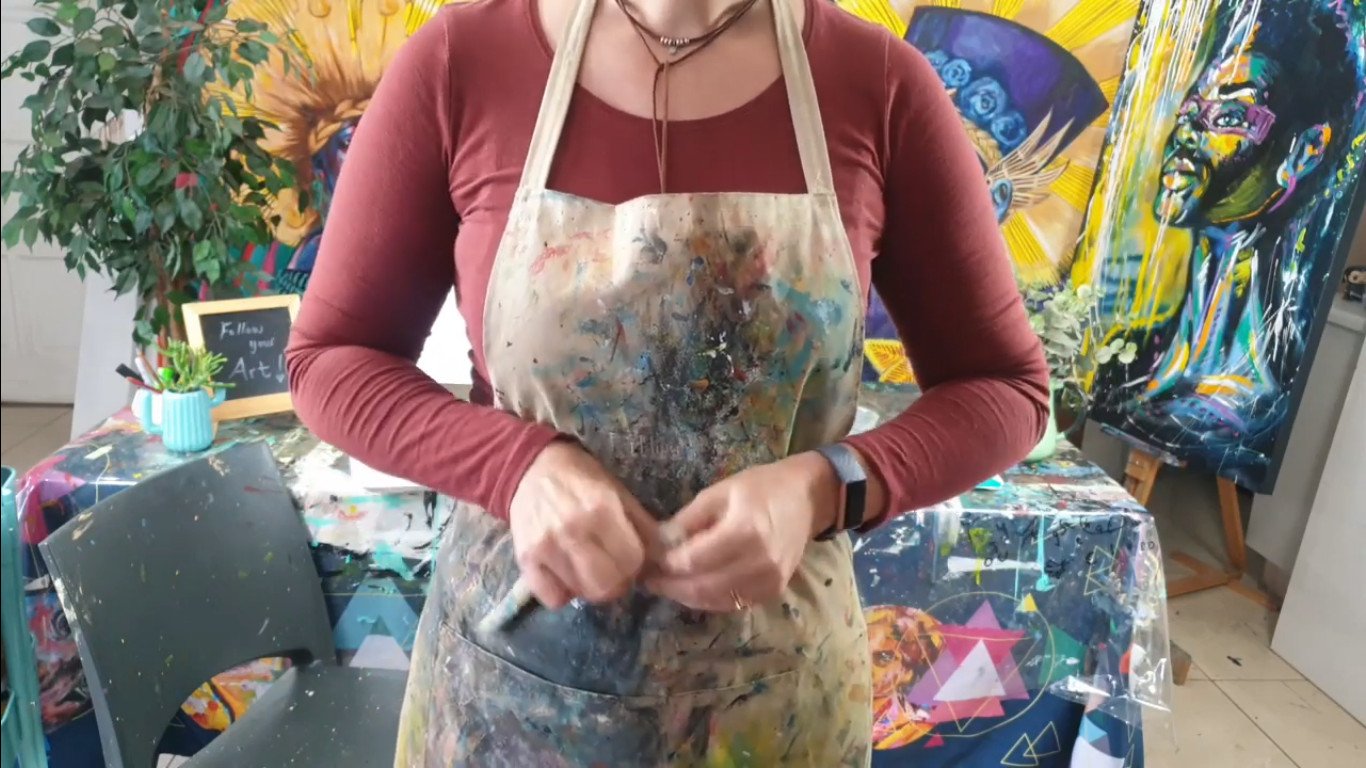
How to tie your apron
It’s very important to put on an apron when you’re working with acrylic paint. Acrylic paint does not wash out of your clothes. I’ve had a lot of panic-stricken mothers calling me asking how to get it out of a school uniform. It does not wash out. Very important to look professional with your apron, you want to tie your apron in the front. The reason is afterward when you’ve got paint on your hands, you do not want to fiddle at the back and get paint on your clothing. You want to use your dirty hands on the front where it is protected by the apron.
How to take care of your brushes
- Brush care
- Mixing
- Which brush to use
- Holding your brush
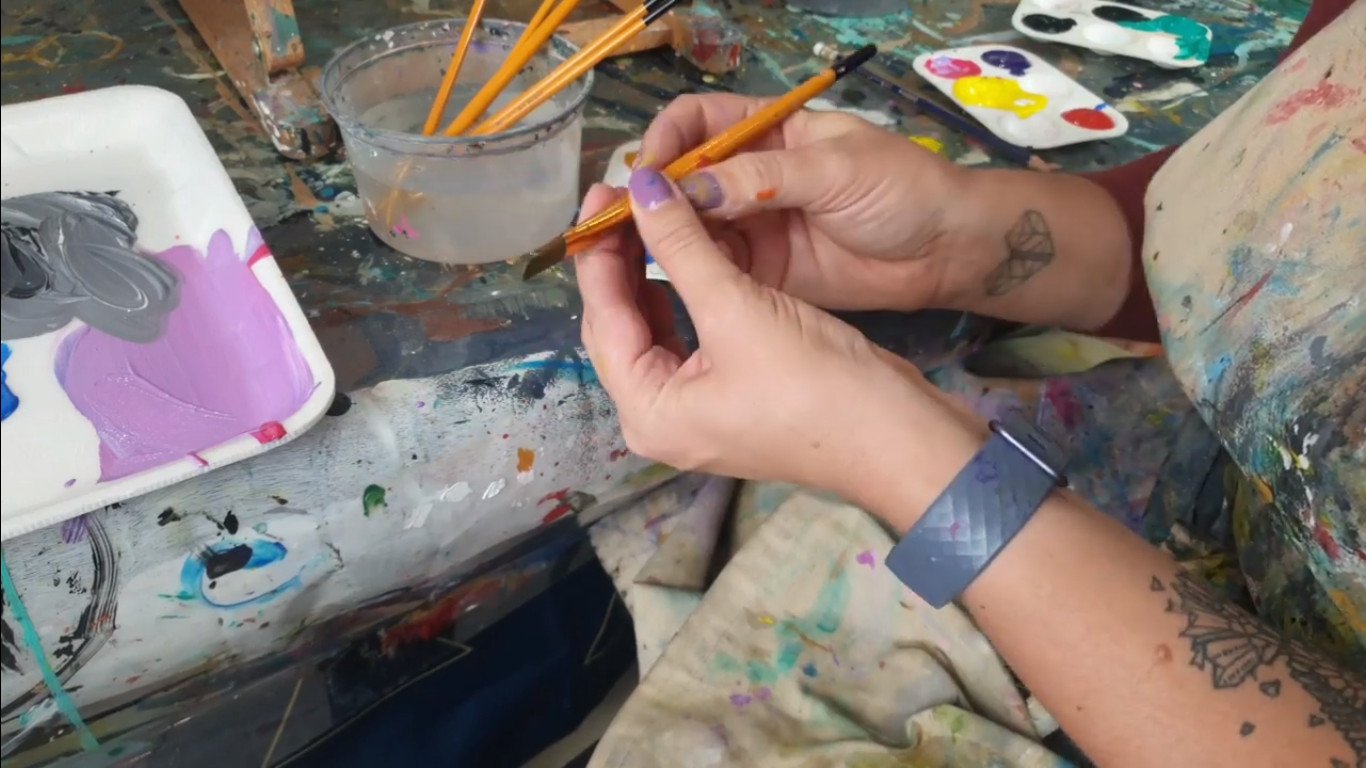
So now just simple brush care. Never. ever, ever leave your brushes in the water like this. There are quite a few things that happen, first of all, the enamel of your brush starts cracking and it starts breaking, and once this peels off there just the normal wood exposed, and then they start swelling, and then this thing’s going to fall off. That’s the first thing that’s going to happen.
The next big thing that happens is by leaving it in the bowl, the tips of the brushes squish because you got all the pressure on them and they start bending and they start looking nasty like Rastafarians that never brush their hair. And you can’t paint with that. It’s very important. after you’ve used the brush, you wash it lightly by moving and pushing the pigment out.
When it’s dry you shake it off and you wipe. Then you put the brush down next to it, and that’s where your brush stays until you need it again. What’s also important, when you guys are mixing paint you’d like to keep it on the bristles. We’re not mixing too much paint and I’m doing this.
As soon as my paint starts crawling up to the metal of my brush, it means the brush that you’re using is too small, or you’re in too much of a rush. This is a speeding ticket, you guys need to slow down. You want to keep your pigment off the metal of your brush. You want to only keep it on the front in the bristles.
How do I know which brush I must use?
I have a variety of brushes. A question I get asked a lot is when do I use which brush. A simple principle is if you are painting a big area you use a big brush, if you’re painting a small area you use a small brush. Big brush, big area. A small brush, small area, and that is just the basic principle to stick to.
So with most of your painting, I almost have to say 75 % of your painting you’re just working with your big one until you really get your detail, then you start switching to all your finer detail ones.
How must I hold my brush?
I also get asked a lot, where do I hold my brush? When I want little control I’m at the back of my brush when I’m just colour blocking. As soon as I start doing detail or a more controlled line I’m holding my brush in the front, exactly there where the metal starts, and I hold my brush like a pencil.
You don’t want to go on to your metal and you don’t want to go too far away from your metal when you try and do detail. This is really where I grip it when I’m starting to do detail or a very controlled line.
Where do I start?
Three steps to create your masterpiece
- Step 1: Draw the picture onto your canvas
- Step 2: Colour blocking
- Step 3: Adding detail and all the rest
1. Draw the picture onto your canvas using basic shapes
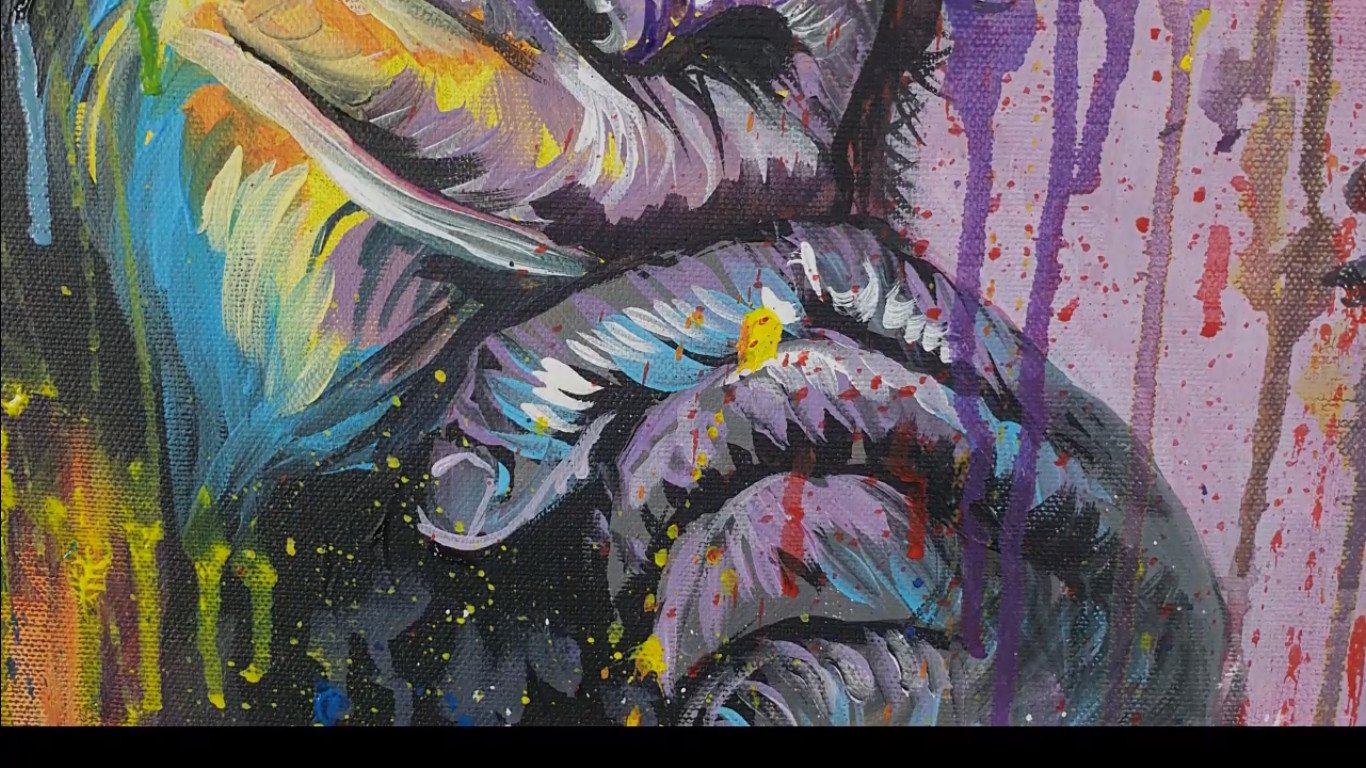
We are now going to start by drawing a picture onto our canvas. I draw using the principle of universal shapes. I have a video about that if you guys want to go watch that. We are going to simplify this complicated Gorilla. We are going to simplify this into basic shapes.
Note to self, do not draw a tiny little gorilla sitting here. That is not the idea. You want to actually use your entire canvas space and keep it nice and big. It’s much more fun painting big. I really love working on huge canvases, rather than sitting and fiddling on the side and having all this empty space. So plan and place. Composition, composition, composition. Plan, plan, plan. If you may need to, make a little scamp before you start then do that. I am going to simplify this into universal shapes.

2. Colour blocking
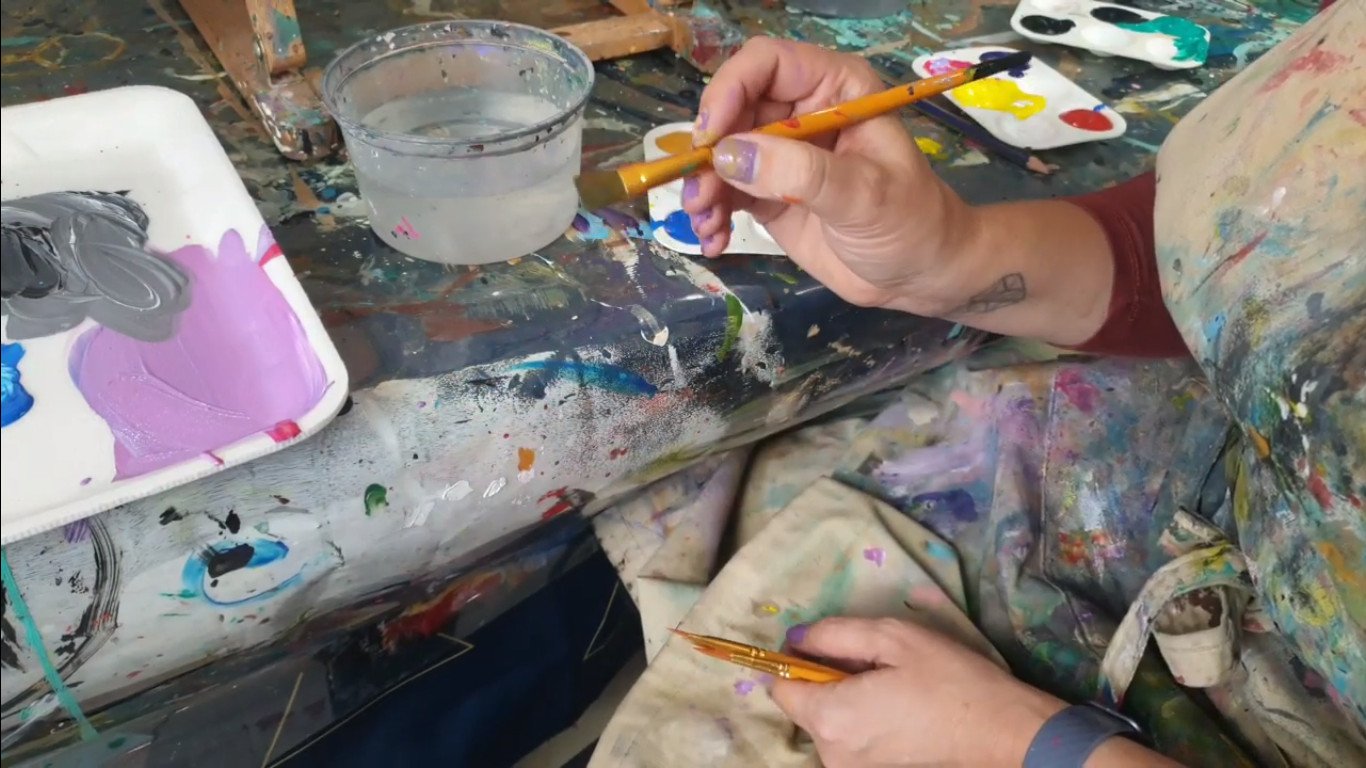
For my next step, I’m going to start by colour blocking. With colour blocking you want to take the medium value, meaning the most dominant colour of that area.
My background is quite pink, so I’m going to be mixing a dark pink that I like, and it almost has a purple base, so I’m adding a bit of blue and before I take my colour to the canvas, before I do that, I am going to match my colour.
Let me show you you’re going to hold your brush next to your reference. If that is the colour you wanted, you can now commit and go and paint you can now paint on your canvas. I’m going to be colour blocking my background quite pink, I’m going to be colour blocking the hand quite grey, my face I’m going to do quite yellow, and then I’ll start adding all the other stuff.
How do I know I’m done with colour blocking?
So how do you know that you’re done colour blocking? Its when you can literally see no more white canvas. You want to get rid of your white canvas as soon as possible.
There’s an entire theory behind that, and I’m not going to go into all of that right now, but you want to colour block as soon as possible and get rid of the white, otherwise, your eye will mix your colours wrong. That’s what it kind of boils down to.
How do I choose colours for colour blocking?
Now, why did I make his face yellow? The reason is you’d like to keep your yellows clean, so if I see an area that predominantly uses yellow, I usually block that in yellow. It’s very hard to get a nice and, clean yellow back on the canvas after you’ve used a lot of dark colours. I like to first put the yellow and then work in the little darks more carefully. It’s much easier to take away some yellow than to add yellow, especially with your bright colours.
When you guys are mixing, a nice pro tip is to keep your warm colours away from your cold colours because that really causes mud, so try and mix far away from each other, so your colours remain nice and clean.
Keep your colours clean
Before you start to really get into this, I just want to tell you, it’s super important to keep your colours clean. We do not want muddy colours, we do not want to be a Land Rover stuck in the mud in Botswana. We want to keep away from a marsh and keep it nice and clean and crisp.
The way I do that is that I keep my water clean. I change it quite often. If you’re lazy like me and you don’t want to walk to the sink all the time, I have two buckets next to me and, I usually use one for my cold colours and one for my warm colours.
It stays much cleaner for longer. Another thing that I do is, say for instance if I’m painting and my brush starts picking up a colour it wasn’t supposed to have, I immediately take my apron and brush off the dirty colour and keep on painting. Keep your brush clean keep your colours clean.
Step 3: Adding detail
Where do I start after colour blocking?
Another question I get asked a lot is, Lilian, where should I start. Now the rule of thumb is to start with your background and move your way forward. Always start with your background and then proceed. Another thing to do is start with your darks and move to your lights. I’m going to start with my darkest areas, build my mid-tones and then do all my little highlights.
That is another rule to adhere to. What I also like to just tell you guys, it’s very bad for your art when you zone in and paint one tiny little section until it’s absolutely perfect. The biggest reason for this is that it actually wastes a lot of time.
Say for instance you’re painting somebody and you’re painting the jersey every single knitting thread that you can see, and once you zoom out and you’ve done the face, you realize nobody even looks at that area of your painting, and you’ve wasted a whole lot of life hours on perfecting the knit.
The way I think about a painting is like a child. A child grows holistically alright and that’s how your painting should grow. You don’t want your child to grow one arm until it’s 21, then one leg until it’s 21, then its nose until it’s 60, and have the child completely out of proportion. Painting is exactly the same way. It needs to age and grow holistically, to avoid any dysfunctions.
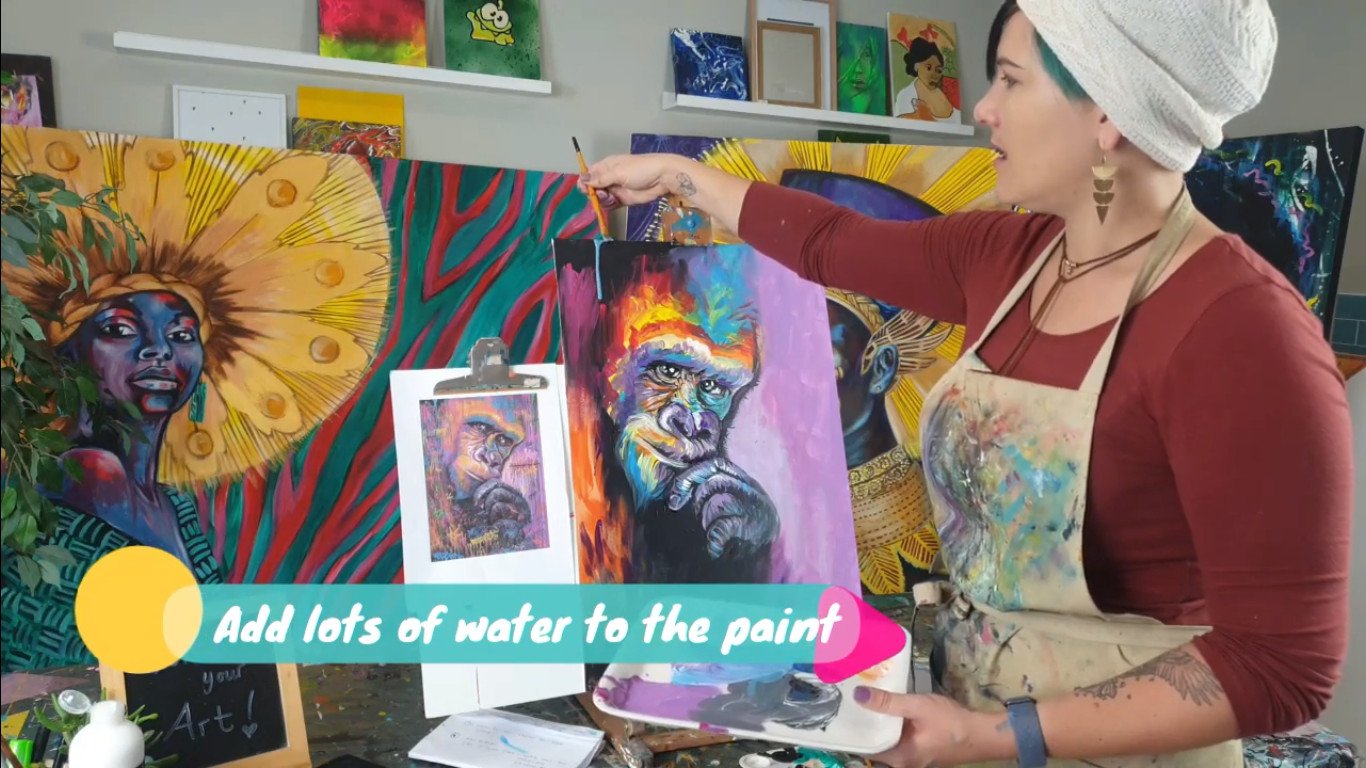
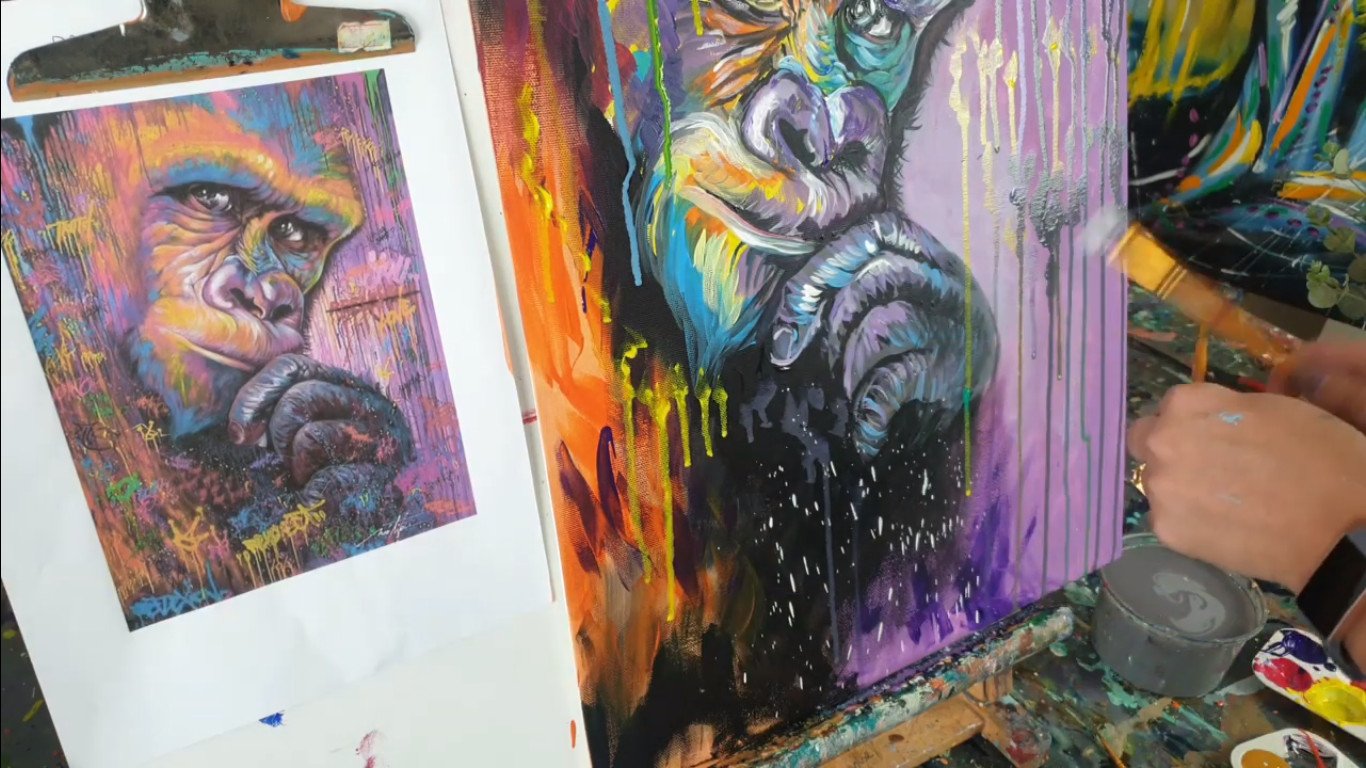
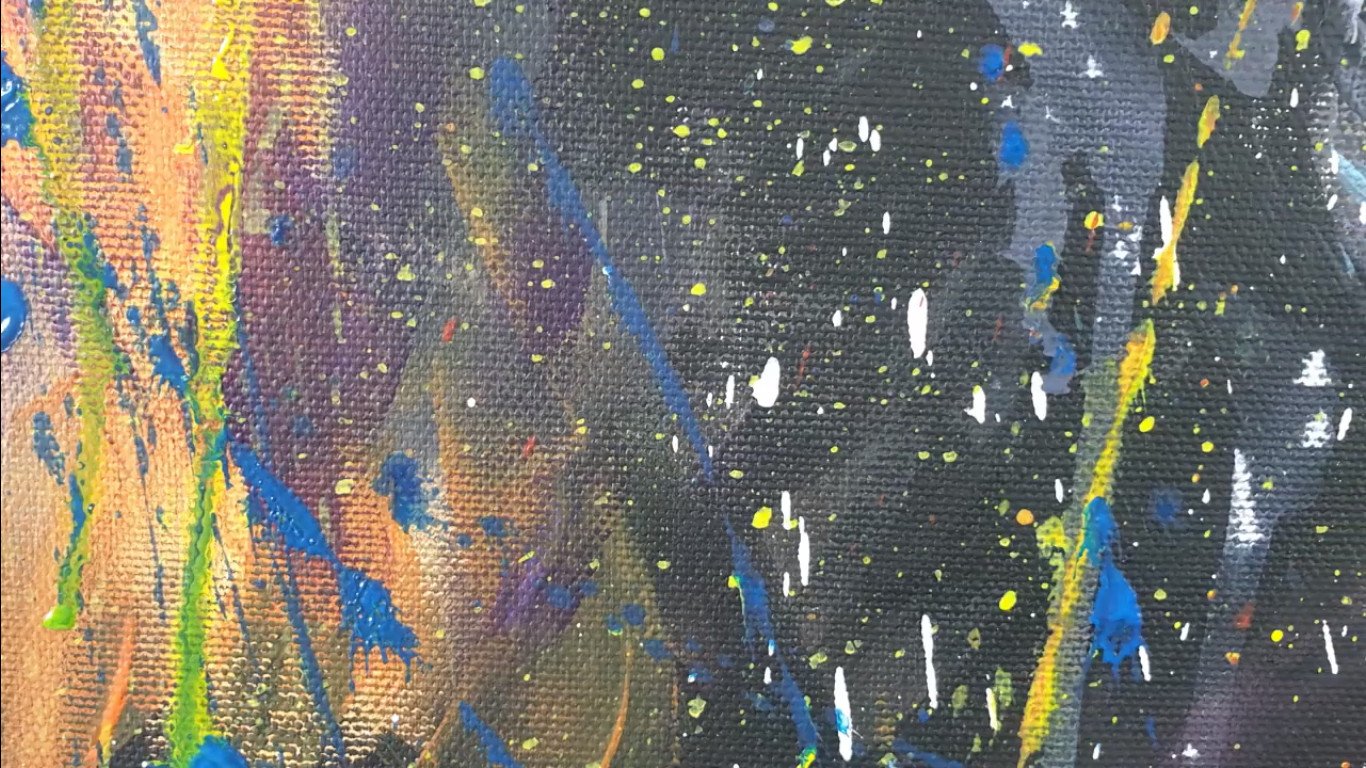
How do I create drips?
I’m now going to show you how to do the drips in the background with this specific painting. I am adding a lot of water to my paint and to really get in drippy and, I’m going to squeeze it at the top of my canvas to start making it run down.
How do I create fine lines in my painting?
I often get asked, Lilian how do I get such fine lines in my paintings, and there are two things. One, don’t push hard, you want to be on the tip of the paintbrush. It’s like an ice skater gliding on the ice, it’s not a big giant stomping around. You do not want to push hard on your brush. you want to glide and not push.
The next thing that I always do is anchor my hand. What I mean by that, I put my hand down I stabilize it on my canvas, and then I have a lot more control than trying to do it from here. This is a very unstable situation, this is quite stable. If your paintings very, very wet you can anchor with your pinky. Just touch with your pinky, but give your hand stability and you will be able to achieve a very, very fine line.

What is flicking?
Another method you could use is flicking. I like having really thin paint on my brush, and then it whacking it on a different brush. You can use different colours. Another thing that you know you used to do in primary school was to flick the bristles of your brush, this is quite bad for your brush because we don’t want them to look like rastas, so I’d rather use a very old brush if you plan on using that method.
Oops, I’ve made a mistake
Oops, I made a mistake Lillian, what should I do? When I made a mistake, it’s very simple. You can wipe it off with a paper towel or you can leave it to dry. Once it’s dried completely, you can cover it up with paint and fix your mistakes. That’s the wonderful thing about art, all hope is never lost.
You can fix whatever nonsense you have caused. It just takes a little bit more time, so my trick is also, be extremely accurate with your pencil drawing. The drawing is really the foundation of your artwork. If your drawing is correct, your painting will be correct.
How do I know when I’m done with my painting?
So how do you know that you’re done with your painting? There’s really a few questions you can ask yourself and I usually look at it and I apply the seven elements of art. Does it have depth? Do I have good line quality? Do I have nice shapes and form? Is my tonal value good? Meaning is there a lot of bright’s and a lot of darks, because that is really the drama in a painting.

Usually, when paintings look bland and not exciting at all, it is when the values are really flat. So you want to have bright brights and dark darks into the drama. And then I always ask myself, Is it neat? Is it worked off? Are the areas that I’ve colour blocked nice and solid? Does it have interesting brushstrokes? Fat brushstrokes, thin brushstrokes, flicks, speed?
Can you see the artist in the artwork and they also consider the journey that your eye is taking through this painting? How would someone that sees the painting for the first time, where would they focus? How would their eyes move? Is that quite interesting or do their eyes just plonk out and it’s a boring painting, and they don’t want to keep on looking?
So is the gaze engaged in this painting? And then if you are a student at my school, for heaven’s sake write your name at the back. It is the most irritating thing as a teacher not knowing which artwork belongs to whom. Name and surname and if you’re an adult and a practicing artist remember to sign your work.
I’m quite guilty where I’ve sold I think two or three paintings that I never actually signed, and I had to go all the way, drive back to these people’s houses to go and sign it. So please make sure you add your million-dollar signature. One day this might be worth millions and then remember if you are copying a reference, you can use photos that don’t have copyrights on them.
There are some wonderful websites that have copyright-free images that you are allowed to paint and sell. If you’re copying images that the copyright is still very much intact you cannot sell those. Those are just exercises or practices. If you are copying an image and you change more than eight things, you need to change at least eight aspects of that thing, it’s considered a new unique work. In some laws of most countries. I know that’s how it works in South Africa. But I hope you guys have lots of fun.
I hope you guys enjoyed this video. I hope you are now much smarter in how to approach an acrylic painting. Where to start, colour blocking, adding detail, and how to finish it off. If you guys really want to you can put a gloss sealer on this at the end. It just makes the colours pop even more. But that you can only do after it’s hundred percent dry.
Please remember to subscribe to our channel and I hope you enjoyed this video. Visit our blog for some other amazing art projects.
This is Lillian Gray, South African fine artist.