Kids Art Projects
Ballpoint pen: 6 Steps to draw an Elephant with an unconventional medium

Jul
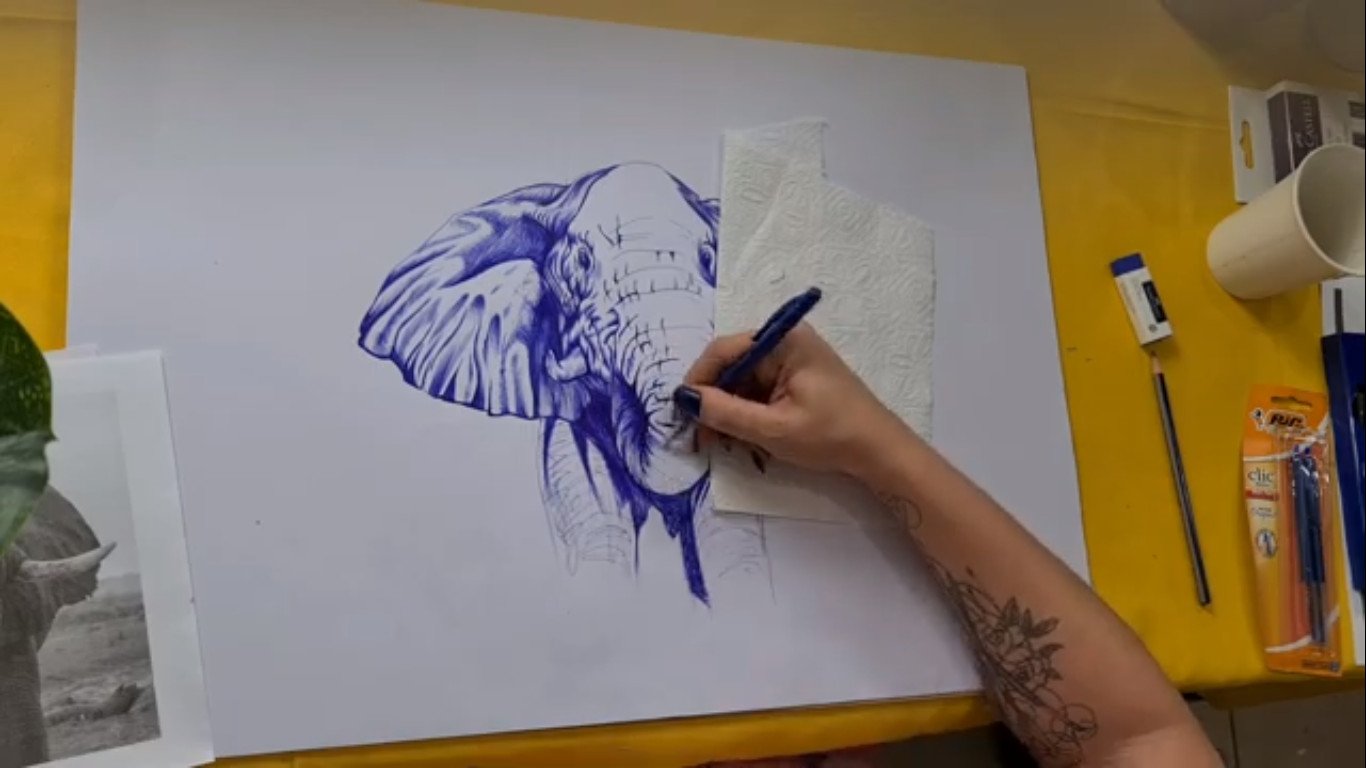
Hi I am Artist Lillian Gray, today we are going to do a new medium, ballpoint pen
Art Supplies
I am using a Bic pen. It’s always been my favourite. Since I’ve been a girl at school I used to doodle all the time in my school books and I always used to draw with these. You get them in black and blue and there are various other colours. Today I’m going to use blue so people immediately recognize that it’s ballpoint pen that I’ve used. Often when I’ve used black, people tend to think it’s fine liner, or I cheated somehow or printed it or whatever, but with blue they just don’t question it and they just go “Wow it’s ballpoint pen”
The drawing station
I recommend that you use just plain card stock paper. It’s a bit thicker than printing paper. The most important thing, it has no grain, it’s got no bumpy surface, it’s got no funky texture. It’s just cheap, plain printing paper, smooth as a baby’s bottom. If you have one, place a drawing board underneath. This just a piece of masonite you can cut to size.
This prevents that you pick up any texture from the table and if you don’t have a drawing board you can just use newspaper that you folded, just so you don’t pick up the texture of the table, especially if you’re working on a wooden table. You don’t want that grain in your drawing.
You are also drawing flat and not on a table easel, as drawing on an easel will let your pen run dry.
Various Techniques
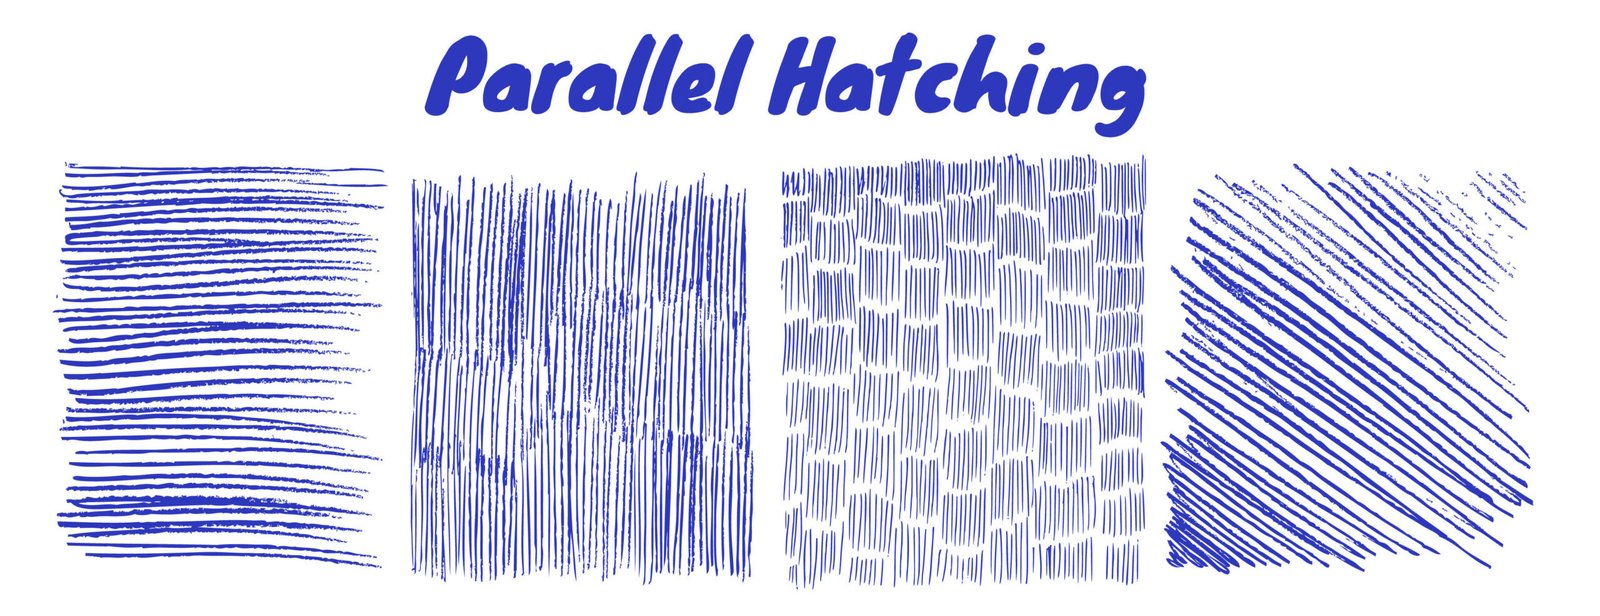
There are various techniques that you can use when working with a ballpoint pen. Some of the most common ones are parallel hatching, which are fine lines that are parallel to each other,
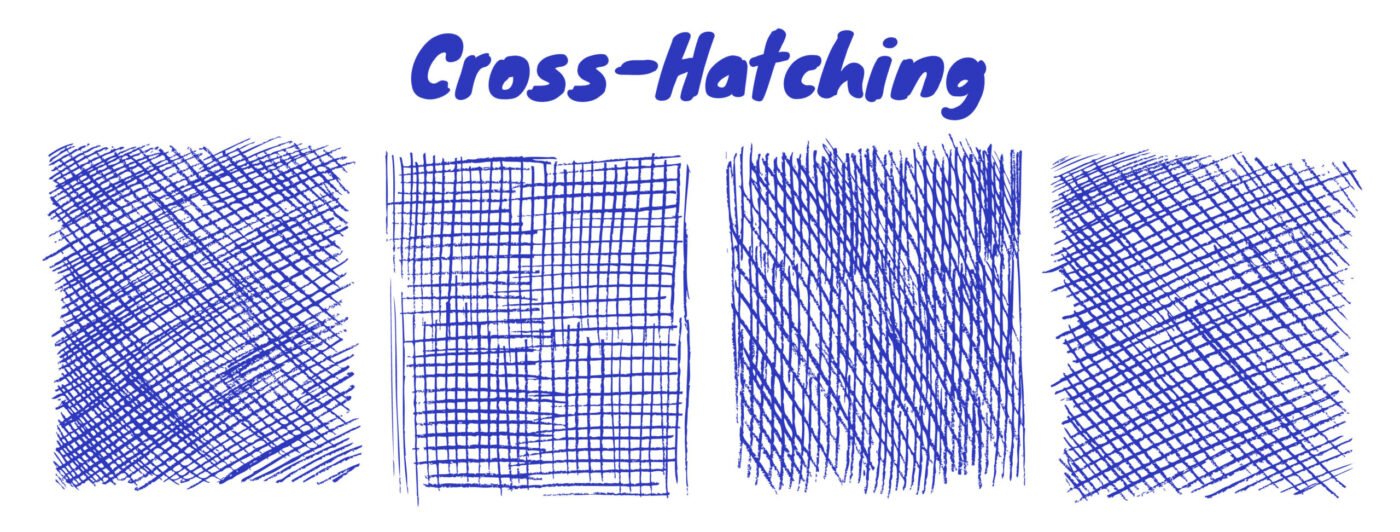
Cross-hatching, that’s when we criss-cross lines over each other at various degrees and angles.
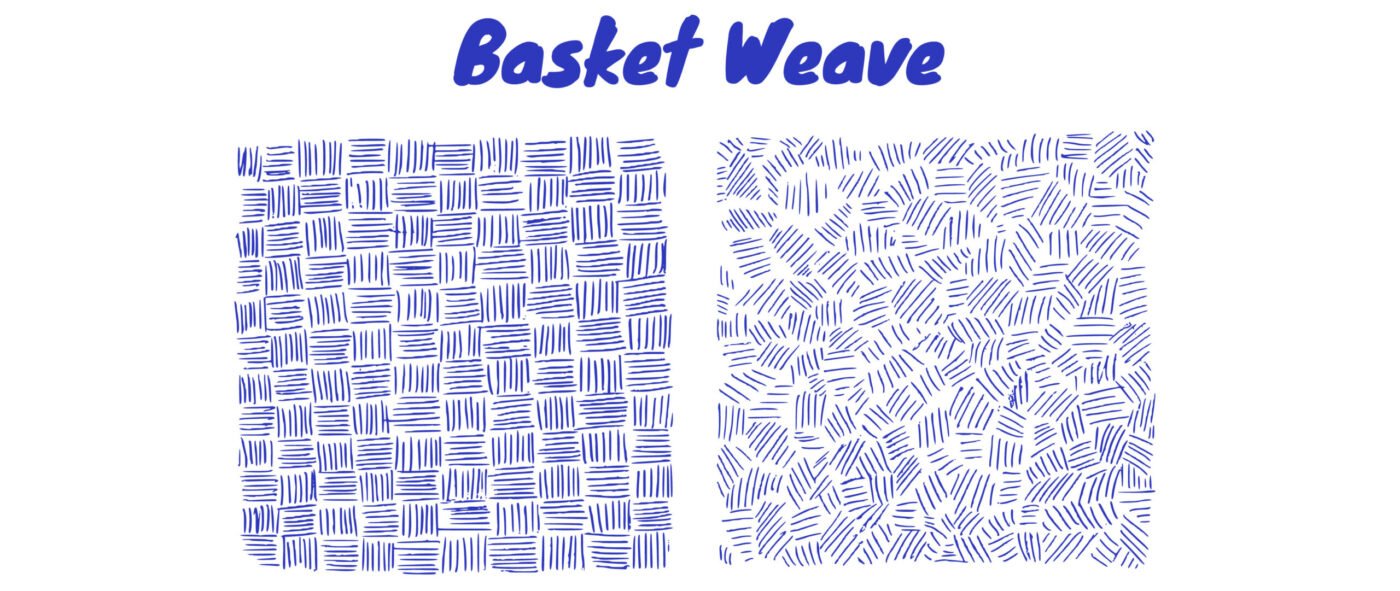
Basketweave, which is a staggering of short lines grouped together.
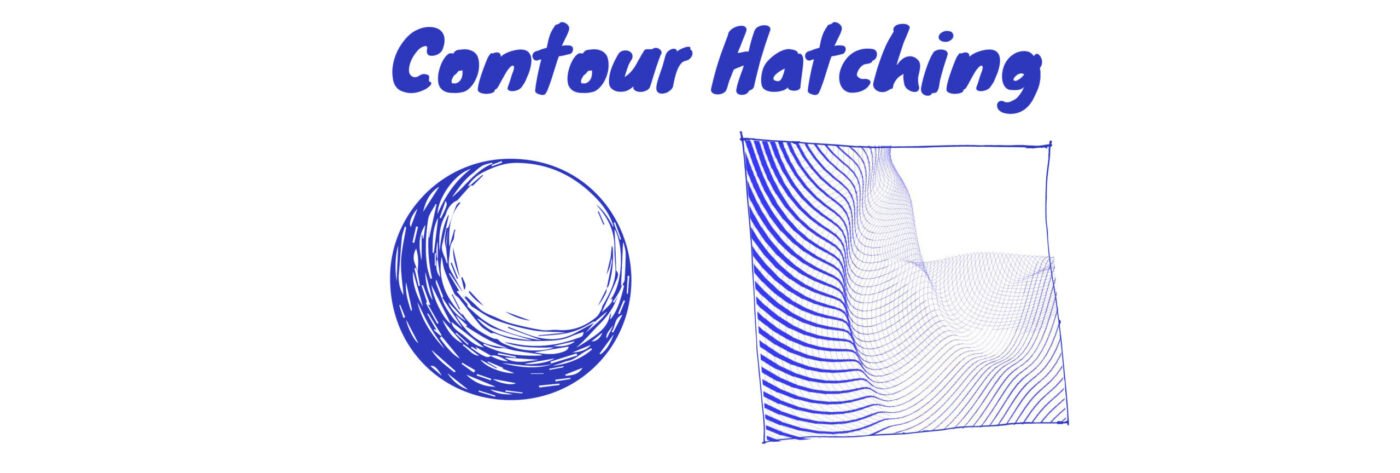
Contour hatching which follows the form of the object.
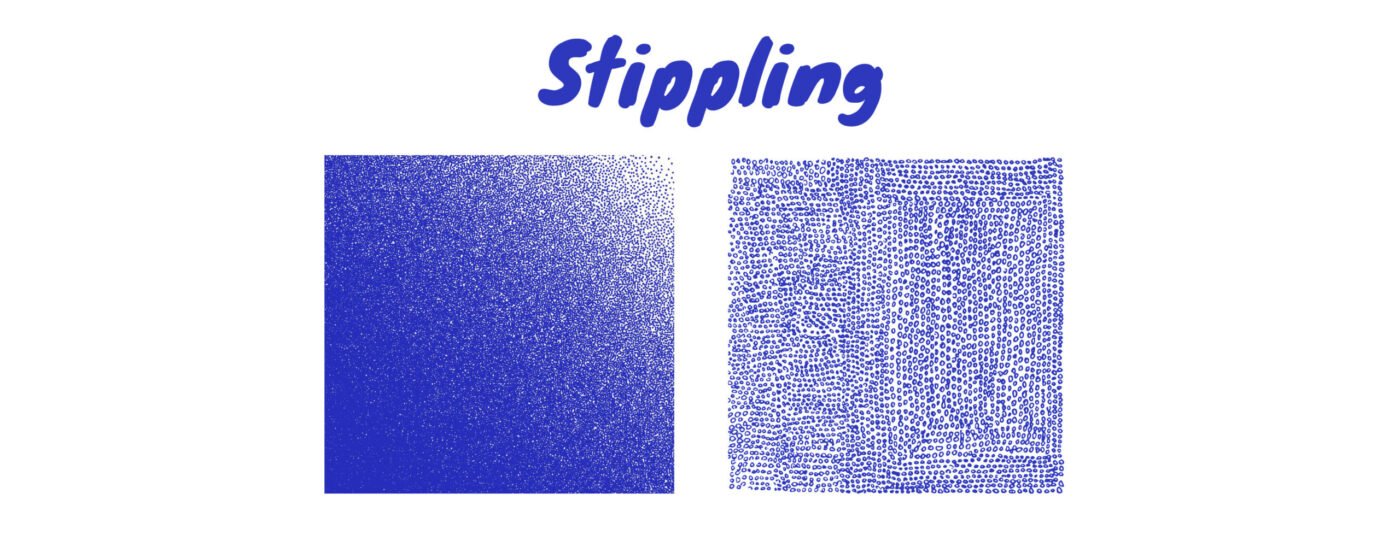
Stippling, which consists out of a lot of tiny little dots grouped together.
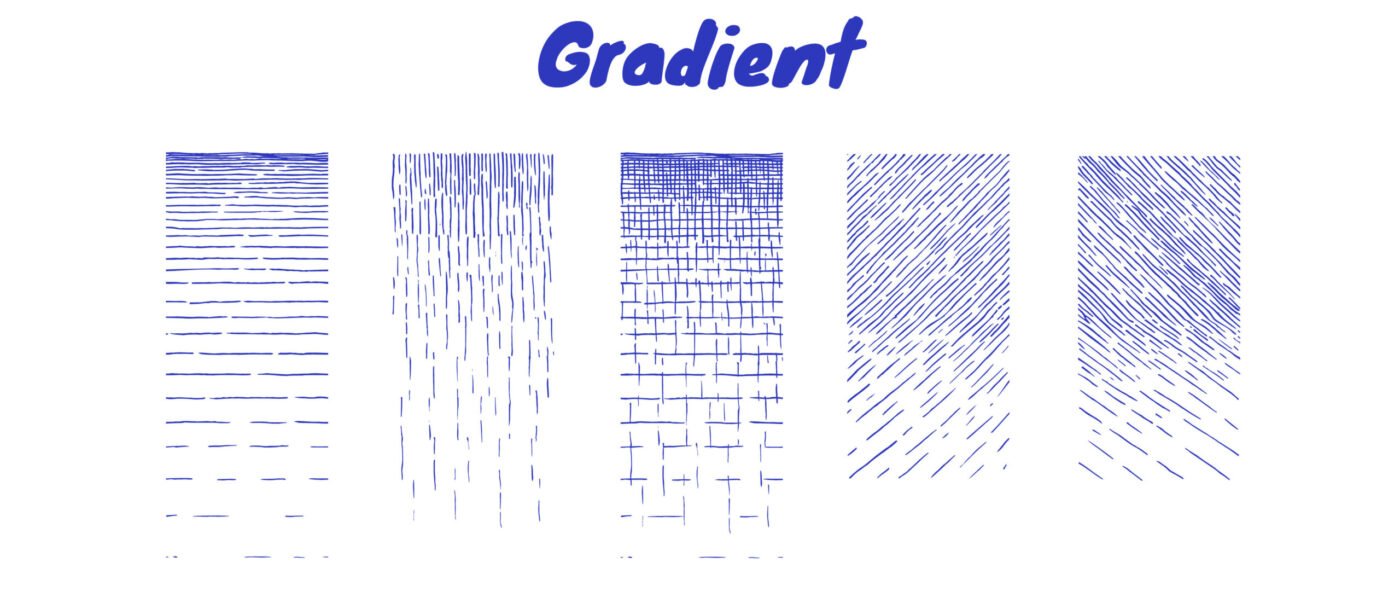
And then there’s the basic gradient going from dark to light.
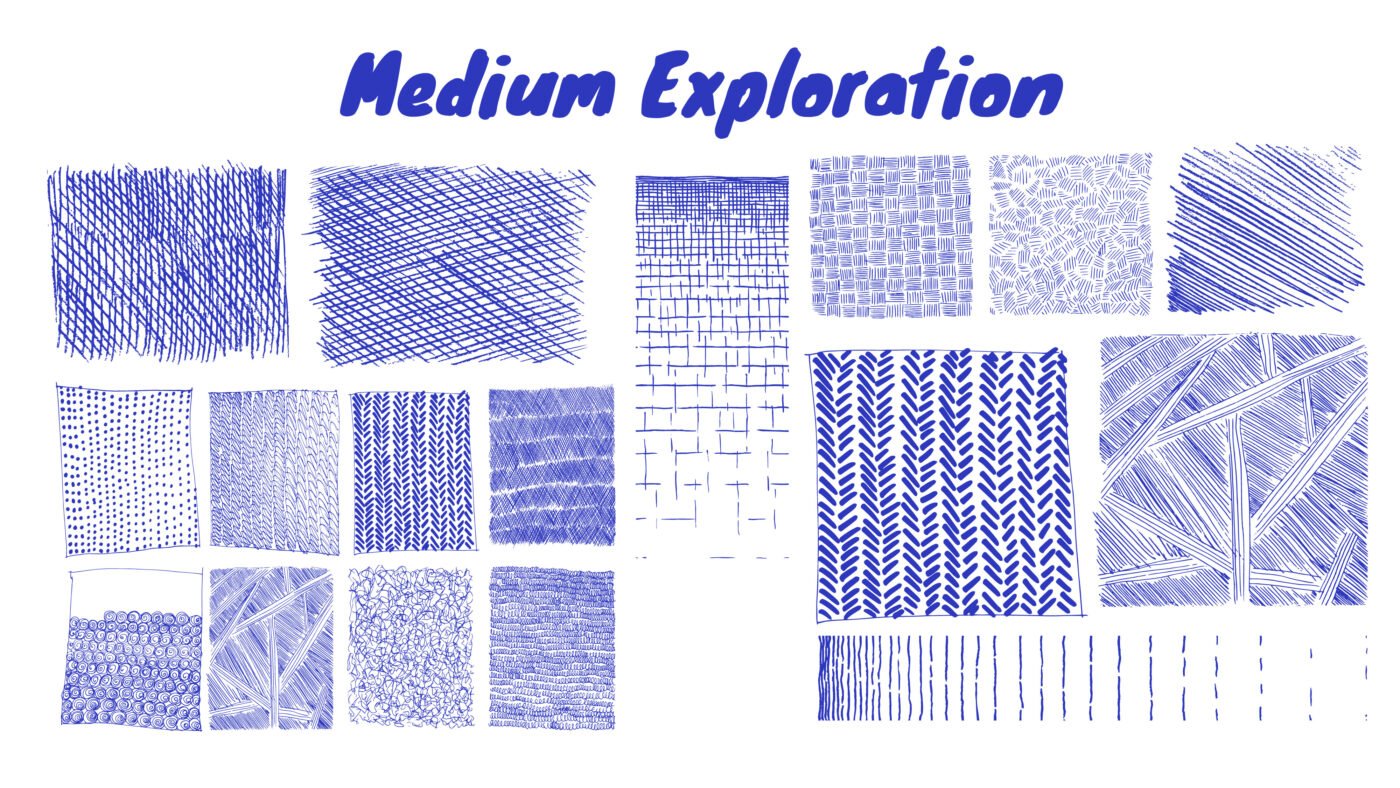
I would encourage you to do some medium exploration before you start. Medium exploration is when you play around with a specific medium such as watercolour, oil paints, pen or pencils, exploring various mark-making techniques.
Step 1 – Plan your drawing
Step one is to plan properly. I always tell my students “Great art takes planning”. So what I kind of thought of doing, and this is not a very original idea, because I’ve seen it a lot on Pinterest. It’s where they’ve got animals engaging with the actual pen in the drawing. That’s what I also would like to do. As artists and designers, we often draw a few quick scamps.
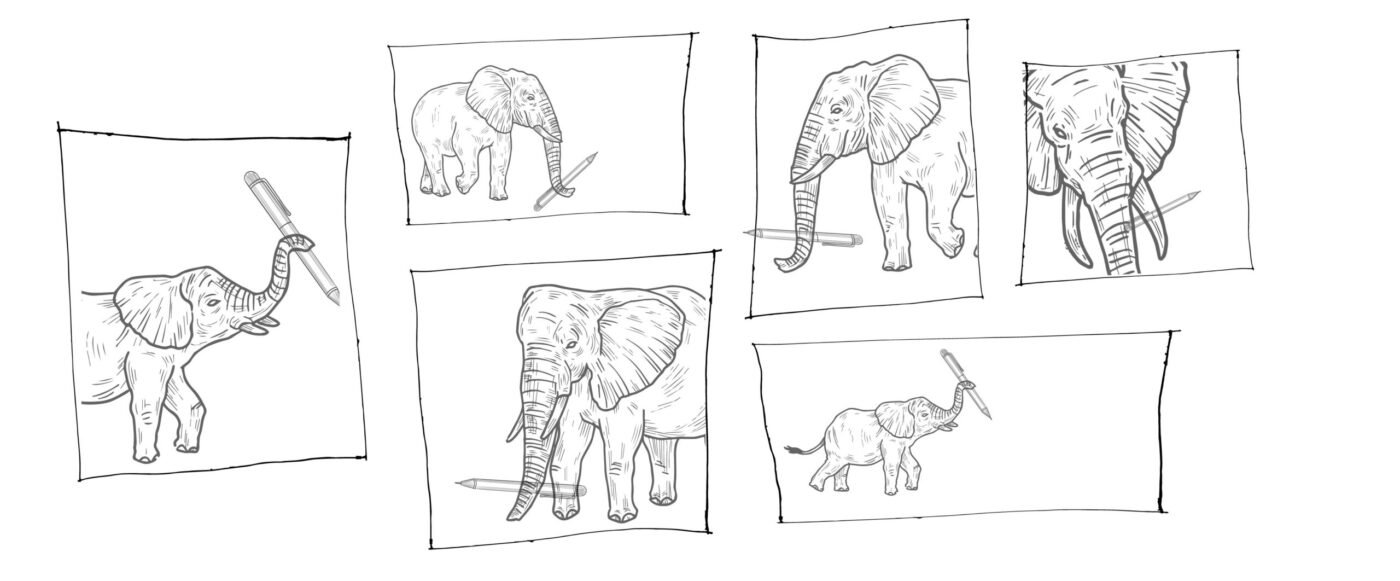
Scamps are small thumbnail sketches that help you plan your artwork. When creating your scamps, consider the principles of design such as composition. What will the balance of this artwork be? How would you like to crop it? Where would you like to place it?
Step 2 – Find a good resource for your drawing
Unsplash is a website that has got images for artists that are not copyrighted. It means you can sell this artwork afterwards. You’re allowed to use it in your artwork and all they ask is that you link back to Unsplash. When selecting a photo to work with make sure it has a good value range where there are beautiful dark areas and beautiful highlights, and you can see all the details in between. I would recommend converting your reference to black and white. This really helps you to discern the various values.
Step 3 – Draw Basic Shapes
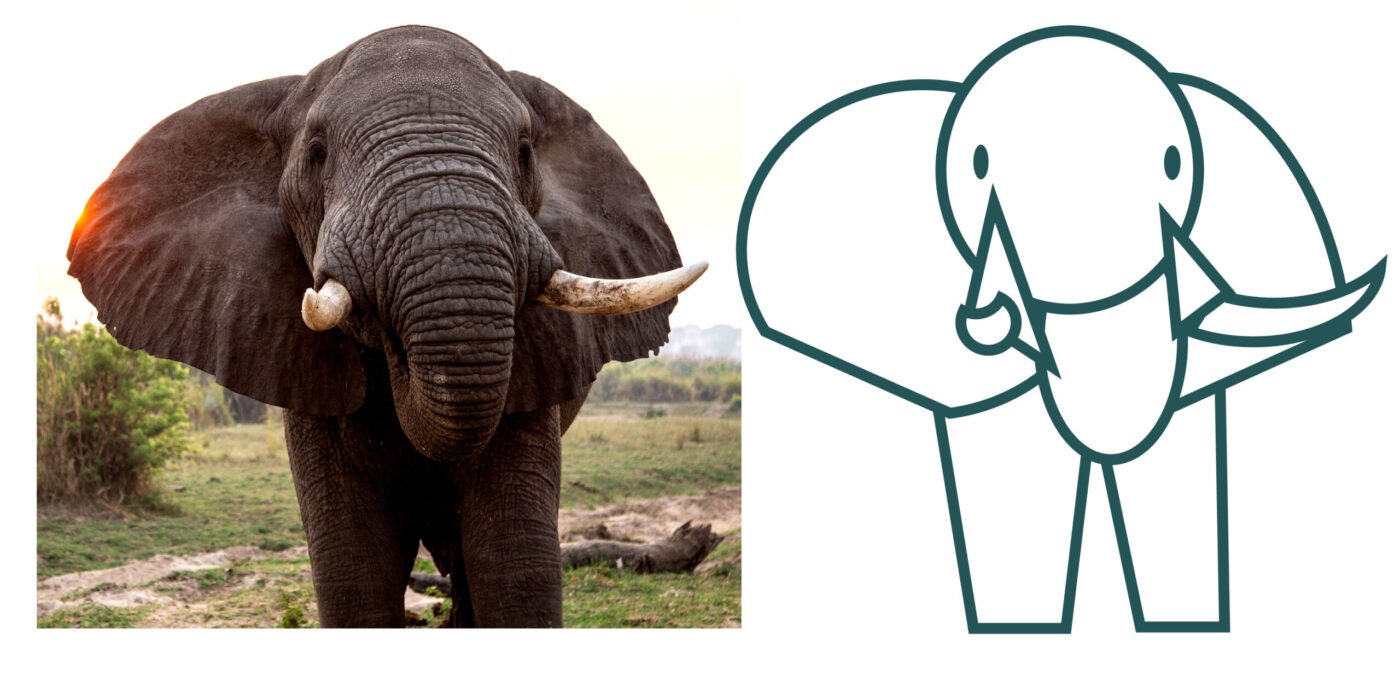
For step 3 we need to simplify our reference into basic shapes. There are 5 basic shapes, triangle, circle, square, oval and rectangle. As artists, we use these to make drawing super easy. Here you can see how I have simplified my elephant into basic shapes.
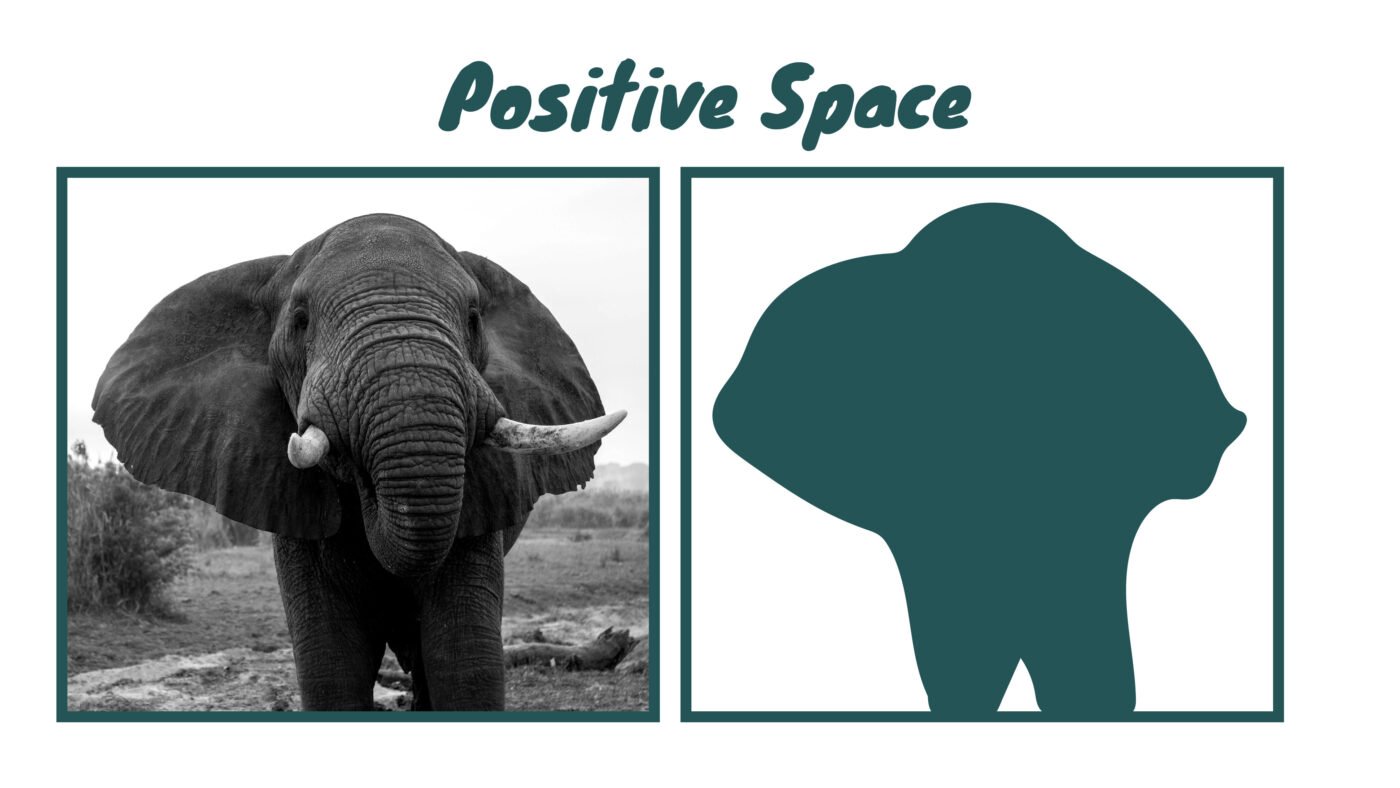
Once you have drawn your basic shapes, it is really important to double-check your proportions. Look at your negative space, your positive space. Make sure your basic shapes are the correct size in relation to each other.

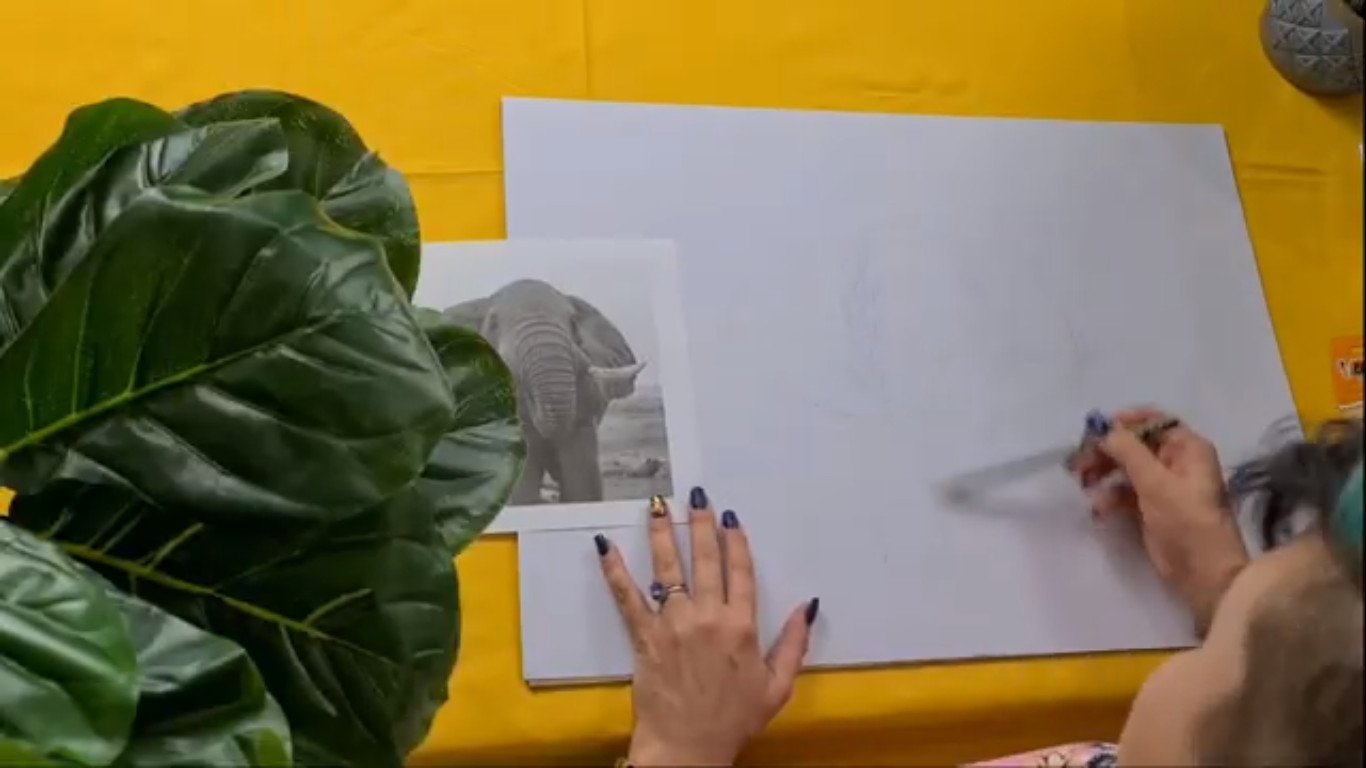
There’s no use in starting to draw in pen that you cannot erase if your pencil lines aren’t 100 % correct. The drawing is the foundation of your artwork and you want to build on a solid foundation. The first thing you need to do is to draw the elephant onto the paper. There are various ways all of you can transfer the image onto your drawing. If you’re not good at drawing and getting the proportions 100 % correct, you can transfer. A way to transfer is to take a 6B pencil or a very dark pencil, you scratch at the back of your page you flip it around, trace and the image will be transferred onto your paper.
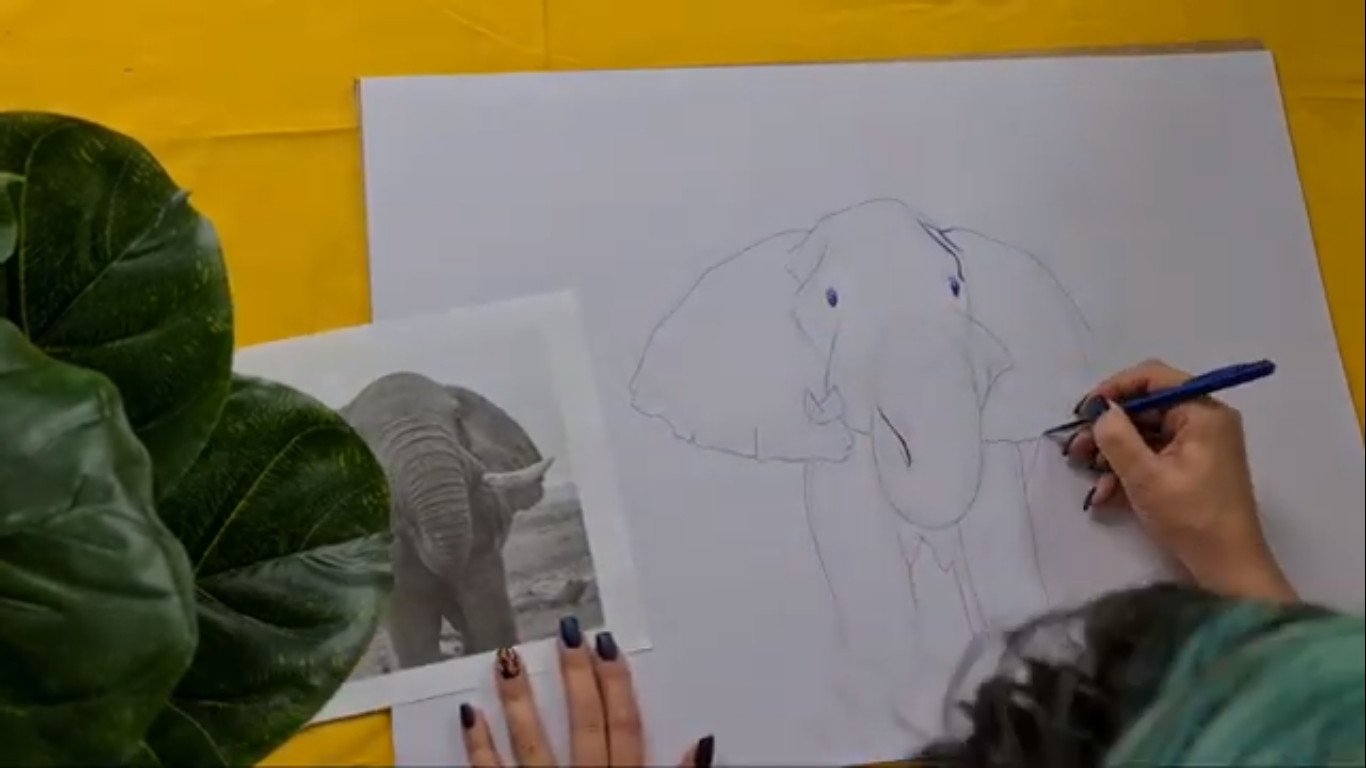
Step 4 – Outline
Start making the outlines and commit to where all your outlines for the elephant should be. Once you’ve done your outlines you can really now take your eraser and actually start erasing the lines you no longer need. When removing the fuzziness of the eraser, use a paper towel. You don’t want to get the oil from your hands onto the paper. You don’t want last night’s Mcdonald’s or pizza on your drawing. Just brush the fuzziness away.
Keep this paper towel to put underneath your hand when you are drawing. The reason is if your hand gets sweaty or you’ve applied hand cream or maybe the hand sanitiser that’s on your hand goes off into the page, the paper towel will catch it and absorb it, it won’t go onto your drawing.
Once you are finished with your basic outline, you now have to start applying line quality. Line quality is when we make our lines visually interesting by adding thick areas, thin areas, dark areas, light areas. You should really consider what your outline should look like and not just leaving it a boring plain line.
Step 5 – Adding Textures
Let’s add texture to our elephant. Art is a visual language. If you draw a flower people in Japan will know that it is a flower, people in Mexico will know that it is a flower and people in America will know it is a flower. We all speak the language of art.
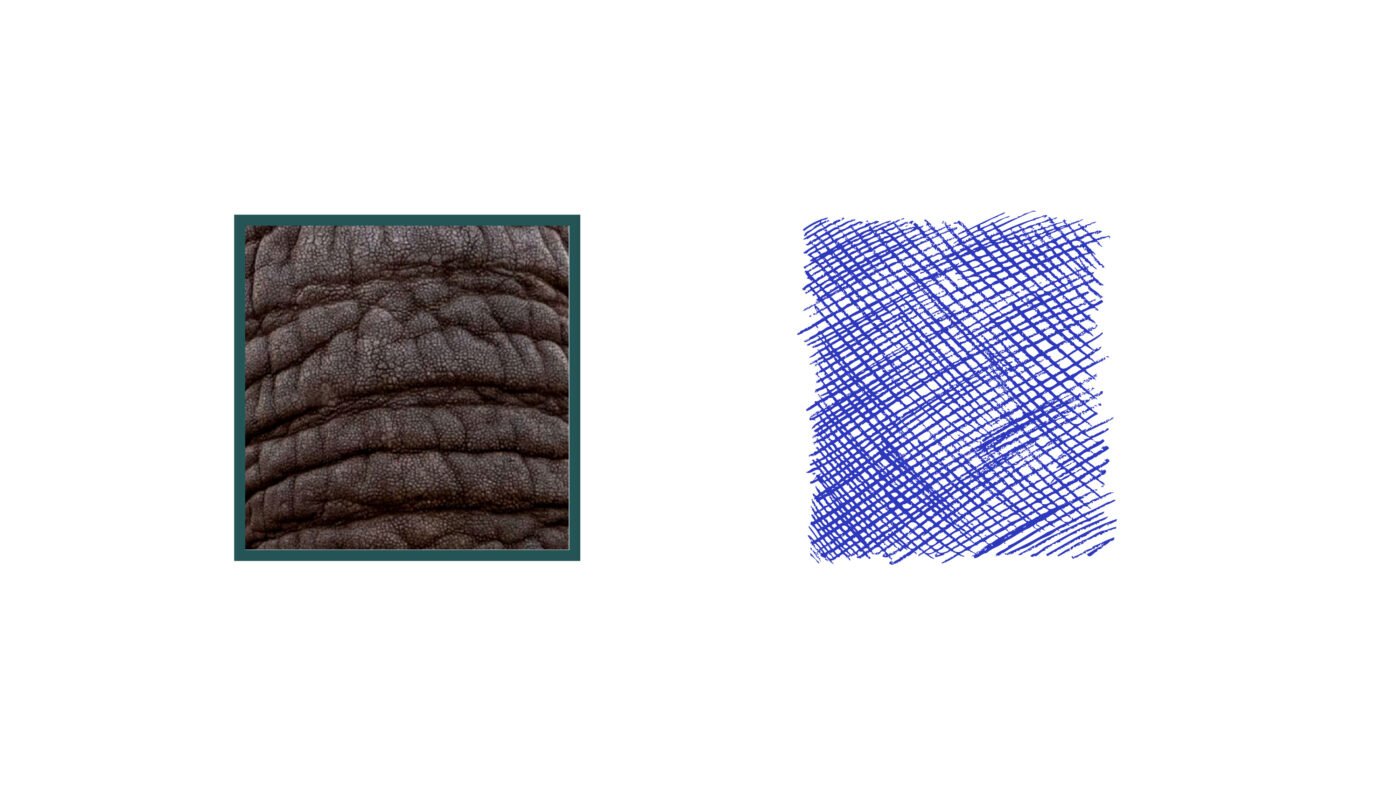
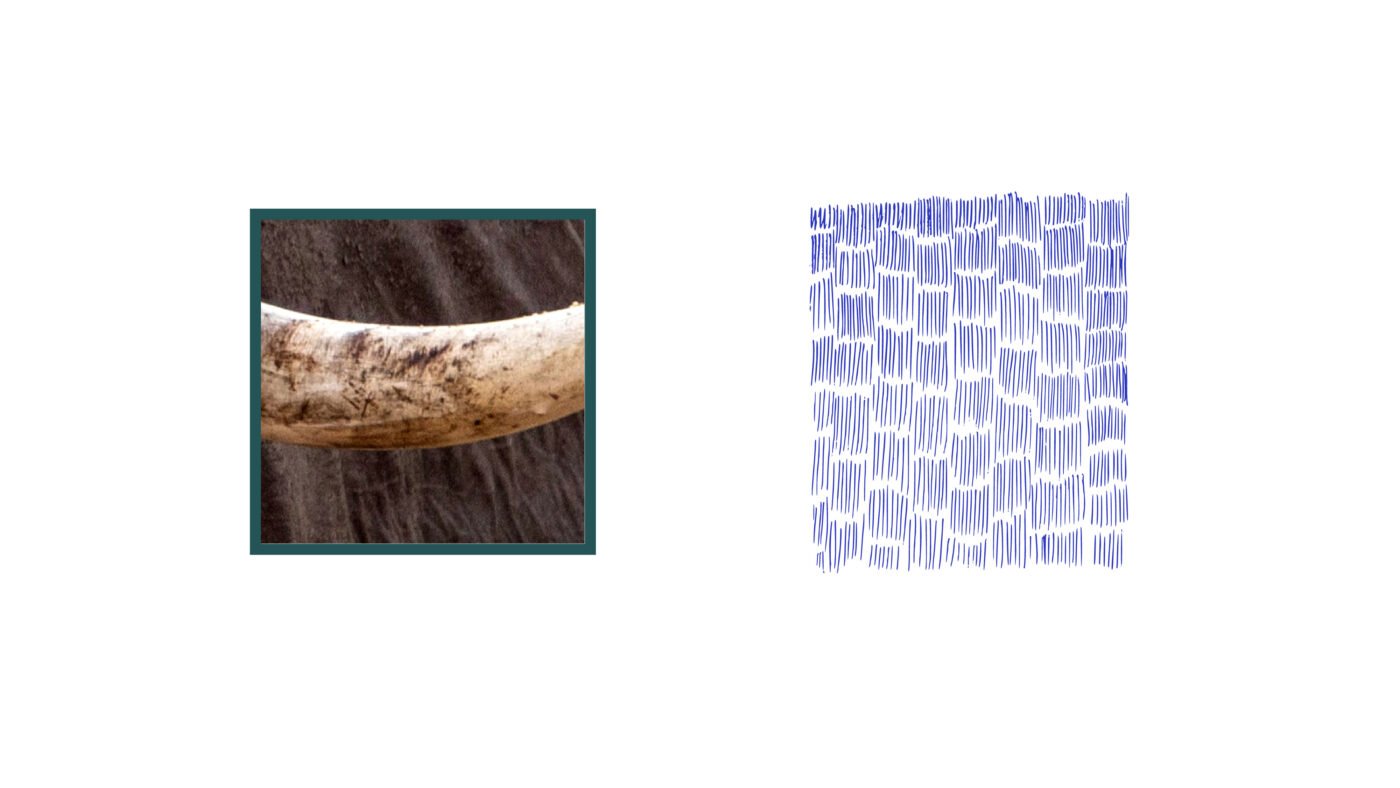
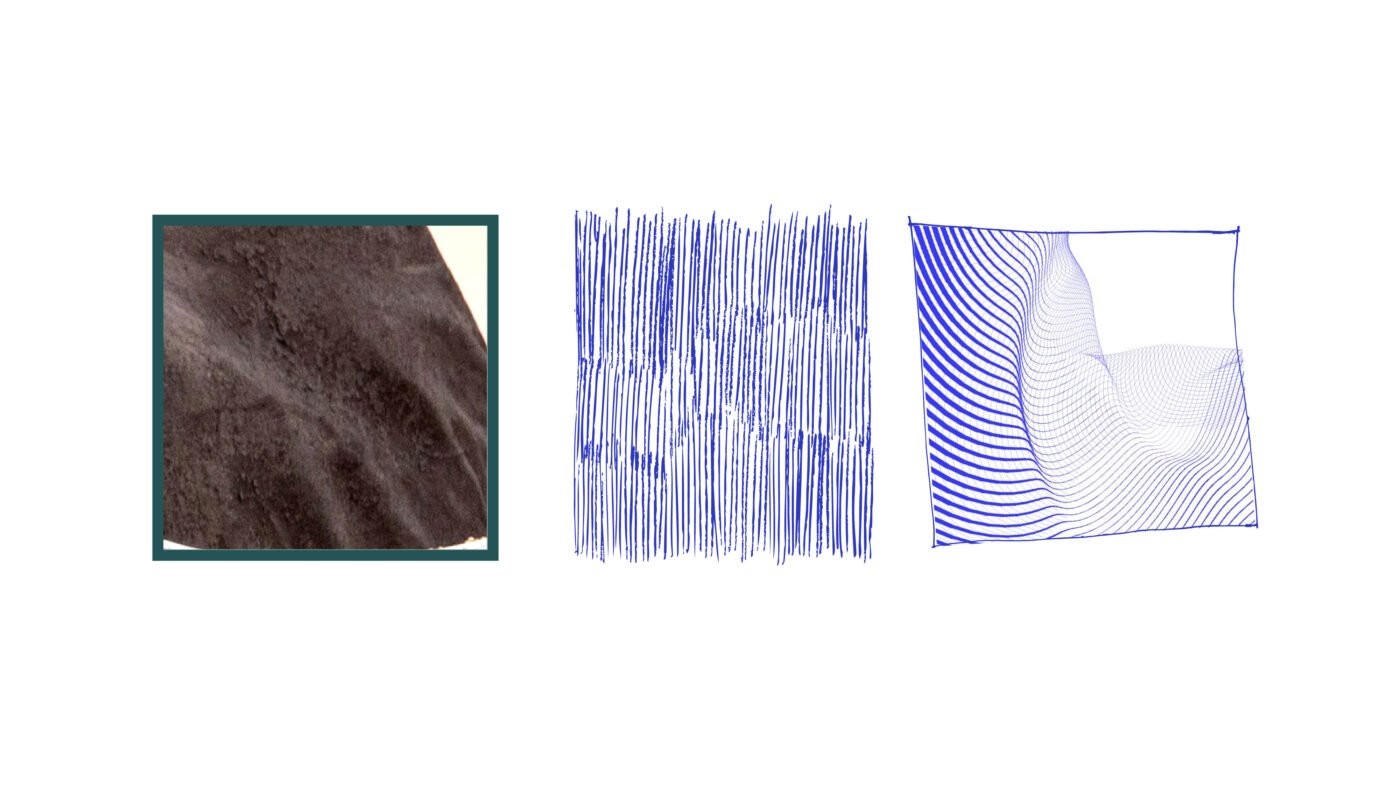
As an artist, you need to communicate with whatever is in your hand and tell people how the surface feels. As artists, we create the illusion of texture when working on a 2D surface. Our elephant has various textures. The tusks are smoother than the rough coarse skin on the trunk and even though the ear is also cover in skin the skin on the ear is smoother than the skin on the trunk. The eyes are a completely different texture, wet and gleaming.
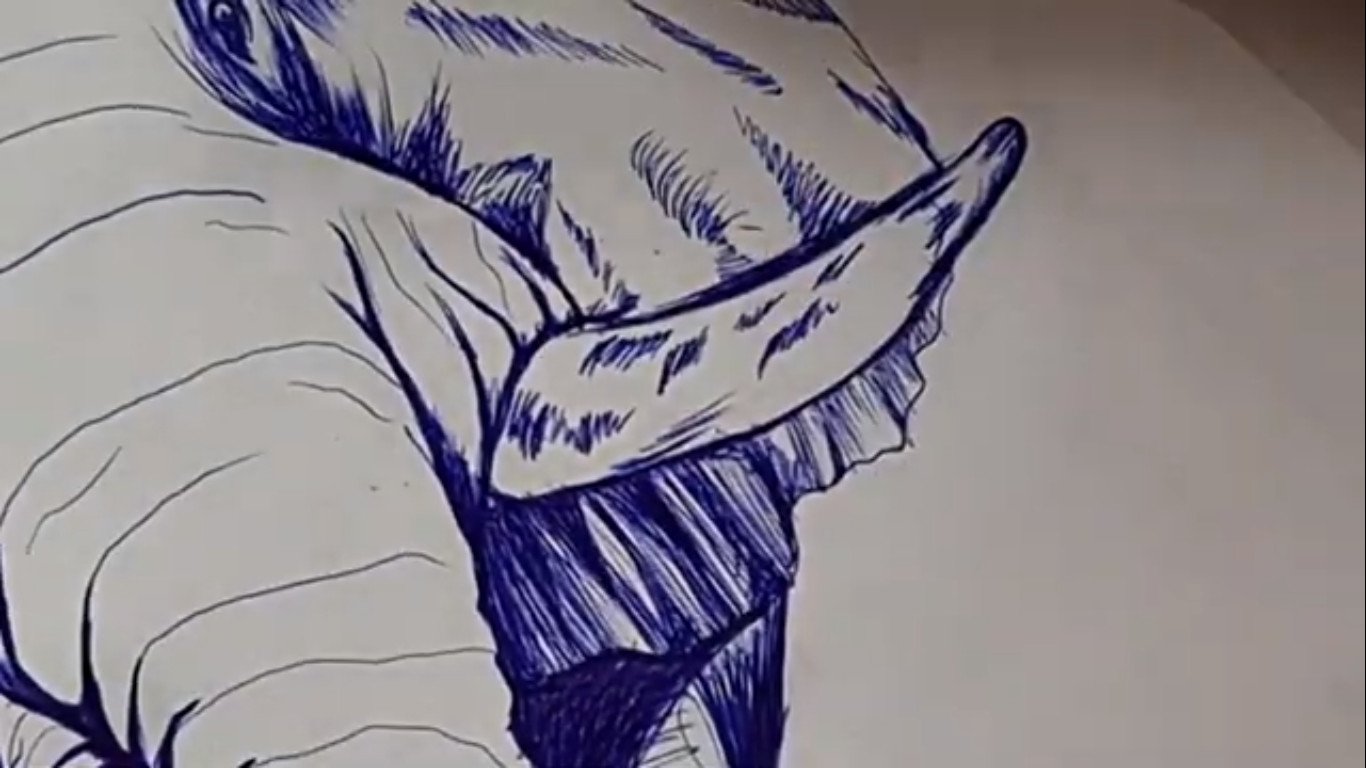
So I am going to assign a different mark-making technique for these different textures. For the tusk, I am using parallel hatching, for the coarse skin on the trunk, cross-hatching. On the ear, we will switch back to parallel hatching but using long smooth lines instead of the short lines on the tusks.
If you feel overwhelmed by your reference, fold it or make a viewfinder if you are working on your cell phone simply zoom in to only view one section at a time.
Swivel your page and always work with the natural curve in your hand and not against it.
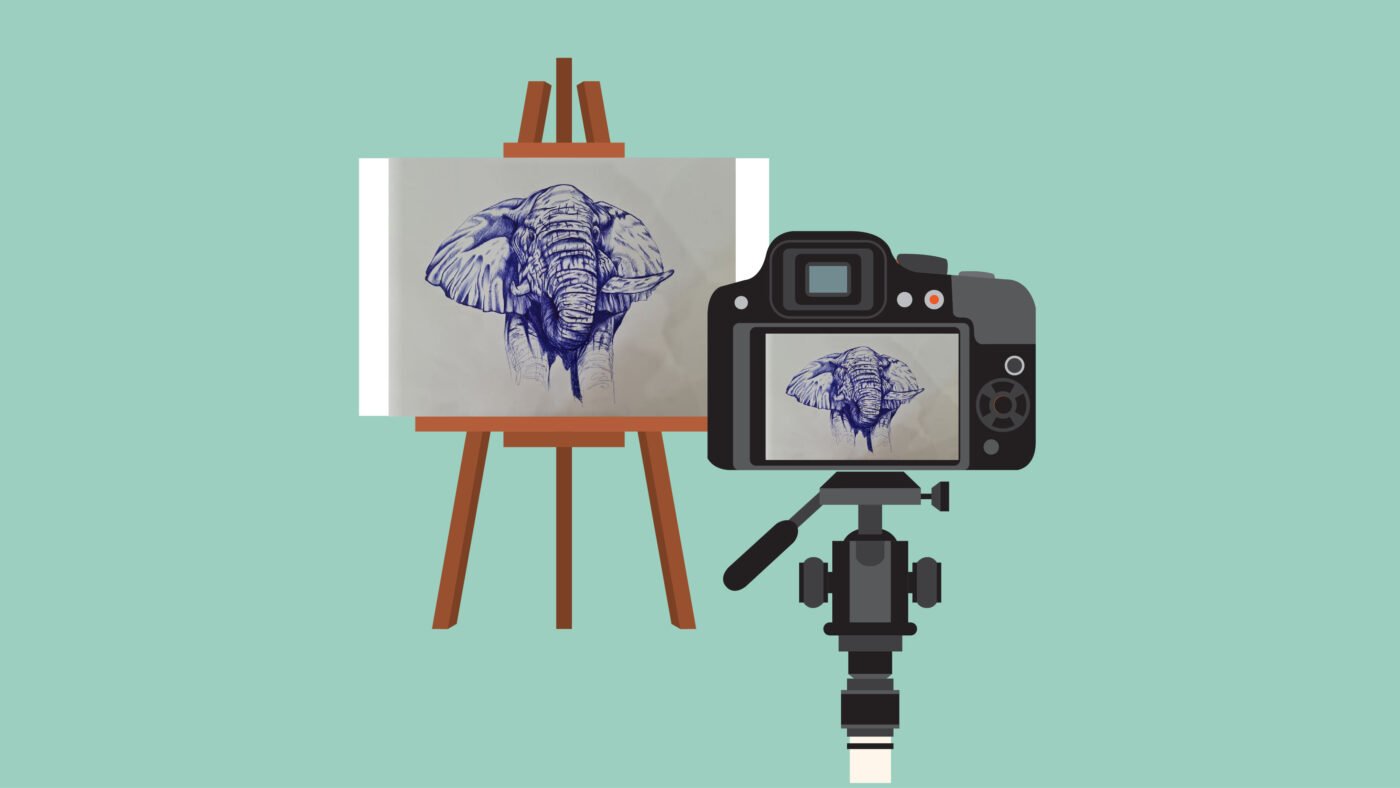
Step 6 – Photoshop in the pen / Add the actual pen digitally
We now need to add the actual pen digitally. Take a photo with flat consistent lighting.
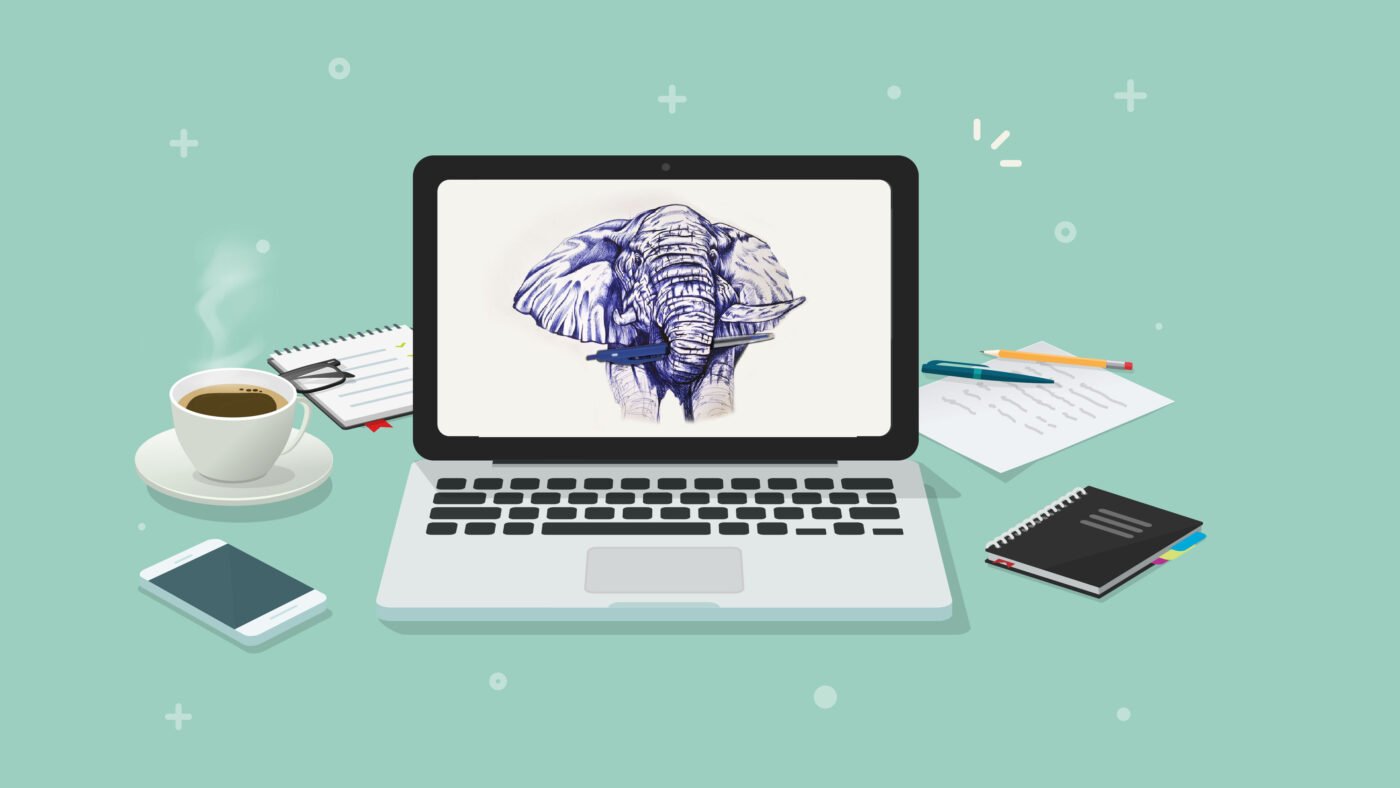
Download a product shot of the pen you used. Now we need to combine these two. I am using Photoshop since that is the software I am most comfortable with and have on my laptop. If you do not have photoshop there are great cellphone apps available that work really well. At our art school, our teens use the app called Graphionica to create digital collages. It is easy to work with.
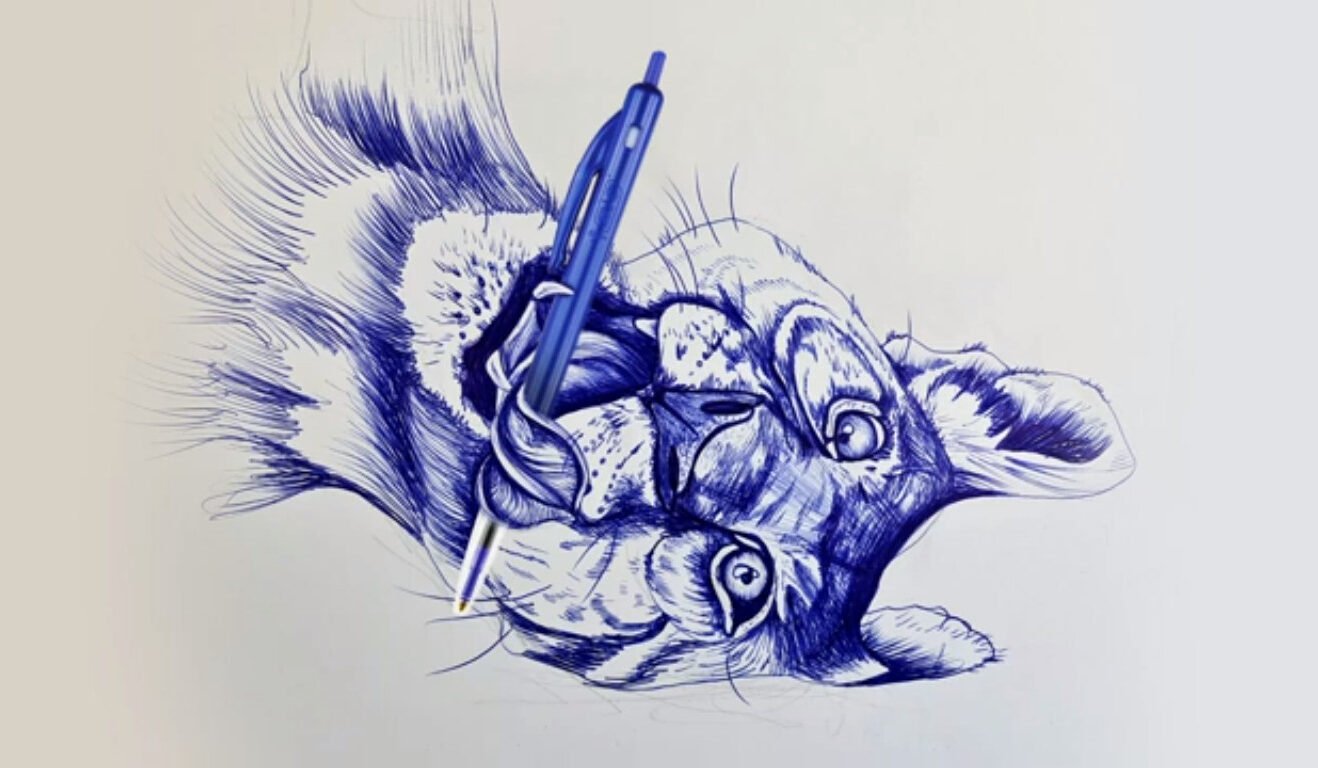
If you are unable to edit your drawings digitally, simply place the pen on the drawing and take a photo like I have done here with this lioness.
If you enjoyed this lesson, please do us a favour, give us a thumbs up, a comment, or recommend this, show it to a friend. It really helps our channel to grow which allows us to create more content for you.
Head over to our blog and have a look at our amazing lessons on art history and other art projects.
I’m artist Lillian Gray and stay tuned for our next amazing art project.