Kids Art Projects
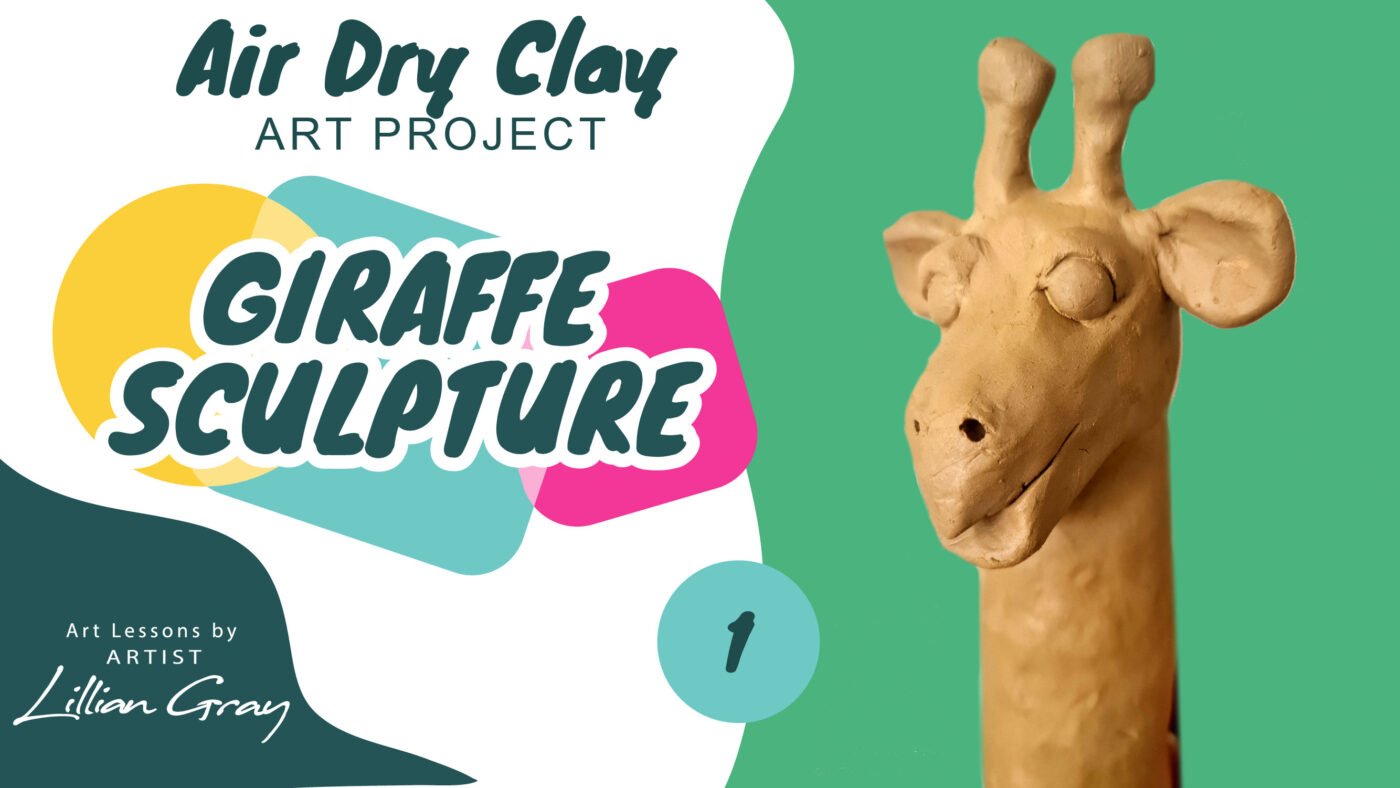
Make a contemporary Giraffe air-dry clay sculpture in 12 easy steps
Jul
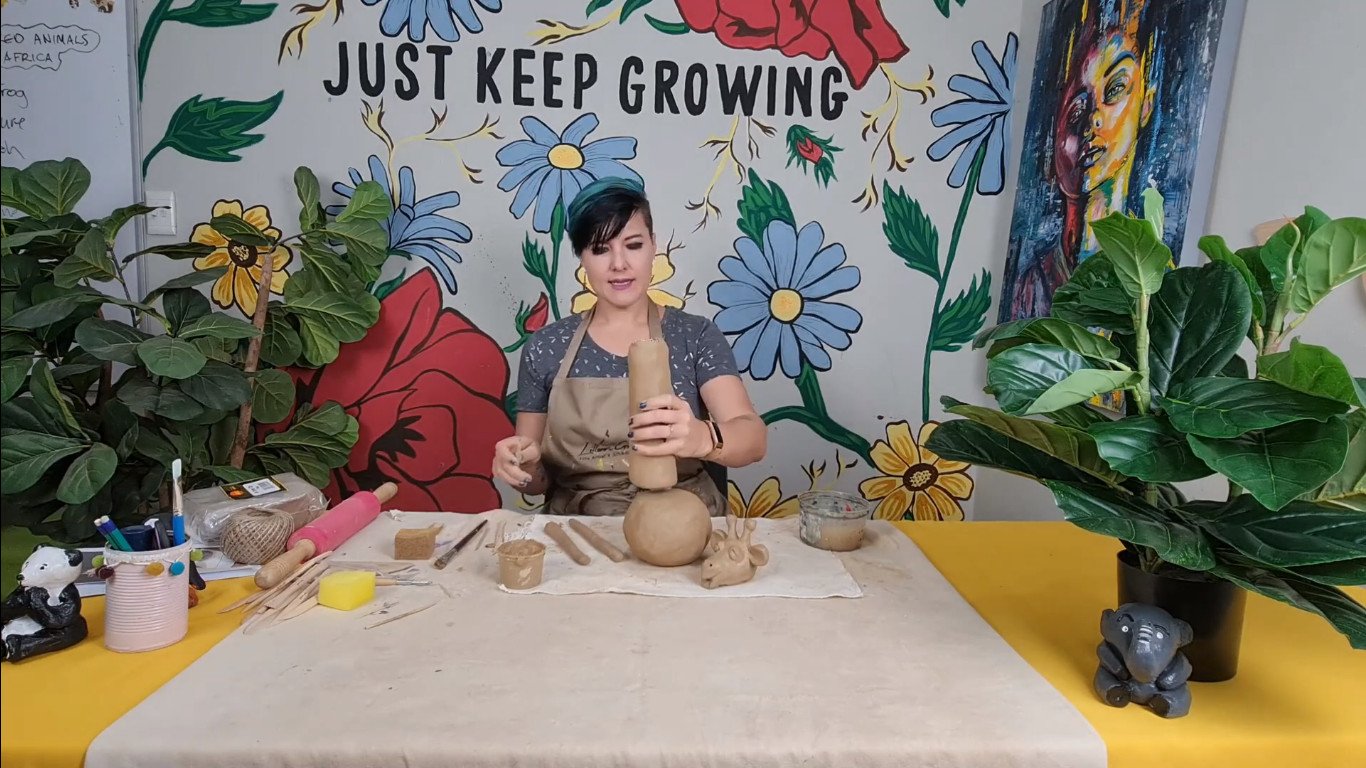
Hi, I’m artist Lillian Gray and today I’m going to show you how to make a beautiful contemporary giraffe out of air-dry clay.
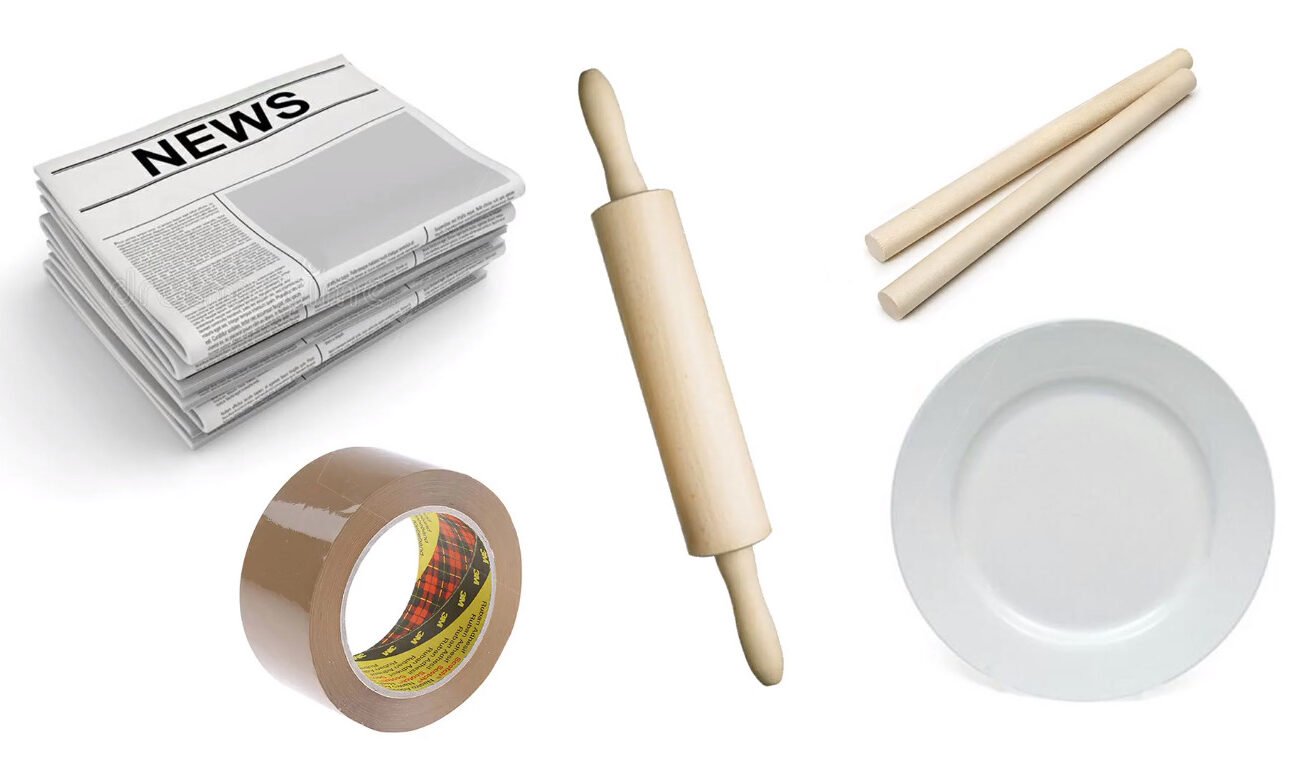
Supplies
- Dala air-dry clay
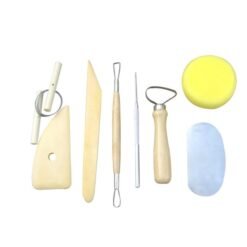
- Pottery tools
- Newspaper print
- tape
- a roller
- two dowel sticks
- a dinner plate
Step 1 – Cut the air-dry Clay
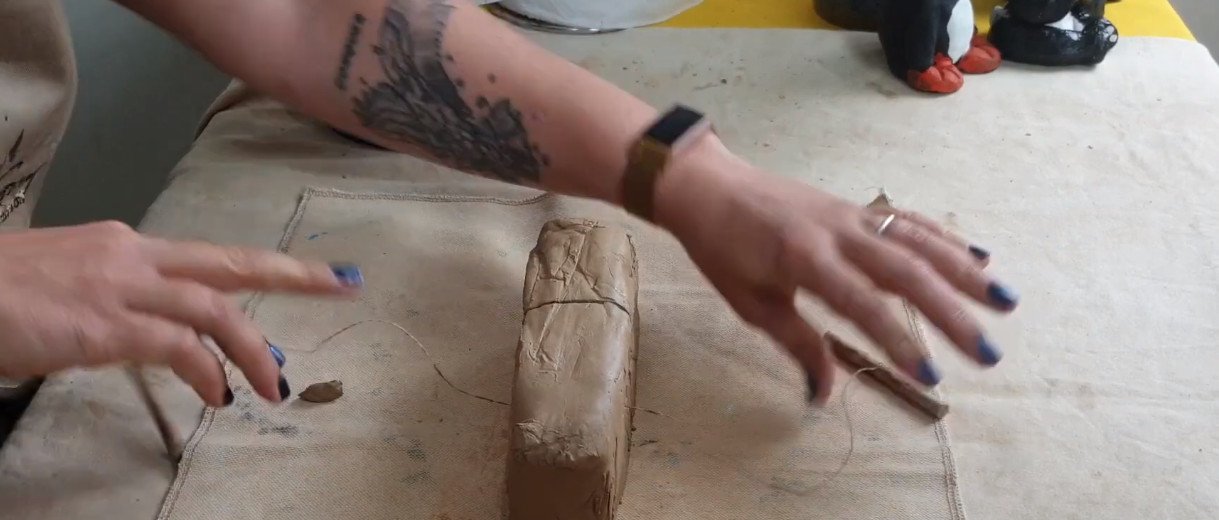
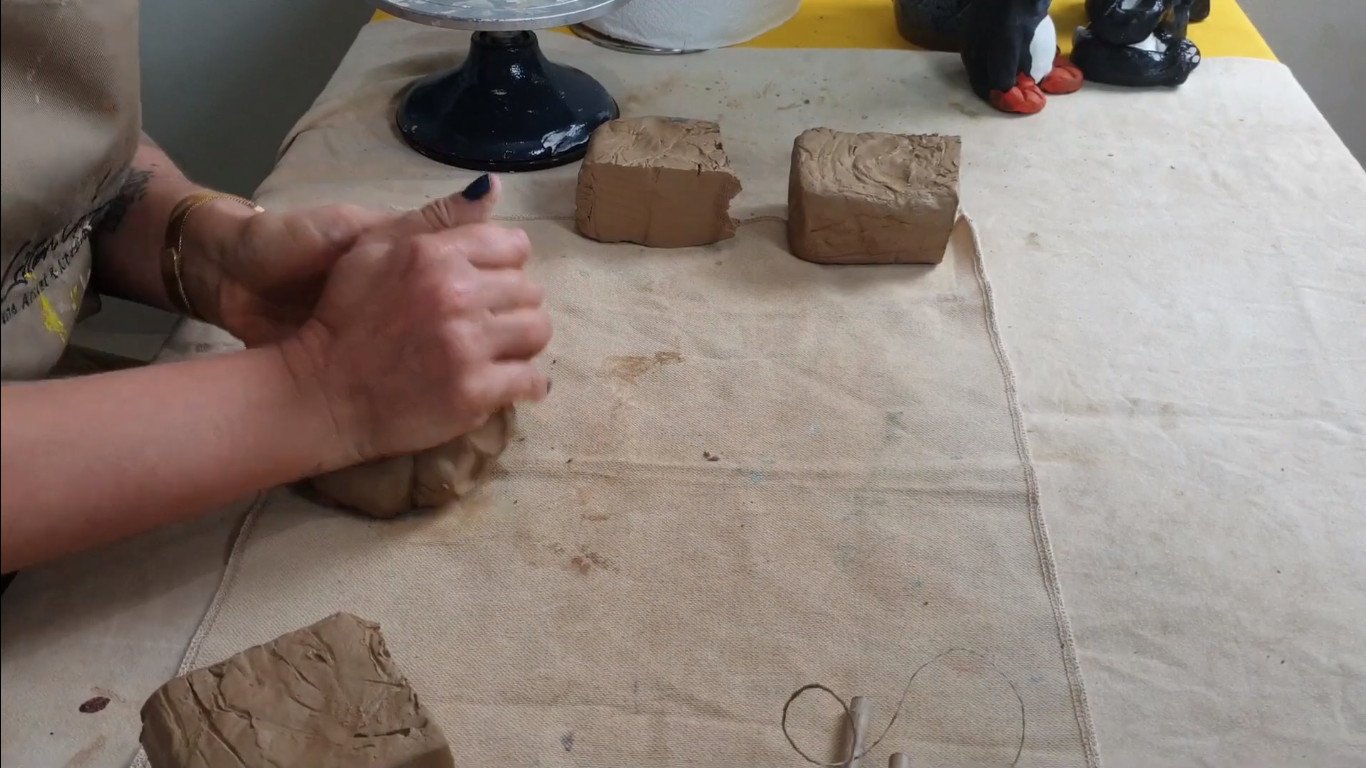
Use your clay tension wire from your pottery set to split your clay into four pieces. Divide your clay into quarters so it’s just easier for your hands to really wedge it.
Step 2 – Wedge Clay
Think of the clay as if it as dough that you are pressing to make bread. It’s like kneading the clay and just getting it nice and soft. Don’t add any water to this, because we do not want a mud bath. This is just the consistency of the clay coming straight from the pack. The enemy of clay is air, so when you are wedging, you do not want to poke your fingers into the clay and create air bubbles. That will make your clay crack once it’s drying. You do not want to do that. Remember to wedge instead of poke.
Step 3 – Roll two slabs of clay
What you need to do next is to roll a slab for this project. We need two slabs. Place the two dowel sticks next to your slab to ensure that your slab has the same thickness all the way through.
Use your roller and start rolling. Make sure that you roll in all four directions to ensure evenness in your slab.

You have now rolled two slabs. You need one big one because you need to make sure that your big plate is going to fit onto that and then, you have a thinner one which I’m going to be using for the giraffe’s neck.

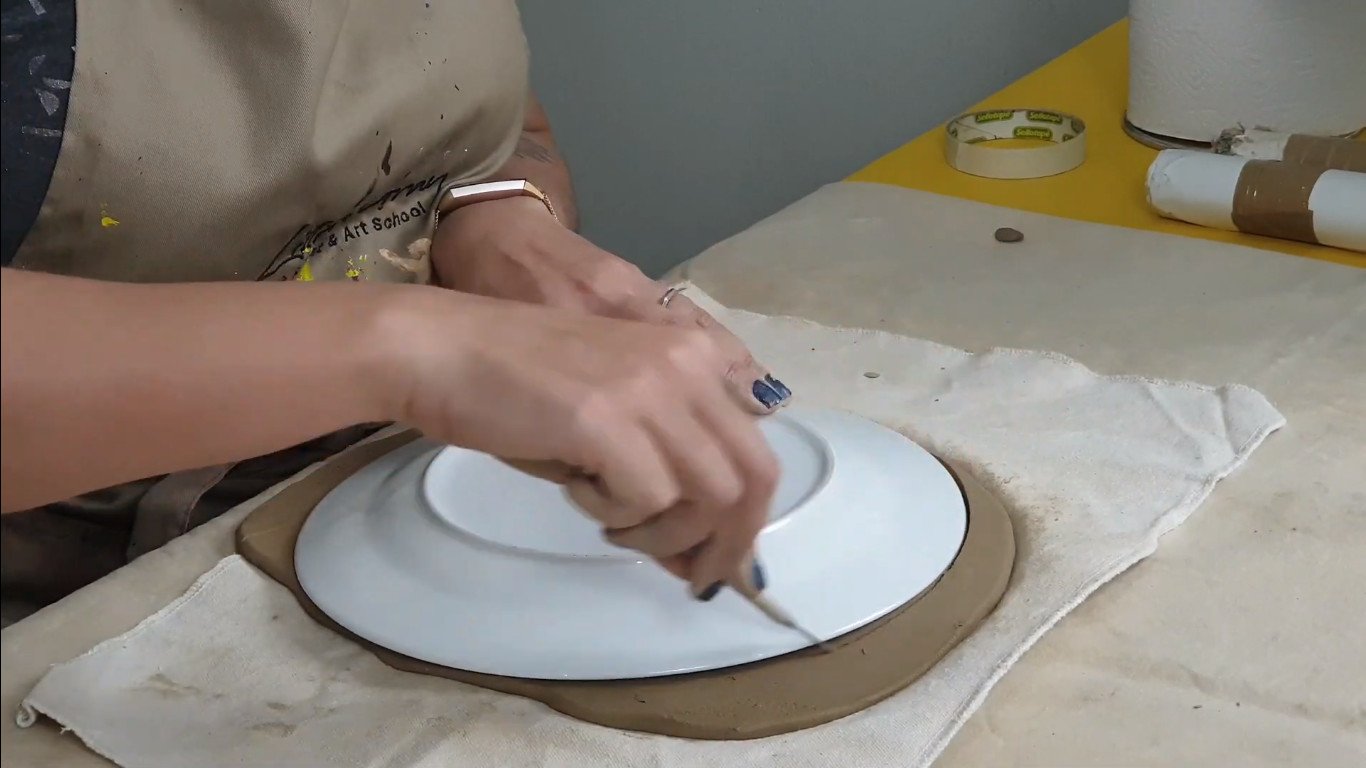
Step 4 – Build the body of your giraffe
Place the dinner plate on your larger slab. Use your clay pen, or a kebab stick to cut the clay all along the plate’s edge.
We have to build an armature. Now armature is just a fancy word for the structure that is inside your sculpture. There are various reasons to use an armature, one is to strengthen your clay, your structure on the inside while it dries but another one is to save on clay.
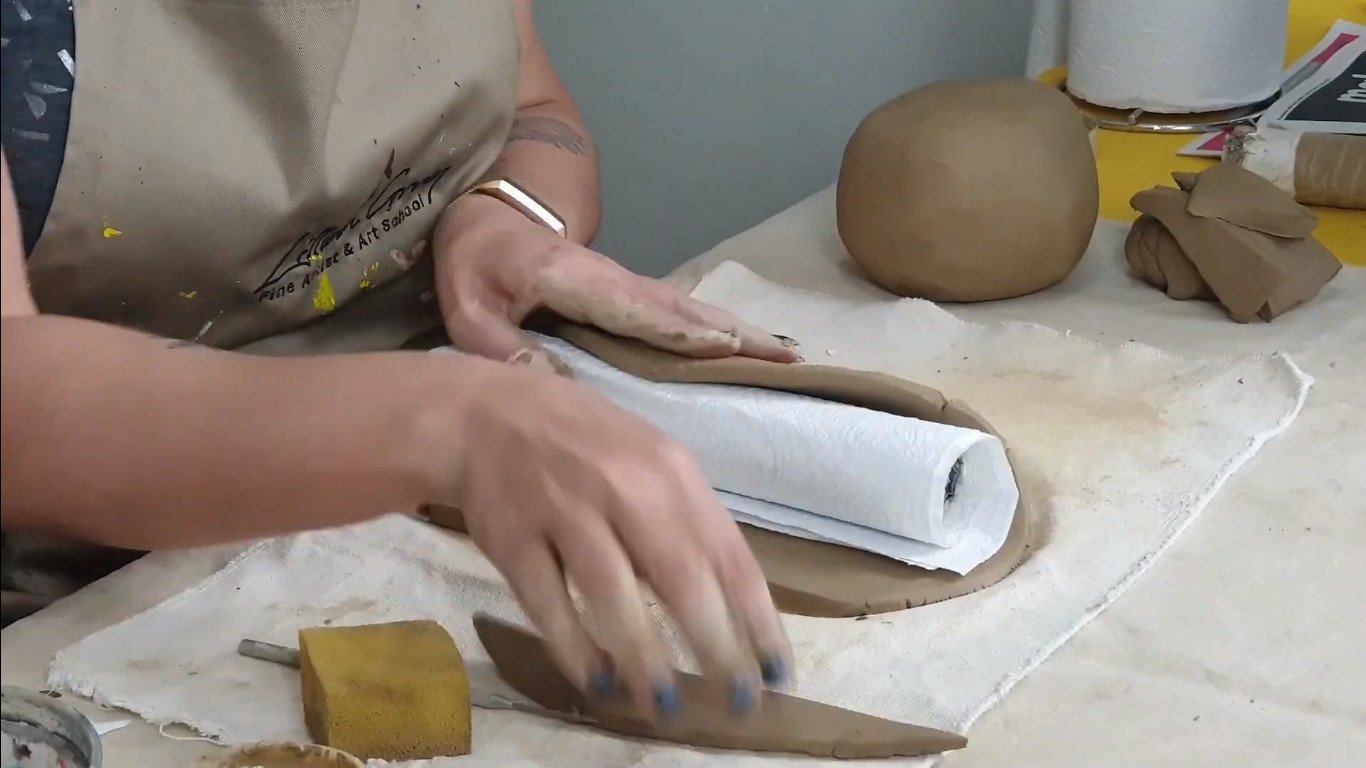
The body of the giraffe is quite big and we don’t want to use a whole massive ball of clay. We only want to use as much clay as we need. We’re going to fill the inside of the body with paper so we don’t use too much clay. To create the armature for the inside of the body, you are going to be using newsprint and bundle it up together to create a structure. Then wrap paper towel which is softer around the newsprint.

Super important, do not scrunch this ball too tight. The reason is air dry clay almost loses 30 % of its volume when it dries because it loses the water that’s inside the clay. If this is like a tight, tight, tight ball, there’s no movement for the clay while it dries, and then it cracks. So it’s super important to just have a squishy ball, not a very, very hard ball. The reason that why we put paper towel around this. This is just a trick that I have found very helpful. The paper towel, when the clay is drying, really helps absorb the extra water from the clay. Add two layers of paper towel and just make sure it’s bouncy.
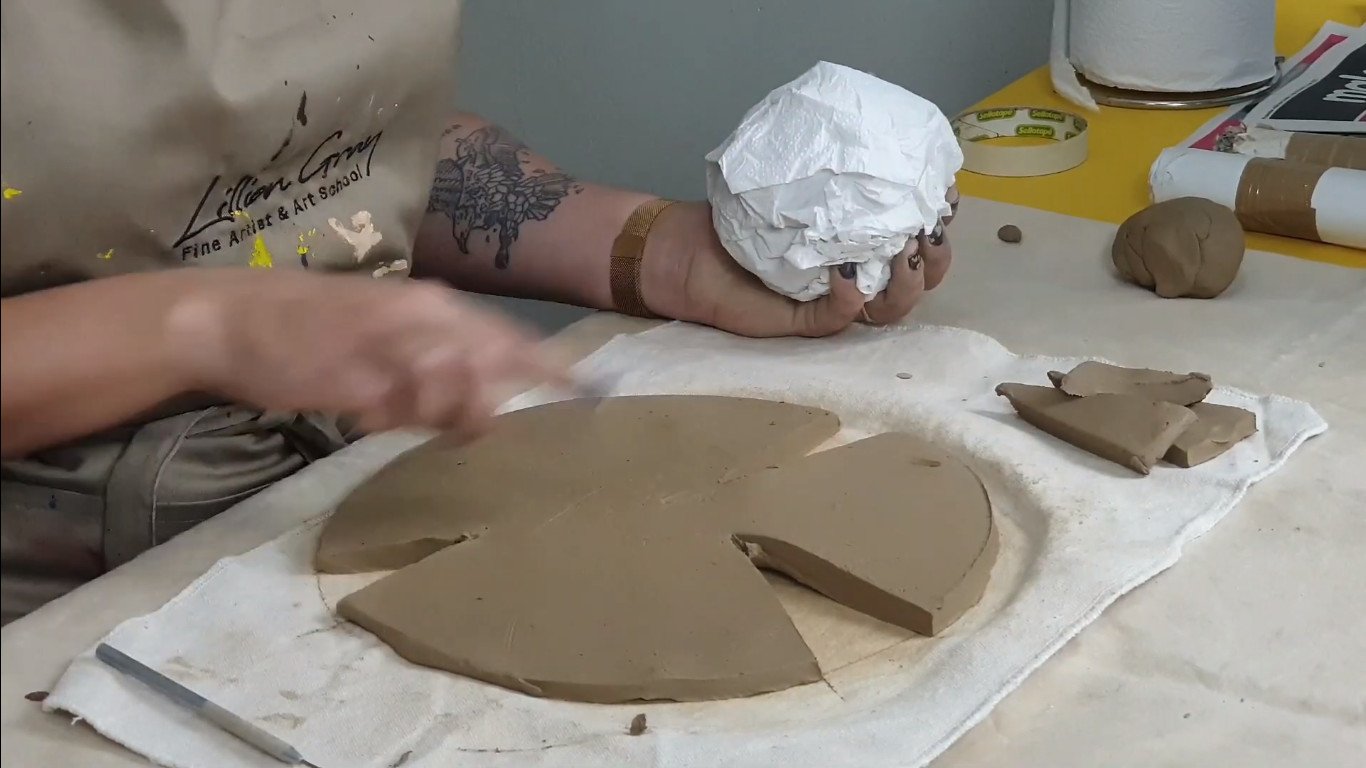
The trick is you’ve got to treat this like a pizza, so we’re going to cut just thin slices. Remove three tiny little wedges, not massive pieces just to make sure you can fold this around your armature. Very important, whenever we join clay we need to join it with clay glue. I call this clay glue but the correct term is slip. Make slip by adding water to the clay, quite a lot of water and it’s very, very flowy like mud. Very important, whenever we join clay we want to get rid of the air. Remember the air is the enemy of clay, so we have to scratch, scratch, scratch, scratch, and then we add the clay glue.
You will notice some cracks and imperfections on your clay ball. Don’t worry about it. Use a damp sponge to smooth out the cracks.
Step 5 – Build the neck
We are making an armature for the neck. Basically, what this is, it’s newspaper print that is rolled up and taped together. Here’s the second slab. Plan this slab so that the length can cover your armature roll. First up we’re going to put some paper towel around the neck. The same principle applies. We want it quite loose so that it can absorb the water and prevent cracking. So it’s very loose. The same principle applies, we’re going to join plates. We’re going to scrape and slip.
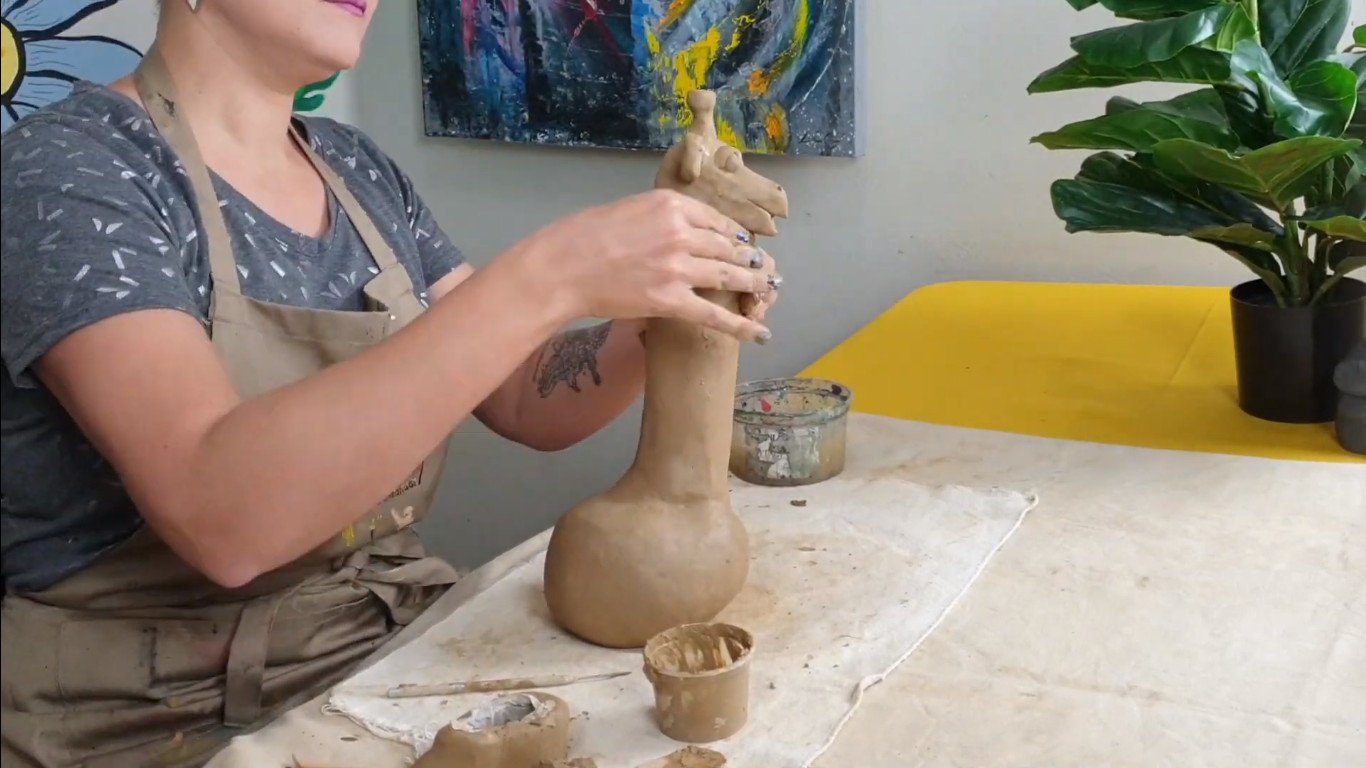
Now that it is nice and sturdy, also tidy up the upper part of the neck, where we will be attaching the head.
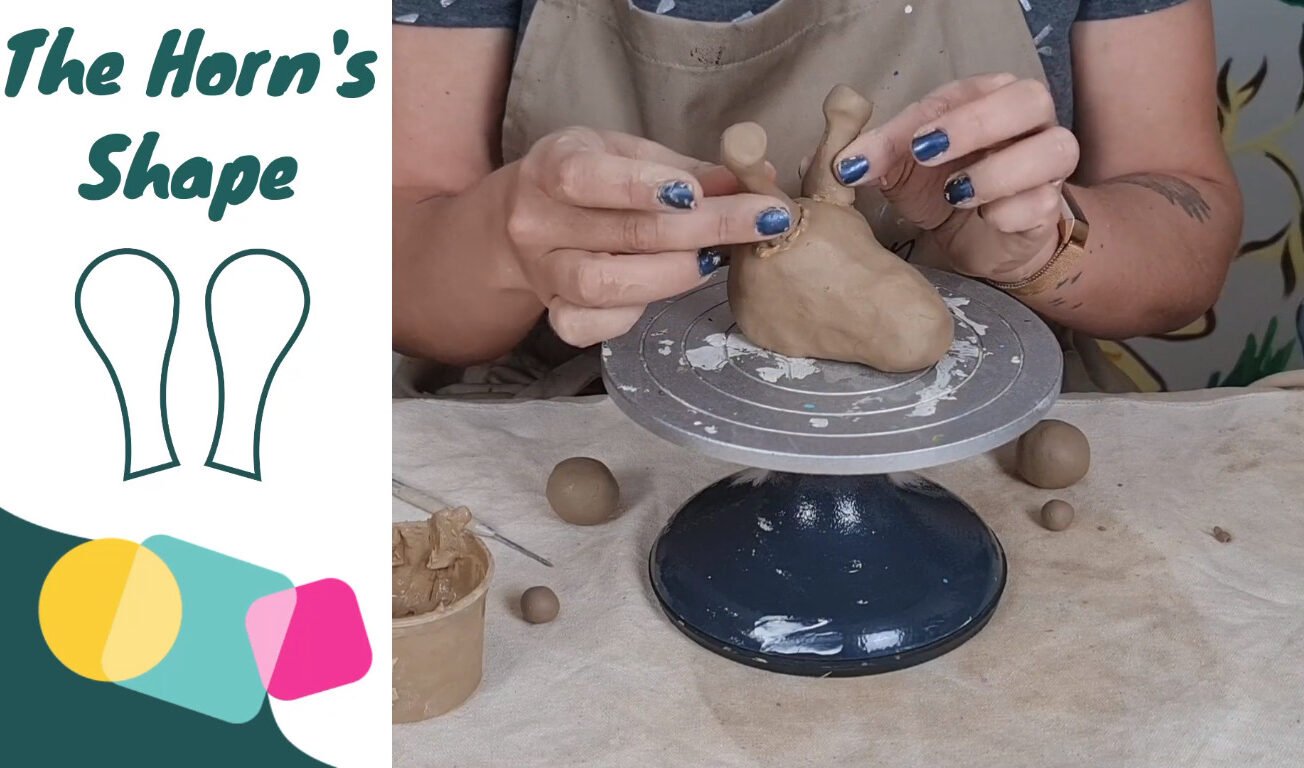
Step 6 – Create the basic shapes for the head
We now need to create the basic shapes for the head. Clay is very much like drawing. We use five basic shapes to construct a drawing when we draw and the same happens when we do clay. Here you can see how I have simplified the giraffe’s head into basic shapes. You will need the head, two horns, two ears, two eyes.

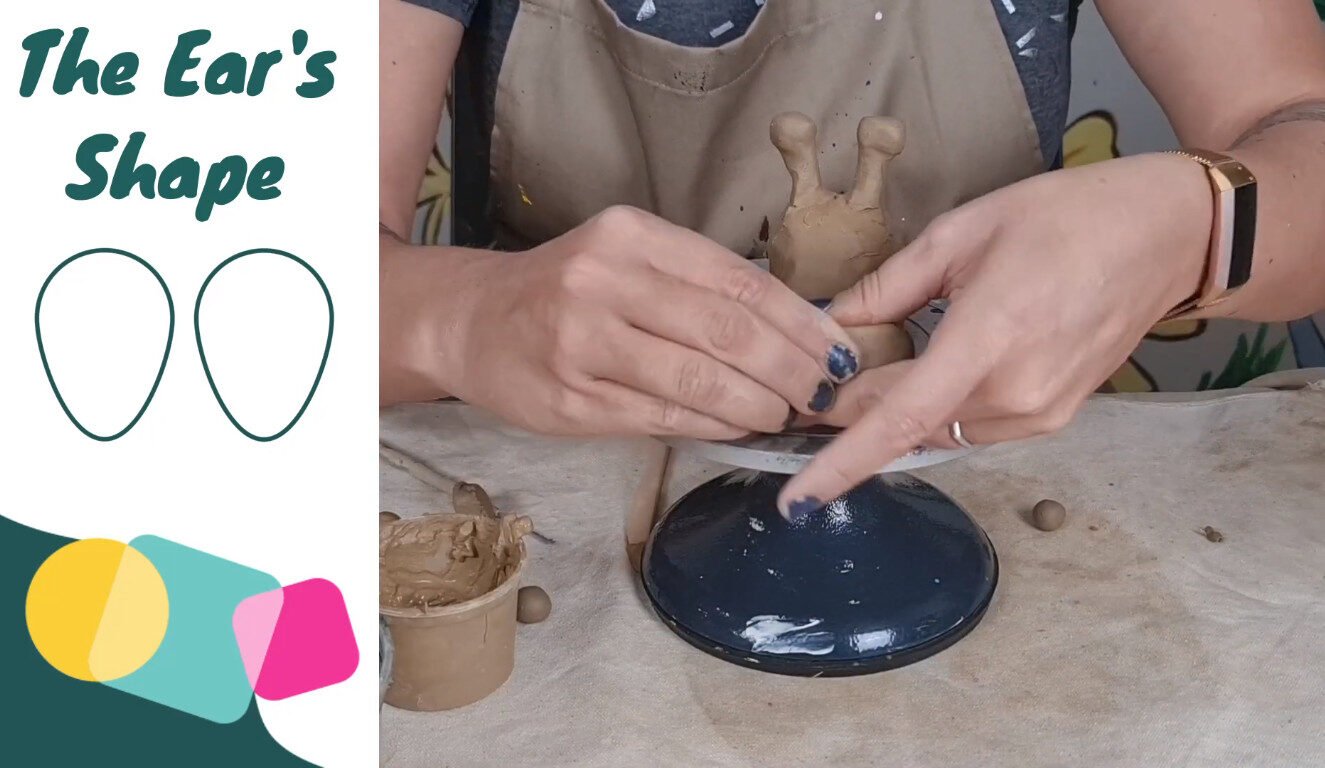
Step 7 – Refine and join the basic shapes for the head
We are now going to refine and join the basic shapes of the head together. Start by joining the little horns. Refine them by creating the little bobbles at the top. You can do this by simply rolling them between your fingers before you join them.
Now we are going to shape the ears. The ear is basically the shape of a raindrop. Once you have shaped them, scrape and add slip to join them to the side of the head.
Step 8 – Add Facial expressions
This is the best part of creating a sculpture, developing the character. Think of their backstory. What’s their favourite colour? Who do they like to play with? What is their favourite drink? Where do they hang out? I have decided to call him Gregory the giraffe. Open up Gregory’s mouth. Giraffes have really funny lips and tongues. Create your character.
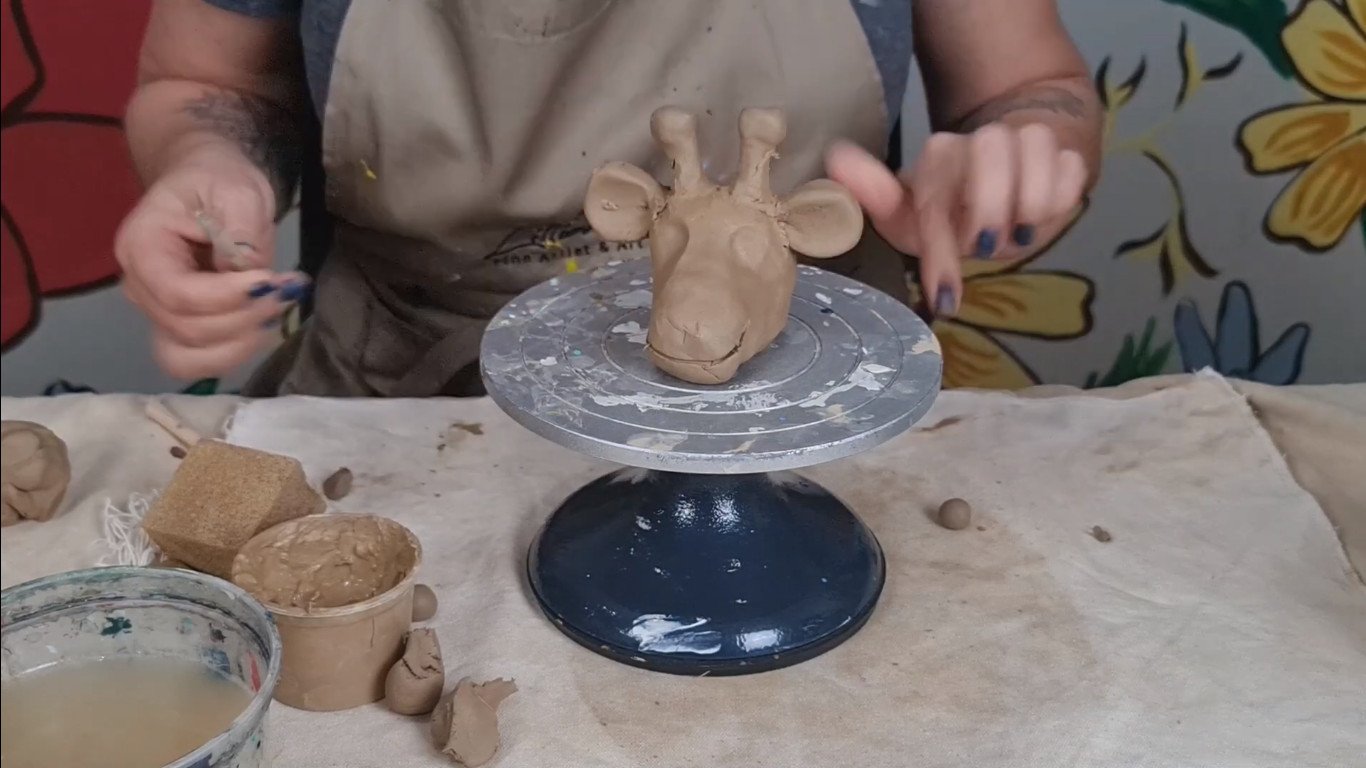
Add the eyeballs into the sockets. They’re just two tiny balls. First I scrape and then I add slip. Now let’s create eyelids to place over the balls of the eyes. Also, remember to join them by scraping and adding slip. Scrape and add slip.
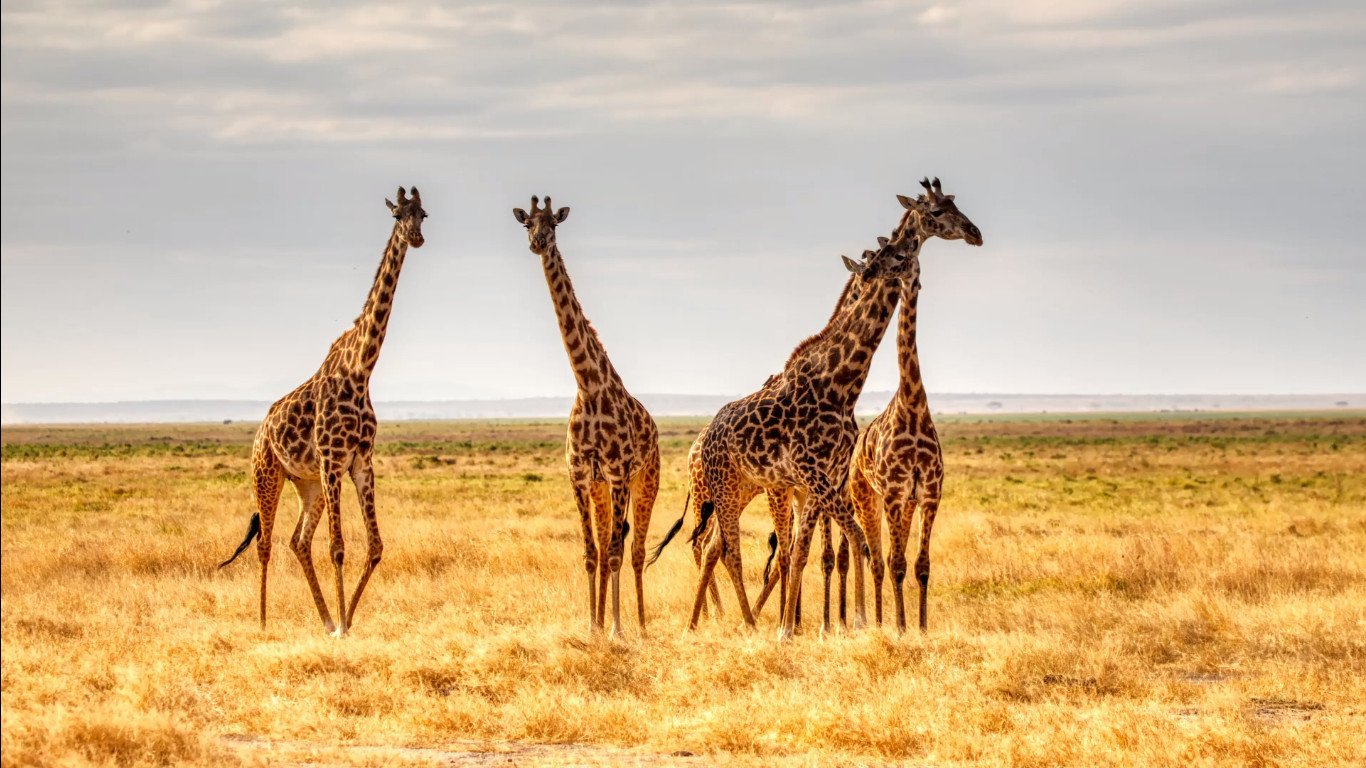
Did you know that giraffes are the tallest living land animal, and did you realize that there are nine different subspecies of giraffes? They weigh up to 800 kilograms, and it takes a mommy giraffe 15 months to make a baby. Humans only have nine months.
Step 9 – Joining all the elements together.
You basically need to check how you are going to do this. You need two little snakes so wedge your excess clay. Just add a tiny bit of water to get it malleable again. You are just going to make a little snake. You’ll need one snake for the bottom of the neck and one snake for the top of the neck. If you need to, cut off a piece at the bottom.
Mark out where the neck is going to be. Your neck is not going to be smack bang in the middle okay, that’s very weird. Your neck is just going to be to the side. This is like the giraffe’s butt. We’re making quite a contemporary giraffe, so it is a bit of a cartoony style.
When you join the neck to the body you are scraping and joining with slip, but then you are also adding and wrapping the coil, the clay worm that you rolled, around the neck, and then working that in to make sure the neck is securely joined. You will repeat this process using the other coil at the top when you join the head to the neck.
Step 10 – Add feet.

Let’s add little feet. First, roll 4 little balls for the legs. We are creating a contemporary giraffe so it is not realistic. I am giving him short little legs like a nice contrast to his long neck.
Step 11 – Add a tail

You can make the tail more dynamic by adding a bit of a wobble or a curl, it adds to the character’s personality. I like adding movement to sculptures.
Step 12 – Finishing
The last step is always the most important. And that is to ensure that your sculpture has a beautiful smooth finish. Use a damp cloth or brush to smooth out all the little imperfections.

Step 13 – Storing
I’m now going to show you how to store little Gregory. It’s very important with air-dry clay that your clay dries slowly, over a week. You really want it to be slow at the beginning, for the first three days, and slowly lose moisture, so that it doesn’t crack. We basically want to cover the guy in plastic and make sure nothing breaks or happens to him. Then, after three days, we’ll take off the plastic, let some airflow into the cupboard, and then eventually, on the last day you can put it out into a normal room to dry completely.
Never ever let your air-dry clay dry directly in the sun. We are not removing the armature from the structure. We’re actually leaving the armature inside the sculpture and that’s completely fine. In some sculptures, we actually remove the armature after it’s dried or on the third day before it does its final step of drying. We are not going to do this here that’s why we added the paper towel, so there’s enough movement for the drying process.
That’s it for today’s project on making Gregory, the giraffe. Please stay tuned for the next video when I show you how to finish him off, paint him, and seal him so he is ready to be displayed as a beautiful decor piece in your house.
I’m artist Lillian Gray. I hope you enjoyed this lesson. If you did, please give us a like, subscribe, and drop us a comment down below. It really helps us to develop our Youtube channel and to create more awesome content for you. Until next time.
-
 Pottery Tool Set – Rolfes®R182.00
 -
Terracotta Air Drying Clay – DalaR127.00