Kids Art Projects
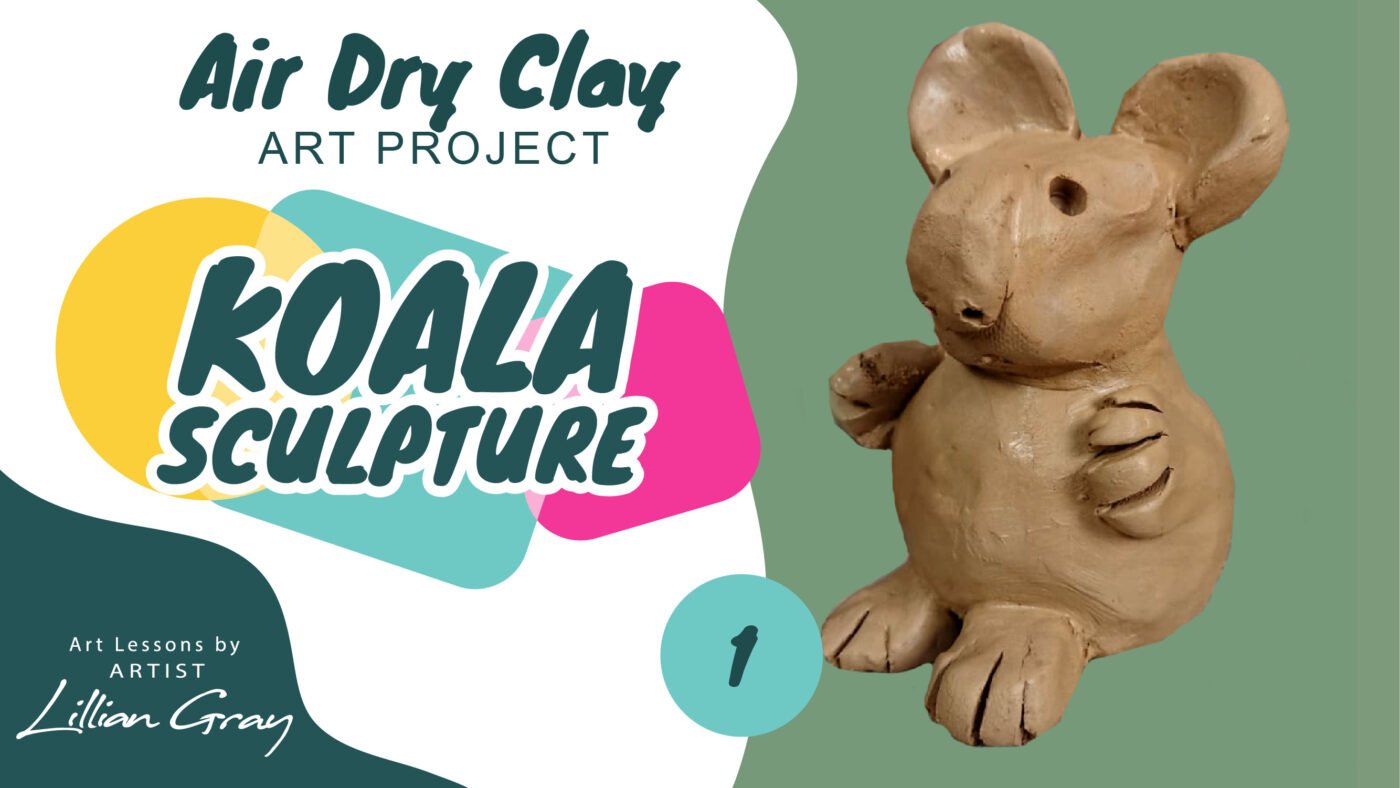
Make a cute Koala bear sculpture with air-dry clay in 10 easy steps
Jul
Hi, I’m artist Lillian Gray and today I’m going to show you how to make a cute little koala sculpture out of air-dry clay.
I am using my favourite clay, which is Dala air-dry clay because it’s nice to work with, and it has a great texture. You can buy it, just click on the link to go to our shop. There’s also a beautiful clay toolset that’s quite affordable and easy to work with.
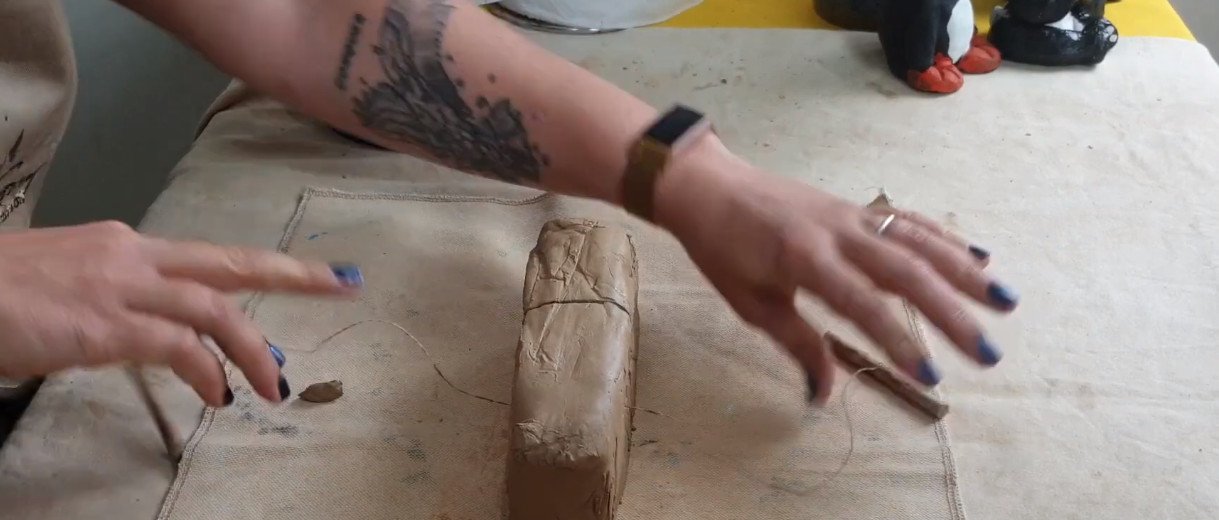
Step 1: Cut your clay
Step one is to cut your clay into smaller pieces that are easier to work with. I’ve got my clay tension wire that I’m now going to use to just split this clay into four. After you have split the clay into four, we can move on to step two.
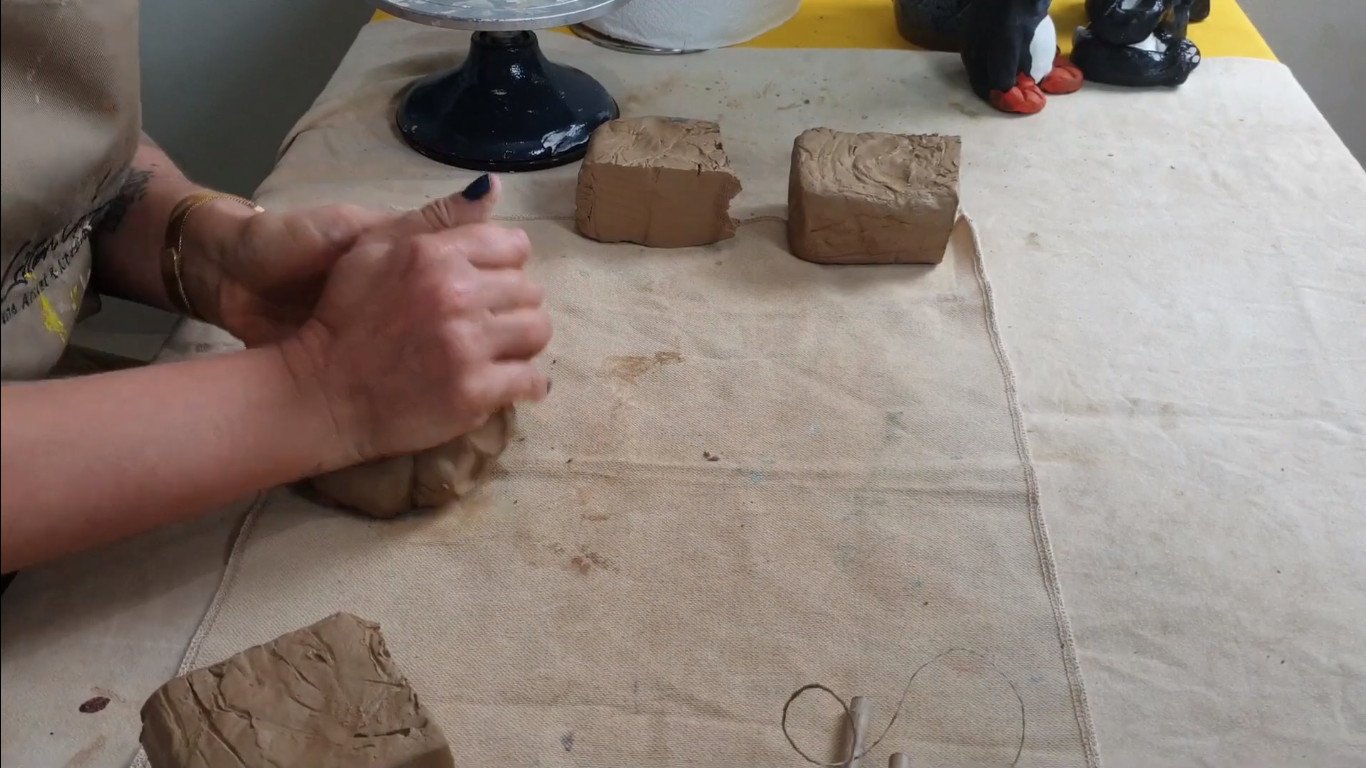
Step 2: Wedge your clay
Step 2 is to wedge your clay. I am kneading it almost like it’s bread dough. You want to avoid bringing too much air into your clay and trapping some air bubbles. That will make your clay burst and crack, and that’s really not what we want. Air is the enemy of clay.
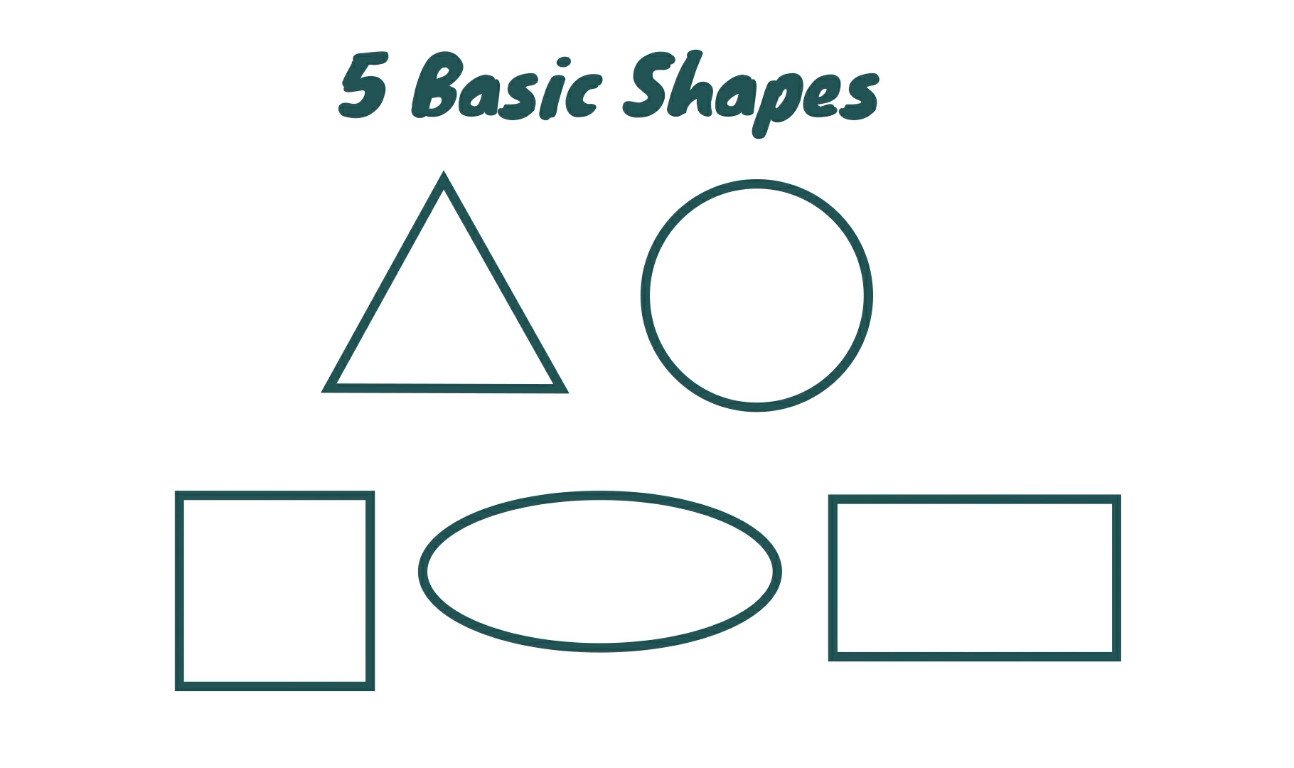
Step 3: Basic shapes
Step three is to start shaping your basic shapes. Clay is very much like drawing. We use five basic shapes to construct a drawing when we draw, and the same happens when we do clay. I’m first just going to shape my basic shapes.
When making your basic shapes always consider your proportions. How big should the head be? How big are the legs and the arms in relation to the body? Are they all the correct size?

And there are my basic shapes. I have a head, I’ve got two massive ears, and I’ve got a beautiful fat little body bon bon. Did you guys know koalas aren’t mammals they are marsupials? That means that they’ve got a little pouch, a little baggie that they carry their little offspring in. Isn’t that so cute? Do you know why koalas aren’t bears? Because they are not qualified.
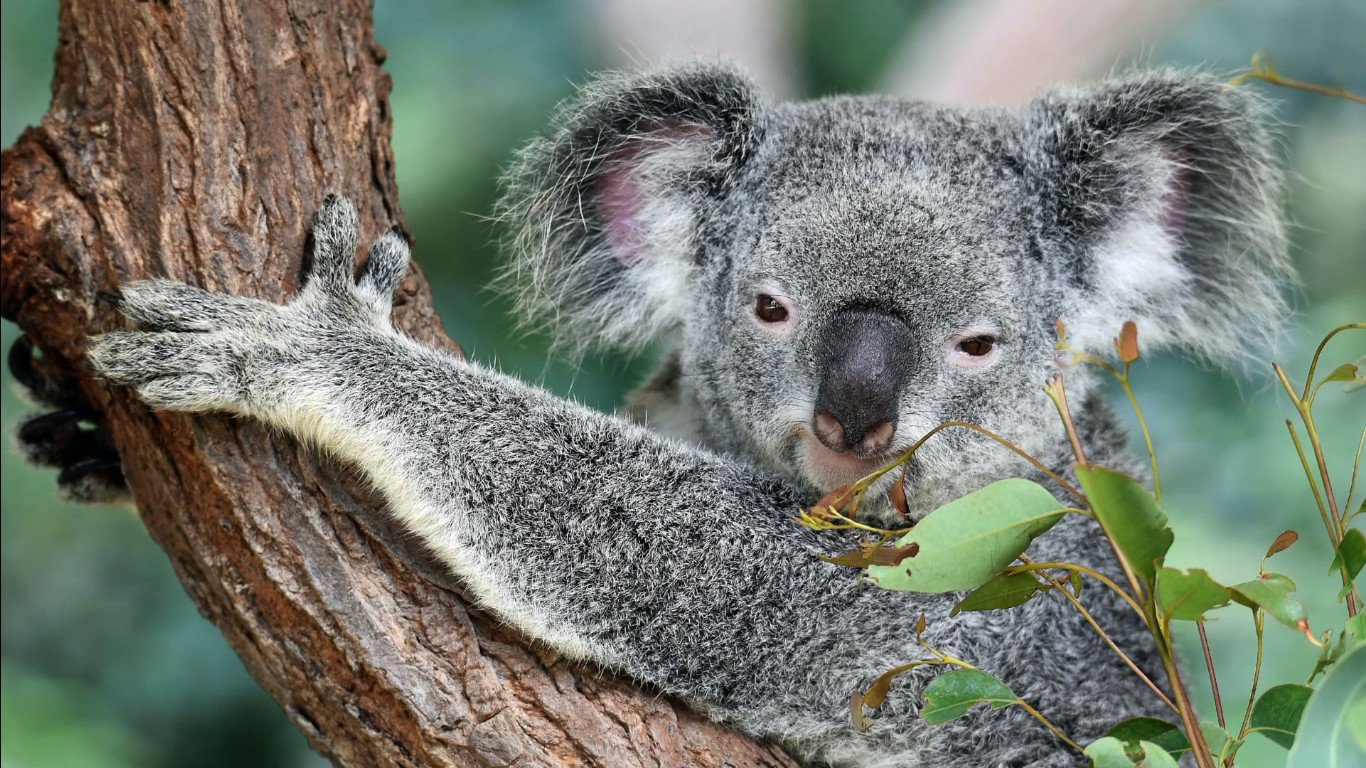
Baby koalas are too cute. They are called joeys and baby koalas develop in their mother’s pouch for about six months. After this time they’ll ride on their mommy’s back for another six months. Only using the pouch to feed and sleep. They love sleeping and they can sleep up to 18 hours a day. Koalas are also fussy eaters. They don’t like spaghetti, they don’t eat Coco pops. They only eat eucalyptus leaves.
The word koala means no drink in the Australian aboriginal language. It was thought that koalas didn’t need to drink water because of the moisture they get from munching all day on juicy eucalyptus leaves. However, they do drink from various water sources when needed, especially during heat waves and times of drought. Today we’re going to honour these cute little creatures by making one out of air-dry clay.
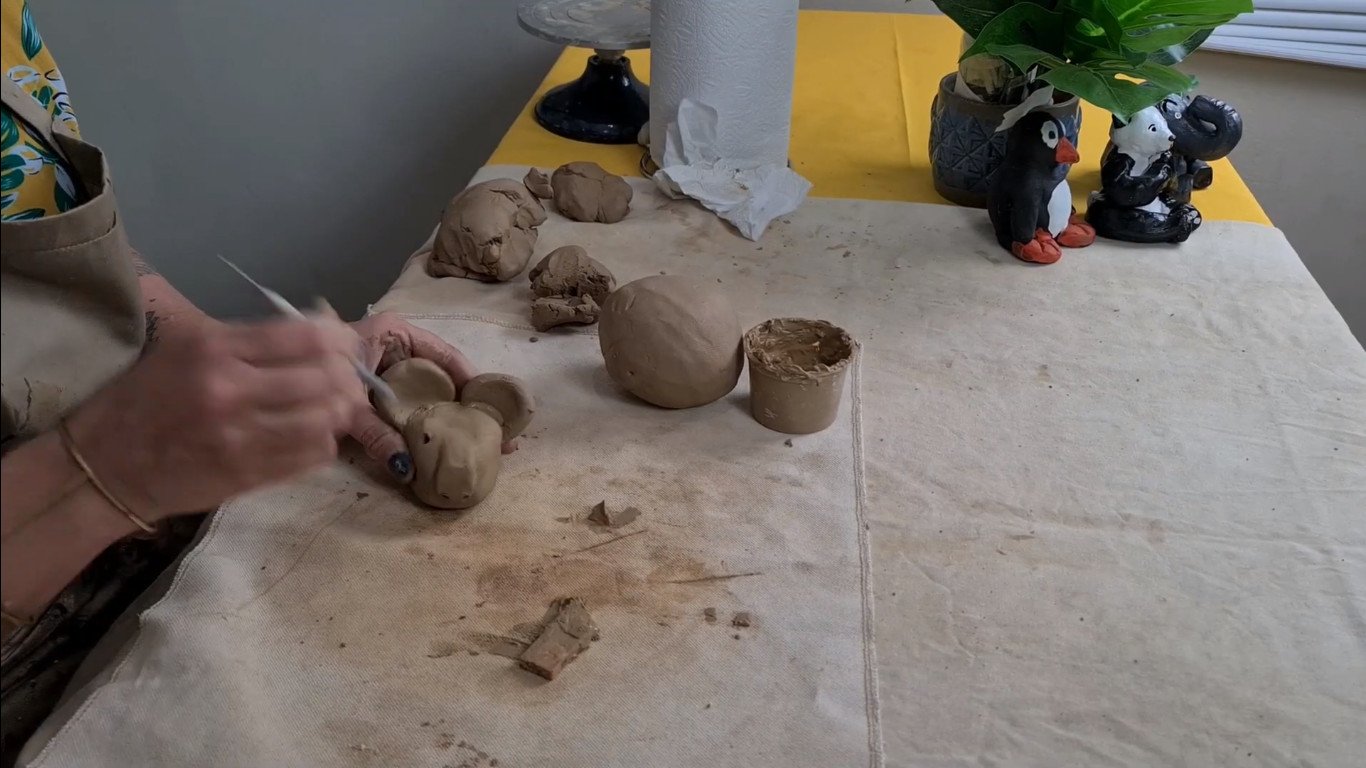
Step 4: Refine your shapes
Step 4 is to refine your shapes. This means we are going to tweak our basic shapes a little bit more. I’m first going to start making my face. I’m going to make my ears nice and round. When your clay starts cracking because it’s getting a bit dry just wet it a little bit. I’m using my thumb just to get to nice big circles.
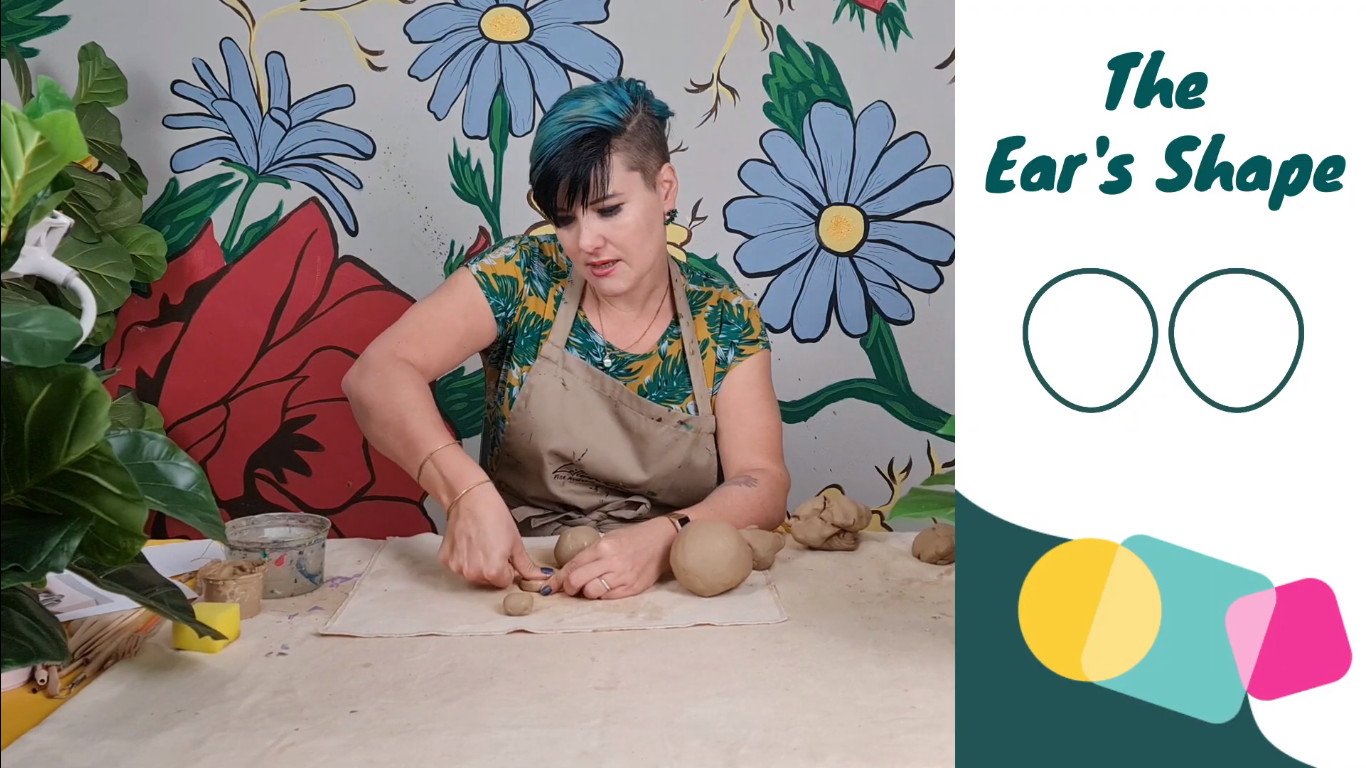
I’m making a cartoony kind of koala, so my ears will be oversized. The koala’s head is shaped like this, so I’m just kind of using the natural V of my hand to shape it, like that, and start where I want to have the nose.
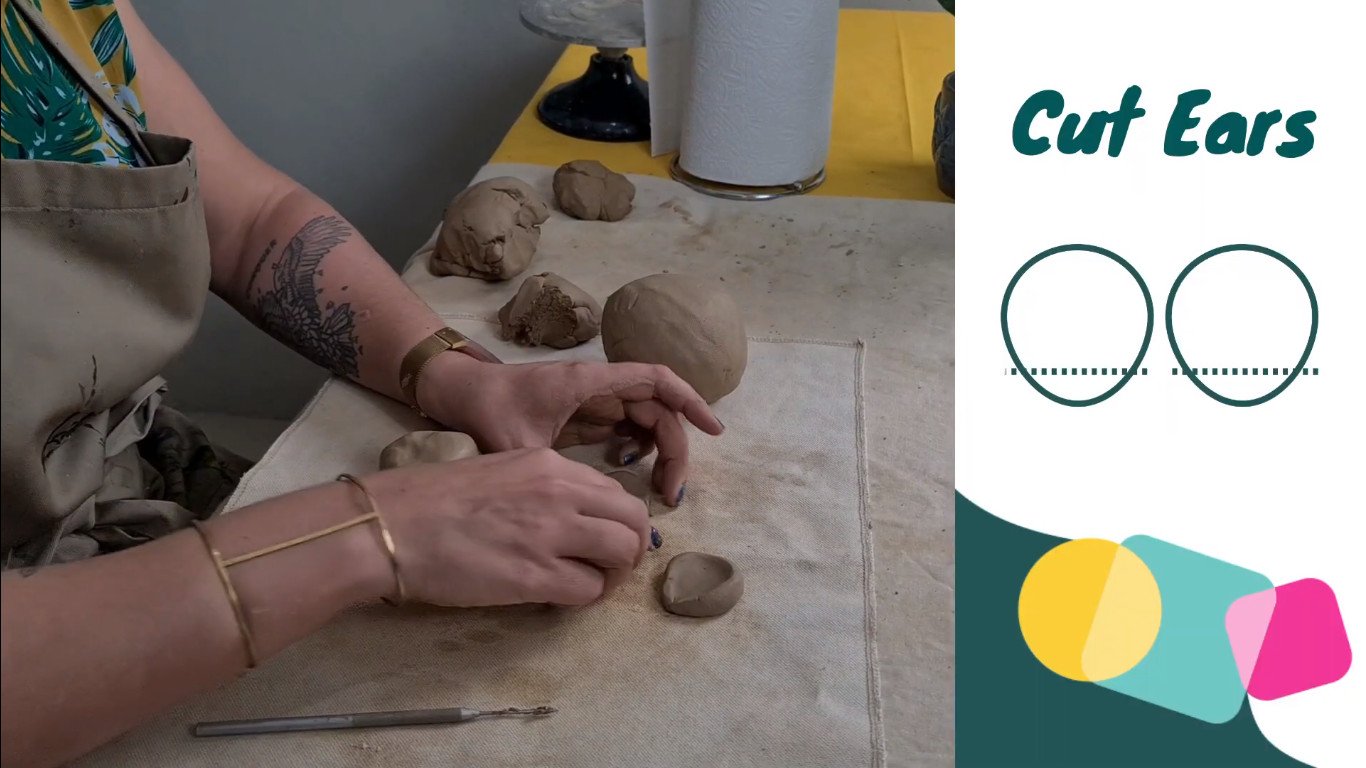
Step 5: Join the ears
We need to join the ears. Next up I’m going to use my clay pin. I’m going to cut my ear straight at the bottom so that I can join them there. I’m going to plan where I would like to join my ears. I’m just planning. I cannot just plonk the ears on, they will fall off.
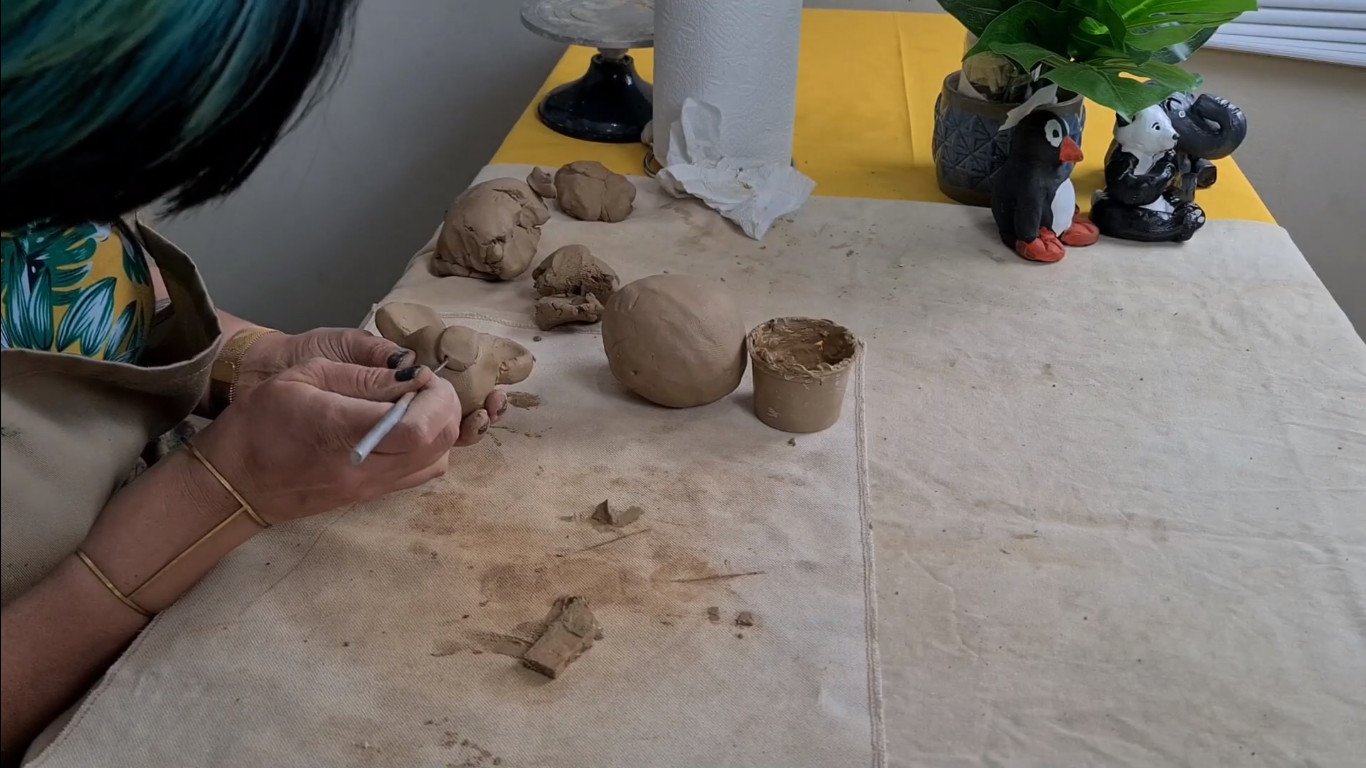
What I need to do is use some clay glue. It’s called slip, so wherever I want to join clay I need to use slip and I need to scrape. Slip is just a lot of water mixed with your clay and this is the glue. It works like glue because it takes out all the air bubbles when we join something. We’re joining two pieces, so we have to scrape on one side, both sides, the other side, slip, there is my little koala starting to take shape.
Step 6: Adding the nose
Let’s add the nose. Koalas have quite massive noses that bend down like this. I’m going to join that there. I’m going to use my clay needle. If you don’t have one you can use a toothpick. I’m just going to start making my little nose holes.
I’m going to use the back of my pen to now make the eyes, I just want little beady eyes like that. I’m going to leave them like that.
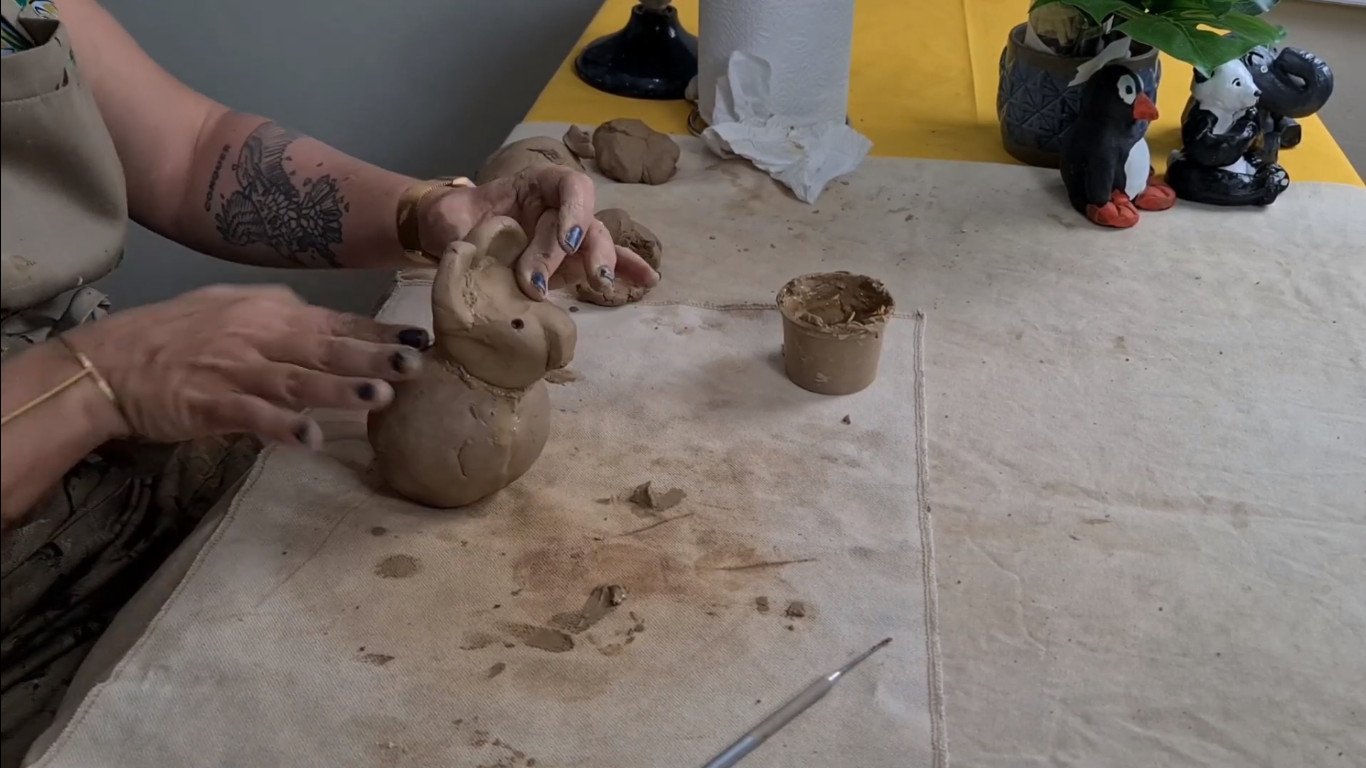
Step 7: Join the head to the body
We can now join the head to the body. What I’m going to do now is I’m just going to make a little worm. My clay is a little bit dry because it’s been chilling on the side. I am just going to join that like a little scarf and then work it in with my fingers to join the head. It’s like a little snowman you know, but just from down under. This is really a great sculpture for beginners because you don’t have to work with balance, and legs that can break. We’re going to be making just cute little koalas.
Step 8: Refine the feet and join them
Let’s refine the feet and join them.
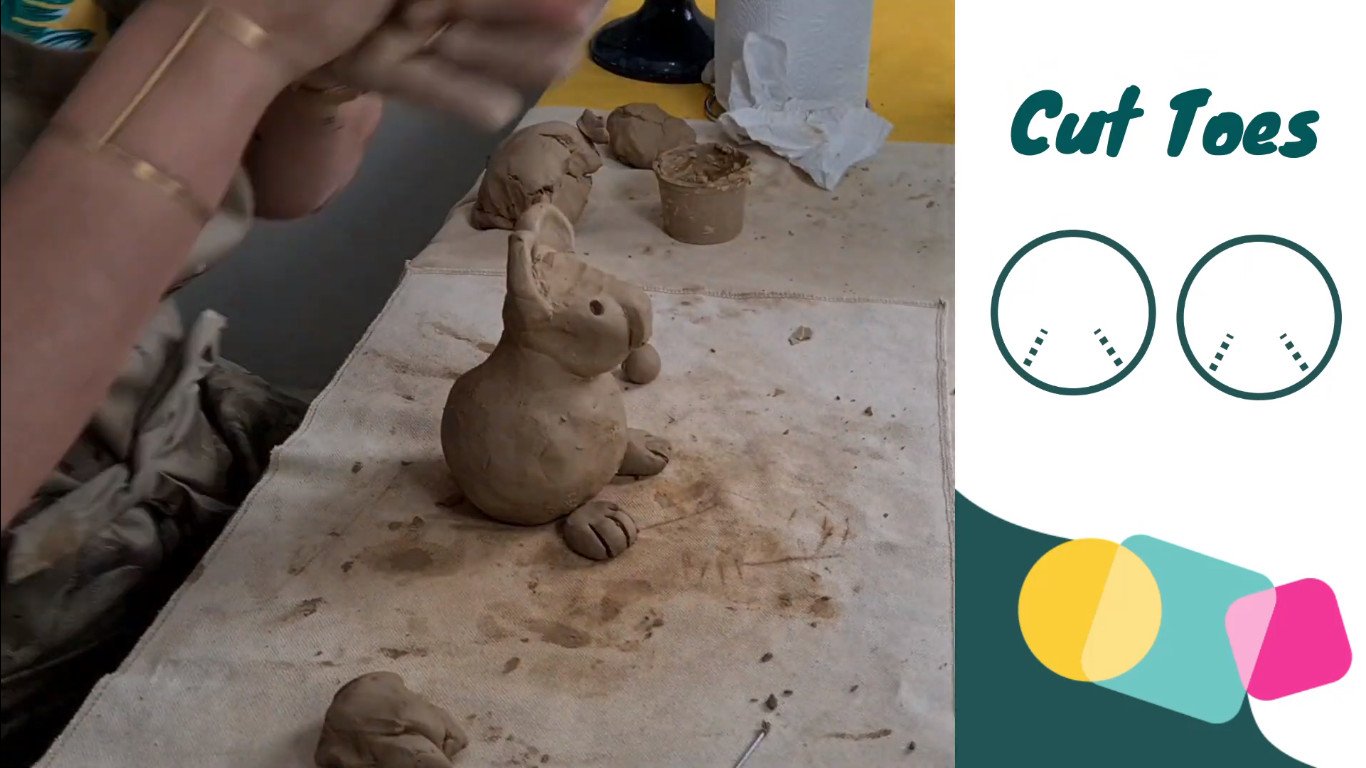
Okay, our little koala’s got hands and feet.
Step 9: Add the tail
Let’s add a tail. So their tail is a bit like a bunny rabbit’s and it’s like plonking up actually when they run away. They’re very adorable when they run away.

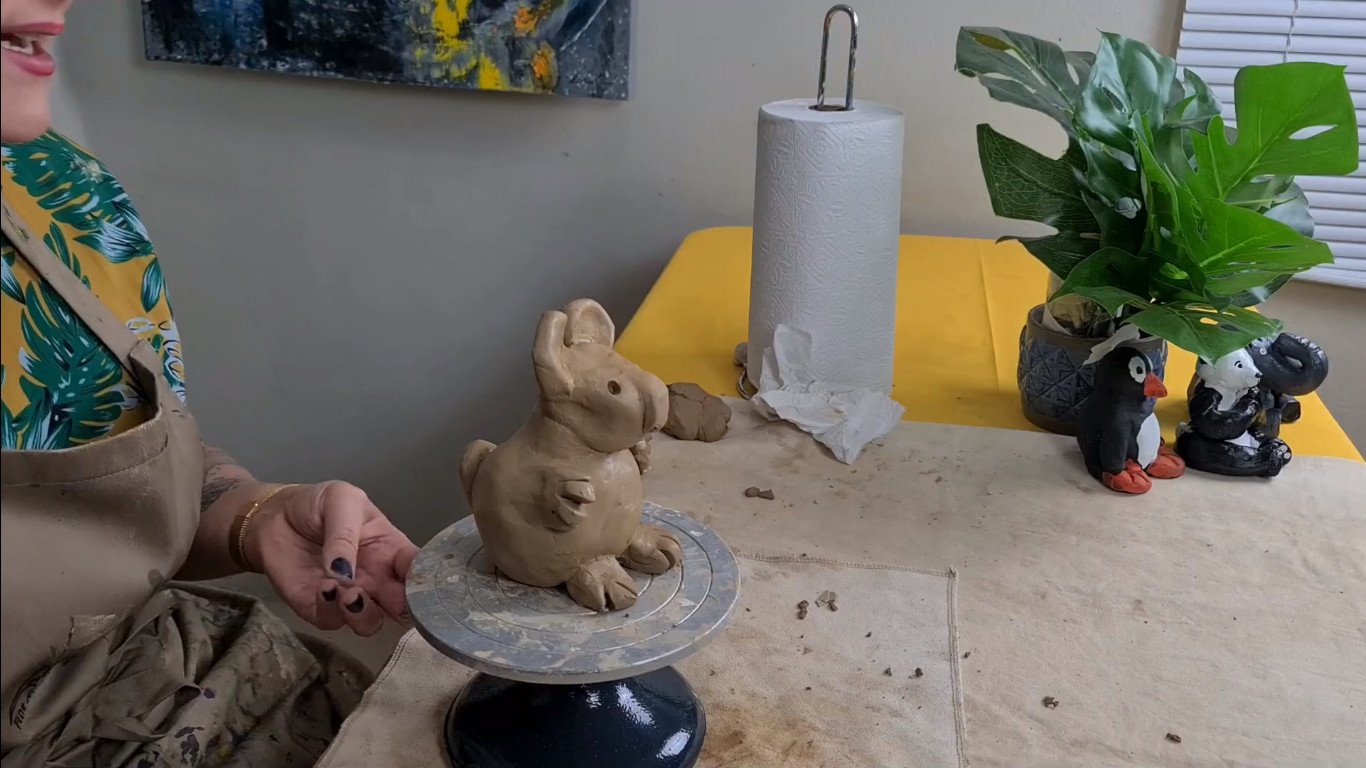
Step 10: Finishing off
According to me is the most important step of all. You need to finish well.

I’m going to call this little one Catherine the koala, and I’m going to pack her away so she can dry slowly before she goes on her adventure, her next adventure. She definitely needs to be painted and finished off. Also, stay tuned for the next video when I do that. I’m really excited about her. I think she’s going to be gorgeously cute.
What we basically want to do now next is cover her up in plastic, put her away in a cupboard for three days. After three days you can take off the plastic, let in some air flow, and then on the final day put her outside in a room, not outside in the sun, so she can just dry slowly. You basically want to take about a week to dry completely. I’m living in South Africa, our sun is quite vicious. We never put our air-dry clay directly in the sun because it will just crack up and not with laughter.
And that’s how you make an incredibly easy little baby koala out of basic shapes with air-dry clay.
I’m Lillian Gray. If you enjoyed this video please give us a like, a thumbs up, ring the bell, subscribe to the channel. Leave us a comment below. It really helps our channel on Youtube and that enables us to create more amazing content for you. Stay tuned for our next video so you can see how to finish off Catherine the koala.