Kids Art Projects
Making an adorable Red panda sculpture with air-dry clay in 8 steps
Jul
Hi, I’m artist Lillian Gray and today I am going to show you how to make a cute little red panda out of air-dry clay,
I am using Dala air-dry clay, which for me is by far the greatest air-dry clay I have played with.
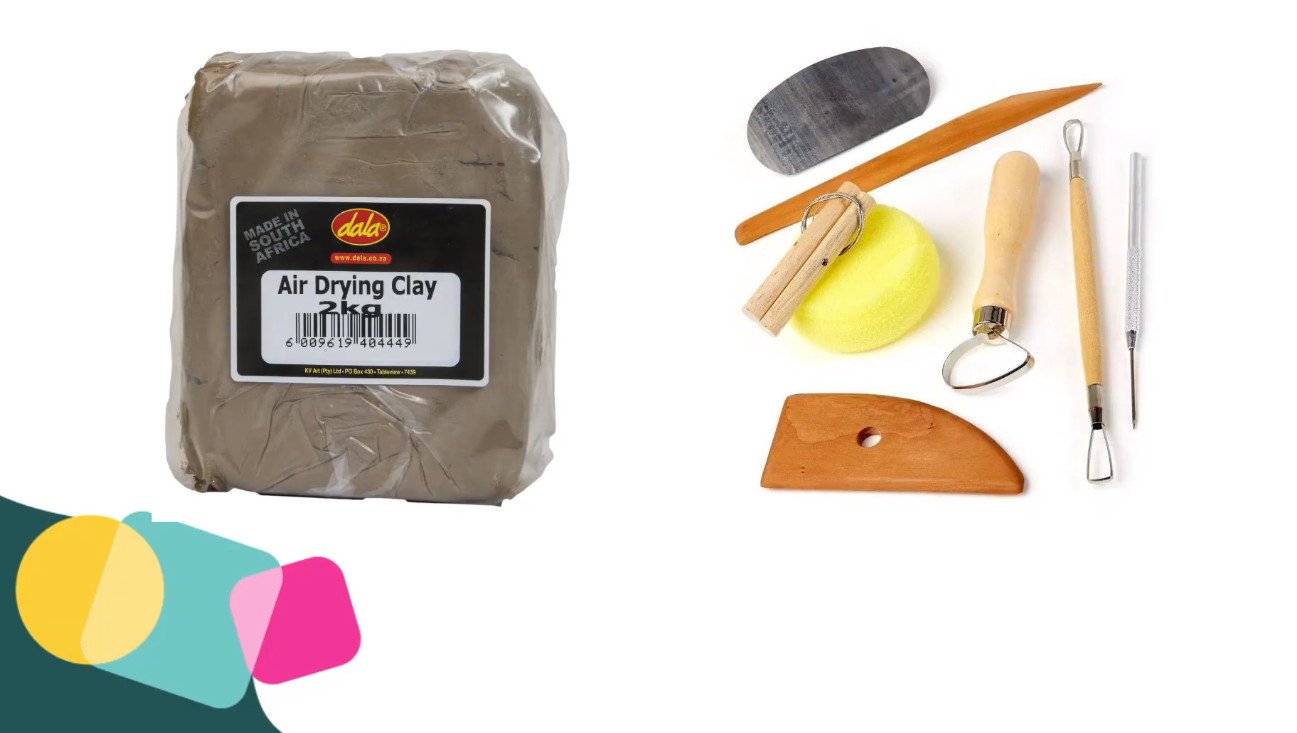
You can buy it by clicking on this link and there is also a beautiful clay toolset that’s quite affordable and easy to work with. For this lesson, you will also need a plastic fork and a sieve.

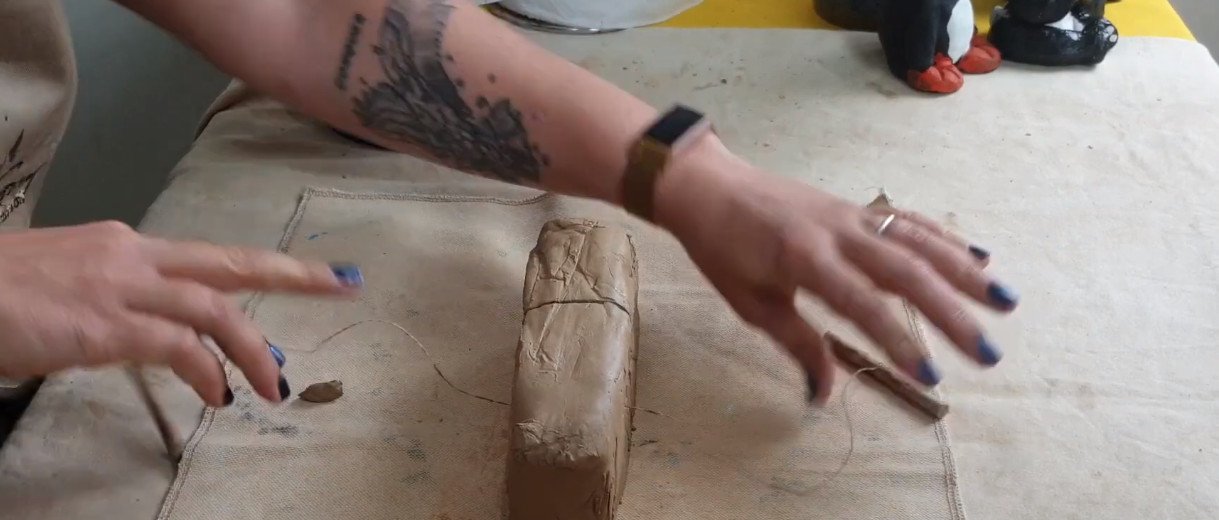
Step 1: Cut your clay
You need to cut your clay into smaller pieces that are easier to work with. I use my clay tension wire to split this clay into four smaller pieces. If there is clay left over, cover it up tightly in plastic so that you can use it for something else. After you have split the clay, you can move on to step 2.
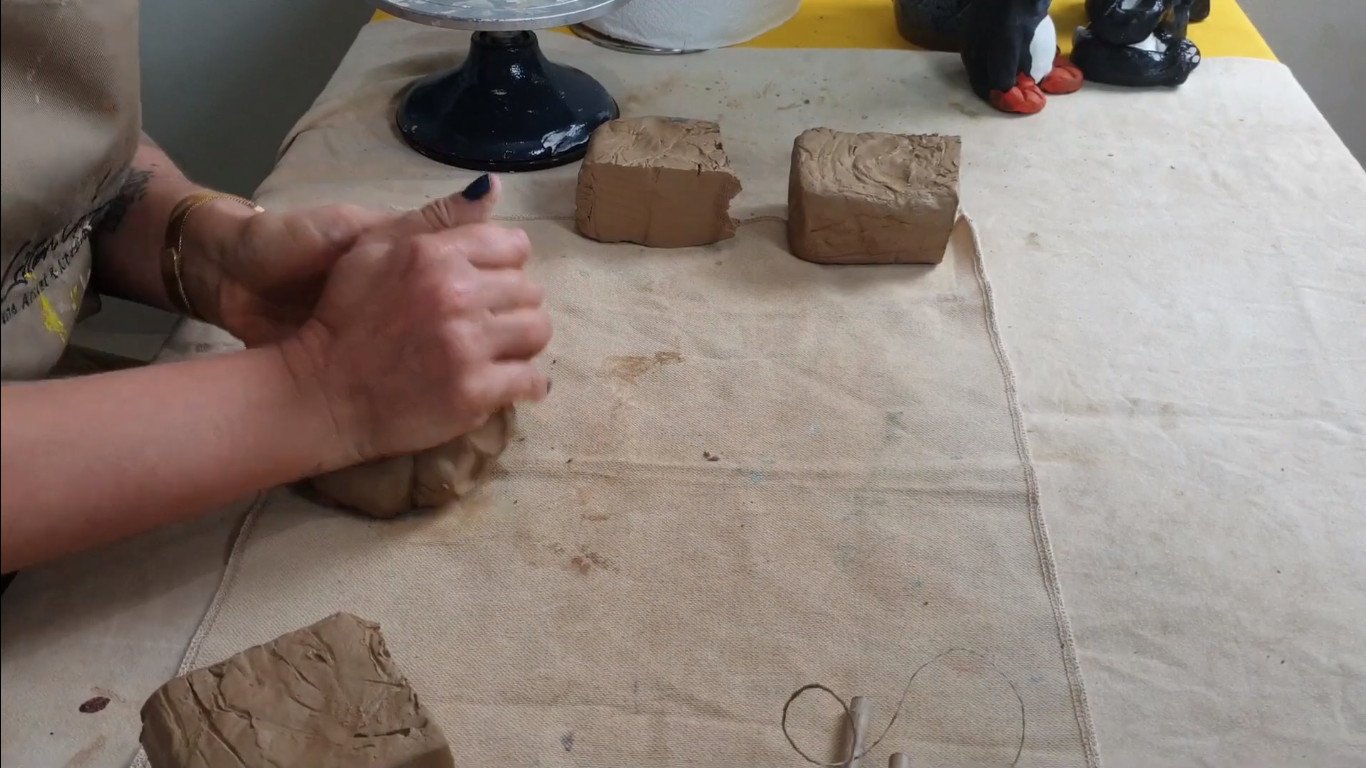
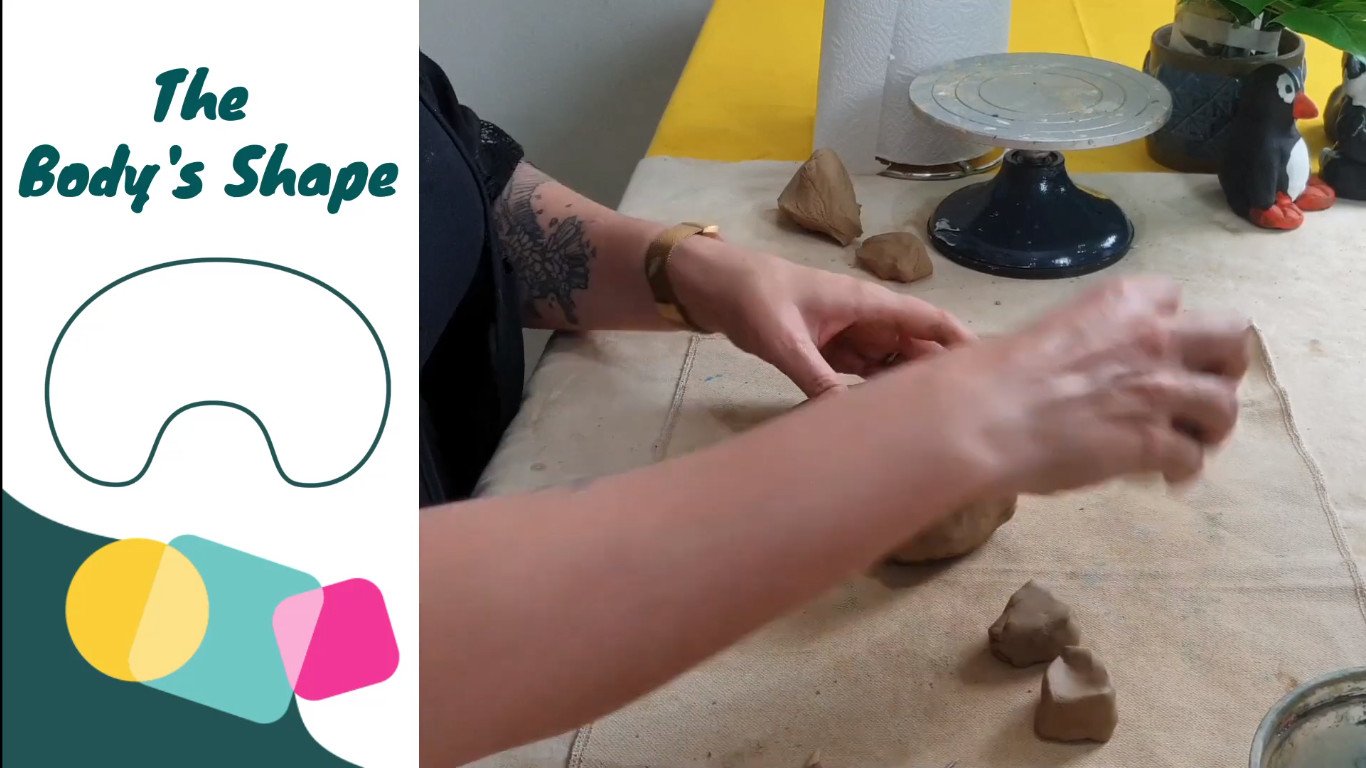
Step 2: Wedge your clay
Wedging prepares the clay so that it is easier to use. Wedging makes the clay softer, ensures that it has an even consistency, and removes air pockets as well as small hard spots in the clay before you use or reuse the clay for a project. I am kneading it, almost like bread dough. You want to avoid bringing too much air into the clay and trapping some air bubbles because that will make your clay burst and crack, and that’s what we really don’t want. Air is the enemy of clay. You need to have a nice, soft, malleable ball of clay to start building the cutest red panda.
Step 3: Shape your basic shapes
Step 3 is to start shaping your basic shapes. Working with clay is very much like drawing. We use five basic shapes to construct the drawing when we draw, and the same happens when we use clay.
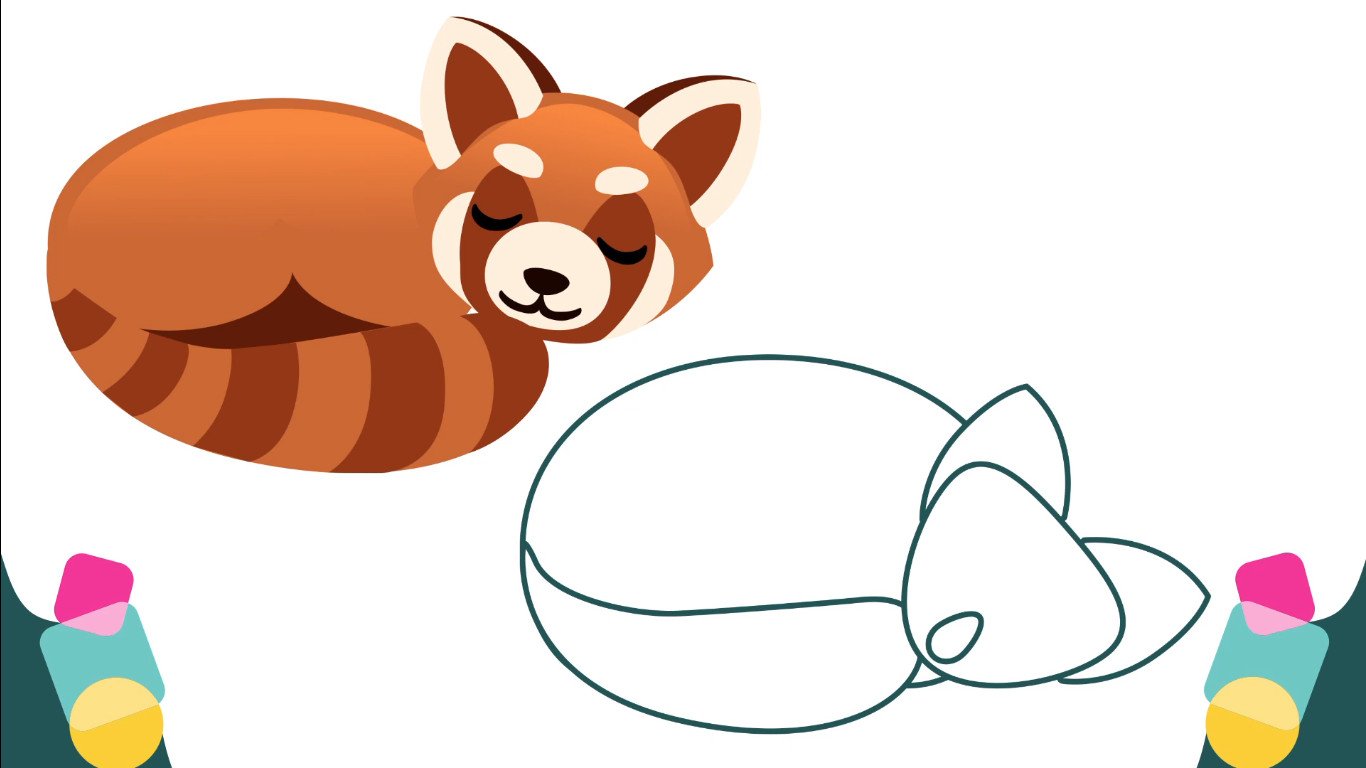
Here you can see how I simplified my little sleeping red panda into basic shapes. You need to have quite a big triangle for the face, you need to have two triangles for the ears, you are going to have a big body that we are going to shape later on, and you’re going to have a tail. We are not going to see his legs in the little sculpture. We are going to create is a little red panda, sleeping in a tree.

When making your basic shapes, always consider your proportions How big should the head be? How big are the legs and the arms in relation to the body? Are they all the correct size? Here are the basic shapes. This will be the body, the head, the ears, and the tail.
Facts about the red panda
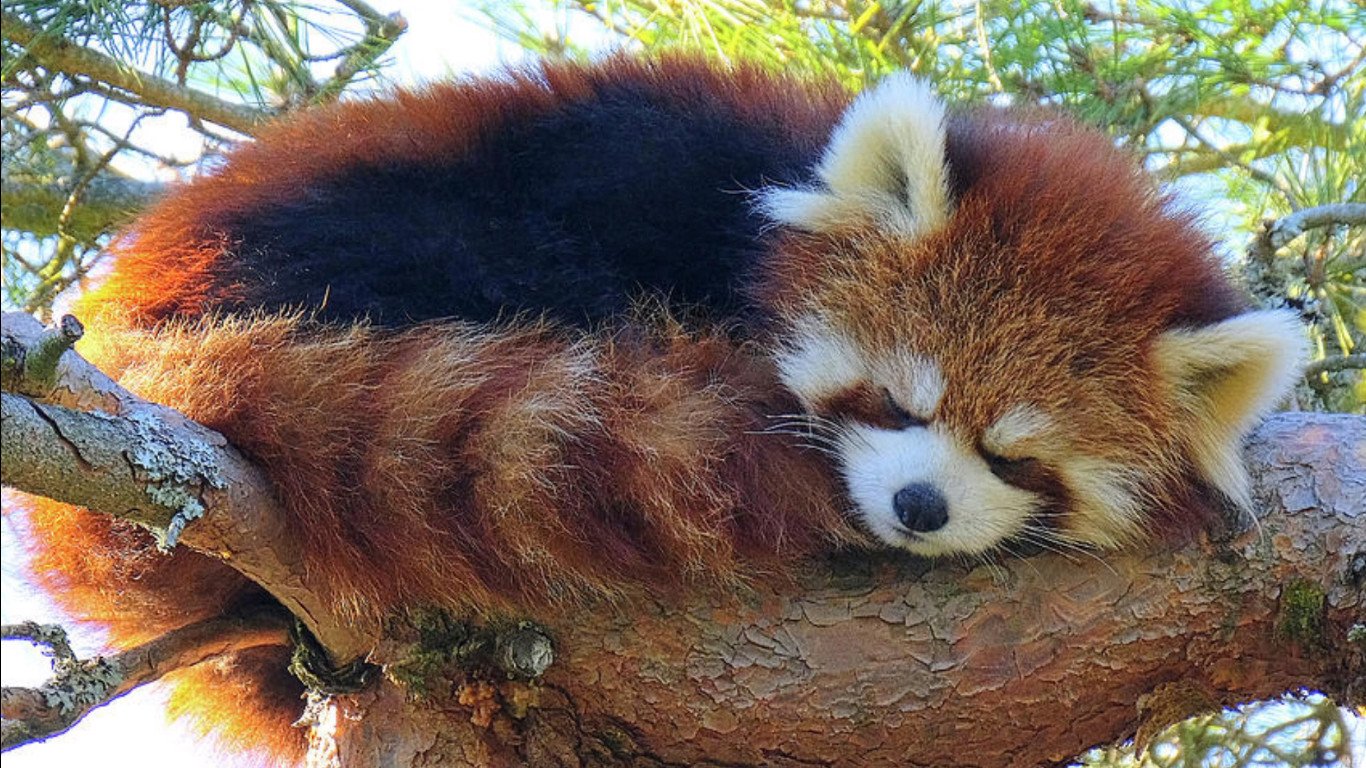
The red panda, to me, looks like a combination between a fox, a raccoon, a little bear, a cat. It’s just this fusion of cuteness overload. Red pandas are highly territorial and live a solitary existence, except during mating season. They love being active at night. Red pandas live in Eastern Himalayas and South-Western China.
I had the opportunity to see them play in the New York Zoo when I was visiting New York and instantly fell in love. Sadly they are classified as endangered. There are fewer than ten thousand red pandas in the wild. It is estimated that there has been a 40 percent decrease in numbers over the last 30 years alone.
Step 4: Refine your shapes
Refining your shapes means that we are going to tweak our basic shapes a little bit more. We’ll be wedging it, almost like a crested moon.
Step 5: Join the basic shapes
Now we need to join some of our basic shapes together. We are going to join the tail, the body, and the ears to the head. Where ever you want to join clay, you need to use slip, and you need to scrape. You are going to scrape, scrape, scrape. You can use a kebab stick if you don’t have a clay pin.
We always need to use slip when we are joining shapes. Slip is the glue of clay. It’s just a lot of water mixed with your clay. It helps you to get rid of the air bubbles when you join two pieces.
We’re now attaching the tail to the body. And you need to work this in well.
Put my body aside for now and start working on the head. The ears are on the side of the triangle, we don’t want them on the top like a rabbit. It’s more to the side. First up, you’re going to scrape and use slip to join the ears.
Step 6: Add facial features
We are going to add facial features to give our red panda personality. We will be adding a cute little nose and some eyebrows. We are really going to build the nose and the little features now before we join the head to the body.
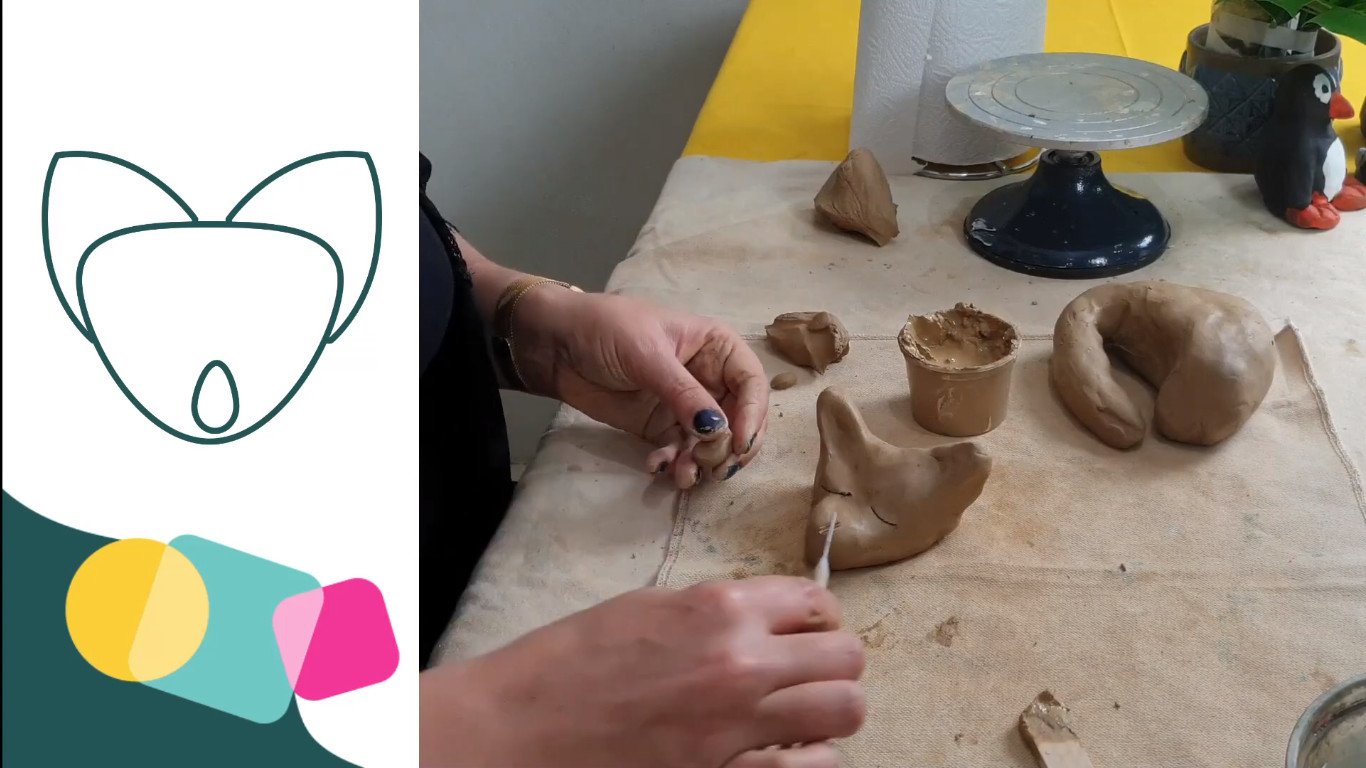
First, you need to make little slits where his eyes are closed. Remember, we are making a red panda sleeping. Then we’re going to add a little button nose The button nose is being shaped like a little teardrop.

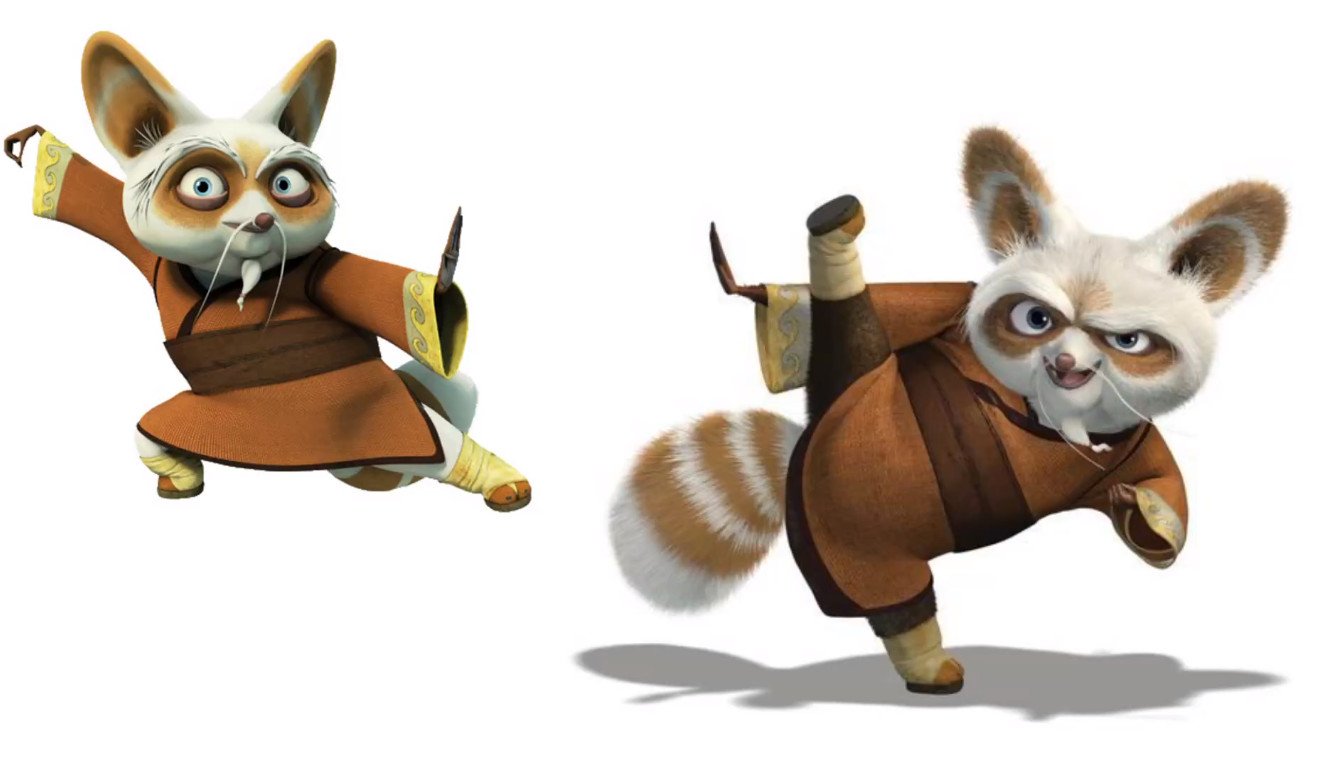
They have very cute little eyebrows. They look like an old man. I believe Master Shifu from Kung Fu Panda is also a red panda. We are going to make the eyebrows now. They are just two fat, little worms. We’ve got my little bushy eyebrows, folding over his eyes to give him that really sleepy look.
We are going to work on the ears now and use the back of your paintbrush to create an indent here for the ears.
Step 7: Add the head to the body
We can now join the head to the body. When you are going to place him, you have to make sure that the head is at the angle that you want it. At the back of the neck, there might be a gap, so you’re going to make a little worm for extra support. Place the worm around his neck and work it in gently to remove all the air bubbles.

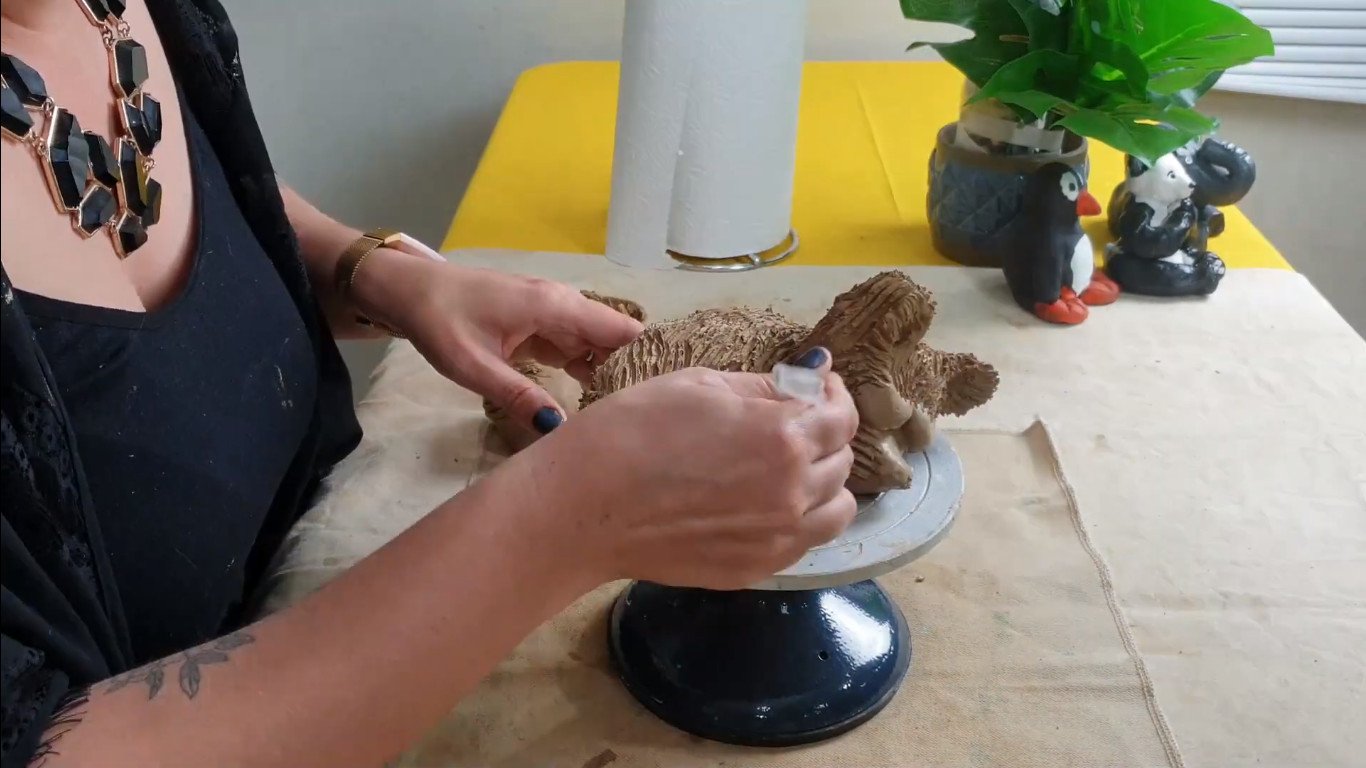
Step 8: Add some texture
Let’s add some texture to our little creature. We are going to add texture and some fuzz. I think the fact that they are so fuzzy makes them the cutest creatures ever. You are basically using a plastic fork and I just want to show you that we are going to be scraping.
I want to show a trick now to add some extra-fine hair if you want to. I’m going to use a kitchen sieve now, and all we’re going to do is take some clay and push it through the sieve. It doesn’t matter, you can use any sieve you like.

You’re going to push the clay through the sieve, that gives you wonderful little hairs. You need to use slip to attach these hairs. A few of them will fall off once they dry. So I always try to add more slip than I need.
I have decided to call it Rory, the red panda and we’re going to place the body on a plastic plate so that she can get ready for her drying. Gently take her off and make sure not to damage anything. We are going to cover her with plastic. We want air-dry clay to dry extremely slow, especially for the first three days.

It has to lose moisture slowly, otherwise, it will crack. Wrap her in plastic, put her in a cupboard. After three days you can remove the plastic. Let her get some airflow, then take her out and put her in a room. Never dry air-clay in direct sunlight. It will be a crack fest, and you don’t want that.
And this our lesson on creating an incredibly cute, textured little red panda.
I hope you have enjoyed this lesson. If you have please give us a like, a thumbs-up, and comment on the video above. Share some photographs of what you have created on our social media channels, we would love to see.
Stay tuned for our next video where I will show you how to finish off Rory, the red panda.
I’m artist Lillian Gray, until next time.