-
×
 Faber-Castell Graphite Sketch Set
1 × R115.00
Faber-Castell Graphite Sketch Set
1 × R115.00
Subtotal: R115.00
Watch this lesson for free on our YouTube channel
It can be quite overwhelming and confusing. As an artist you need to understand 1-point perspective, 2-point perspective and when more confident move onto 3-point perspective. In this lesson you will learn how to Draw One Point Perspective drawings and Two Point Perspective Drawings.
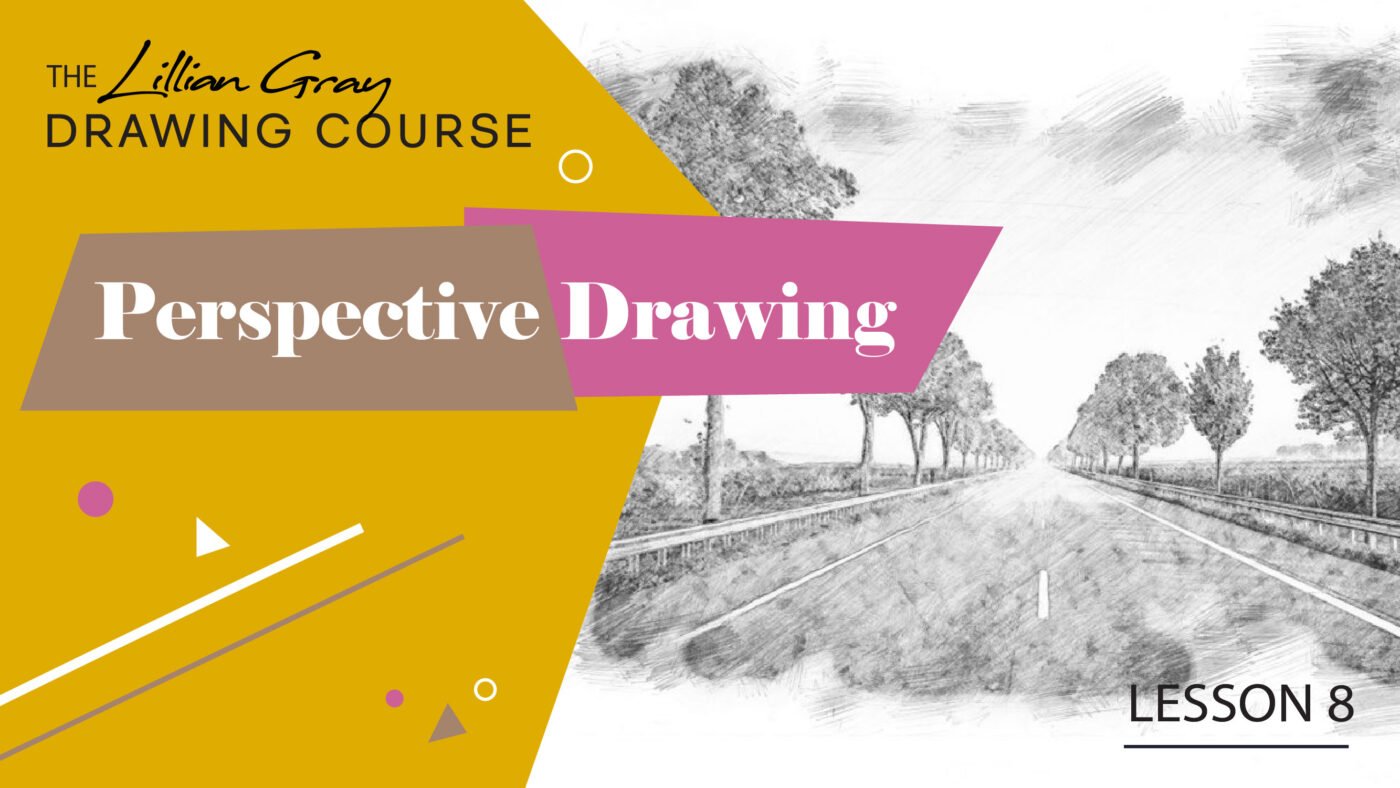
In this lesson we will look at perspective drawing using 1-point and 2-point perspective.
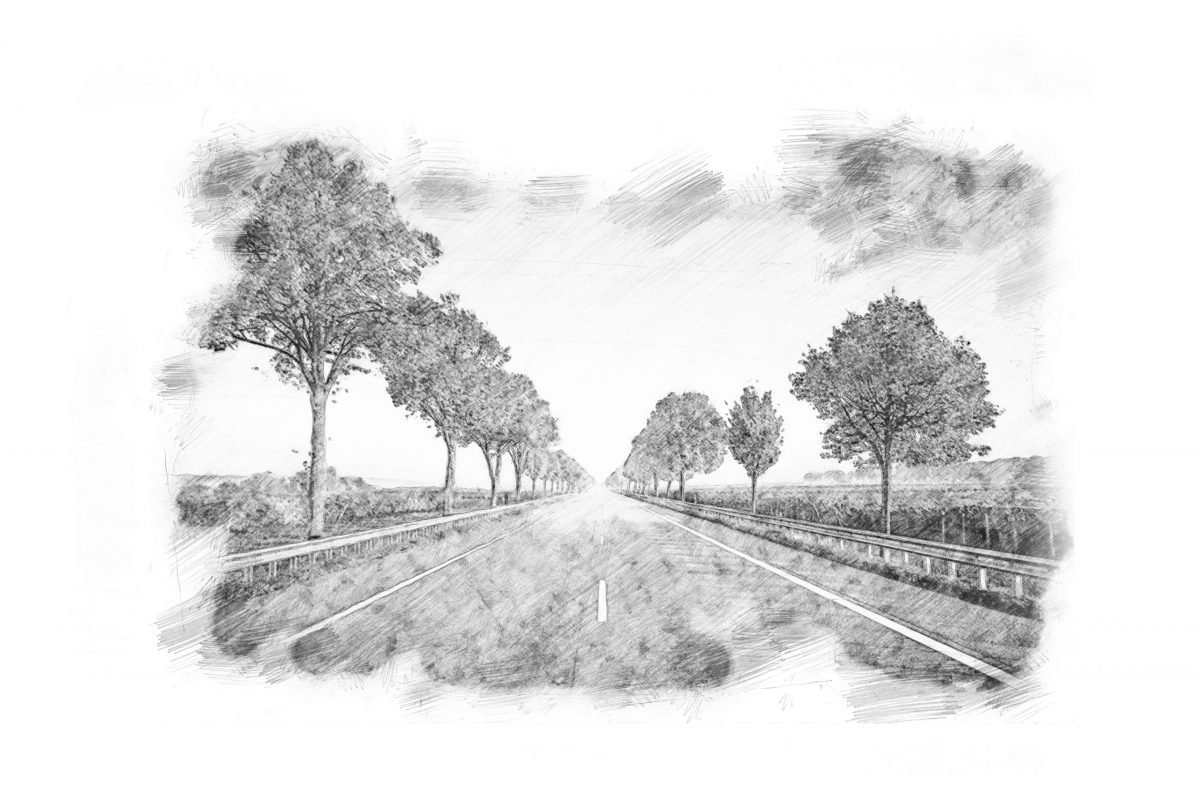
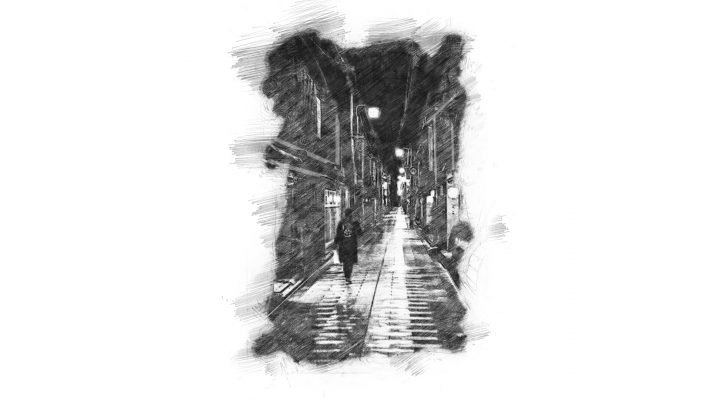
We use perspective drawing to create depth in our art. We might have a beautiful picture of a road vanishing into the distance and you have a lot of telephone poles becoming smaller and smaller and those are all going towards the vanishing point.

Simplify, simplify, simplify! So that you can easily apply it to your art and know when something is wrong or why something looks out of proportion or why you cannot convey that sense of depth.
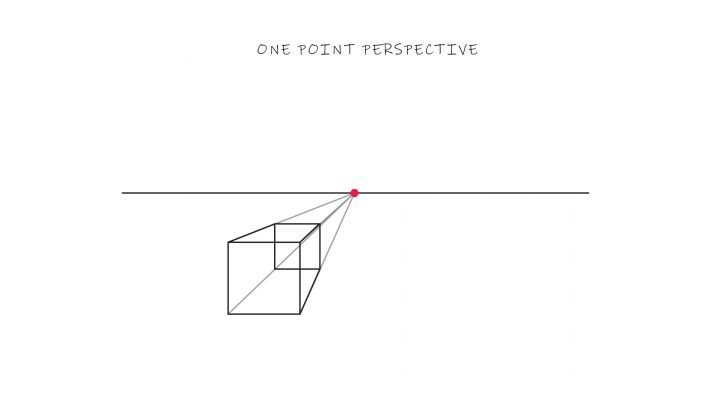
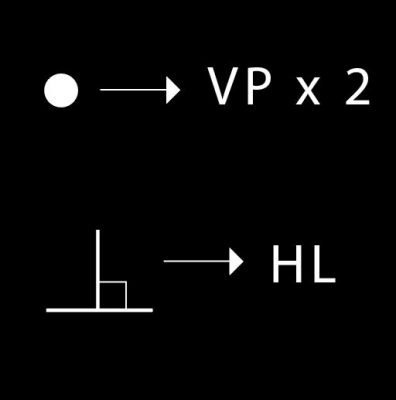
The first thing you need to know is that we have an Horizon line (HL) and 1 Vanishing Point (V.P) hence the name 1 Point Perspective.
1-point perspective = 1 vanishing point.
3 Important rules to remember with 1-Point perspective;
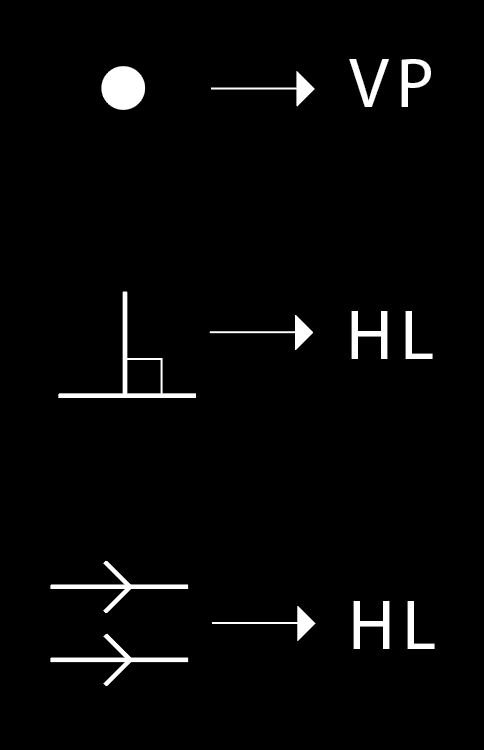
This means that you cannot have lines intersecting with each other, have to be parallel and same distance apart, 90 degrees.
Apply the first rule, by making a point (dot), then draw a line that goes to your vanishing point. When you would like to draw a line, it has to be perpendicular to the horizon line – meaning that you are going to bring the line straight down.
Remember all lines consist of two points. Every point you introduce, has to go to the vanishing point.
When I would like to draw another line horizontally, it has to be parallel to your original horizontal line (you have now introduced another point). That point again, has to go to the vanishing point.
Once again if you want to go up straight it has to be perpendicular, introducing yet another point – that also has to go to the vanishing point. Drawing another horizontal line to complete the block – it has to be parallel to the original horizontal line. You can now decide the width of the cube – remember all line perpendicular / parallel lines. Then you have completed your cube drawn with some perspective.
First we are going to place squares all around your main one to apply the perspective rule.
This is an easy way to start;
Remember when you introduce a line, a line has 2 points (note a square has 4 points)
We have now introduced a lot of new points into this drawing. We have applied 2 of our rules so far. We have kept all of our line perpendicular, we have kept all of our other line horizontal – parallel and now we need to apply the 3rd rule, where each point goes to the vanishing point
Then you can decide the width of the squares, you can make them wide long or short – it does not matter as long as we stick to the perpendicular and horizontal line rules. Then all those new points goes to the the vanishing point.
You can also make your boxes hollow so that you can see your line inside – the inner plain of your box.
Really take the time to practice and apply this.
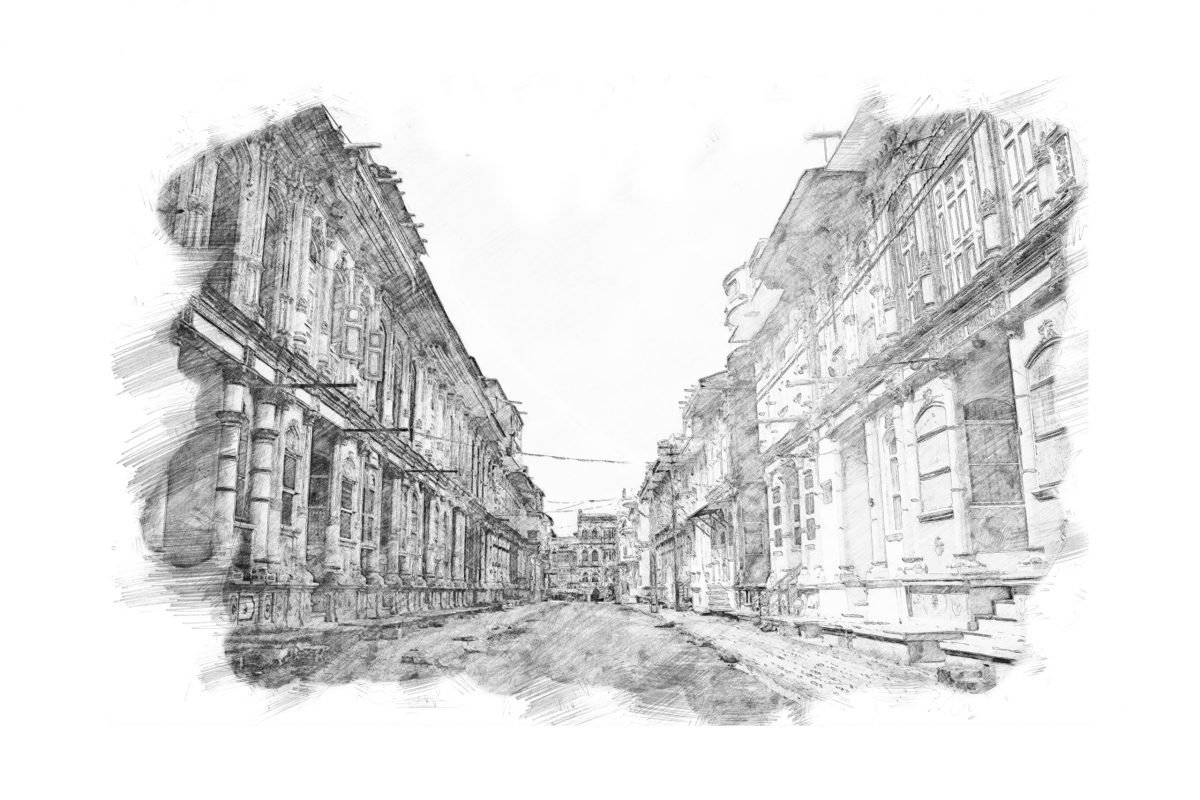
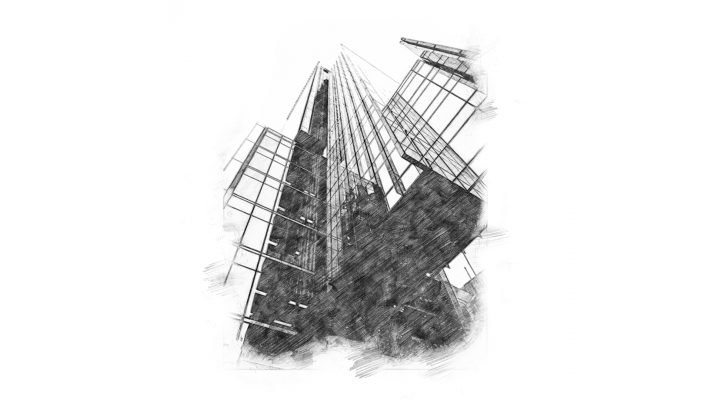
Attempt to use Exercise 1 in an actual picture. You are going to draw a city.
For this exercise use pencils
Remember it is important that when we draw, we always start with a very light pencil.
As pointed out in “blue” the lines on the picture example – you will be drawing out in VERY light pencil.
You will then progress to draw with an HB pencil, maybe even a 2B to draw your squares – once you know exactly where they should be placed.
So if you are going to make all of your lines go to the V – Point with a dark pencil, you are going to be very confused and perhaps completely lost in the maze.
So keep it light and only once you know where the square has to be you commit with a darker pencil.

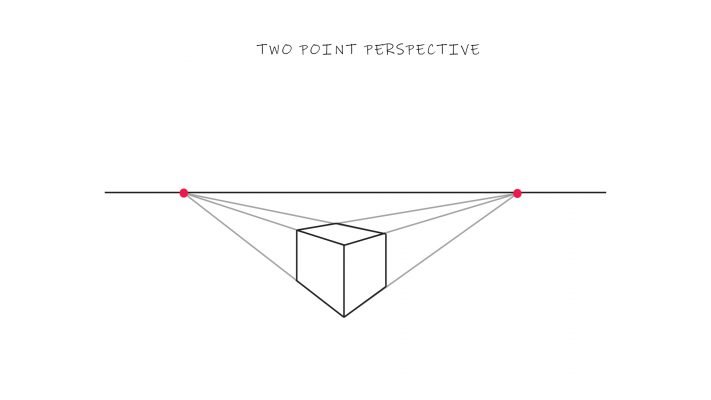
We still have and start with our horizon line. It will now have 2 vanishing points.
Remember the same rule applies – where vanishing points have to be on your horizon lines and cannot be anywhere else.
The following rules apply:
When you introduce a point to your picture, every single point has to go to the vanishing point.
No longer just one.
Rule number 2 – when we bring a line down, it has to be perpendicular (90 degrees) and remember every line has got 2 points.
We have introduced a new point, so it has to go back to rule number 1 and that same point has to go back to the other vanishing point.
Now you can decide how wide your square or box is going to be and by doing so, you have introduced 2 more points.
Note: Look at all the points in your square, make sure that all of its points are going to BOTH vanishing points. Draw in all the extra lines.
Complete the box by drawing darker lines on your square and color it in.
Now we have a square following 2 – point perspective.
It can get very tricky now, but let’s keep it simple. In our first approach we are literally going to be drawing perpendicular lines around our picture plain.
See how we are going to apply this;
We have now introduced perpendicular lines. Note still that every line drawn has got to dots 2 points.
So following our rules. ALL dots have to go to BOTH vanishing points. Now draw in and connect all of those lines with a very light pencil.
We are going to continue applying our perpendicular rule. Then again deciding how big or wide your squares are going to be. Draw outlines of squares with darker pencils once you know the size of the square.
Once we have done that we have introduced two more points to our picture, remember to make sure that those new points need to go to both vanishing points.
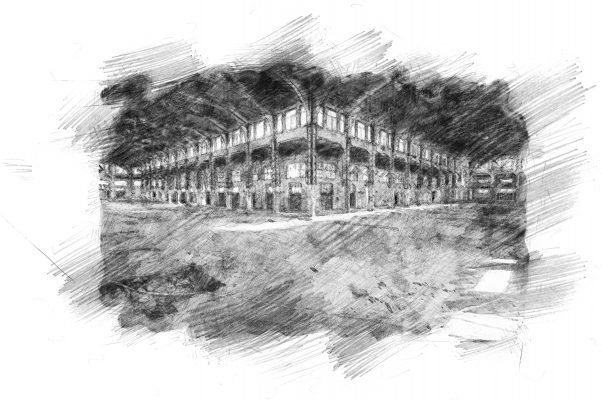
Keep going until you have completed all of your squares to the 2 – point perspective rule. This will help you create a sense of depth in your artwork
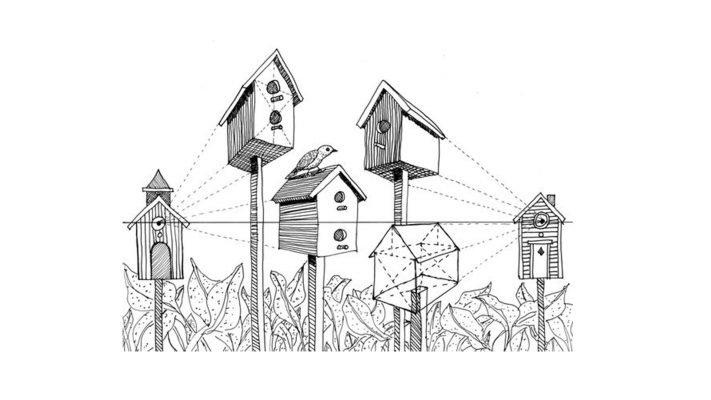
Now you are going to practice by drawing a few bird houses.
You are often going to use this when drawing a house or a landscape. 2 – point perspective gets the placement of the house correctly.

Note that as an artist, 1 – point and 2 – point perspective are the most important.
Only when you feel really comfortable can you continue onto 3 – point perspective.
Same rules apply here as with 2 – point perspective, but here you are going to have a 3rd vanishing point. This point is placed up in the sky. This is to show a lower angle view. Remember the story about the Superhero in one of the previous lessons, where Godzilla climbed a building which is now vanishing into the sky with this perspective. Trying to depict a lower angle.
Lastely, remember;
Download two exercises to copy for free here
Our online store aims to remove all confusion when it comes to shopping for art supplies. We only stock what is really needed and don’t flood you with choices. To view drawing supplies: