Kids Art Projects
The 6 final steps to make your penguin sculpture amazing

Jun
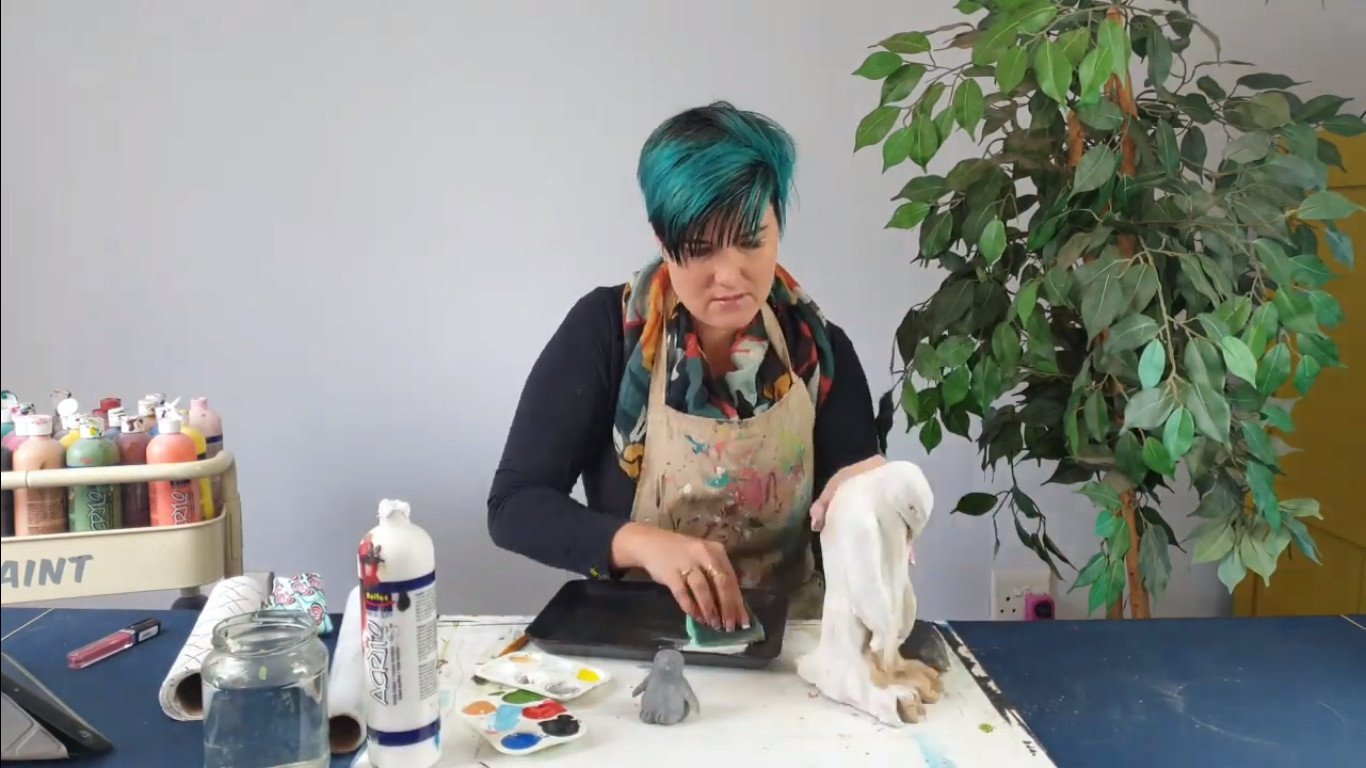
Hi, I’m artist, Lillian Gray, and today’s lesson is all about how to finish our beautiful Emperor penguin sculpture.
You will need the following for completing the project:
- 100 grit sandpaper or a kitchen sponge
- A variety of paintbrushes
- Black, white, orange and yellow acrylic paint
- Additional sponges for texturing
Smoothing out and preparing your Penguin sculpture
The first step is to finish off this penguin sculpture nicely and smoothly. You don’t want it to look homemade, you want it to look awesome. You can sand down in areas that are a bit rough. You can use the top of an old kitchen sponge to really just smooth out the edges, and make sure they’re ready before you start painting. Make sure to get rid of all the dust before you start putting on your acrylic paint because you don’t want dust in your paint.

Adding some colour to your penguin sculpture
1. Colour blocking your penguin sculpture
I love working off actual references of what these animals look like so that I could paint them accurately. We’re going to be blending a lot on these little guys. First up I just want you to notice that the middle chick is like a light grey and the mommy is like a black, white, and a bit of yellow. First I just want to almost colour block them and just get a nice solid colour on.
I’m just going to give them a solid white face. I’m just using the sponge and just going to make sure I cover all of it.

2. Painting the feet and toes
I’m not too much bothered about the toes, eventually, I’m going to do the toes in black.

Emperor penguins’ feet are really gross and really not pretty, so I’m going to just paint the feet of the penguin sculpture black. You can put a bit of a sponge effect on if you want that true look that they’ve got. Their feet are so massive. Just remember, they’re there for insulation for the baby to keep the baby warm or breed the egg in that crazy Arctic ice. Make sure to twist your sculpture, make sure to get into all the little crevices, there’s always a little angle that you might have skipped. So it’s good to just turn it around and double-check.
3. Making your outlines and filling in the black
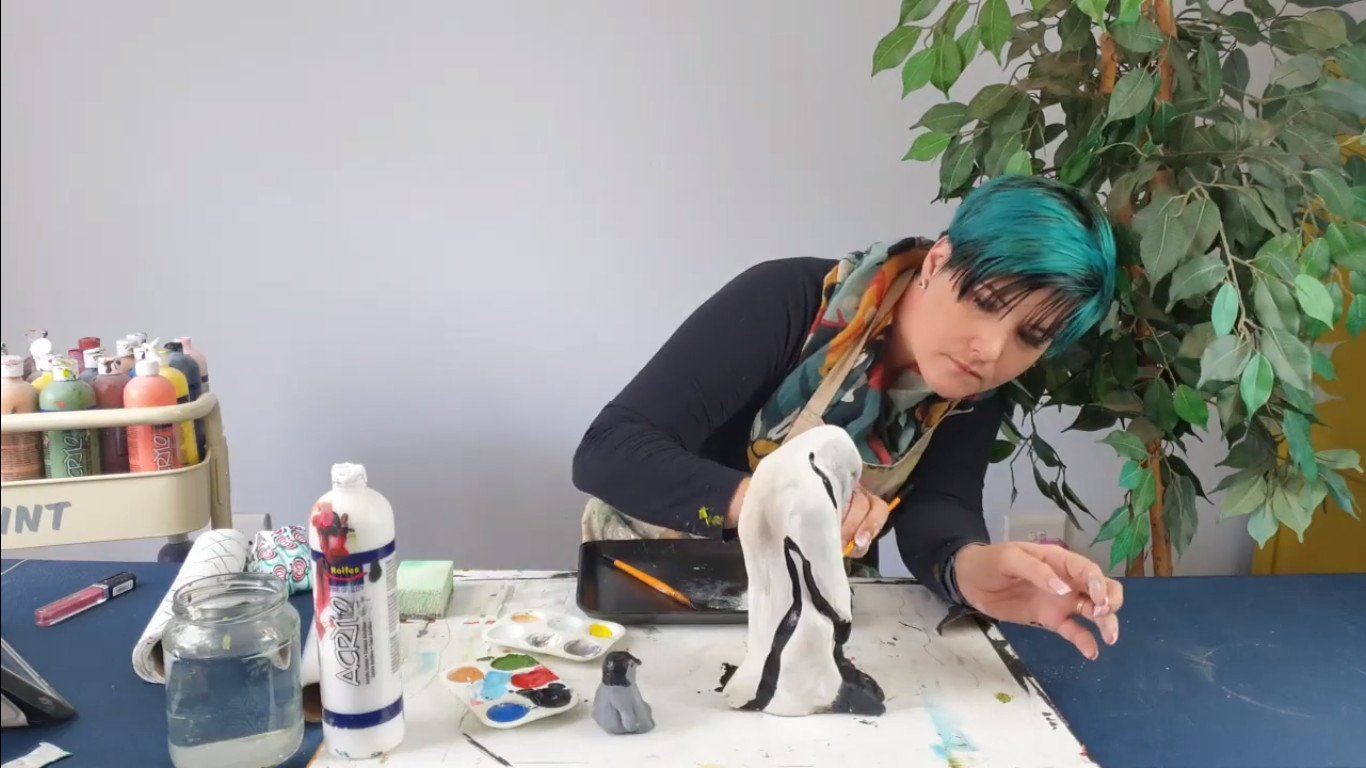
I’m going to take a tiny pointy brush and make sure that I just put in all the little lines exactly where I want them and then fill in all the black. I’ve got in all the black. They are areas where the lines are nice and crisp on the emperor penguin and then there are areas where it actually fades.

So down here with the legs, it really fades into grey.
4. How do I get the texture on the feet?
So you can brush in the grey, you can use your finger to blend. Fingers work well, sponges work well. You can even take your sponge and get that crazy texture on the feet that they do have, which makes it feel just a lot more real. And you’ll see the black really makes the penguin sculpture’s feet pop. I’m really just working that in.

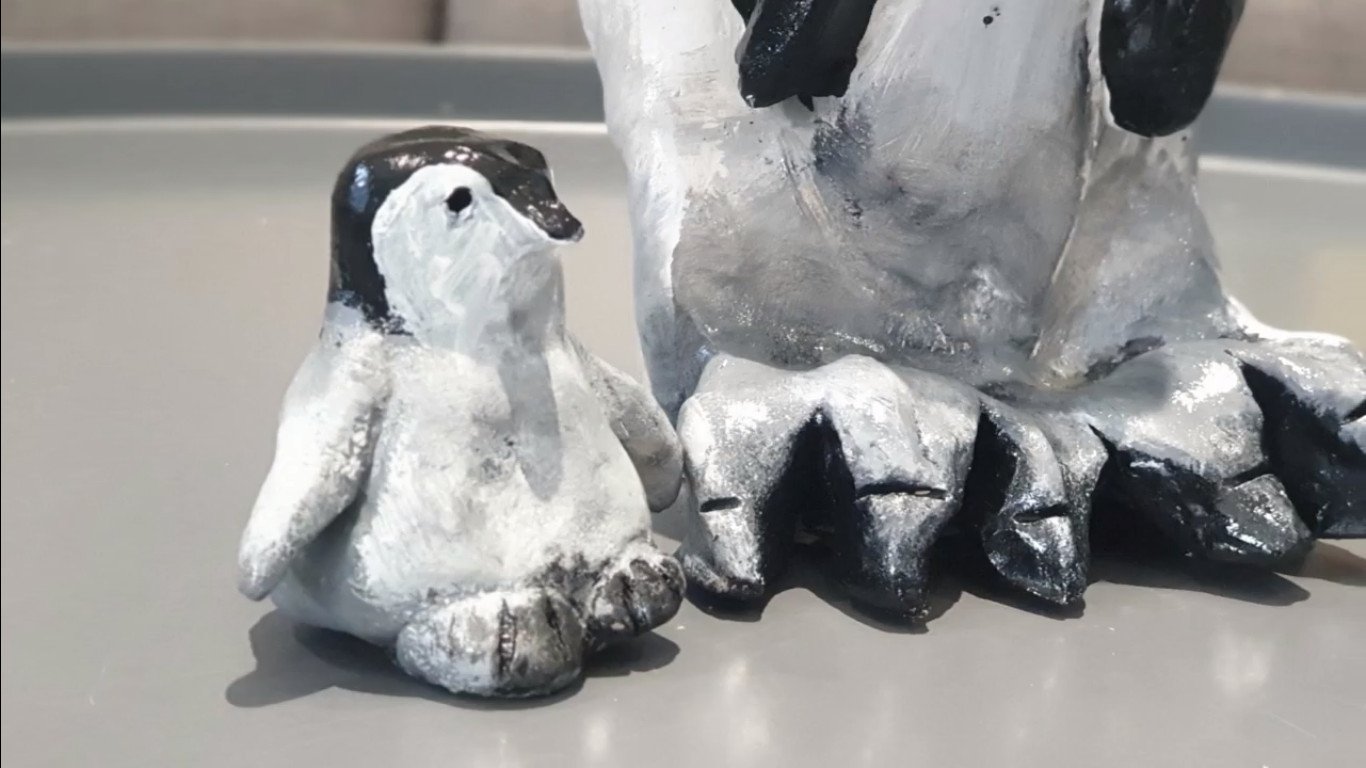
Just make that belly blend. Remember this grey also camouflages the chick. So the chick is also nice and woolly. They’ve got these like crazy feathers, fluffy feathers when they’re born. I am just sponging on that little fluff ball texture that they do have. They don’t have such clean lines because they’re all just a ball of fluff when they’re born.

I like this texture. I’m also going to take a nice pointy brush. Now I’m going to really put in his face. The chick’s face is white. Just blend, just dab with your finger. Okay, I think my little guy is almost done. What I’d like to add now is just his little feet. It’s also just a little bit darker than the rest of his body.
I’m just brushing that in and to keep the texture. I’m working quite rough and I can just dab with my finger. There’s my little Baba.

5. Adding the fancy yellow and orange
We’re now going to add the birdie-like fanciness for penguins, the yellow and the orange blending. You would like your black to be really dry for step because you don’t want these bright colors to really get dirty.
6. Sealing and finishing off your penguin sculpture
I’m done with the painting. We are going to seal them. You guys can either seal it in a matte clear spray varnish (spray paint) or a shiny one, depending on the look you want. Or varnish for paintings, oil paintings. It really depends on what you want. I would seal this one separately, and this one separately, and once they’re dry you can snuggle the little baby onto the feet.

Always wear a mask with spray paint, they’re quite toxic. Work in a well-ventilated area. That’s it, beautiful emperor penguin sculptures. I’m going to leave them to dry for a bit. They should be dry in about two minutes and then they’re ready to show off.


Thank you guys for watching! I’m artist Lillian Gray. Remember to Like and subscribe. See you guys next time!
Check out the videos on making a great chicken sculpture
Go to our blog to find more interesting projects for you to do!