Kids Art Projects
Pencil drawing of a gorgeous tiger in 4 steps
Jun
Hi, I’m Lillian Gray, South African fine artist, and today I’m going to teach you how to draw an endangered animal with pencils.
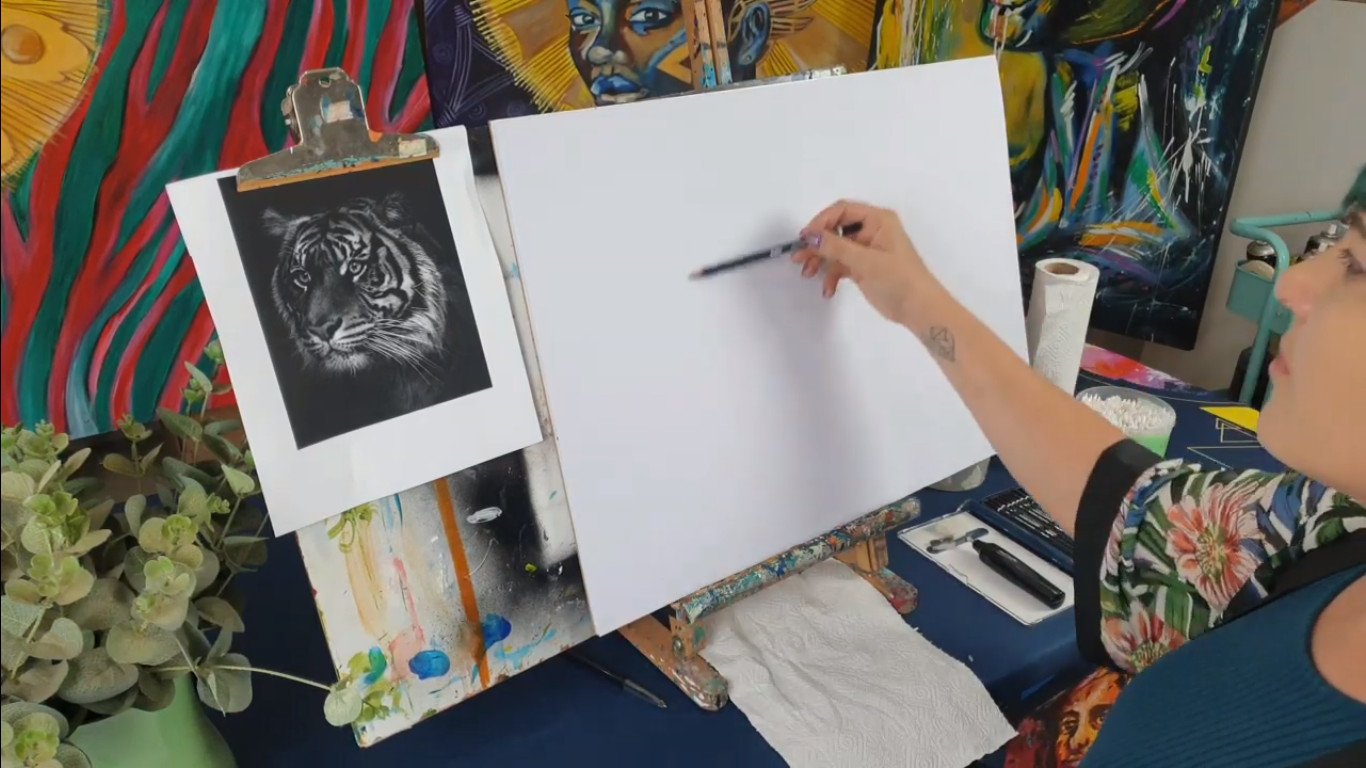
The basic setup of your drawing station
- Table easel
- Backing board
- Bull clip
- Reference
So let’s just start with the basics on how to set up the station. What I’ve got here is a table easel, a backing board, a bull clip with my reference. It’s very important that you guys draw on an easel and not flat on a table. The reason is that it creates distortion and your eye first sees this spot, then this spot, and this spot. When you then tilt it up your drawing is out of proportion. So it’s very important to work on an easel.

Importance of setting up your station for drawing
- Easel prevents smudging
- Reference needs to be eye level
- Be as comfortable as possible
- Cleanliness: pencil is an unforgiving medium
With pencil drawings, an easel is even more important, because it helps to prevent a lot of smudging. You can also make a really cheap easel out of cardboard. You don’t have to have an expensive one. Another thing just to bear in mind, is that your reference needs to be eye-level. You don’t want to go insane like a little hobby horse trying to draw.
You want to be as comfortable as possible and keep your reference with your hand-eye level. If you are right-handed, your reference should be on the left side, if you are left-handed your reference should be on the right side. You don’t want it to be in the same place as your dominant hand, because you have to look over your hand to be able to see your reference. You want to be as comfortable as possible.
Another thing I would just like to add about your drawing station is cleanliness. Working with pencils, it’s a very unforgiving medium. You want to have a completely dirt-free station I don’t usually draw where I paint, and I don’t usually draw where I work with clay. If I have to, I make sure my surfaces and everything is completely clean. Also, wash your hands before you start. It’s very important to get rid of all the excess oils or moisturizing creams on your hand before you start drawing.
What are the supplies I will need

- Pencil set
- Paper stumps
- Earbuds
- Paper towel
- Eraser
- Sharpener
Here I have my drawing supplies, the cat is optional, but everything else you’re going to need: a proper set of pencils, ranging from dark to light. We were going to be using paper stamps, earbuds, and paper towel to blend with. I’ve got various erasers, an electric eraser, a normal eraser.
I love to have a little container to sharpen in because I’m lazy and I don’t want to keep on getting up and walking around, so I like adding just a little container where I can discard my sharpening shades in. And to keep that secret, so as not having to jump up and down all the time. This is going to be what is needed. The bare minimum, if your budget doesn’t allow this, is at least have three pencils, very dark, medium, and a light one. Just a normal eraser and sharpener.
The 4 basic steps of drawing
Step 1: Basic shapes
I’m going to start by breaking this down. The first thing I do is to plot and I plan, using my basic shapes. It’s very important that you guys actually draw in the middle of your page, and you don’t end up drawing a tiny little tiger here at the bottom. I’ve seen it a lot where kids have to draw ballerinas and stuff, and then the feet don’t fit nice and they chop it off, that’s not how we operate. We plan so that we avoid mistakes like that, so when I am plotting and planning, I’m using basic shapes.
I have a good video about that, I have a good video explaining all the different pencils. I’m not going to recap that, you can go watch them. 0What I’m going to start with is my light pencil. I want to use a very light pencil. I personally like starting with my HB, where I hold my pencil at the end. I’m very loose and free and working with most of my body and my whole entire arm.
I never work against my natural curves. This is my natural curve, this is against my natural curve, which really causes terrible shapes. If you want to work with your body, do not fight your body. We are just going to start but I’m going to break down my tiger into its most basic shapes, and I am lightly drawing where I want him to be. I’m going to ensure that my tiger really fits into my drawing.
Now I’m going to move on to really analyze what I’m going to draw, and make sure I understand what I’m drawing, before I actually start drawing. So what I’m going to do is, I’m going to be looking at my values. That is my darks and my lights. What really helps me is that if you squint your eyes a bit when you look at your reference, which blurs it, and once it’s blurred it shows you where are the lights and where’s the darks are.
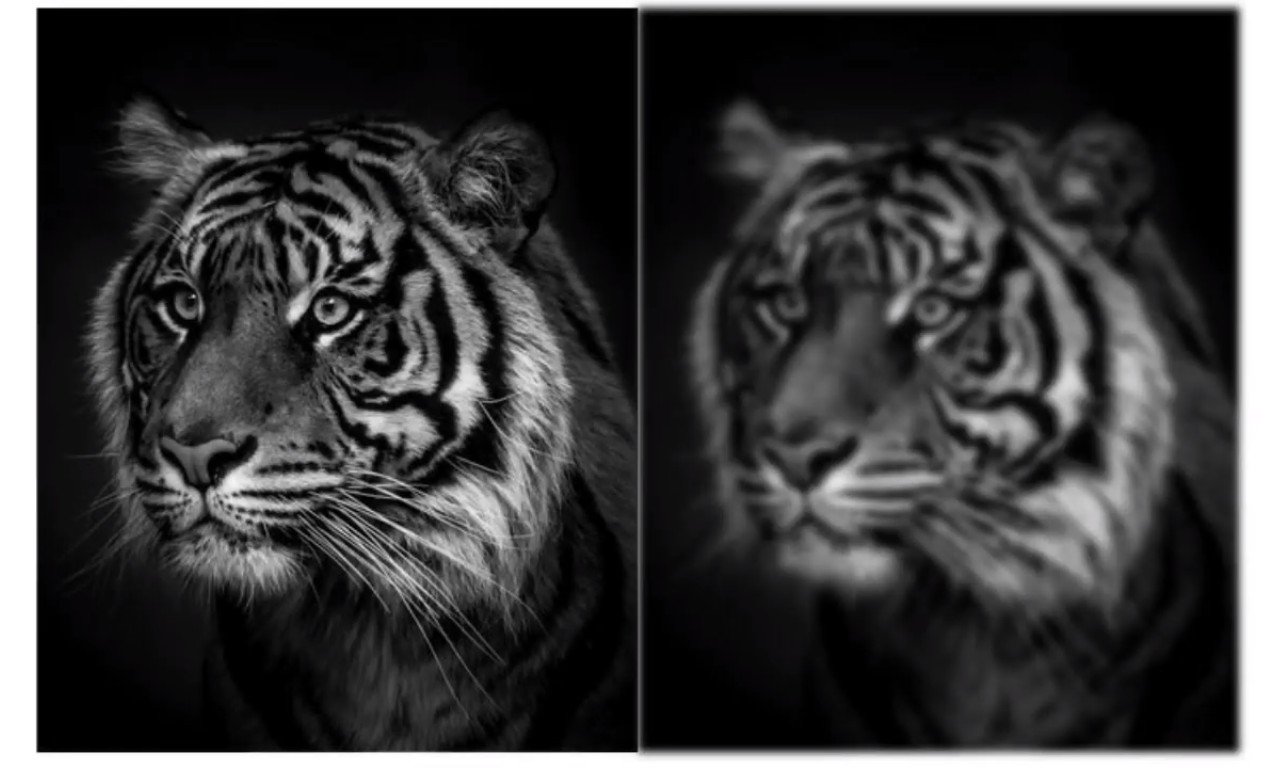
So that is just a fun little trick to really see where are your two most extreme values. Then, what I also do is try and understand my subject matter. This tiger is made out of hair. I need to communicate with my pencil, hair. Hair usually has a root where it starts growing, and it’s thicker at the root and thinner where it ends. So I understand that it’s hair.
I also understand that my nose is a different texture from my eye. The eyeball has quite harsh reflective light, it is moist, it looks very different from hair, so I cannot draw the eye in the same way I’m going to draw the hair. That would be miscommunicating. Remember, as an artist you are speaking a universal language. Art is a language and you need to talk with whatever is in your hand, so I need to tell the viewer this is hair, this is a nose, this is an eye.

Another trick I just want to show you is to not always look at the positive space, but also look at the negative space. You want to actually see what the shape around the tiger looks like and make sure that in your drawings, your negative shape is also correct, and slanting the right way. That’s going to really make sure your proportions are in order. This is also covered more advanced in our drawing course, so please make sure to go watch our drawing course online.
Another tip you need to bear in mind when doing a pencil sketch is that you do not start dark, you start light and gently build it up. It’s the same principle that applies to watercolour. When we are doing oil paints or acrylic the opposite applies, we start dark. With pencils you want to build up your layers, so you’re going to start light and then go dark. You are not going to go off to the races with a 4B or a 6B pencil, you’re going to save those for later. We’re going to start slowly, building layer for layer to get darker.
So let’s just cover the basic steps. You’re going to start with basic shapes, then you’re going to start with your outline, also known as the contour.
Step 2: The outline
None of us are walking around with a cartoon outline around us, we’re not the Powerpuff Girls. So, the contour is just to make exactly sure where what is. I’m now pushing slightly, a bit darker. I’m still on my HB pencil, but I’ve really now committed to ways what and sorted that out. Step three is to add the shadows. I’m now starting to add darks and lights and we’re going to finish off by adding details, the darkest darks, and bringing back some highlights with erasers.
I’m now going to talk about blending, I do not want to use my finger and blend. Never, ever, ever. The reason is you do not want last night’s McDonald’s on your drawing. You do not want your Take-two Streetwise oil on your painting. Your skin is always producing oils and, when I touch my paper the paper will absorb the oil. It will make dull marks on your drawing. So we do not touch our paper with our hands, you’re going to be using paper stamps to blend, paper towel and earbuds work really well to blend areas with. Let me show you how that’s done.

That is how you blend. Blending is just a nice base, blending doesn’t necessarily communicate a lot. It just tells me what kind of paper you’re using. If you’re using a course paper your blending will look quite rough, if you’re using a smooth paper your blending will look quite smooth. You need to now communicate with your pencil. This is hair, this is glistening in the light, that’s an eyeball, and all of those things we really want to know. I’ve started delving in and start drawing the head. When I draw hair, I am starting from the root where it’s the thickest, and I flick it out to make it thinner where the hair ends.
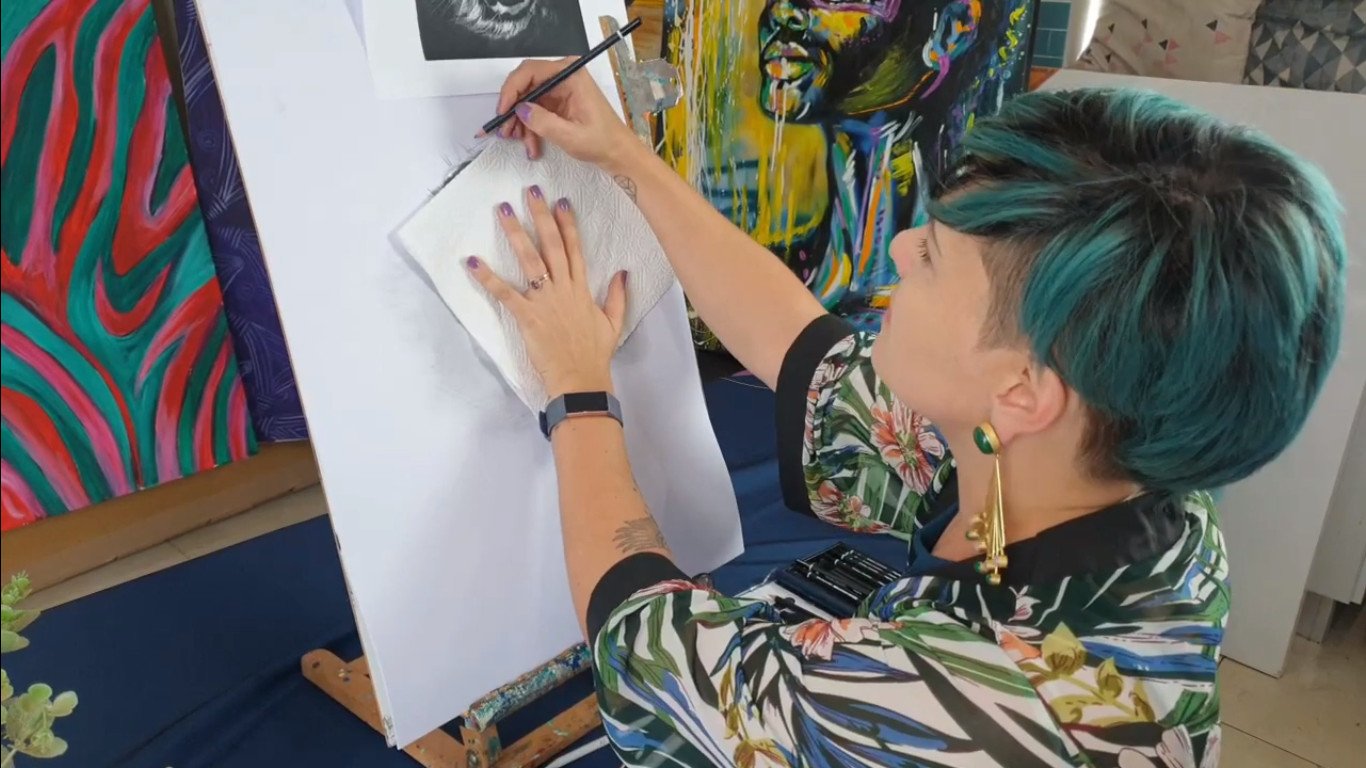
So with a pencil sketch, there is smudging you deliberately want to achieve and then there is smudging you want to avoid. If you are right-handed it’s good to start in the left-hand corner and complete it, finish it completely, and start moving down, down, down, as you sketch. That way your hand won’t cover and smudge. If you have to go back over a different area, cover it with a paper towel and draw so that there’s no friction on your page. It really helps prevent smudging, keeping your artwork clean.
I’m not going to work against my natural curve. Remember, you can twist and turn your page to really help. I do feel this is a more natural movement for me, getting these little hairs sorted out than trying to do it all the way down here. For me, it is much more natural. I feel much more comfortable, so I’m going to approach these little hairs, not working against my body, but working with my body.
I’m now going to show you that your eraser is actually also a drawing tool. You can draw using your eraser. I would like to show you those various techniques. If you’ve made certain areas too dark and you want to lighten it, just brush back in the light with your eraser.
If you want to add tiny little hairs, I’ve got this fancy electric eraser. I call it the Rolls-Royce of erasers. The first time somebody told me I should get an electric eraser, I thought they were high or something. But you actually really, really need this. Once I’ve known what it does, it really is awesome. So with an electric eraser, you can really add really small highlights, you can also add some stippling with your eraser, to really start adding textures, when you’ve got whiskers on a cat.
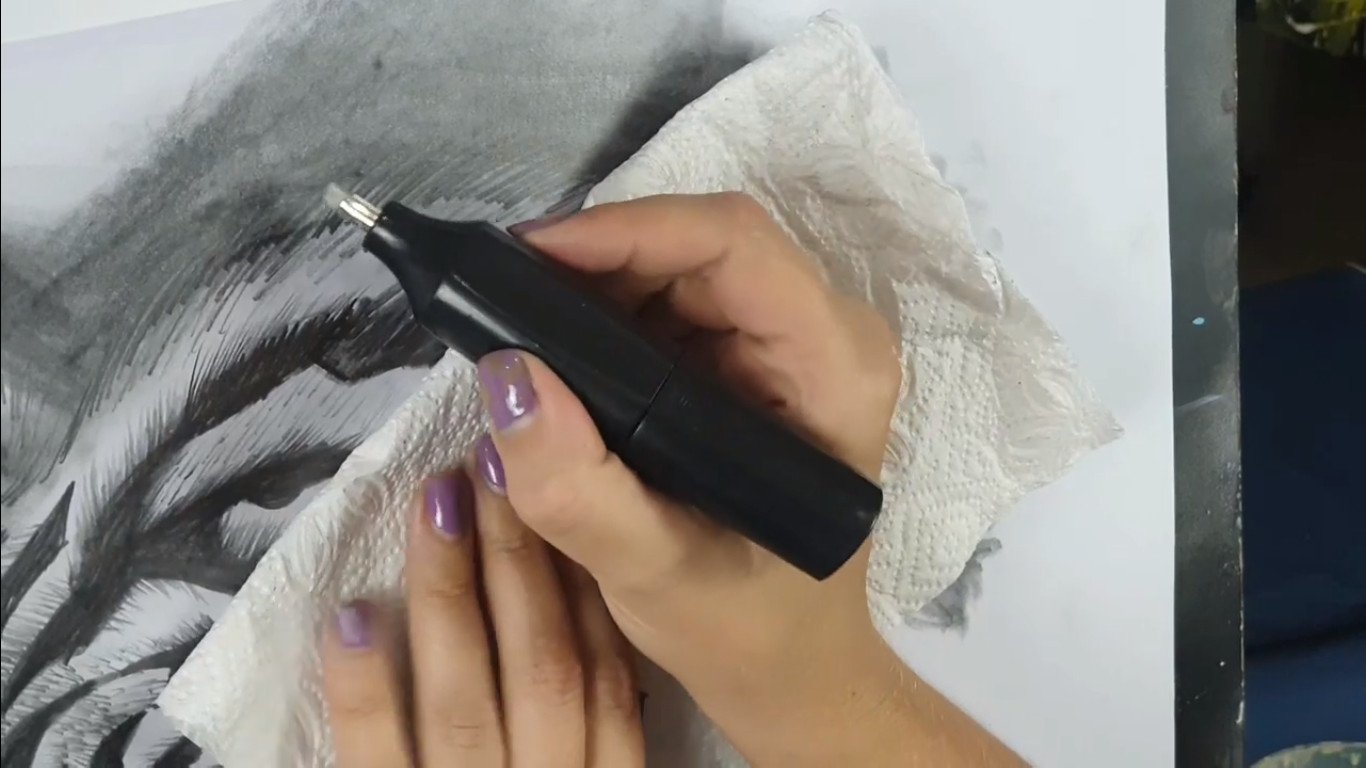
It’s also great to really add the whiskers in with your electric eraser. That I would not do on the easel, but actually working flat, just to keep your hand very stable while you do that. I’m just now going to make sure my values are correct. I’m going to squint my eyes again, look at the darks and lights, make sure that I like what I’ve done, and finish off with some eraser highlights.

I’m done with my tiger, my background is nice and clean. I’ve managed not to make a whole, smudgy mess out of it and if you’ve got some marks on the edges please try and, erase that, but please try and work as neatly as possible. This is exactly what I wanted for this drawing and I feel like it communicates fur, it communicates that it’s a tiger. I’ve got various textures, I’ve got my lights and darks down. I can see that it’s hair and I really like this guy. I think I might keep this one.
This is Lillian Gray, South African fine artist. Be sure to like and subscribe, follow us. Check out our blog for more art projects so that you don’t suffer from FOMO.