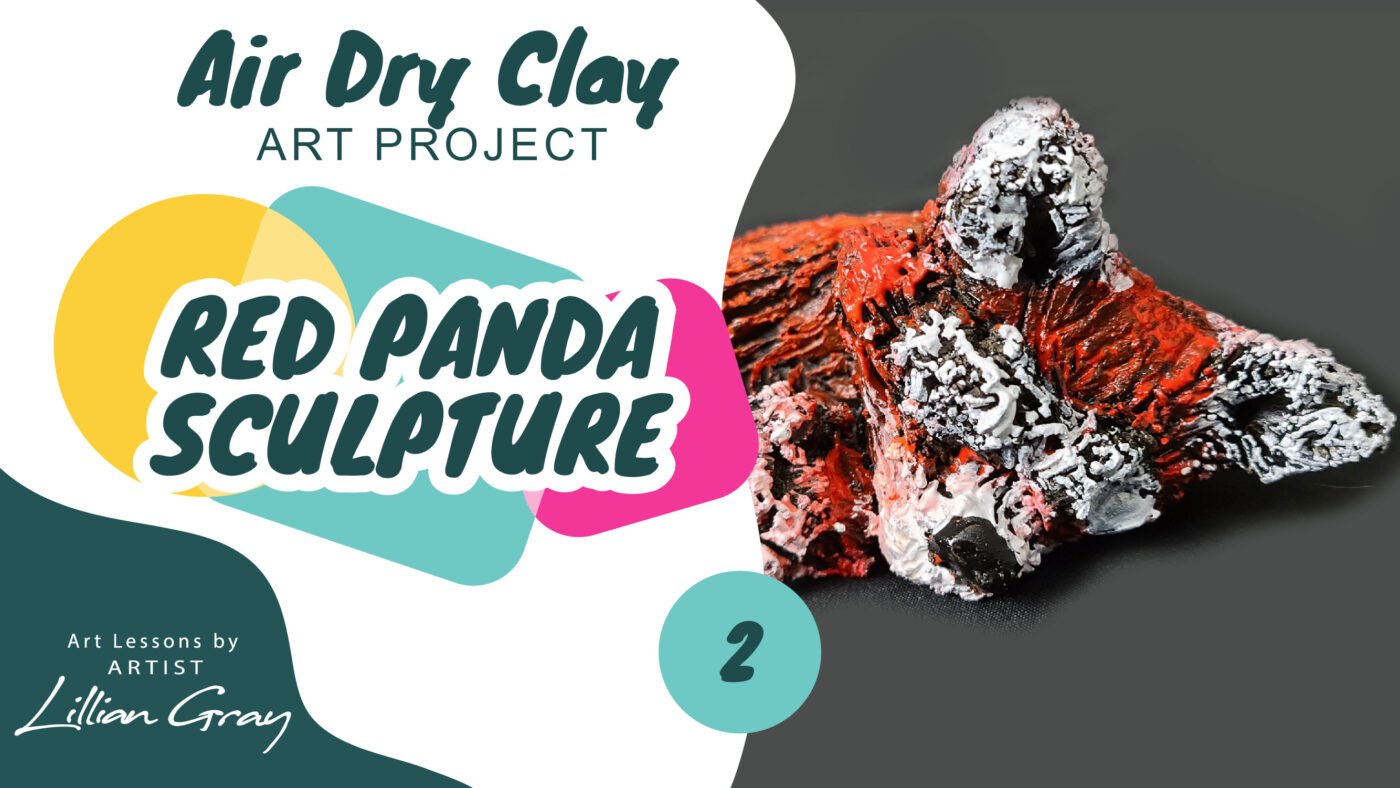
Kids Art Projects
Finishing Rory, the adorable red panda in 5 quick steps
Jul
Hi, I’m artist Lillian Gray and today we’re finishing our beautiful red panda, Rory.
For today’s lesson, you will need:
- black spray paint
- acrylic paints
- various size brushes
- water and paper towel
- clear spray paint
Step 1: Applying base colour
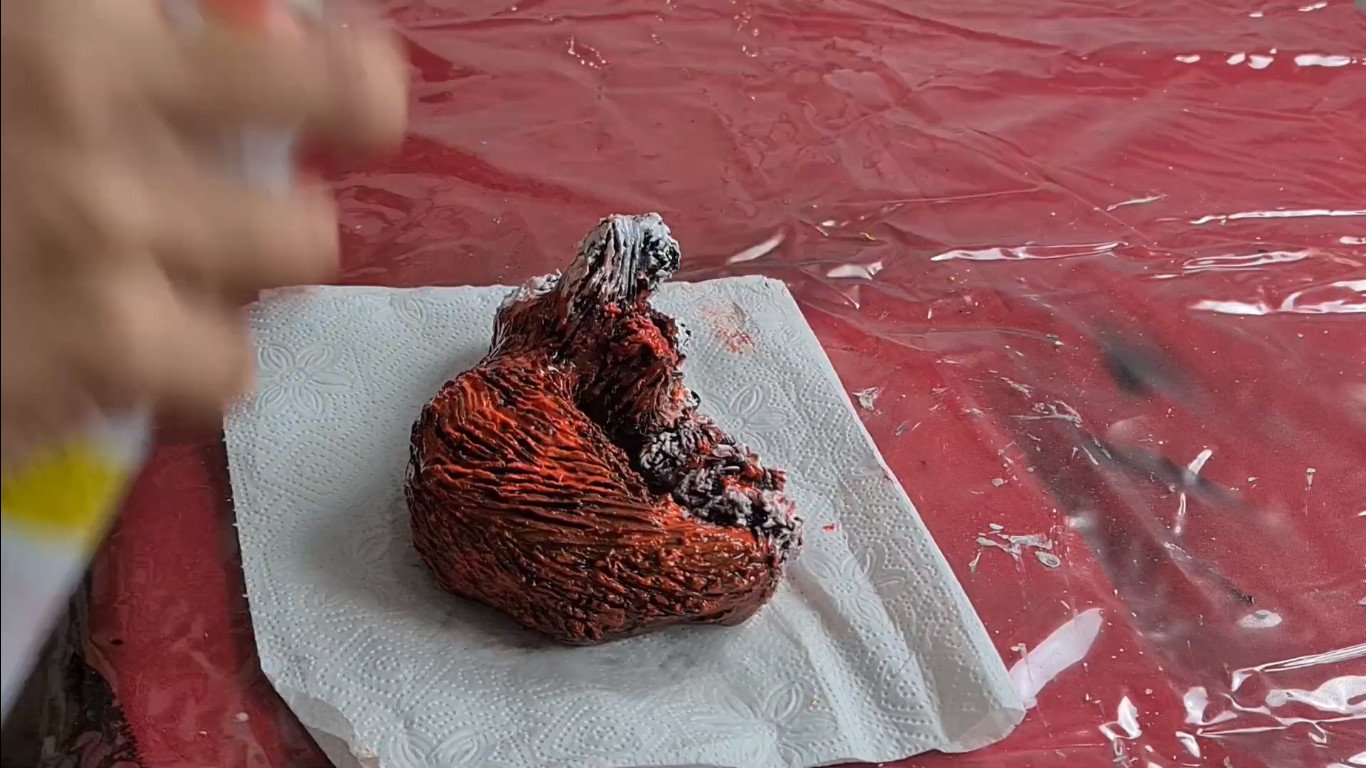
Step one is going to be giving your sculpture a base colour. We are going to use black. Because Rory is so fluffy and rough, I thought that it might be easier to use spray paint. If you don’t have spray paint, you can use acrylic paint. It will just take more time but I feel like spray paint is going to be much faster to get into all the little nooks and crannies.
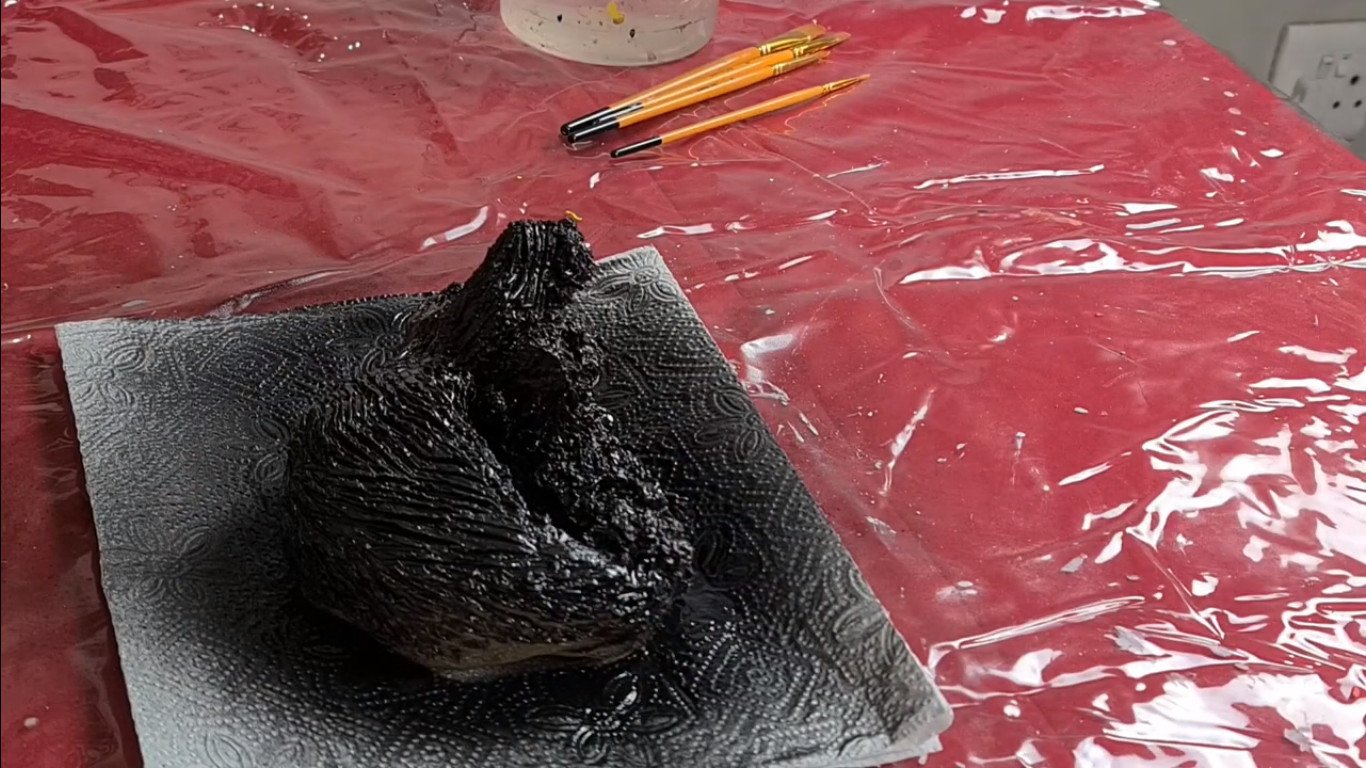
Shake your spray paint really well, make sure your spray paint is ready to go. Spray from an angle, do not spray too close and make sure you’re in a well-ventilated area, wearing a mask.
Now she’s a nice solid black colour. Make sure that your spray paint is 100 % dry before you start working with your acrylic paints. You do not want your colours to get dirty and, you know a bit gross and messy. We want to keep our colours clean, so make sure she’s nice and dry before you move on to step number two.
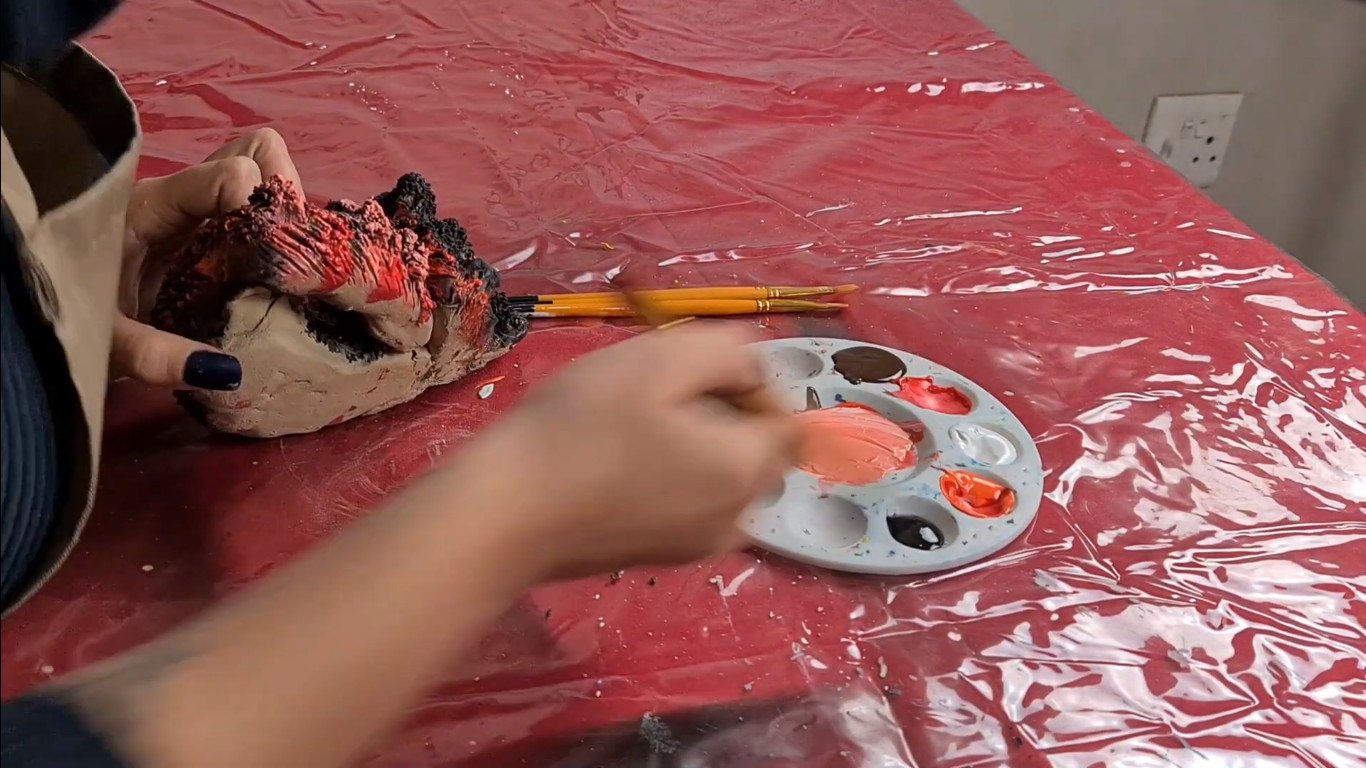
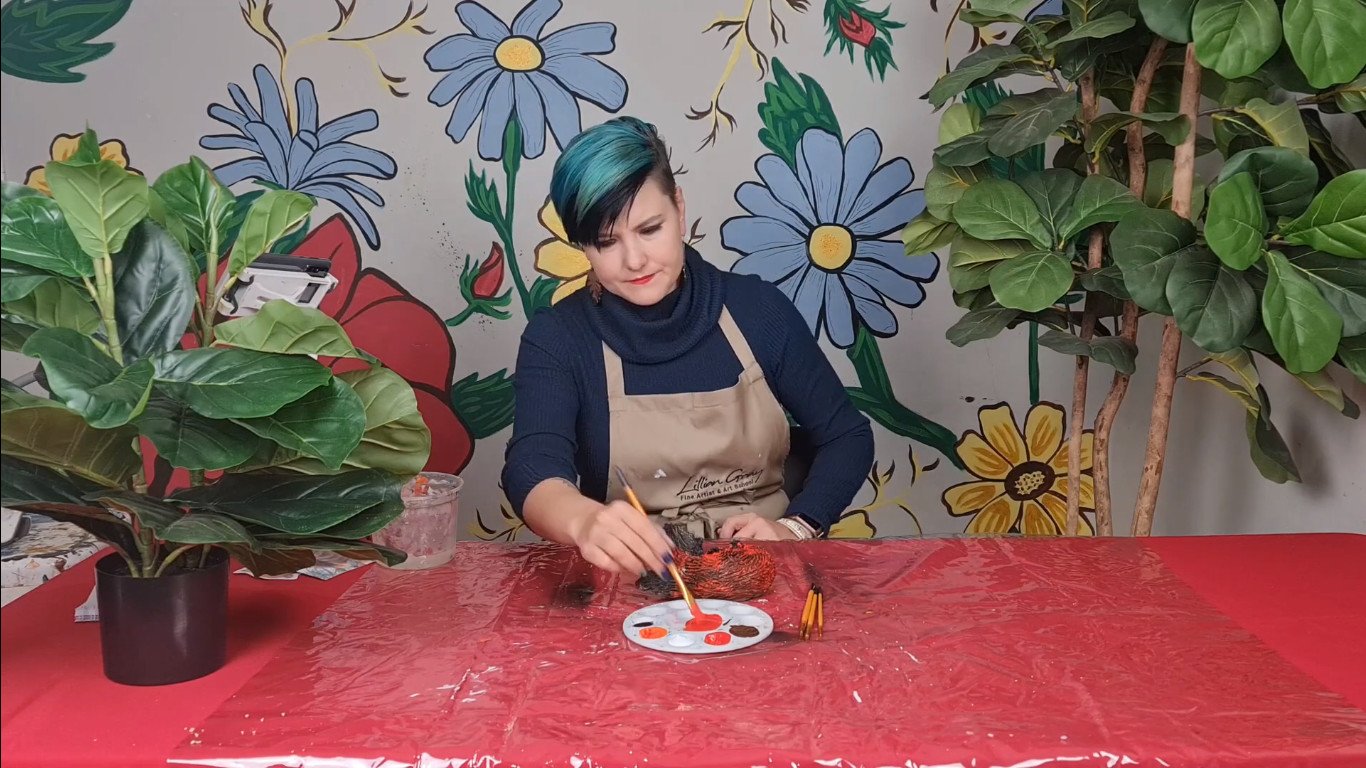
Step 2: Brushing colour onto beautiful Rory
We are starting with the reds and the oranges. You’ll be noticing that we’re using the warm colours from the colour wheel and I’m sticking to the natural colours of red pandas. Use a big brush and do dry brushing to add the warm reds and oranges into her body. Do not cover the entire body in paint. The reason why you should do dry brushing is so that the fur can have that furry texture. Keep the black that is in the deepest areas of the crevices.
Step 3: Add the stripes to the tail
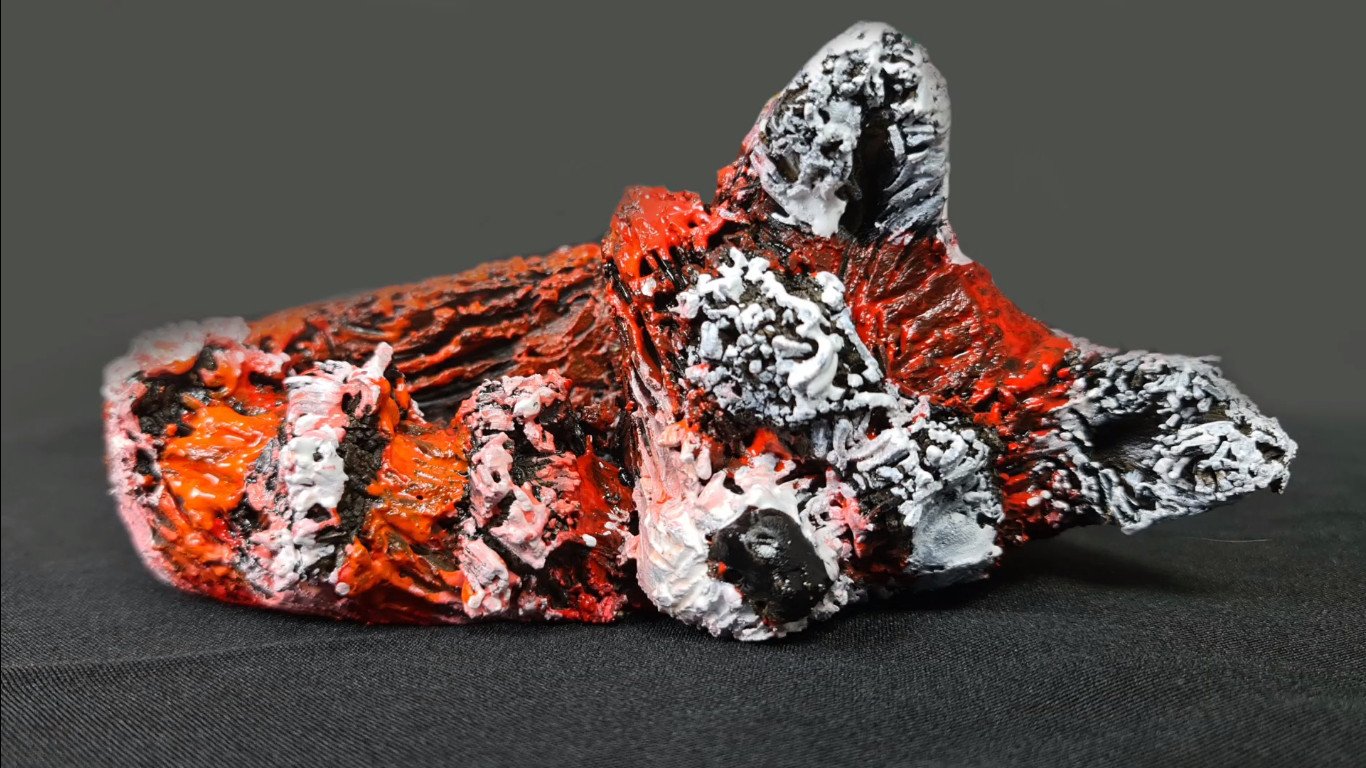
Step three is to add the stripes on the fluffy tail of the red panda. You will notice these bands that are forming on their tails are much lighter than the rest of their bodies. Add some white to the orange, just to lighten it up a little bit, and make sure you can now dry brush in the little bands on the tail.
Step 4: Add all the white details
Step 4 is to add all the beautiful white details. Those are mainly in the face so fluff it out with the dry brush, the ears and add the little bushy white eyebrows, and the little nose. Well done, we are done with the painting.

Step 5: Sealing your beautiful panda
We have now reached step 5, where we are going to seal and spray our beautiful red panda. Remember we’ve been working with air-dry clay. It’s not as hard as clay that we bake in an oven and a kiln, so we need to seal this and protect our paint so it doesn’t chip. I use clear spray paint. Shake your bottle really, really well, make sure you work in a well-ventilated area and you always wear a mask. It is usually better to cover and spray your sculptures twice so that they look really nice and shiny, giving that illusion of glaze.
And that’s it. Rory the red panda is finally done. I think she looks amazing and I love how the black just brought out the fluffy textures. I mean she’s so cute I just want to cuddle with her and sleep all day.
I’m artist Lillian Gray. If you enjoyed this lesson, please be kind and give us a like, and drop us a comment down below. It really helps us to grow our Youtube channel which enables us to create more awesome art content for all of you.
Check out our blog for some Art history lessons and more great art projects
I’m artist Lillian Gray. See you next time.