Kids Art Projects
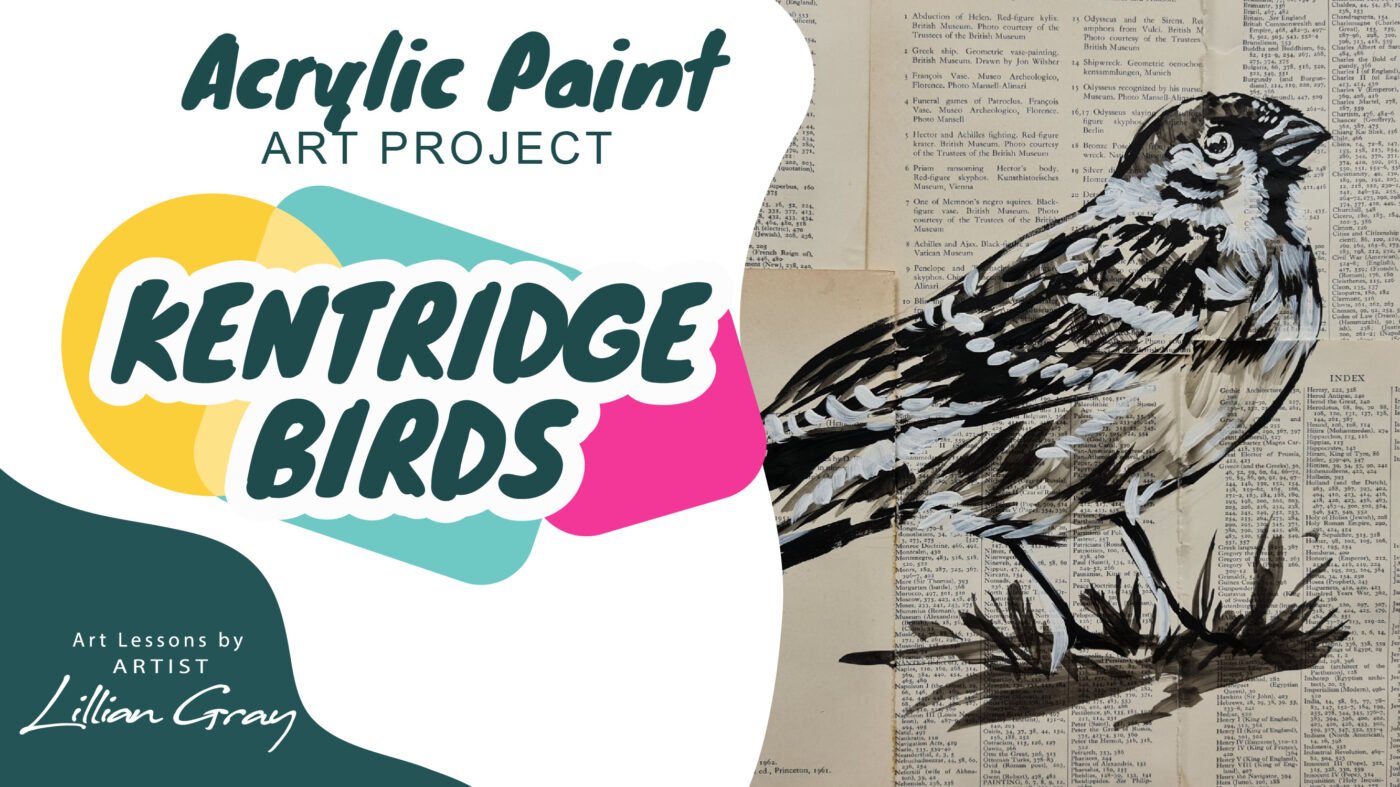
William Kentridge inspired bird painting in 6 steps
Jul
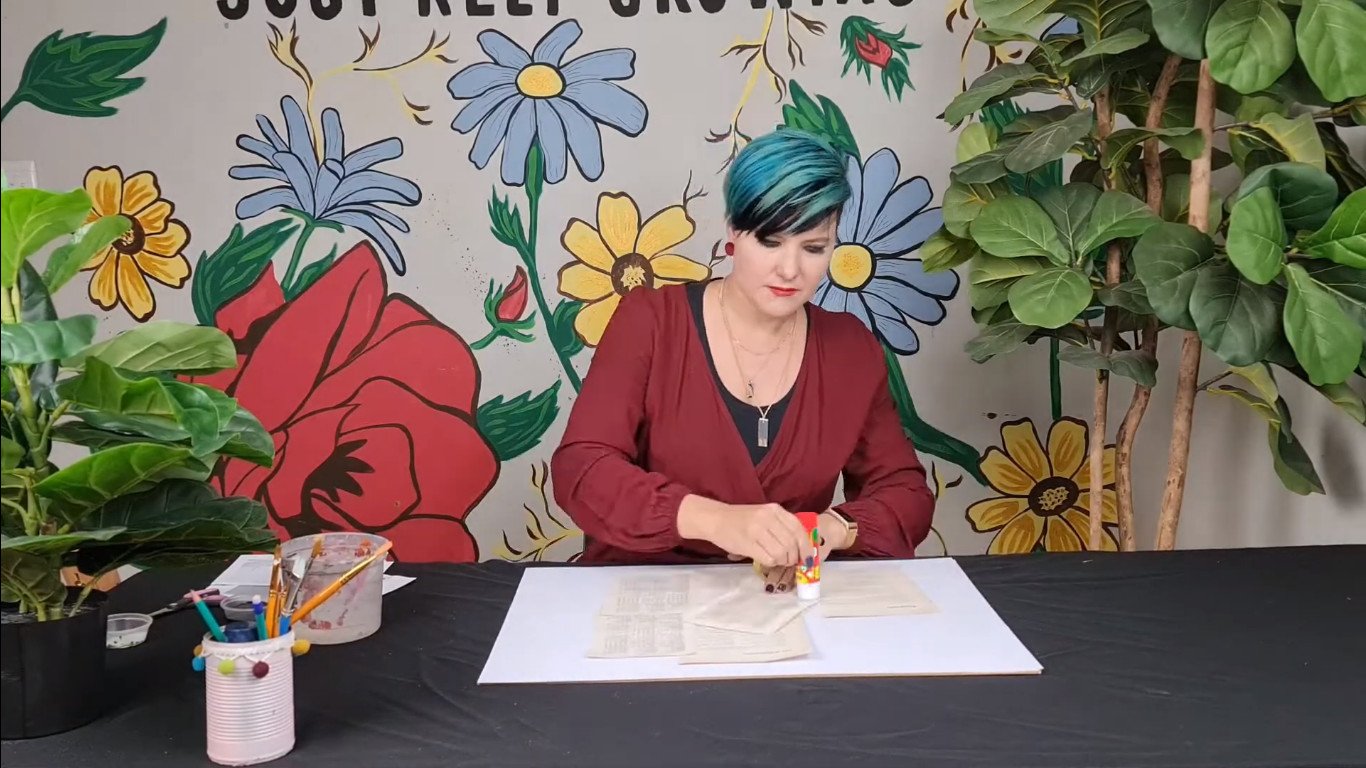
Hi, I’m artist Lillian Gray and today’s lesson is inspired by a famous South African artist called William Kentridge.
William Kentridge’s style
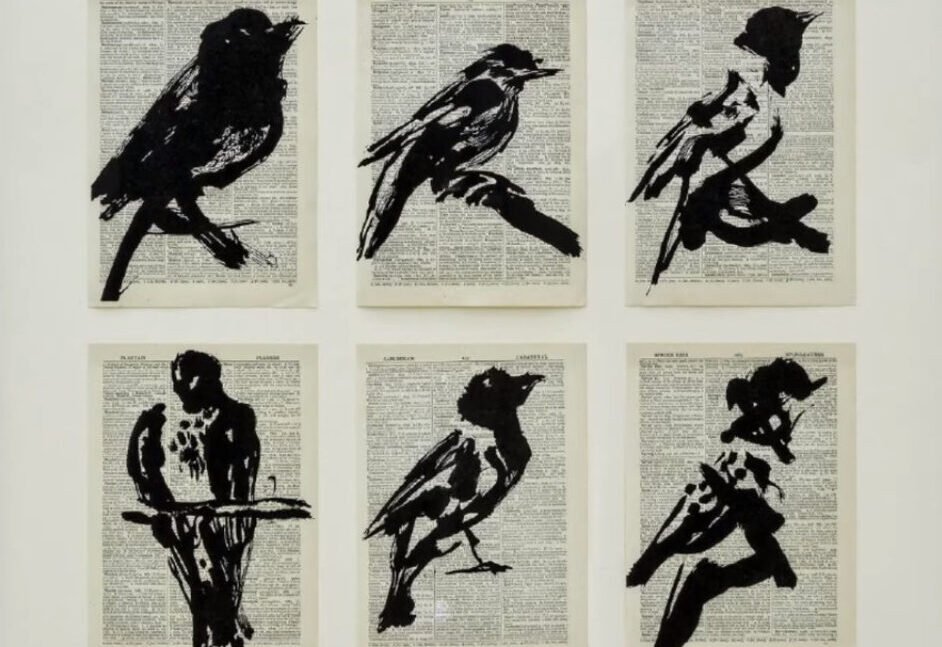
William Kentridge is well known for his charcoal drawings but he also works in Indian ink. Today I am going to mimic the Indian ink look by using black acrylic paint as well as some white.
One of the key characteristics of William Kentridge’s work is he often works in old books, working on all torn out pages that have aged, adding an extra layer of memory and time to his artworks.
If you would like to know more about William Kentridge, please watch the videos that I have created on Kentridge’s life, themes, and styles. All the art supplies that I am using today, you can buy online with us.
For today’s lesson, you will need:
- black acrylic paint
- white acrylic paint
- paper towel and water
- various size brushes
- some old books
- a glue stick
Various techniques: when we create a work of art, we use the seven elements of art. Whether we are conscious about it or not. For this artwork, Line will be super important. We need to create various marks using only our brush.
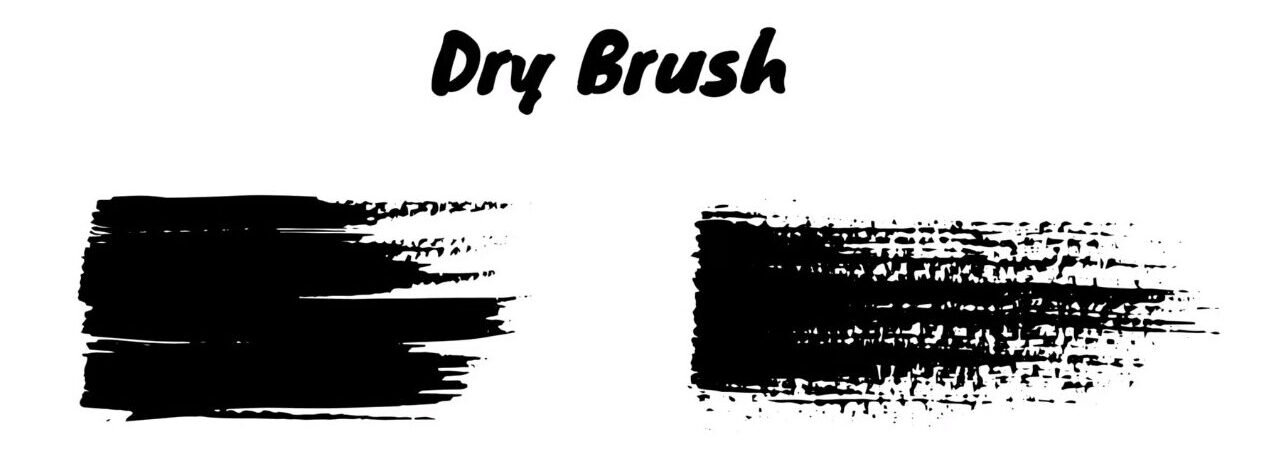
Dry brush is when you have very little paint on your brush, with no water, agitate the bristles of your brush, separating them with your finger. You will get this feathery brushed effect.
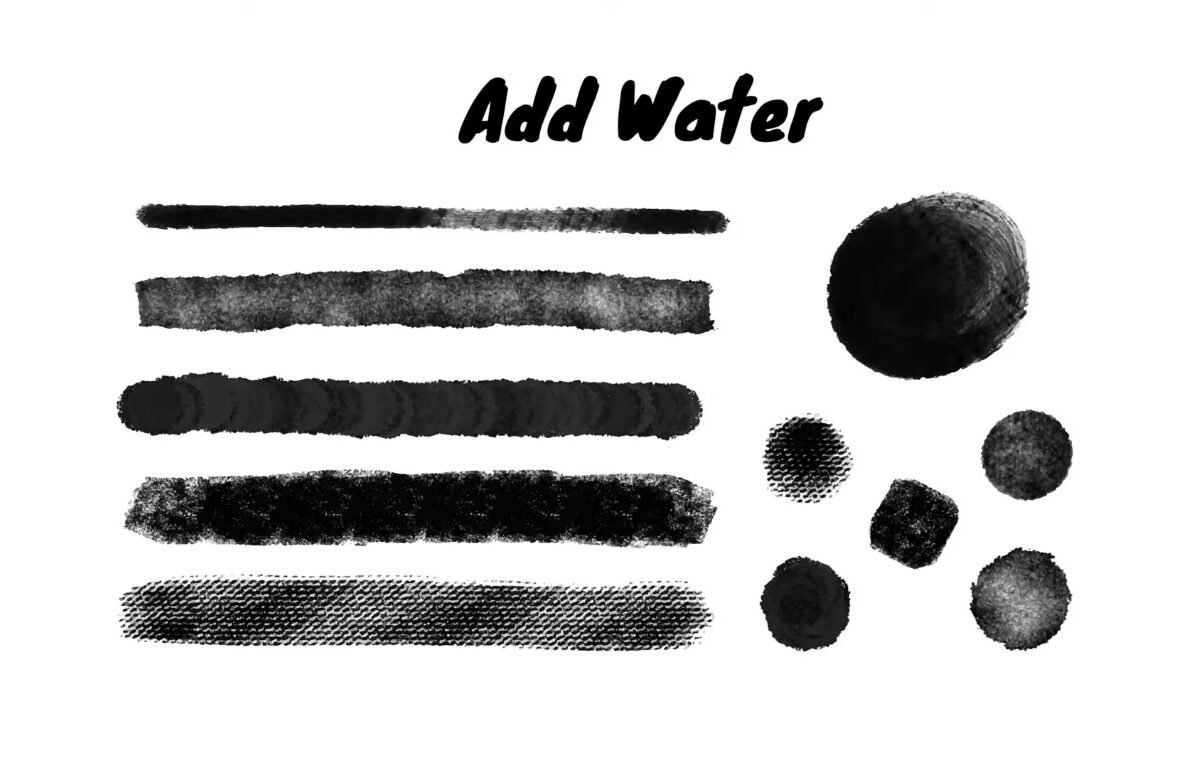
Today’s artwork is monochromatic. Mono means one and chroma means colour, so it literally translates into one colour, therefore value will play an important role in the artwork. Value is the light and dark areas in an artwork. Identify the lightest and darkest areas in your reference.
Always ask yourself, do you have enough contrast in your artwork? To create various values add more water to your black paint. Practice doing a few gradients, slowly adding water to make it lighter.
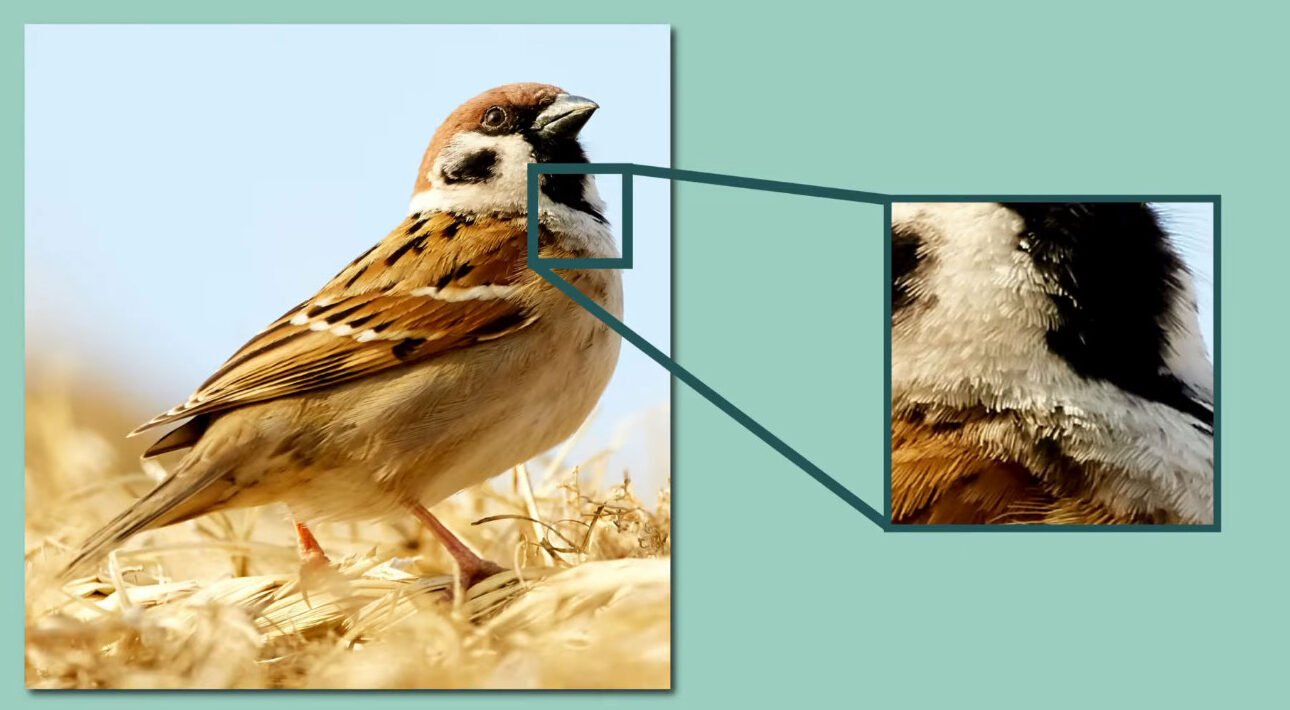
Texture also plays an important role. Identify the various textures in your reference. Are your feathers fluffy? Does your beak feel smooth and strong? Is your eye gleaming? There are various techniques that you can use when working with a brush.
I would encourage you to do some medium exploration before you start. Medium exploration is when you play around with a specific medium such as watercolour, oil paints, pen, and pencils, exploring various mark-making techniques.

Step 1: Prepare your surface
Prepare your surface by tearing out various pages from old books, arrange them onto your A2 card paper, and paste them down with your glue stick. If you don’t have old books, feel free to use newspaper or telephone directories, or even old magazines. Just make sure there’s not a lot of pictures but mainly a wall of text. That allows your illustration that you’re going to do on top to stand out a lot more.
Step 2: Find a good reference
Unsplash is a website with various images for artists that are not copyrighted. It means you can sell this artwork afterwards. You’re allowed to use it in your artwork and all they ask is that you link back to Unsplash.
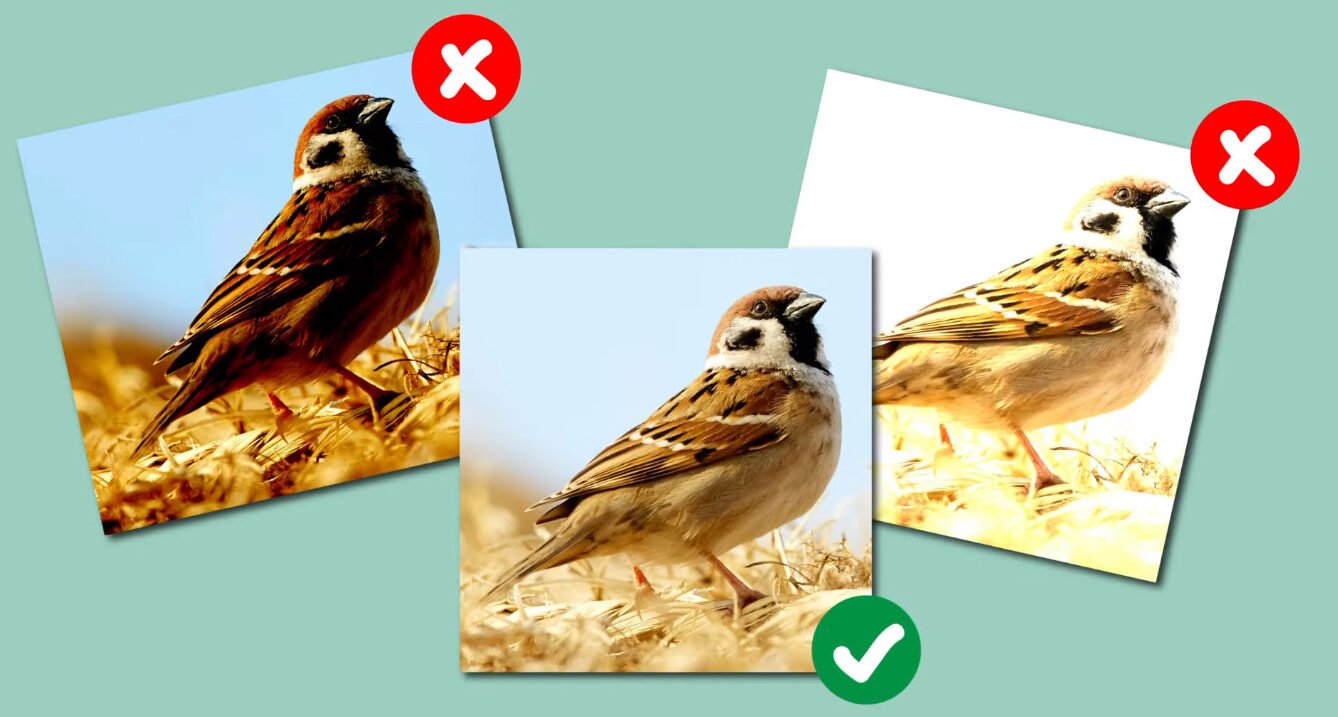
When selecting a photo to work with, make sure it has a good value range where there are beautiful dark areas and beautiful highlights, and you can also see all the details in between. I would recommend converting your reference to black and white. This really helps you to discern the various values.
Step 3: Let’s draw the basic shapes
For step 3 we need to simplify our reference into basic shapes. There are five basic shapes, triangle, circle, square, oval, and rectangle. As artists, we use these to make drawings super easy. Here you can see how I have simplified my bird into basic shapes. Once you have drawn your basic shapes it is really important to double-check your proportions.
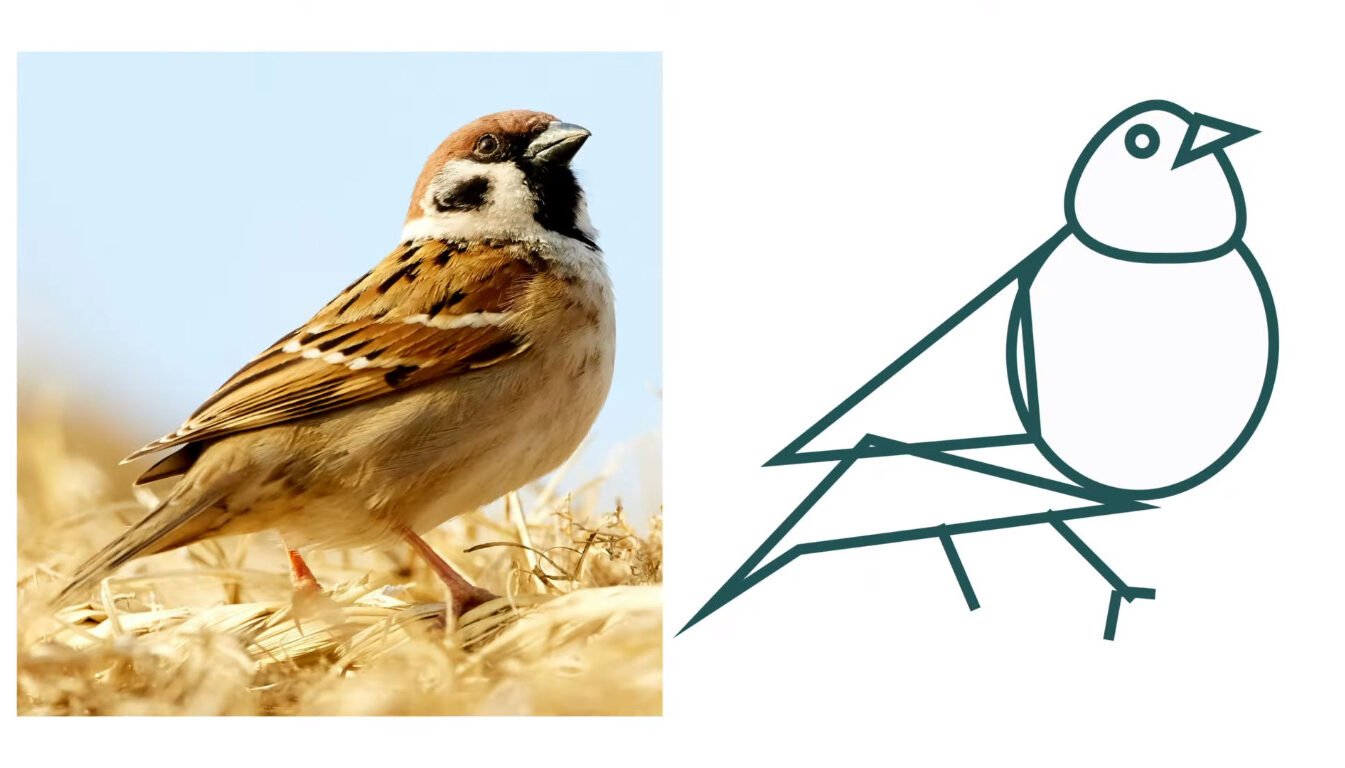
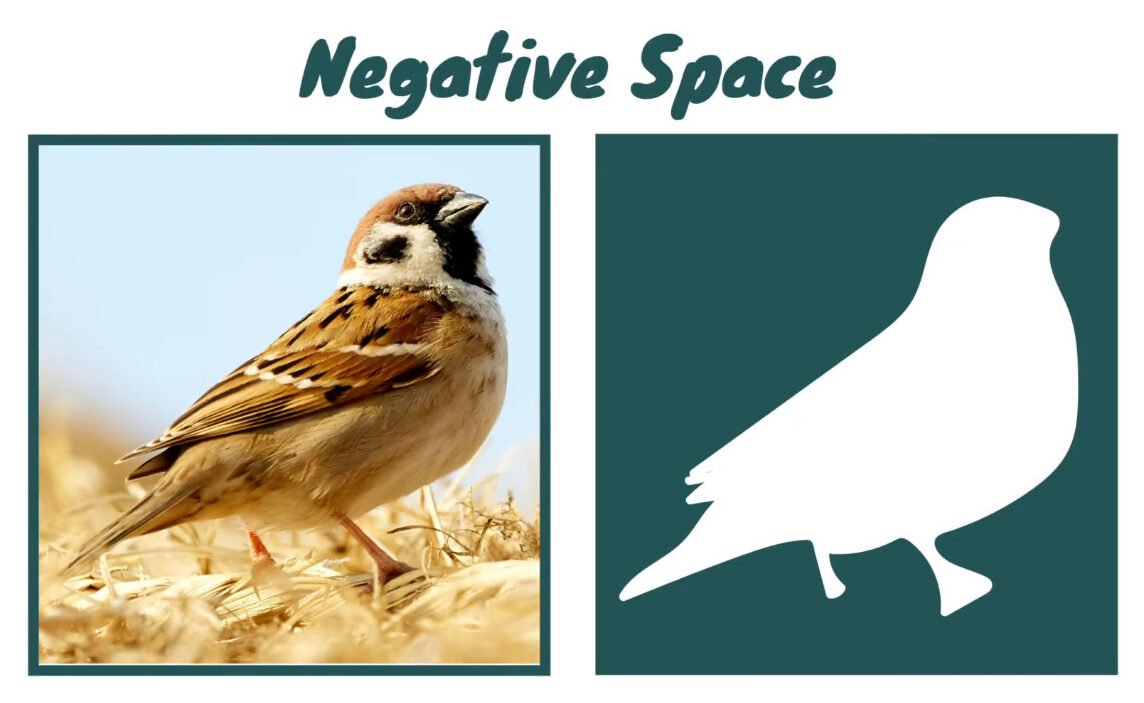
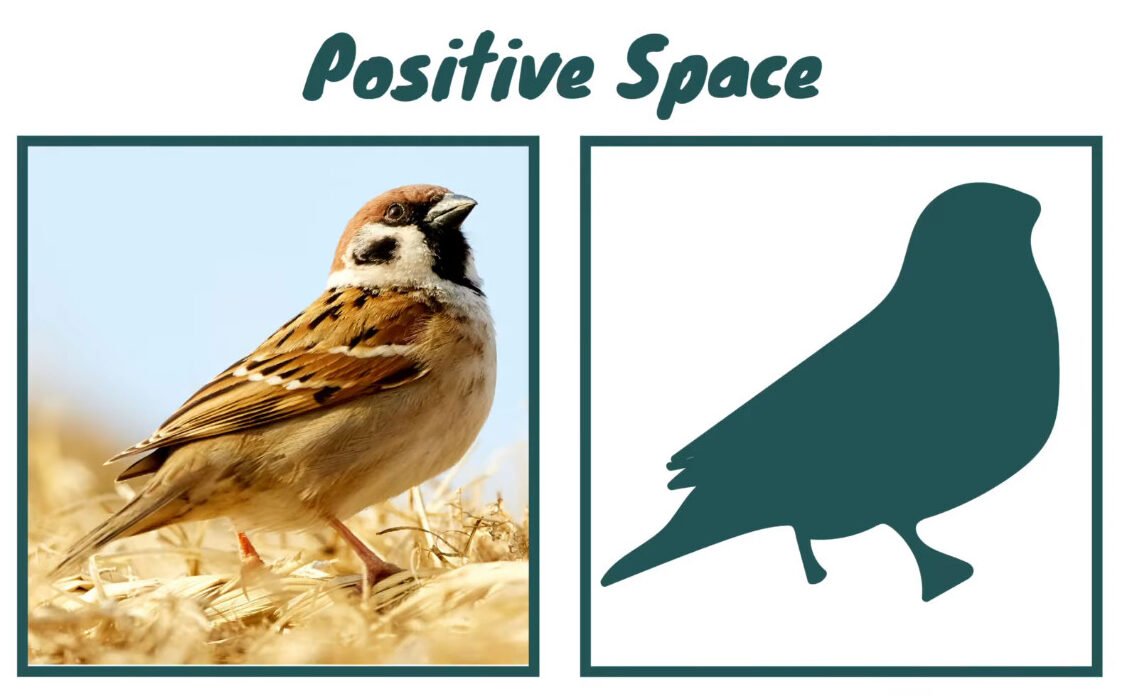
Look at your negative space and your positive space. This will instantly show you if your basic shapes are the correct size in relation to each other. The drawing is the foundation of your artwork and you want to build on a solid foundation. Ensure that your pencil lines are 100 % correct before you start painting. The first thing you need to do is to draw the bird onto your paper. I used a light pencil for this, and a continuous contour line to plot out my basic shapes.
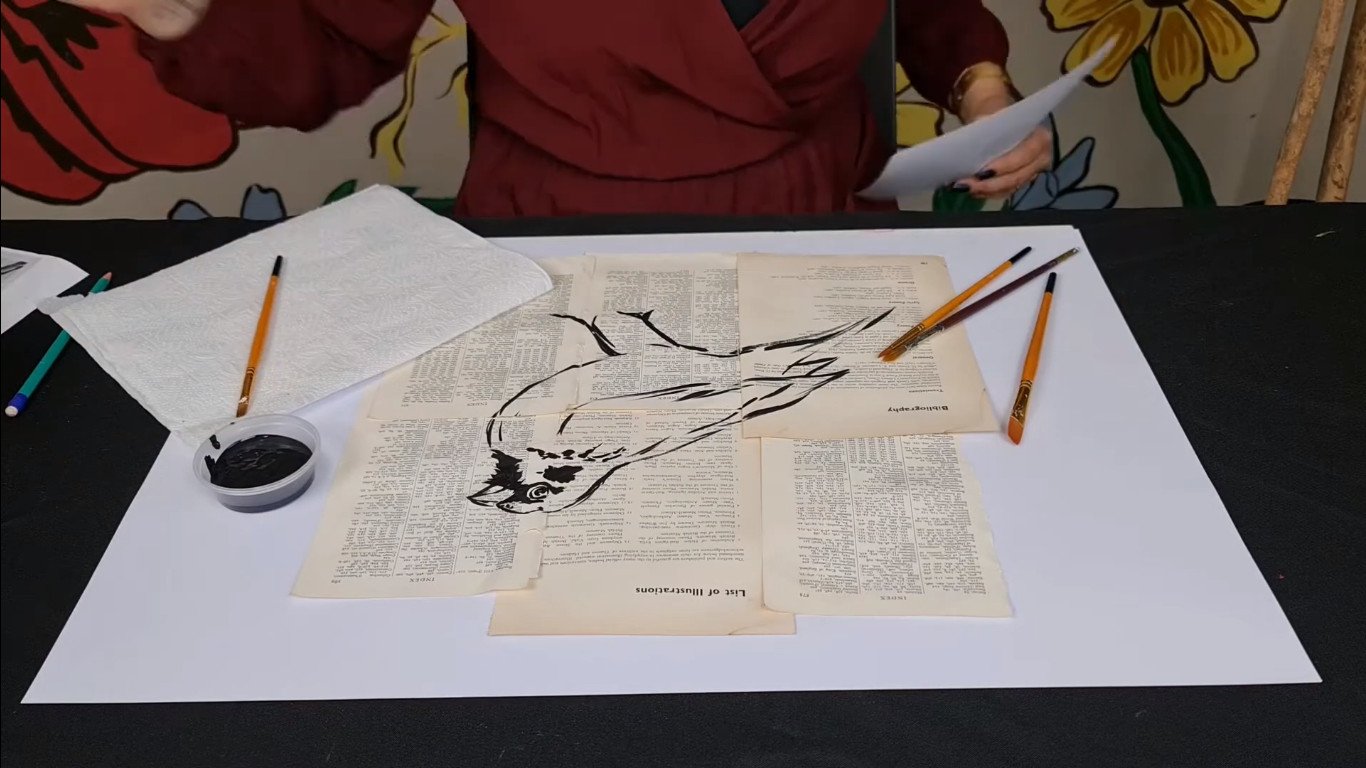
Step 4: Paint the outline
Step 4: Let’s paint the outline. Start painting the outline, committing to where your bird should be. Be cautious when you mark out the eye. Remember to preserve your whites so the text from the old book pages can still shine through. You should really consider what your outline should look like, and not just leave it as a boring plain old line. Ask yourself, have you applied line quality?
Are your lines visually interesting? Do you have thick areas, thin areas, dark areas, light areas? Can you see the speed of your hand? Some fast lines and some slow lines.
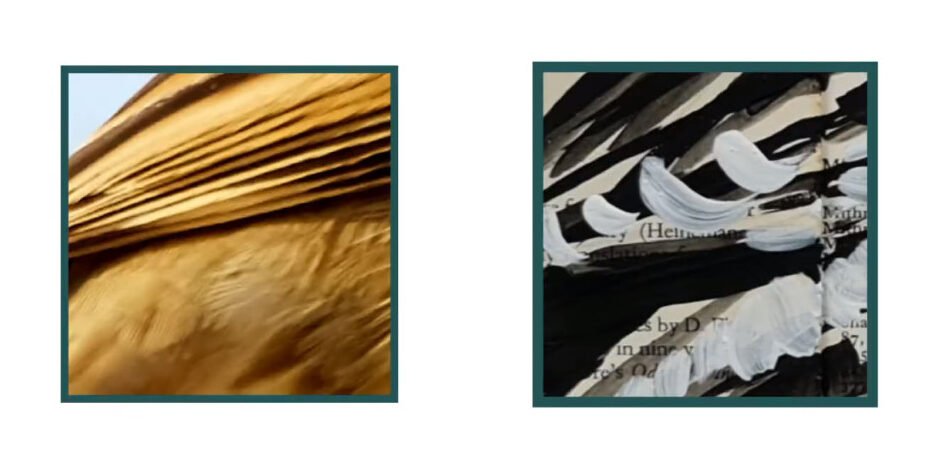
Step 5: Add texture to your bird
Let’s add texture to our bird. As an artist, you need to communicate with whatever is in your hand and tell people how the surface feels. As artists, we create the illusion of texture when working on a 2D surface. Our bird has various textures. The beak is smooth, and even the feathers differ in texture, depending on where they are situated on the bird’s body. So I am going to assign different mark-making techniques for these different textures.
Step 6: Add the white details
Be careful not to cover your entire bird in paint. We still want to see old pages shine through. The rule when selecting a brush size is big area big brush, small area small brush. I am using a tiny pointy brush for all my little white details.
I’m artist Lillian Gray and I hope you enjoyed our beautiful bird lesson, inspired by famous South African artist William Kentridge.
Visit our blog for interesting Art history lessons and some more amazing art projects.
I’m artist Lillian Gray. See you next time.