No products in the basket.
Kids Art Projects
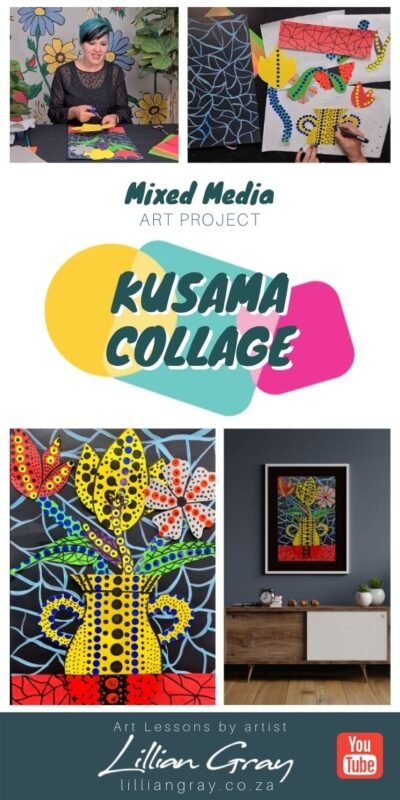
Yayoi Kusama-inspired flower collage in 5 steps with Lillian Gray, including free downloads
Hi, I’m artist Lillian Gray and I’m really excited about today’s art lesson. We are going to go and look for inspiration from the queen of polka dots, Yayoi Kusama. We will be creating a mixed media, flower-collage.
For today’s lesson you will need the following:
- Paper in various colours
- A3 black card
- Acrylic paint
- Various size brushes
- A glue stick
- Scissors
- Water and paper towel
- Polka Dot stickers
If you do not feel confident enough to draw your shapes for the flower collage freehand, head over to our blog and download the various templates. You can either print them directly onto your coloured paper and cut them out, or you could print them on plain old white paper and trace them onto your coloured sheets. You can find the link to the blog post here.
Step 1: Plan your artwork
Step one is to plan your flower collage properly. I have been inspired by Kusama’s flower arrangements, so I would like to create an artwork inspired by these specifics still lifes she has made. I have decided to focus on this particular artwork that she painted back in 1996.
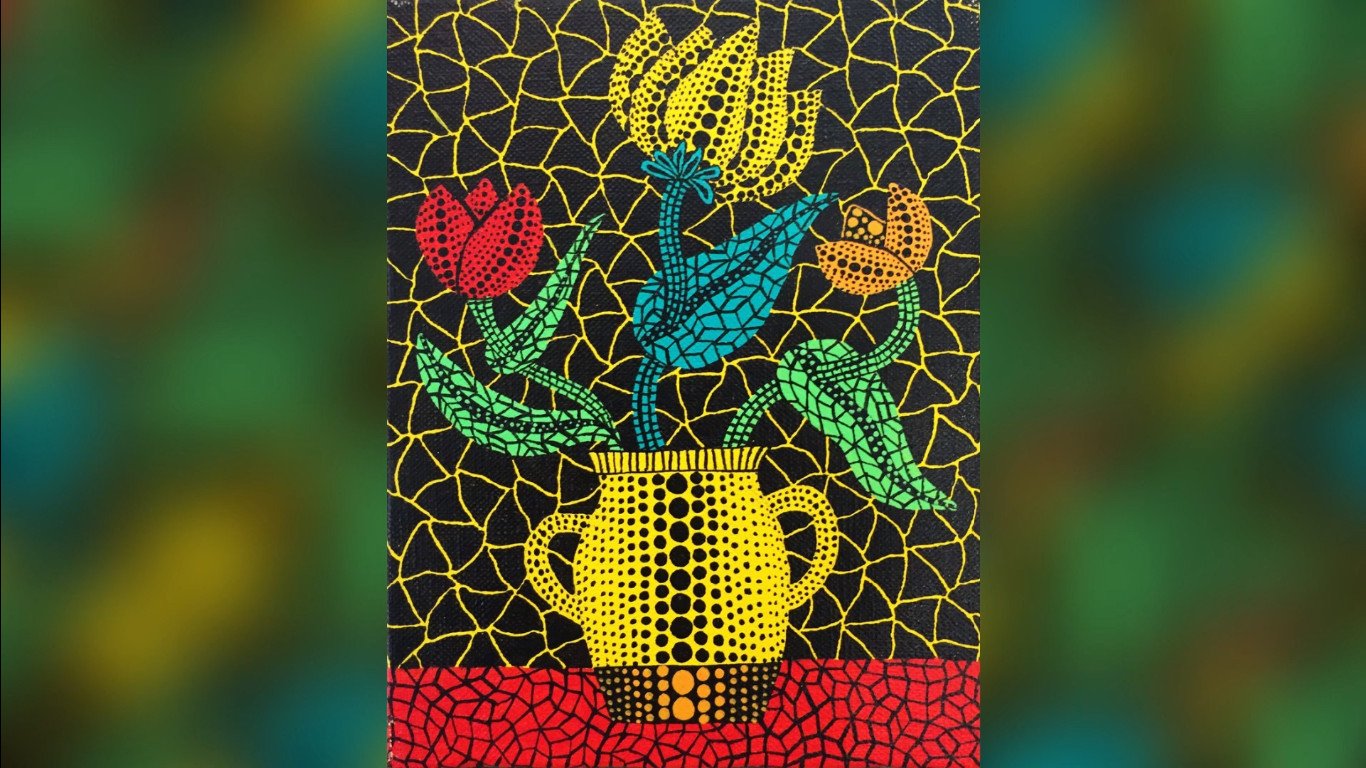
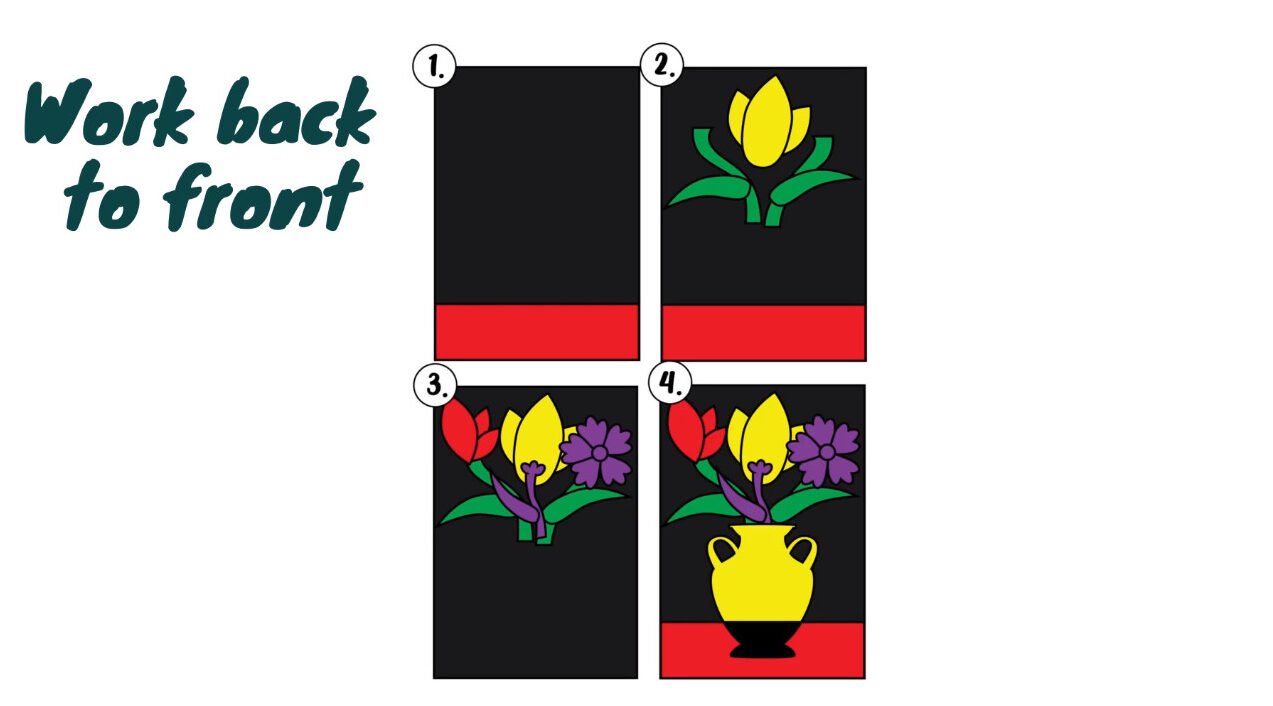
Step one is going to be all about planning. I always tell my students, good art takes planning. When I look at my artwork I am going to think about in which order of steps I am going to be doing this. Well by looking at my design, I am going to start with the background and work back to front.
Step 2: Prepare your background
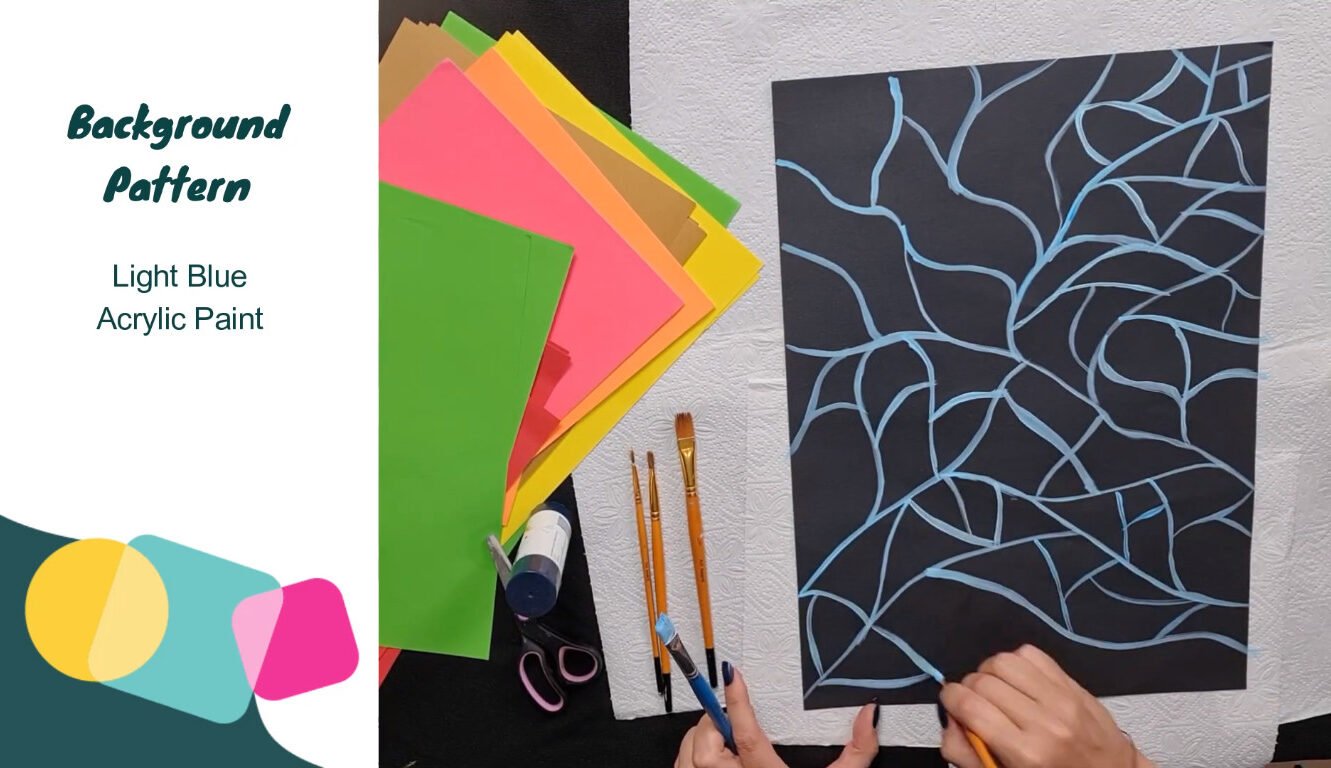
Step two is to prepare your background. In Kusama’s still lifes you will see that she uses interesting patterns and line work in her backgrounds. These lines remind me of her infinity nets that she created in 1959 when she was living in New York City. The process of making these paintings was a form of catharsis for the artist who sought to obliterate her fears through the act of repetition. Step two it’s going to be all about preparing my background. You will see that in Kusama’s art she uses quite an interesting tessellation effect. I am just going to recreate that effect with some light blue paint on a black card.
Step 3: Cut your basic shapes
Step three is to cut your basic shapes out of the coloured paper. We have finished preparing our background. I’m going to place my background aside so it has time to dry, and I’m going to work out my basic shapes for my flower vase and my flowers, drawing them on the various coloured papers.
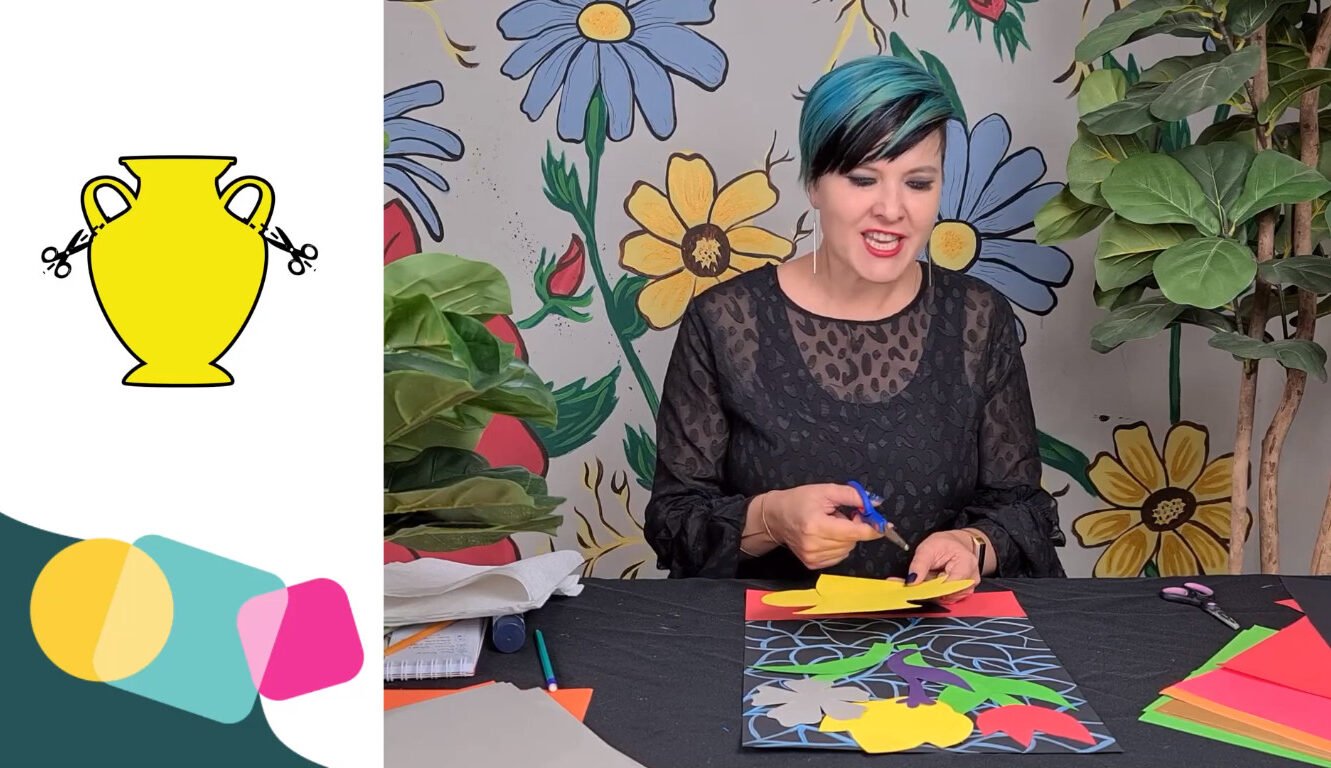
A tip that I find very helpful is to draw on the back of your coloured paper so that the pencil marks aren’t in the front and visible once you stick it down onto your black background. Another helpful tip is when you need to cut away the negative space of the vase’s handles is to just actually cut through the handle because once we glue it down nobody is going to notice.
Step 4: Finish off each element
Step four is to finish each element with stickers and acrylic paint. I’ve finished cutting out all my basic shapes and I’m now going to finish off every single element with its polka dots.

Step 5: Assemble all your elements
Our final step is to assemble all our elements onto our background. Once you have finally finished all your elements, you have now reached our final step, which is to assemble everything on our background. I’m using a plain old glue stick just to glue everything in place. I’m going to be working from back to front. The first layer I’ll be doing is the table that my vase is standing on. A tip is to use old paper to apply the glue on so that you don’t get those sticky marks on your beautiful background.
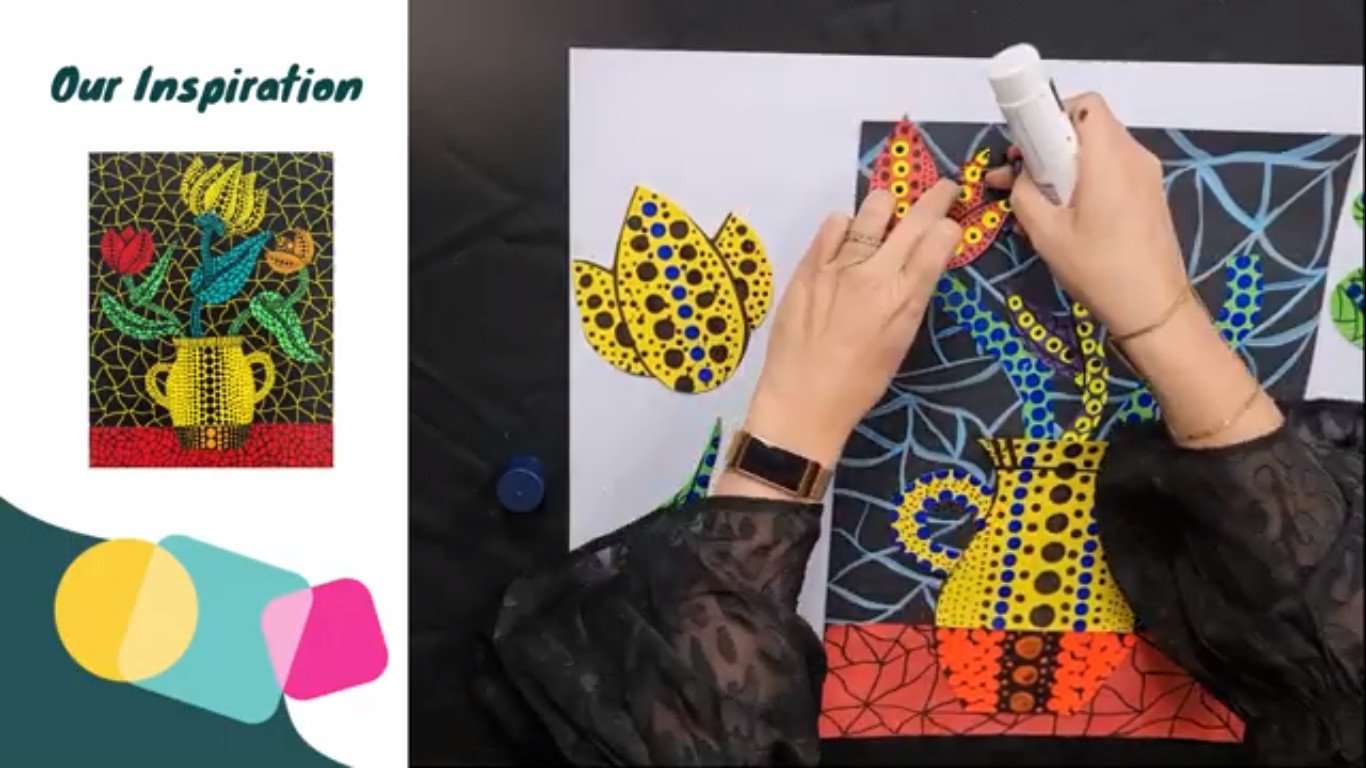
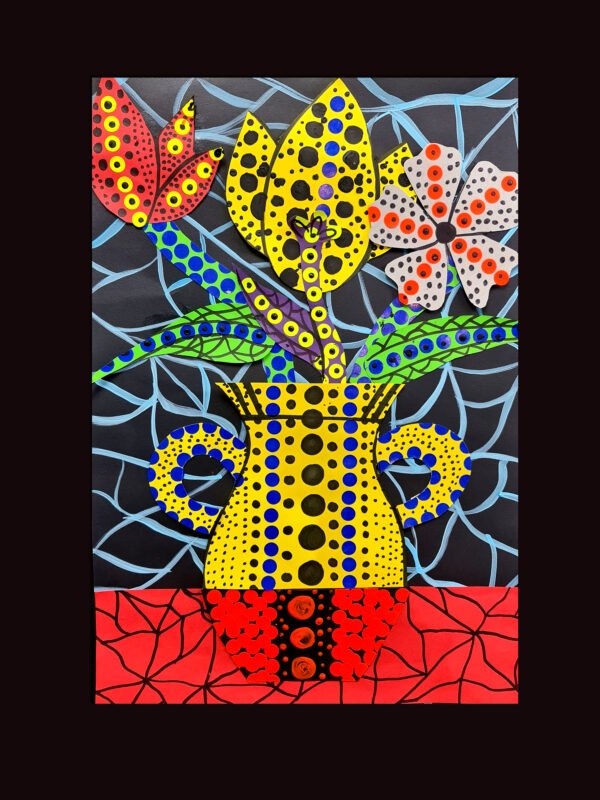
There are various ways that you can protect this artwork you could either frame it, laminate it, or seal it with some modge podge.

And that’s it for our Yayoi Kusama-inspired, beautiful flower vase, mixed media collage. I hope all of you enjoyed this lesson. If you did please share what you are creating at home with us on our various social media channels.
I’m artist Lillian Gray. I hope you enjoyed this lesson. See you next time!
 Acrylic Paint Starter KitR520.00
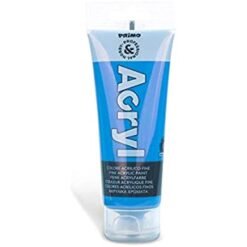
 Primo Acryl Fine Acrylic Paint CyanR55.00
 Primo Acryl Fine Acrylic Paint Bright GreenR55.00
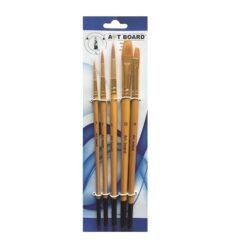
 Brush Set – Art Board Golden Taklon A – 5 PieceR90.00
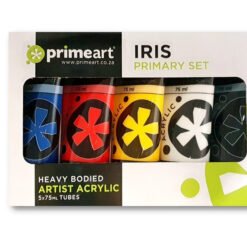
 PrimeArt Acrylic Primary Set Iris 5 coloursR250.00
 Turqouise – Rolfes® Acrylics 500ml AcryloR120.00
 Sap Green – Rolfes® Acrylics 500ml AcryloR120.00
 Orange – Rolfes® Acrylics 500ml AcryloR120.00
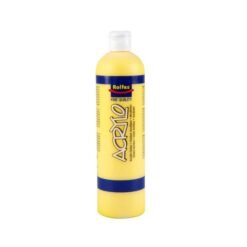
 Primary Yellow – Rolfes® Acrylics 500ml AcryloR120.00
 Primary Red – Rolfes® Acrylics 500ml AcryloR120.00
 Primary Blue – Rolfes® Acrylics 500ml AcryloR120.00
 Hookers Green – Rolfes® Acrylics 500ml AcryloR120.00
 Black- Rolfes® Acrylics 500ml AcryloR120.00
 White – Rolfes® Acrylics 500ml AcryloR120.00
