-
×
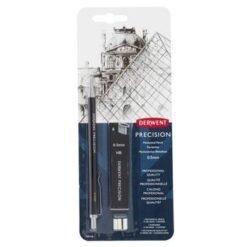
 Mechanical Pencil HB 0.5MM - Derwent
1 × R136.00
Mechanical Pencil HB 0.5MM - Derwent
1 × R136.00 -
×
Cretacolor Kneadable Eraser
1 × R25.00
Subtotal: R161.00
 Mechanical Pencil HB 0.5MM - Derwent
1 × R136.00
Mechanical Pencil HB 0.5MM - Derwent
1 × R136.00 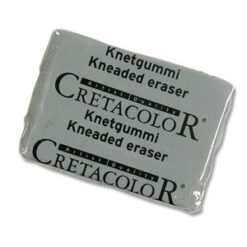 Cretacolor Kneadable Eraser
1 × R25.00
Cretacolor Kneadable Eraser
1 × R25.00 Subtotal: R161.00
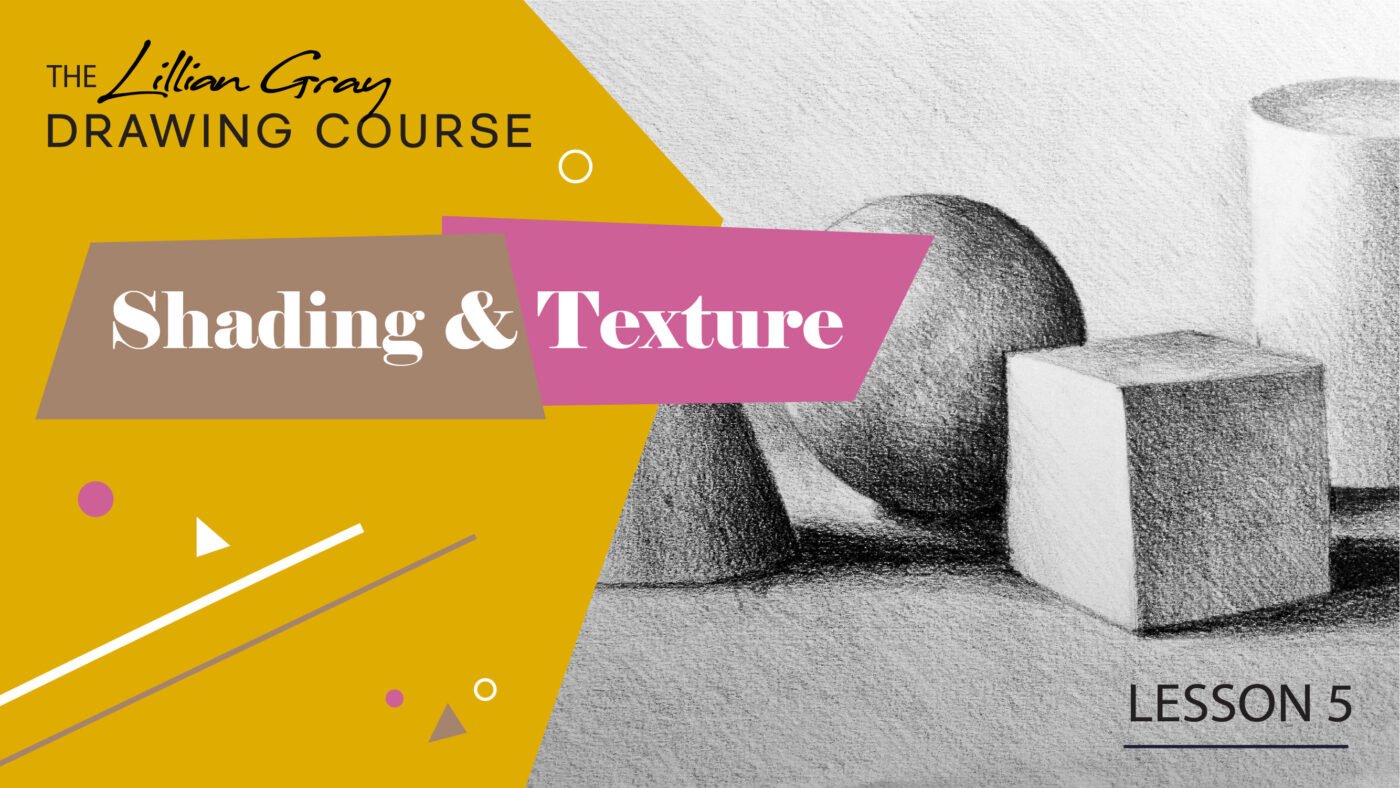
Watch this lesson for free on our YouTube channel
One of the most essential tools you can have at your disposal as an artist is a strong knowledge of hatching. Drawing is all about mark-making, after all.
Art is a universal visual language; transcending cultural and language barriers – communicating with what is in our hands – talking with your pencil. When you draw a flower, everyone will know it is a flower.
Hatching and cross-hatching are some of the most valuable tools for generating value and texture in a drawing. These techniques use simple lines in various arrangements and densities to create a solid sense of atmospheric perspective and contour. Best of all, these methods work just as efficiently in both pencil and pen and ink!
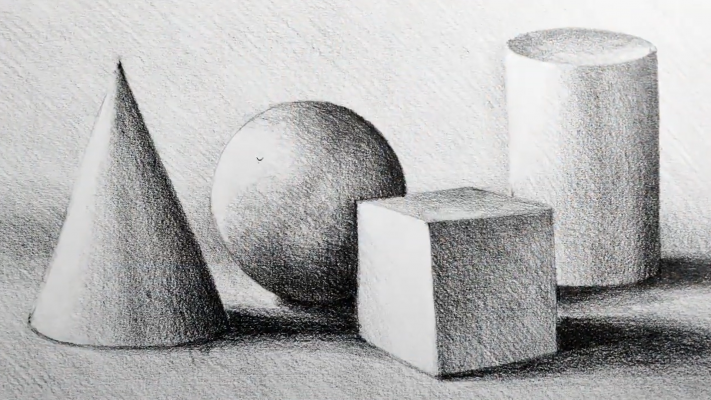
To create the form, we need shading, imagine a ball and show how 3D it is you need to build that form and go into lightness and darkness to create that effect
Let’s take a look at six primary forms of hatching and cross-hatching and the advantages of each.
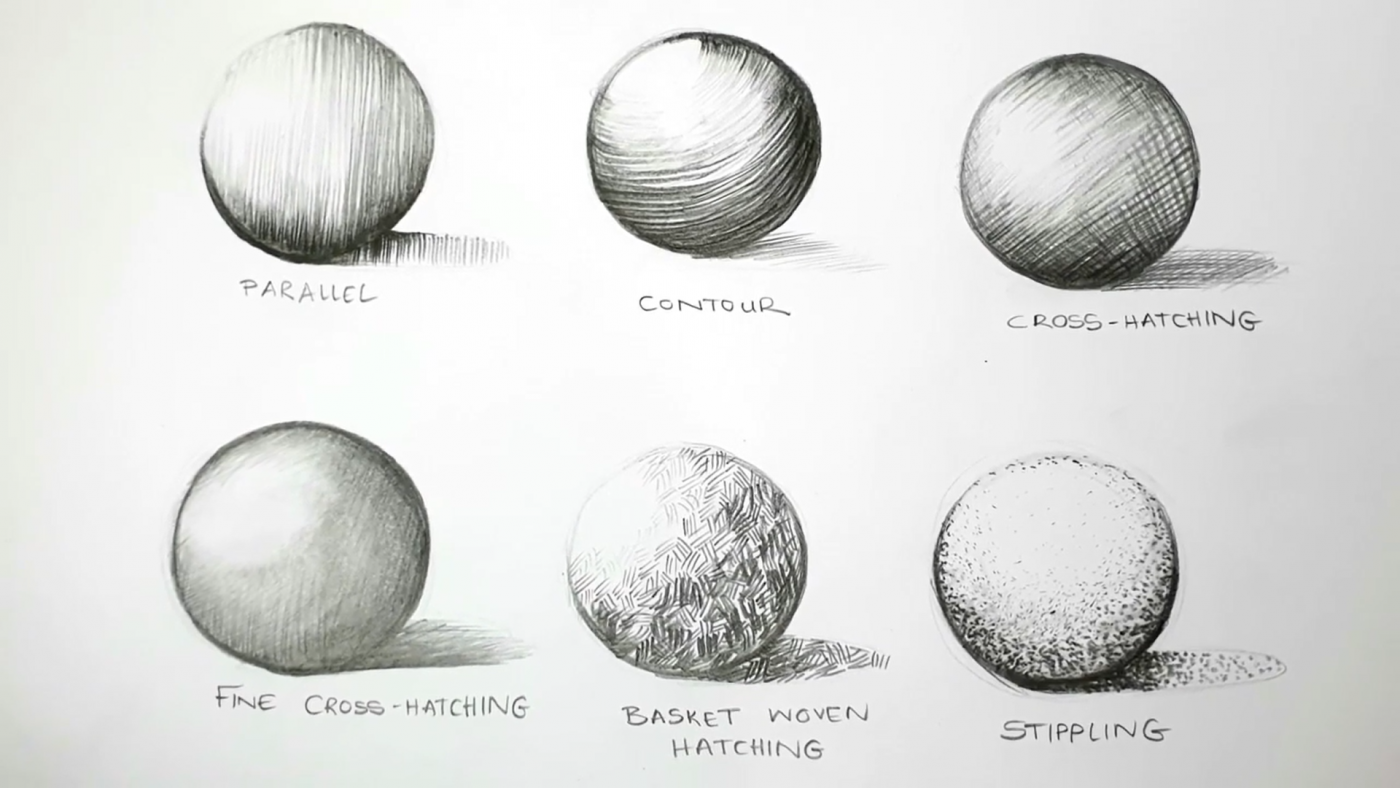
Parallel hatching is one of the most basic types of hatching, and it’s still a very effective way of demonstrating value (light and dark) in a drawing. It consists of rows of parallel lines placed carefully together. Anywhere you place hatching in a picture, that area will appear darker or in shadow, and wherever you don’t will appear as a highlight. All of the hatchings are vertical in the example below, but it can be at any angle.
Notice that some hatch marks are closer together, such as along the top of the index finger. The further away from the lighter it will be. When you increase the density of a collection of hatch marks, the area will appear darker, which can be useful for creating value variations as we’ll see.
Rather than simple parallel lines, contour hatching is when the lines follow the contours of the subject.
Still parallel lines, but bent following the form or shape of the object.
Here, the hatch marks follow the curves of the hand. This method of hatching dramatically enhances the sense of volume and three-dimensionality of anything you are drawing, in addition to providing value.
This is such a well-known method that nearly every artist has encountered it, and it’s exactly what it sounds like. After laying down one pass of hatch marks, another set of hatch marks are drawn on top, usually in a perpendicular or near-perpendicular direction to the first set. This method is one of the quickest and most effective ways to vary the density and darken the values in your hatching. As you can see, it creates a richer overall feel to the drawing. Cross-hatching can be applied as simple straight lines, just like parallel hatching, or it can follow the contours of the subject as below.
Crosslines with each other at a 45-degree angle (45 degrees one way and 45 degrees the other way).
This is the wealthiest and most subtle form of cross-hatching, and it might even read as a tonal or pencil-shaded drawing from far away. The method is the same as above, with several layers of cross-hatch marks rather than just two, to create even more nuanced differences in tone and value. A fine-line pen is the best tool for fine cross-hatching, as the close marks will appear to blend together from a distance.
I don’t know that there is an official name for this type of hatching, but it is a very striking and graphic style of hatching when used correctly. Rather than all parallel marks, this method uses short sets of identical marks in one direction, then an adjacent group of parallel marks in an almost perpendicular direction. The effect looks woven when done well, and they can also be cross-hatched to add density if desired. This is fun and playful way to create shape and form.
This is another very graphic style of hatching, consisting of concise parallel strokes or “ticks.”
This is quite hectic as it takes some time. But it is a method that you need to be aware of and have to be able to use it.
Because the marks are so small and short, you can almost pile them on top of one another to create density, without worrying about cross-hatching. This style often works best with a thicker pen to increase the graphic quality.
There are as many ways to approach hatching and cross-hatching as there are subjects to draw, and hatching can be incorporated into drawing facial features, landscapes, still life and more.
The best way to learn is to practice and experiment as often as you can. One fun activity is to make a contour line drawing of something and photocopy it several times over, then practice different styles of hatching on each one.
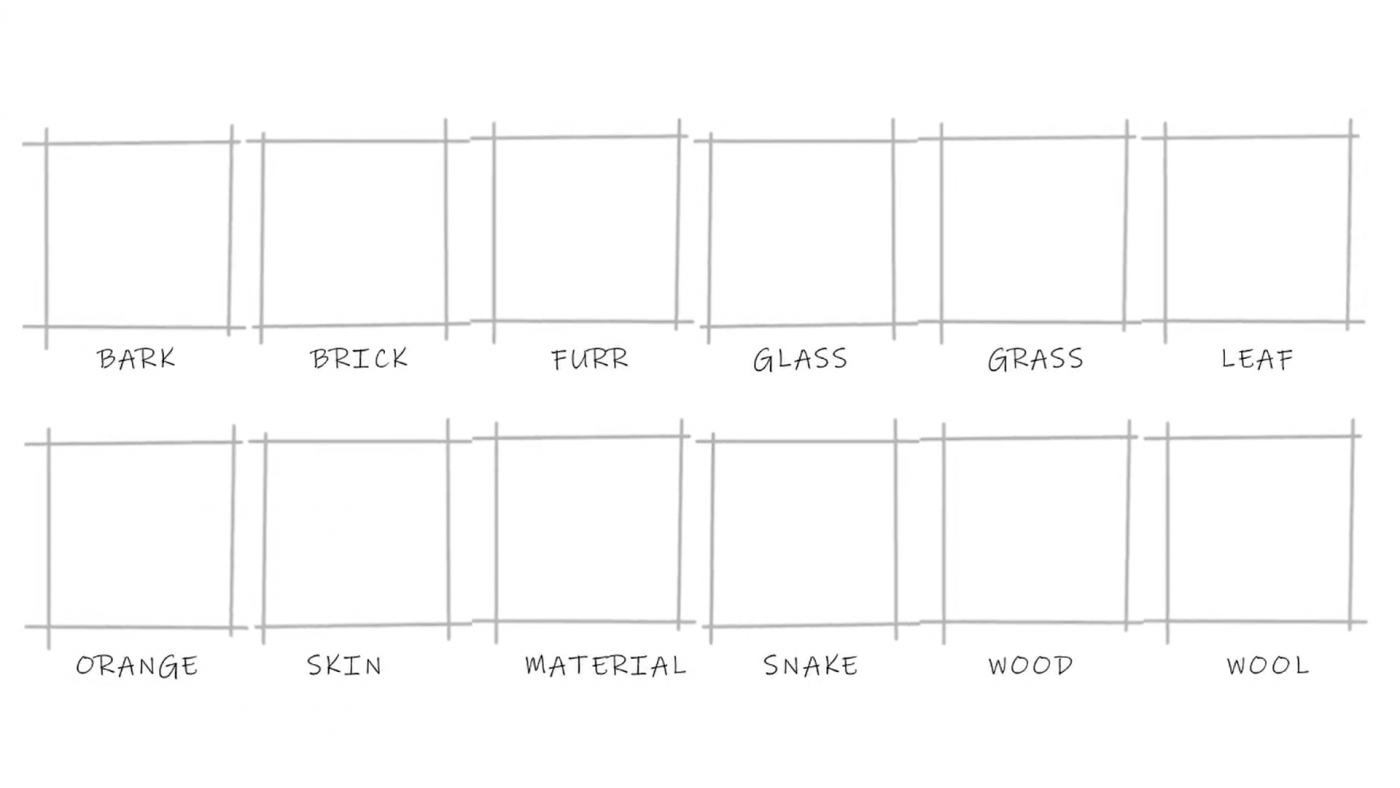
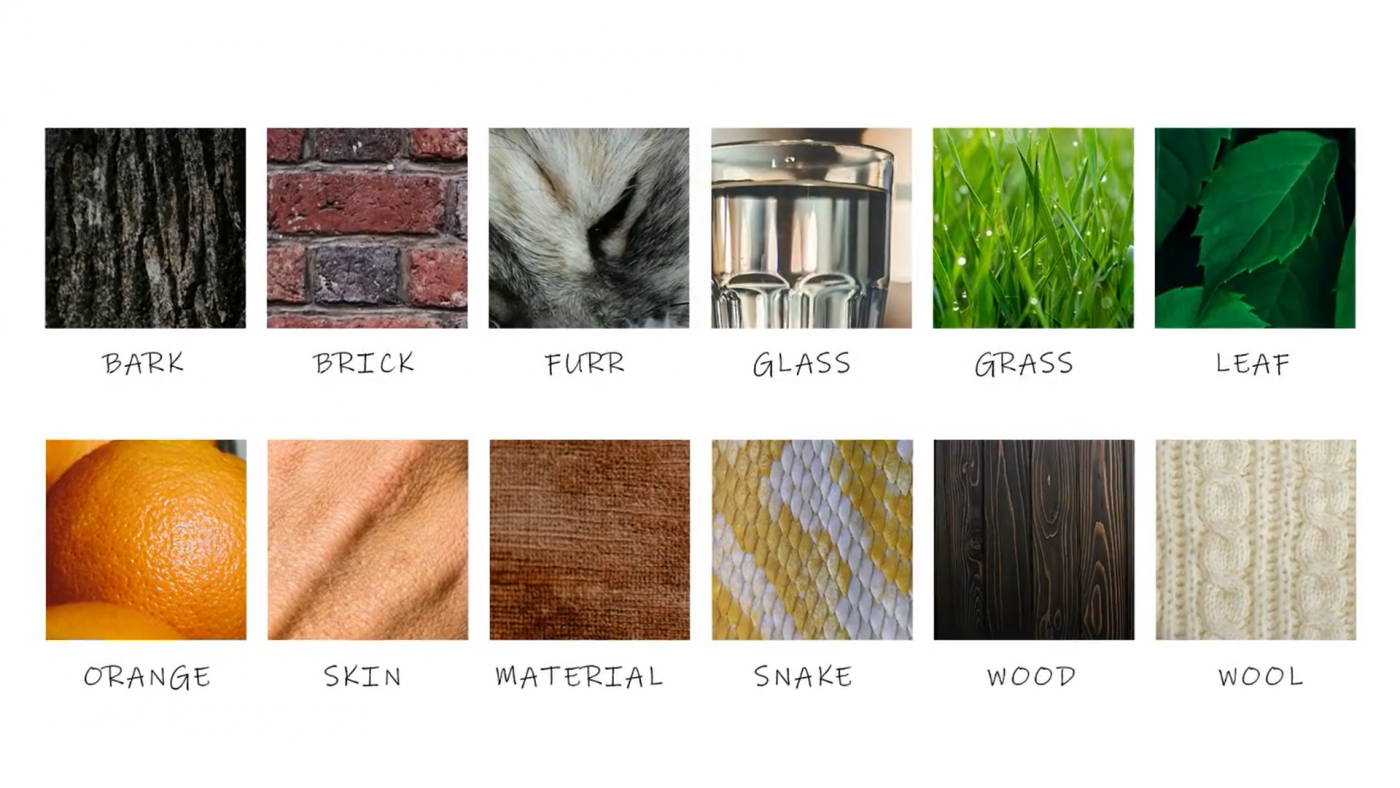
You need to be able to communicate different surfaces to a viewer. You need to ‘tell’ them that “this is a glass”, “this is metal”, “this is a woven cloth”. You need to do all of that by only using your pencil. This is possible by applying different mark-making techniques. There are no specific ones that you can learn off by heart. You need to observe and look at the detail of the texture to capture it truly. Below are some examples to guide you.
EXERCISE 2:

Our online store aims to remove all confusion when it comes to shopping for art supplies. We only stock what is really needed and don’t flood you with choices. To view drawing supplies