-
×
 Mechanical Pencil HB 0.5MM - Derwent
1 × R136.00
Mechanical Pencil HB 0.5MM - Derwent
1 × R136.00 -
×
Fundamentals Of Drawing 3 - Leonardo Collection
1 × R245.00
Subtotal: R381.00
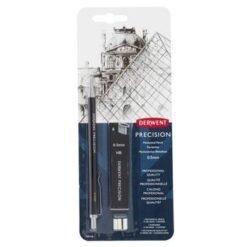 Mechanical Pencil HB 0.5MM - Derwent
1 × R136.00
Mechanical Pencil HB 0.5MM - Derwent
1 × R136.00 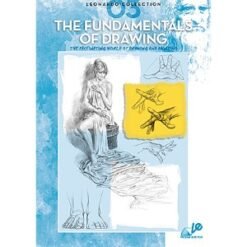 Fundamentals Of Drawing 3 - Leonardo Collection
1 × R245.00
Fundamentals Of Drawing 3 - Leonardo Collection
1 × R245.00 Subtotal: R381.00
Watch this lesson for free on our YouTube channel
Gesture refers to the movement between things. It captures the flowing movement. This movement connects contours, forms and tones. A gesture drawing is a laying in of the : rhythm, flow, motion, action, form, and pose of a model/figure. They all refer to the movement between things. Typical situations involve an artist drawing a series of poses taken by a model in a short amount of time, often as little as 10 seconds, or as long as 5 minutes.
Gesture drawing is often performed as a warm-up for a life drawing session, but is a skill that must be cultivated for its own sake. In less typical cases the artist may be observing people or animals going about normal activities with no special effort to pause for the artist. For example, drawing from people on the street, performers, athletes, or drawing animals at the zoo.
Detail is nothing without the gesture. Drawing quick poses will aid you in drawing gestures, since you will mainly focus on the gesture as opposed to focusing on the detail alone. Doing this on a regular basis will allow you to just get better and improve with every sketch. Gesture is in everything around us. Not just the figure. It is in clouds, mountains, trees and waves. In your drawings, use gestures to tell a story through body language and emotions. Think about what the figure is conveying through the pose. What is the Gesture doing or going to do?
To begin, these are drawn with only a few lines, which the viewer will use to recognise the body. Not the contour, the forms or the tones – it is the movement that connects the contour’s forms and tones. Even though these drawings are sometimes quick, that does not mean you should draw as fast as you can. Try to really concentrate on the gestures and don’t get caught up in the details. Draw smart, so that when it comes to completing these exercises in a certain amount of time, you have clean gesture lines. Draw the gesture, not the contour.
Difference between Gesture and Contour (Gesture is the movement and Contour is the outline)
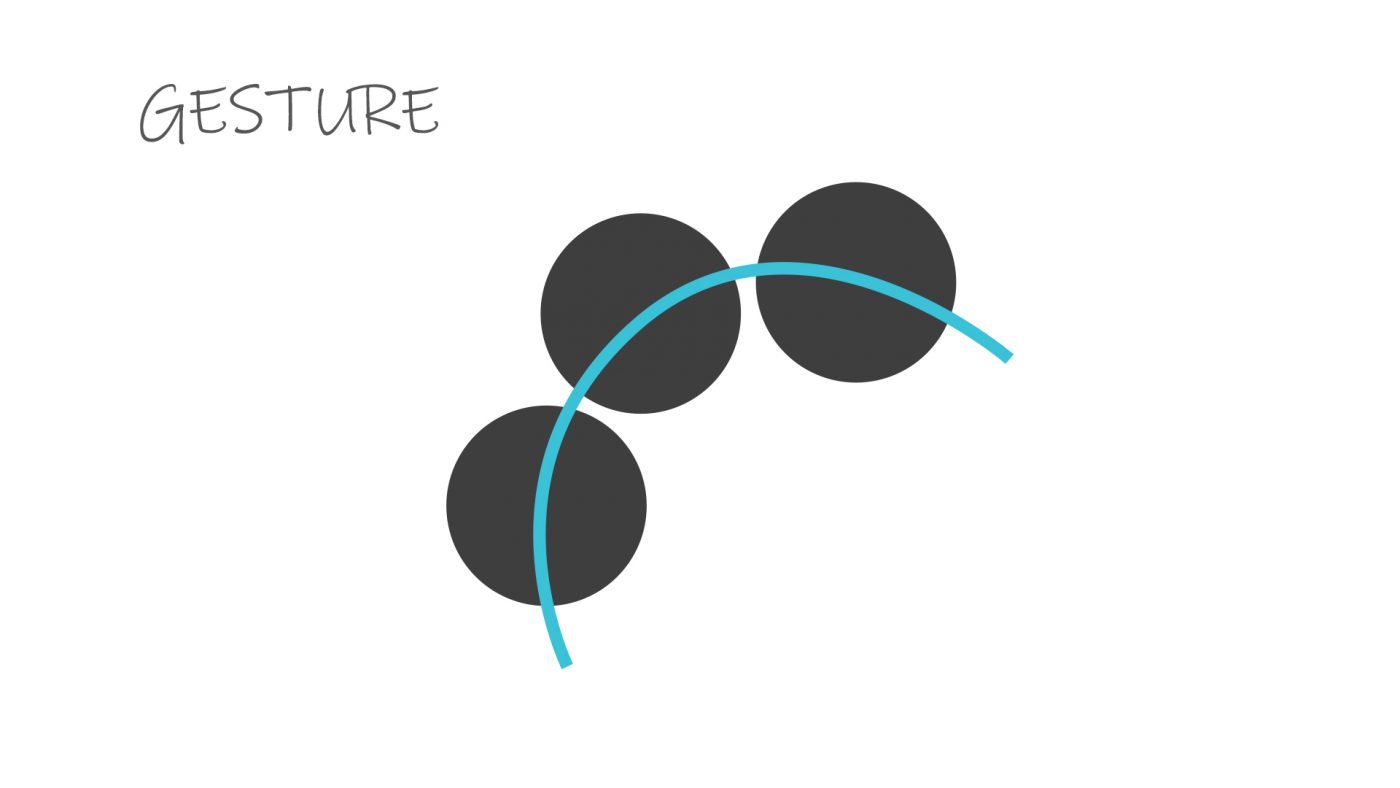
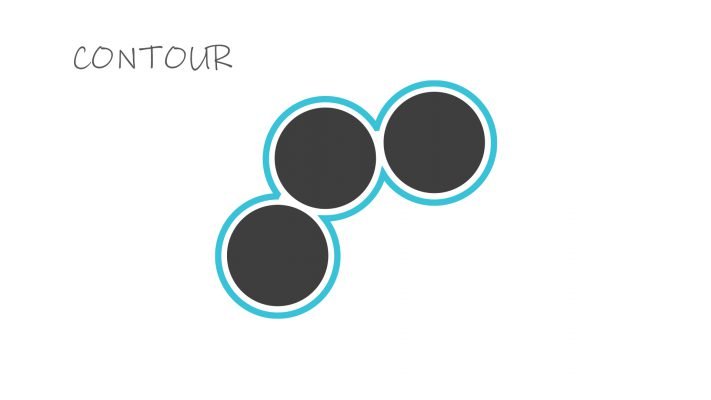
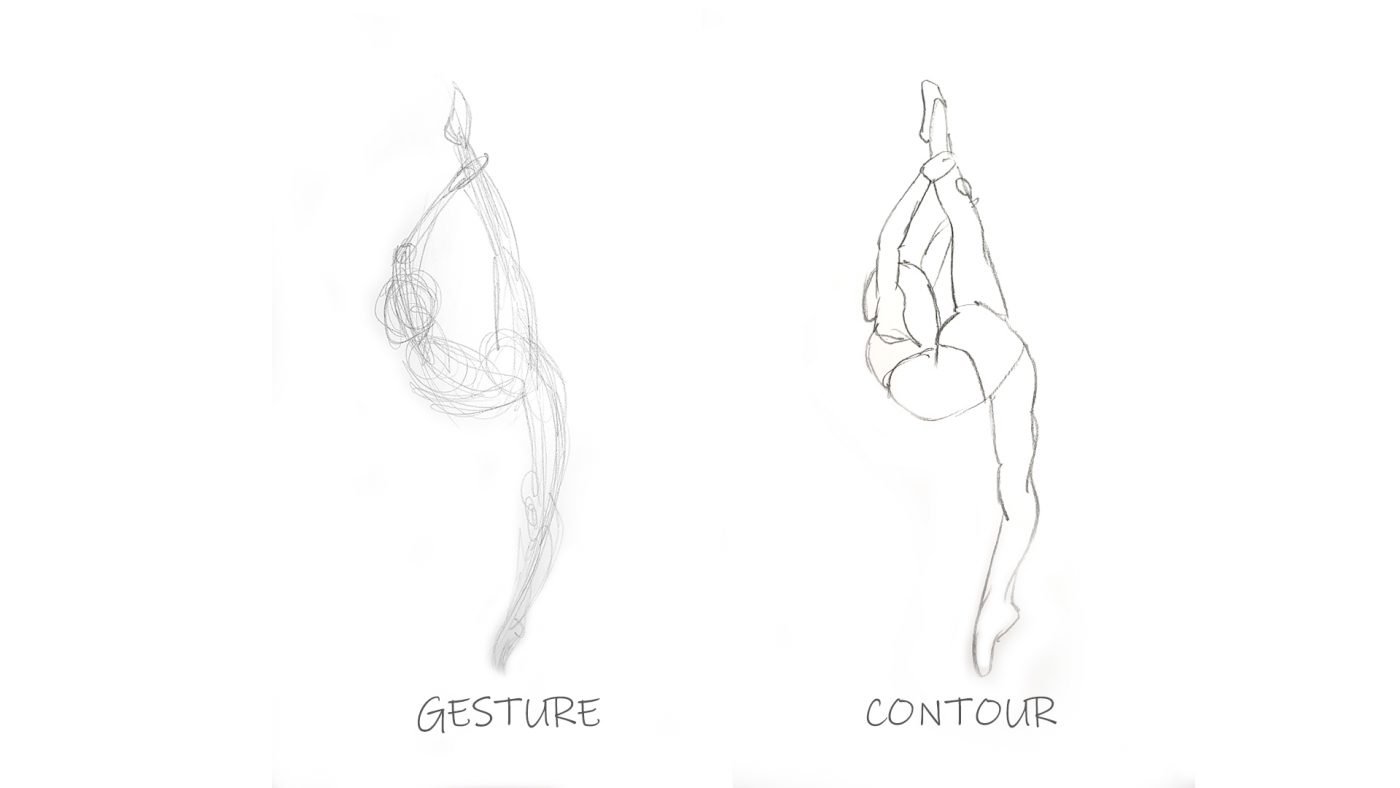
People are still tempted to draw in the details of the anatomy and all the little bumps of the contour, because we think the details would make our drawing look better. But that is wrong, detail is nothing without the gesture You might accidentally get some gesture while copying the contour, but some prefer to not rely on accidents. A better approach would be to practice finding the gesture of the figure so many times that it becomes second nature.
Later we will focus more on making the drawing look more real and solid. This is not meant to immediately be a finished drawing, it is to practice a concept Training your mind to see rhythm is anything you draw.
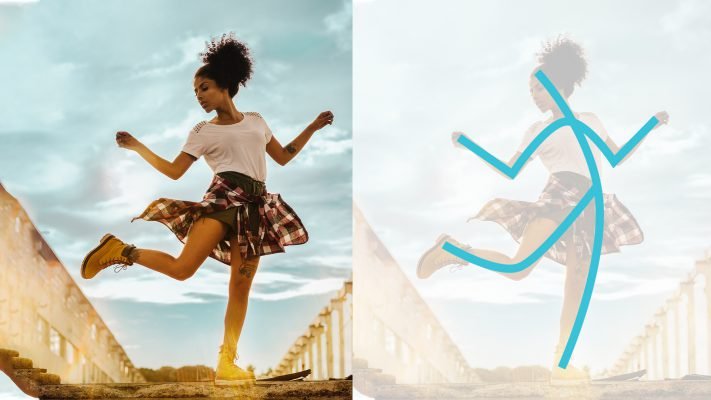
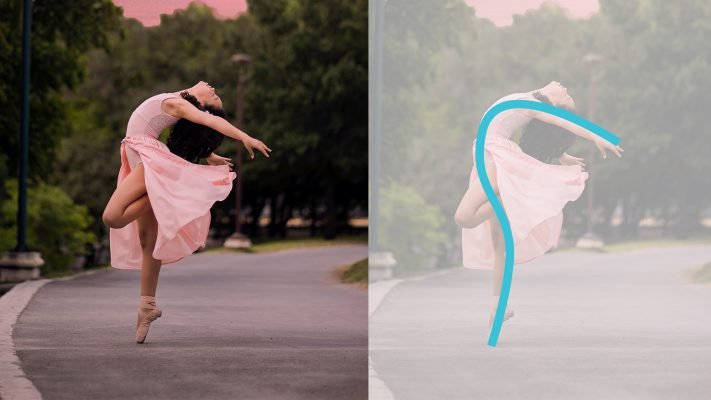
When you look at a form and find the gesture, look at its longest Axis. E.g. going down the length of a torso, down the length of the leg, down the length of the arm. It is the longest Axis of each form , that you will find the fluid motion from one form to the next. That will give you the flow of the body Start with the longest action lines (a curve that connects the head to the toes), like those you see on the left in the image below. The three main curves can be remembered as follows and describes the shape of the curve:


So when you are doing the Axis on these two figures you are going to over exercise the lines, making it a bit more dramatic.

– C curves S – S curves I – I curves To eliminate unnecessary information and to capture that gesture. It should be simple. You can use combinations of these curves, as you move down the figure. Attempt to do it in a few lines as possible Some curves are more relaxed and others are tense. Typically, a long fluid curve is relaxed, since the eye moves quickly through that flow.
The more the line bends, the more tension and energy is created (like a zig zag – sharp corners and sudden changes in movement). More dynamic and fast paced. E.g. Water flows in a slight S – Curve movement when the weather is calm, but during a thunderstorm the waves form sharp edges / curves (more energy in a Zig-Zag pattern).

Keep your shoulders open, and do not just draw with your hand.
Still look at your proportion to get that correct
Start by finding the longest action line of the body and try to find a curve that connects the head to the toes. Not all poses can describe one long line that connects the head to the toes. Always one line showing directional flow.
The form alternates in angle, form head, rib cage, pelvis, upper leg and lower leg. This causes alternating C – Curves that lead the eye through the body, like a river flowing through a stream. The tendency for us is to make things, but this stiffens the gesture and makes look like a snowman Some really helpful YouTube videos to watch:
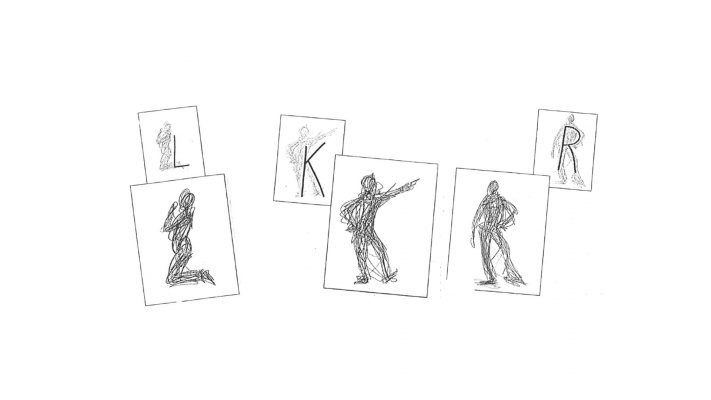
Gesture is a different way of thinking, easy to understand but harder to do. Try to see a letter in the human body. Start first with that letter, because that is the essence of that character or position – then you “flesh” it out from there
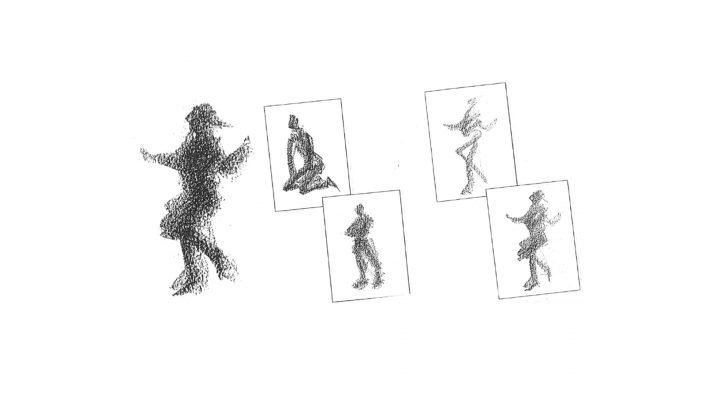
Now pack away your pencils and get out the charcoal, if you do not have – use a pastel or oily crayon and break off a piece (never use the tip, only the side of the piece). This helps you to be more loose, use less lines – only lines that will capture what is necessary or most effective.
Draw a pose of an object that is standing still
Go outside or look at any people who are moving, go and sit at a restaurant and practice your gestures – fleeting moments. Or if you are at home, watch a dance video and practice a specific move that you like
Get loose, get flowing and allow more freedom in your artwork.
You can use it when you travel e.g and capture the hustle and bustle of the city.
The primary purpose of gesture drawing is to facilitate the study of the human figure in motion. This exploration of action is helpful for the artist to better understand the exertions of muscles, the effects of twisting on the body, and the natural range of motion in the joints. Basically, it is a method of training hands to sketch what the brain has already seen. Staying “focused” means sustained concentration.
Gesture drawings may take as long as two minutes, or as short as five seconds, depending on what the focus of the exercise is. The practice allows an artist to draw strenuous or spontaneous poses that cannot be held by the model long enough for an elaborate study, and reinforces the importance of movement, action, and direction, which can be overlooked during a long drawing. Thus, an approach is encouraged which notes basic lines of rhythm within the figure.
The rapidity of execution suggests an aesthetic which is most concerned with the essence of the pose, and an economy of means in its representation, rather than a careful study of modeling of light on the form. For some artists, there is a callisthenic logic: just as an athlete warms up before exercising or participating in sports, artists use gesture drawing to prepare themselves mentally and physically for a figure drawing session.
The fast pace of gesture poses help an artist “loosen up” to avoid a stiff drawing style. The artist who undertakes gesture drawing also receives the benefits of self-training their drawing ability. This kind of very rapid drawing of the figure builds (through the act of frequent repetition) an instinctive understanding of human proportions which may aid the artist when executing more extended works. For some artists, a gesture drawing is the first step in preparing a more sustained work. Other artists, who seek to capture brief moments of time in a direct manner, consider the gesture drawing to be the end product.
Drawing from life is often preferred over photographic reference as it allows the artist to view the model from multiple angles and without distortion of the lens or lighting. As well, the repetition of short drawings without pausing forces the artist to work intuitively.
Drawings longer than two minutes are usually not considered gestures, as they inevitably allow the artist more time to measure and plan the drawing, or to begin to define the form with modeling. Once the artist begins measuring, erasing, or otherwise improving the drawing, they have ceased to gesture draw and begun rendering. They will be improving the complexity of their current drawing, but they are no longer practicing their ability to draw correctly from an instant impression.
To understand how to draw exaggerated movement, you must first understand how the whole body moves. Once you have mastered gesture drawing, you can begin to use those skills to draw movement, which uses similar principles as gesture drawing, but more obvious or exaggerated. An example: Picture a man throwing a punch. Imagine his stance. He will lean forward as he puts his energy into the blow. How does the whole body move to get into that particular action?
Again, you will use simple flowing lines as you did with simple gesture drawing. What is the main action line? That flow will create the overall gesture and successfully convey the action. Every part of the body will aid in showing the action of the figure, even the more subtle ones. While focusing on the overall flow or gesture of the figure, look at the action of the feet, hands, legs, arms and face. This will allow you to really capture all the movement of the figure.
A great tip is to imagine yourself doing that pose: feel what is happening. Where is the weight? The centre of gravity? Is the pose tense or relaxed? What is the overall mood? These questions will allow you to decide what is important in a pose and what you want to emphasise.
The main purpose of drawing gestures and movement is not about accuracy but rather about the flow. LOOSEN UP! This makes a great drawing. Of course, we won’t throw accuracy out the window, but that is no longer the main concern. Keep the “rules” at the back of your mind and emphasise the feeling and movement through your mark making. Elements of gesture applied to the anatomy (picture above) to make your drawing more dynamic.
Draw figures doing different gestural poses, starting with relaxed poses to drawing movement. As mentioned before, drawing from life is the best way to draw gesture and movement. Start with the rough lines and then “flesh it out” by adding detail.
They are not stick figures and also not a finished drawing (just capturing the fleeting motion). You will build on your gestures to get to your anatomy to get some form
Our online store aims to remove all confusion when it comes to shopping for art supplies. We only stock what is really needed and don’t flood you with choices. To view drawing supplies: