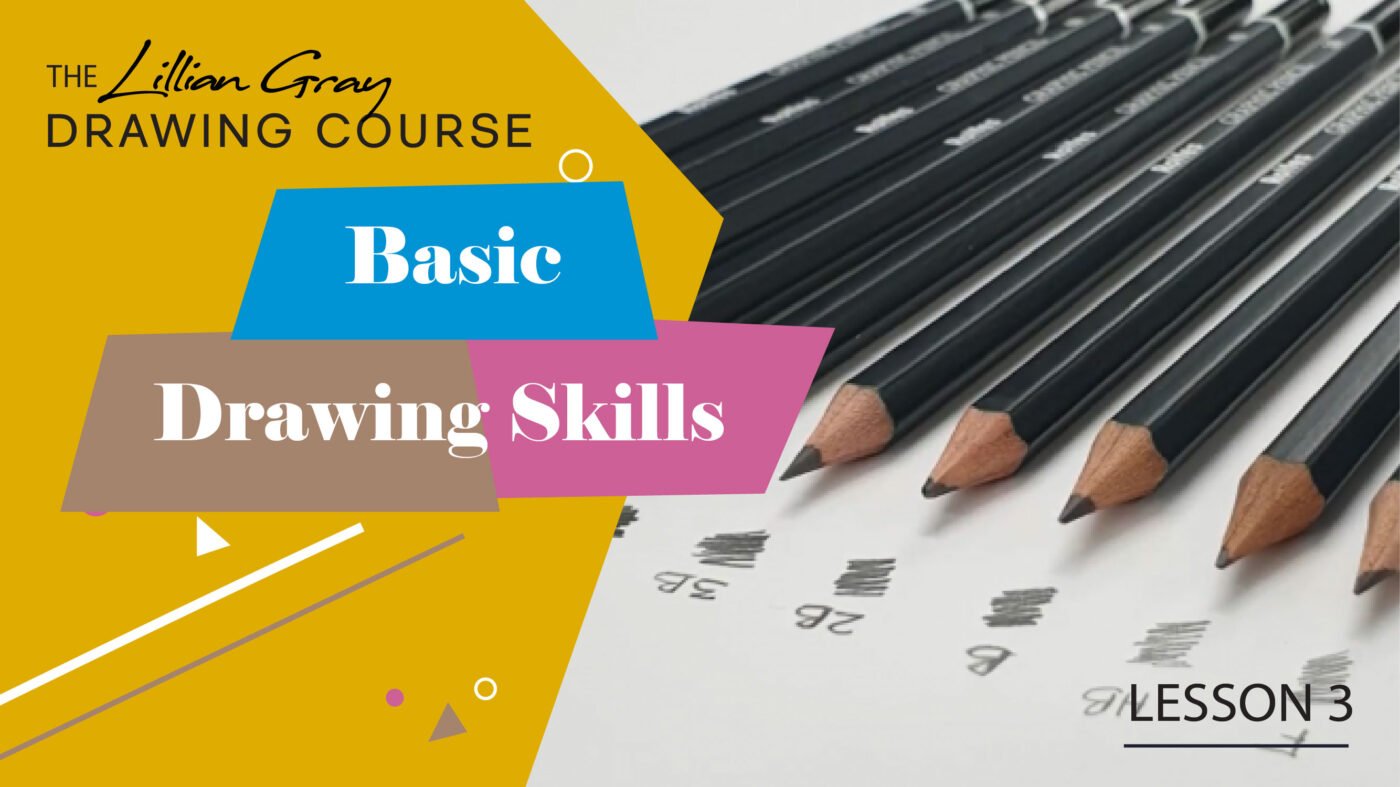
Drawing Course by Lillian Gray
Lesson 3: Basic Drawing skills
Mar
Watch this lesson for free on our YouTube channel
Lesson 3: Basic skills
This is a video and blog series teaching the fundamentals of drawings in an easy to understand way. The series consists of 15 lessons presented by artist Lillian Gray.
In this lesson, we will be covering basic drawing skills. These include understanding your pencils, how to hold your pencil, how to develop a stable hand and how to shade by practising gradients.
- Understanding your Pencil Set.
Note, it is crucial to understand the difference between all of your pencils;
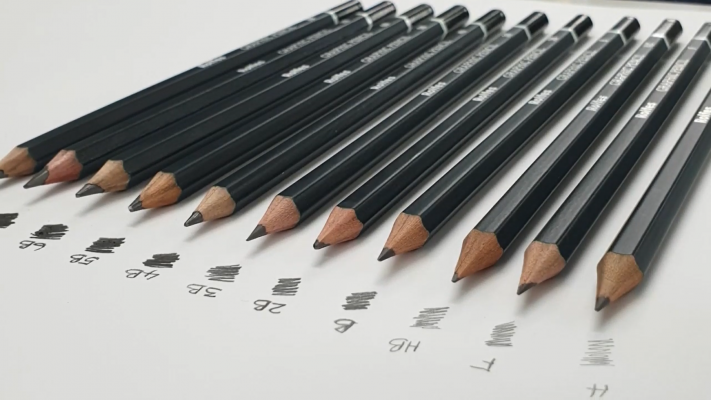
EXERCISE 1:
- Make tiny squares 3cm x 3cm
- Mark your proper pencil name above each square. Using the relevant pencil, do a cross-hatch in each square.
- Notice the difference between all your pencil: “H” is the lightest to “8B” is the darkest.
- 8B smudge much more than your “H”
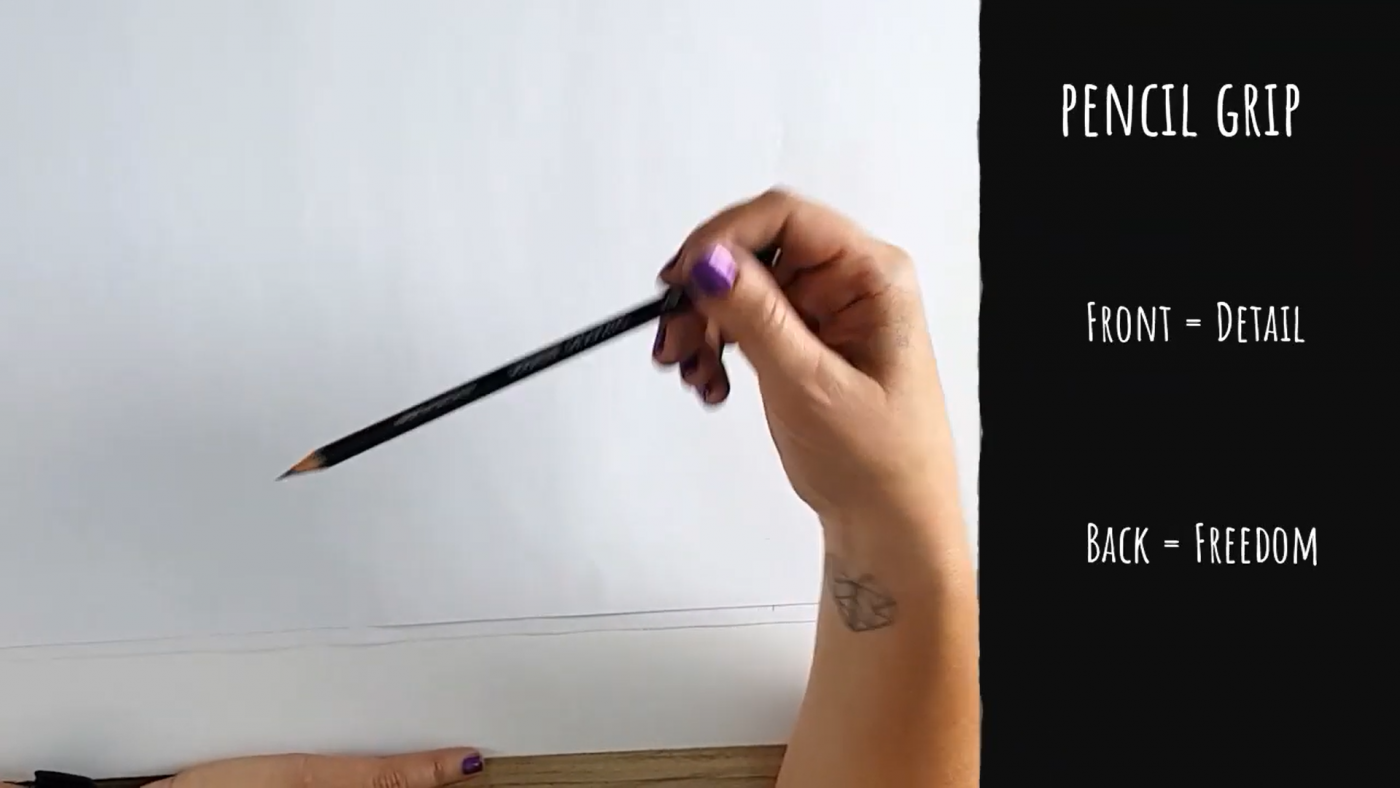
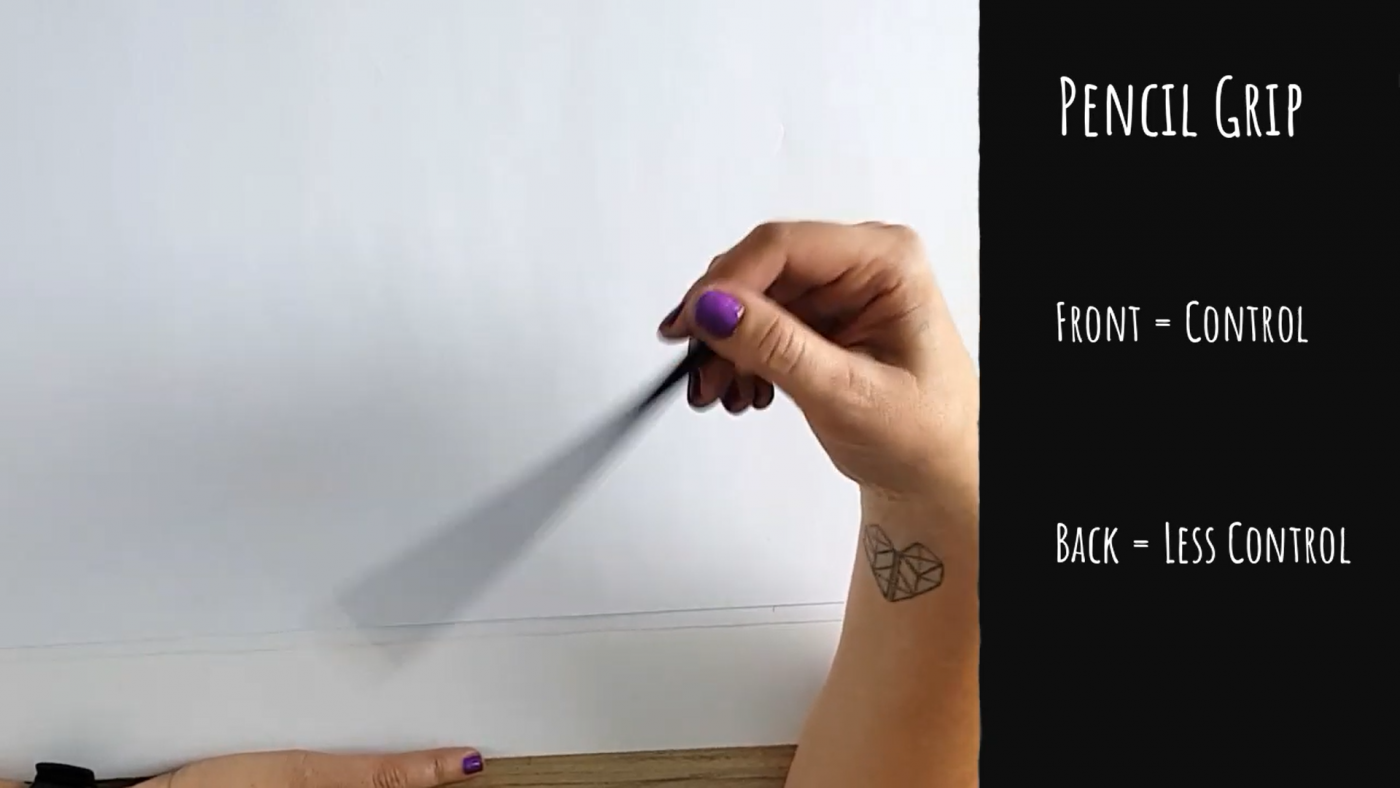
Pencil Grip; How to hold your pencil.
Your hand is a wonderful tool. It has a natural curve and movement. It is important not to work against the natural flow of your hand, but rather work with it. You also need to learn how to use your entire body to draw with. You need to learn to draw with your shoulder joint as well as from your shoulder and elbow. However, keep your wrist firm.
For drawing detail, you will be using only your wrist and fingers, and when finding shapes or discovering where you want to go, you could move more towards the back of your pencil holding it more loosely. This also applies to painting. We will be exercising this more in one of our next lessons called Gesture Drawings.
- If you hold your pencil in the front, you have more control
- If you move your hand to the back of your pencil, there is less control
- Plot out your drawing by starting by holding your pencil at the back
- Moving into the finer details, move your hand to the front of the pencil
Do not work against your body. Work with your natural curve.
Look at the natural curve in your hand, work with that natural shape – turn your page instead to do a curve the other way around (never work against your natural curve)
EXERCISE 2:
Find your natural curve. Just do a few curves on your page and feel which angles work best for you.
Develop and practice hand stability
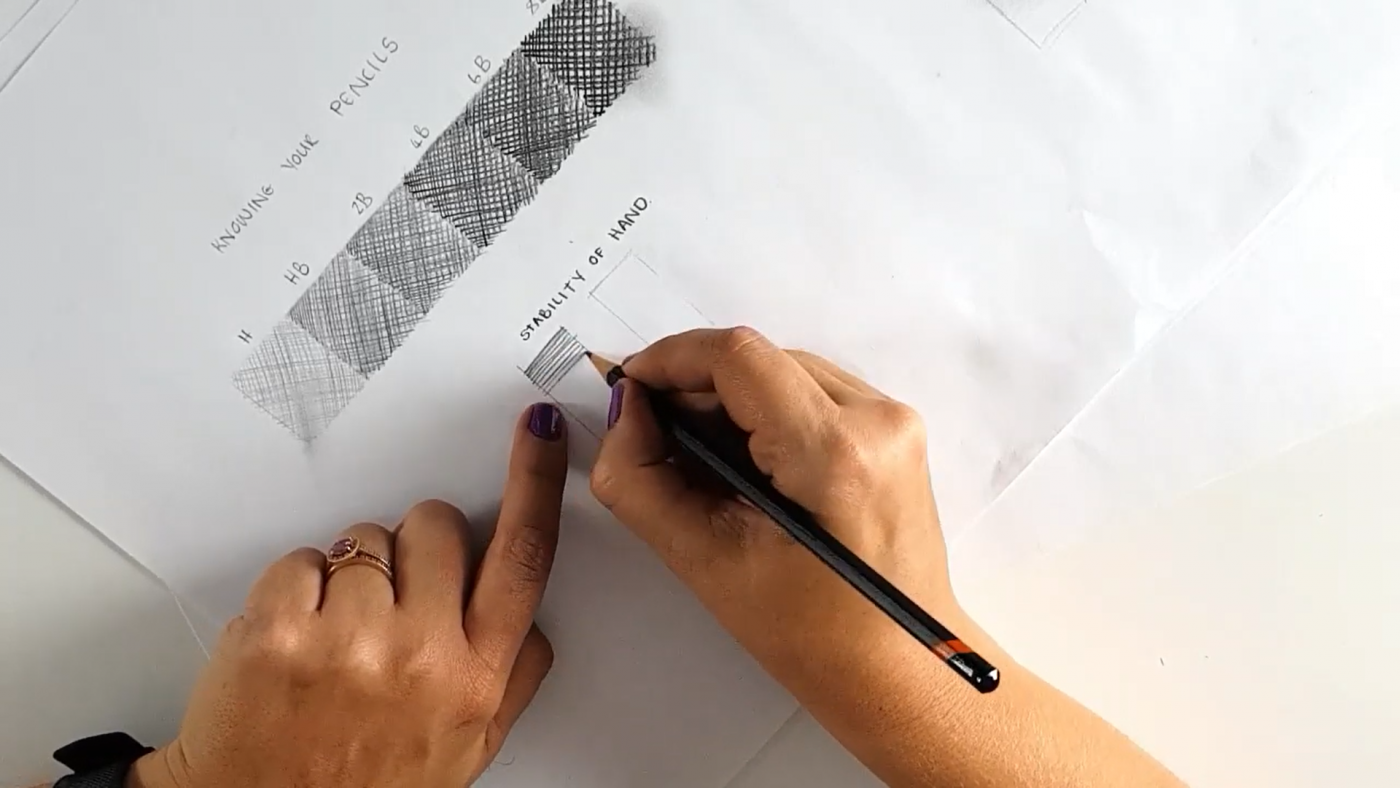
EXERCISE 3:
- Draw a little square. Draw tiny parallel lines in the square.
- Try and get your lines as parallel as possible and as close together as possible.
- Work from left to right.
- Use an HB Pencil
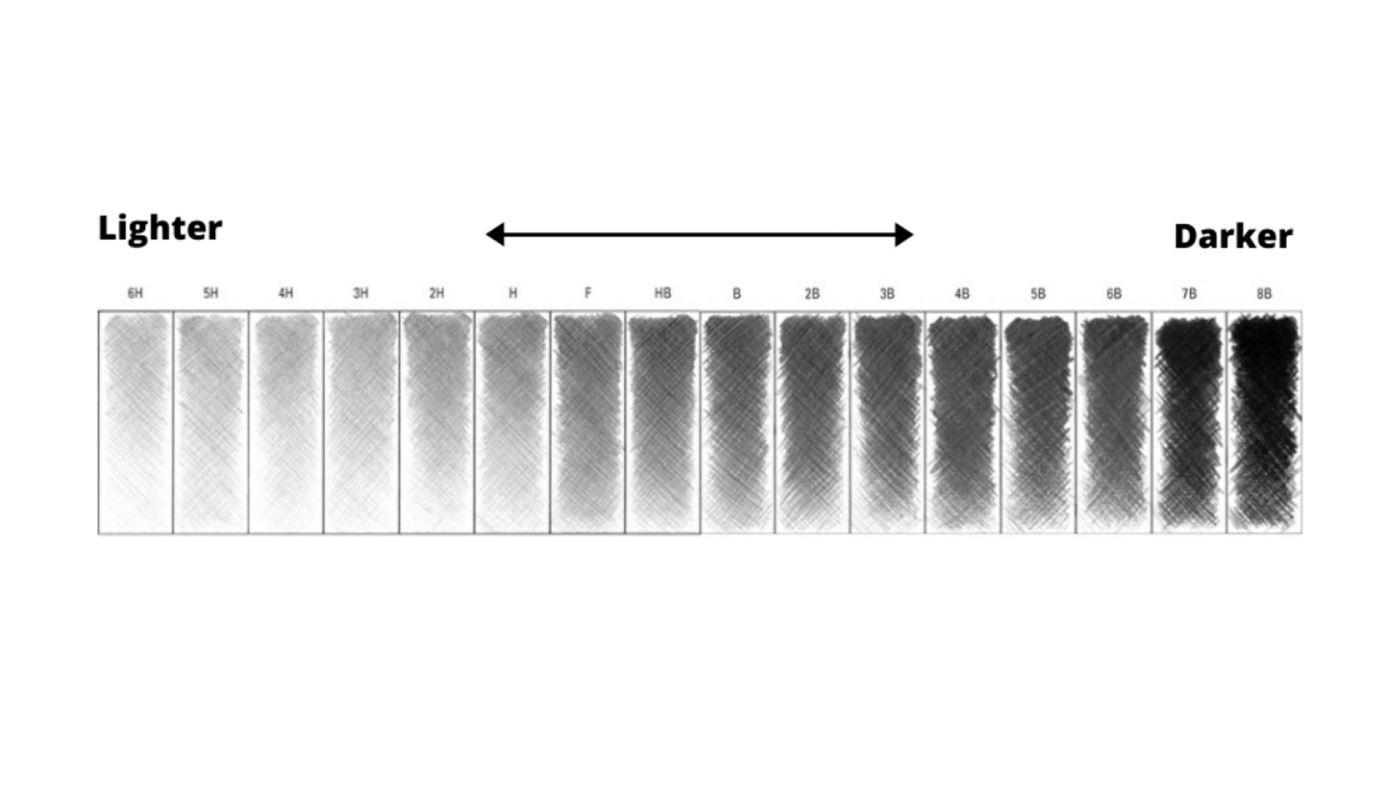
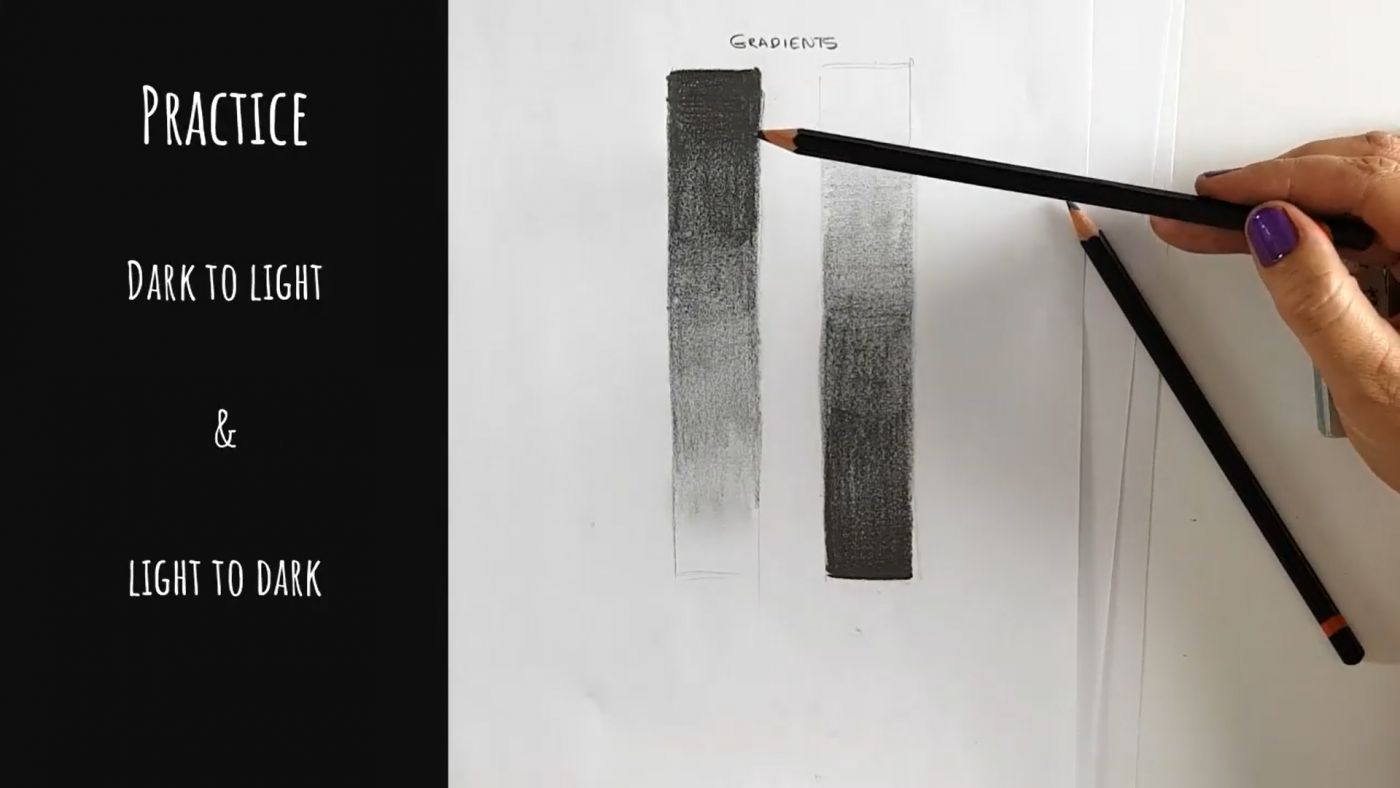
Practice Gradients
Definition of GradientGradient means gradual tone (from light to dark/blending) Tone simply means the degree of lightness or darkness. Black and white are not considered colours; they are pure tones. You will use all your various pencils to create tonal values, as seen below:
EXERCISE 4:
- Draw some bars 2cm wide 10cm long.
- Use a 4B pencil
- Start dark and gradually shade to light. End with pure white
- Use another block and take your 4B pencil and do it the other way around (Light to dark)
Shop Drawing supplies online with us
Our online store aims to remove all confusion when it comes to shopping for art supplies. We only stock what is really needed and don’t flood you with choices. To view drawing supplies
-
 A3 Toned Paper Clay Pad 120gsm FabrianoR380.00
 -
Faber-Castell Graphite Sketch SetR115.00
-
A3 Toned Paper Sand Pad 120gsm FabrianoR300.00
-
Cretacolor Kneadable EraserR25.00
-
A4 Toned Paper Clay Pad 120gsm FabrianoR205.00
-
Electric Eraser with 30pc Erasers – Mont MarteR139.00
-
Mechanical Pencil HB 0.5MM – DerwentR136.00
-
Drawing MangaR215.00
-
Fundamentals Of Drawing 3 – Leonardo CollectionR245.00
-
Set of Paper StumpsR52.00