-
×
 Lino Blocks Rolfes® Breeze Cut A4
1 × R150.00
Lino Blocks Rolfes® Breeze Cut A4
1 × R150.00
 Lino Blocks Rolfes® Breeze Cut A4
 Subtotal: R150.00
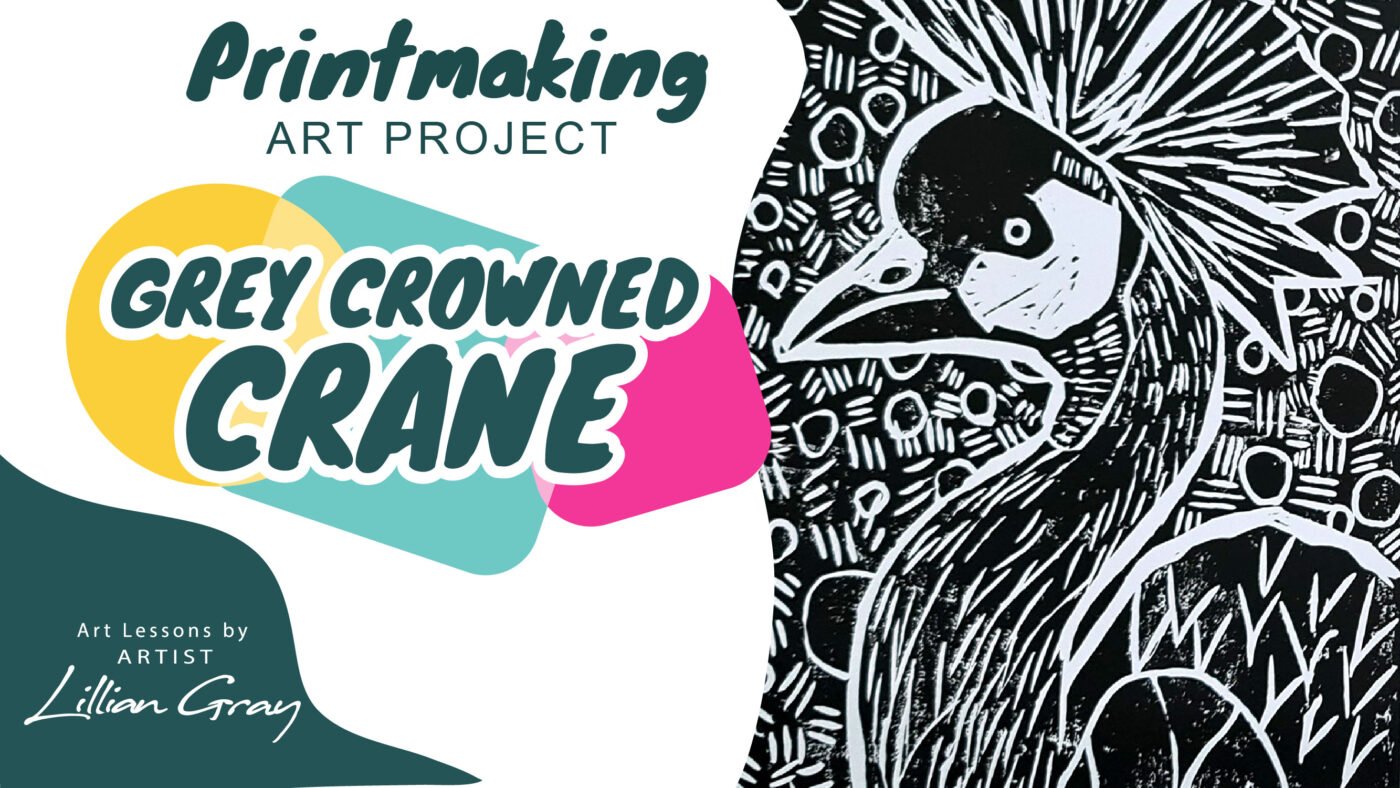
Hi, I’m artist Lillian Gray, and in today’s lesson I’m going to show you how to make a beautiful lino print of one of South Africa’s endangered birds,
For today’s lesson, you guys are going to need:
Today, we will be carving the Grey Crowned Crane.

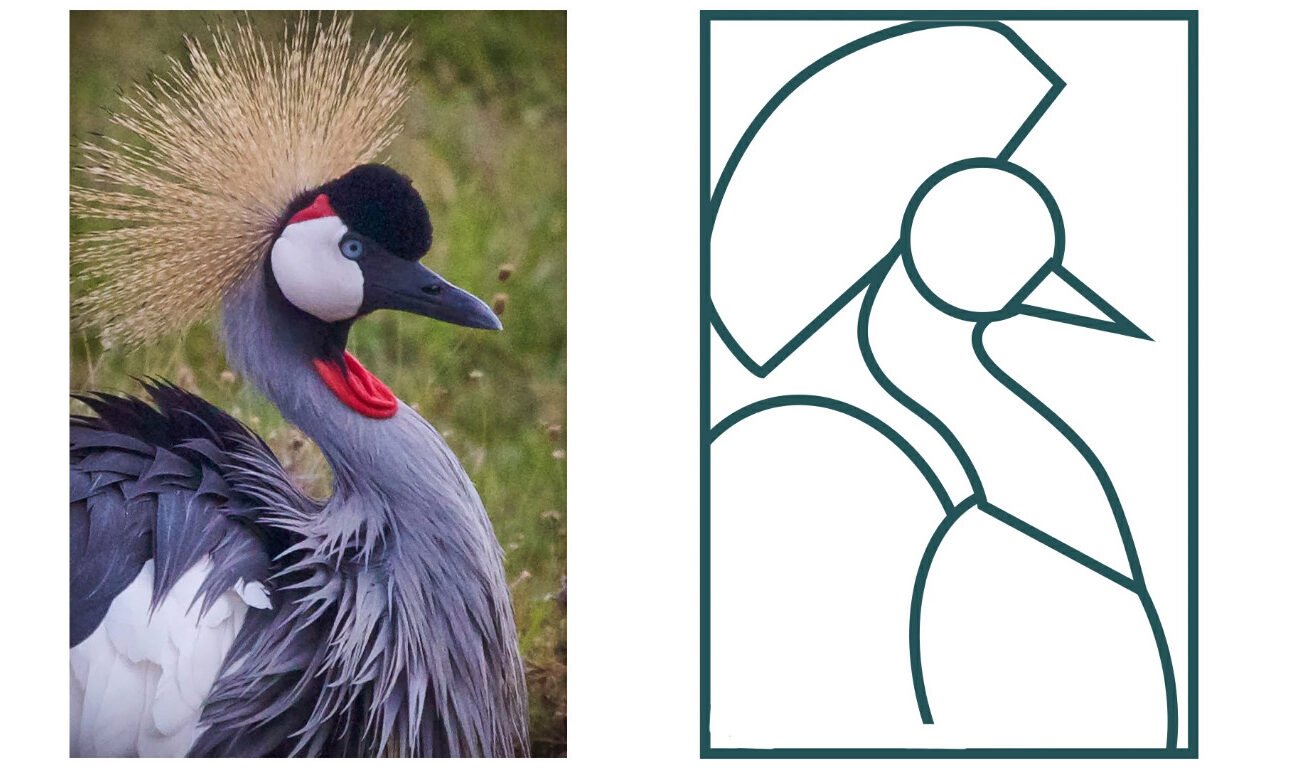
They live in Southern Africa and are currently endangered. This is so beautiful that Uganda made it its national bird. They also placed it in the centre of their flag. At 1 meter in height, these birds are super elegant and graceful. They love gliding, with an impressive wingspan of two meters.
They can also end up being quite goofy. You see, that’s because they love dancing. When a male and a female meet, they get down on the dance floor and share their moves. Any time of the year is a good time to dance. Today I want to carve one in lino, because I believe it will make a beautiful print.
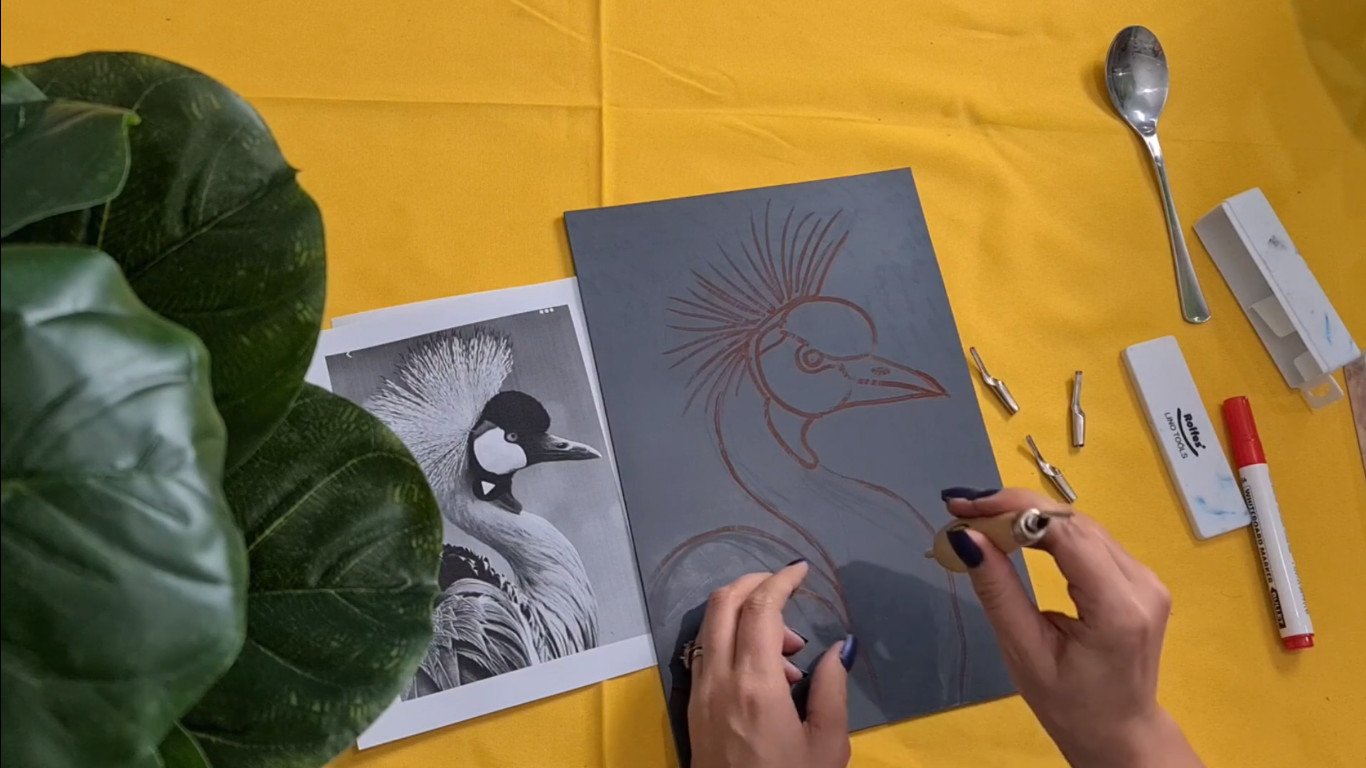
Use the chalk to draw out the basic shapes of your reference. Once your are happy with your planning, you can continue to Step 2.
Now I’m going to use a koki to draw in the final lines I would like to commit to.

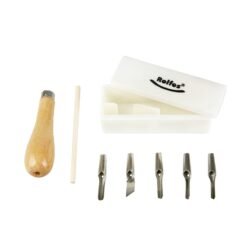
I’m now going to use my lino tool. If you want these things, you can buy them at this link. They are very affordable, and I’m using amazing lino sheets called breeze cut. There are different sizes that you can use.
To reload your blade, you simply insert the little stick, knock it. It comes out and you can reload your next one.
I am going to do be very conscious about my mark-making techniques and the way I’m going to apply texture.
A trick that I have learned over the years, that I believe is visually more impactful for your lino is, when you create quite a thick outline around your subject matter, between the subject and the background.

All right, I have applied line quality. Line is one of the seven elements of art. We need to have interesting line quality in our art. Thick, thin, hard, fast, soft, elegant, flowy. We combine these things to create something that is visually interesting and engaging.
I do feel that I’ve got that going on here. I do think that I’m going to add some patterns in my background so that my artwork is not boring, and I’m in the mood for some circles. So let’s add some of that.
I am done carving and it looks amazing if I may say so myself. So we are going to start by doing a test print. You’ll notice that I’ve put on an apron because this section is going to get messy.
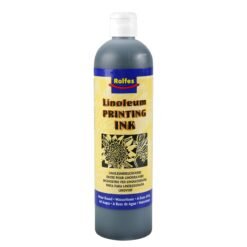
Just a quick note: Lino ink is not acrylic paint. Acrylic paint dries too quickly. We use lino ink which takes a long time to dry.
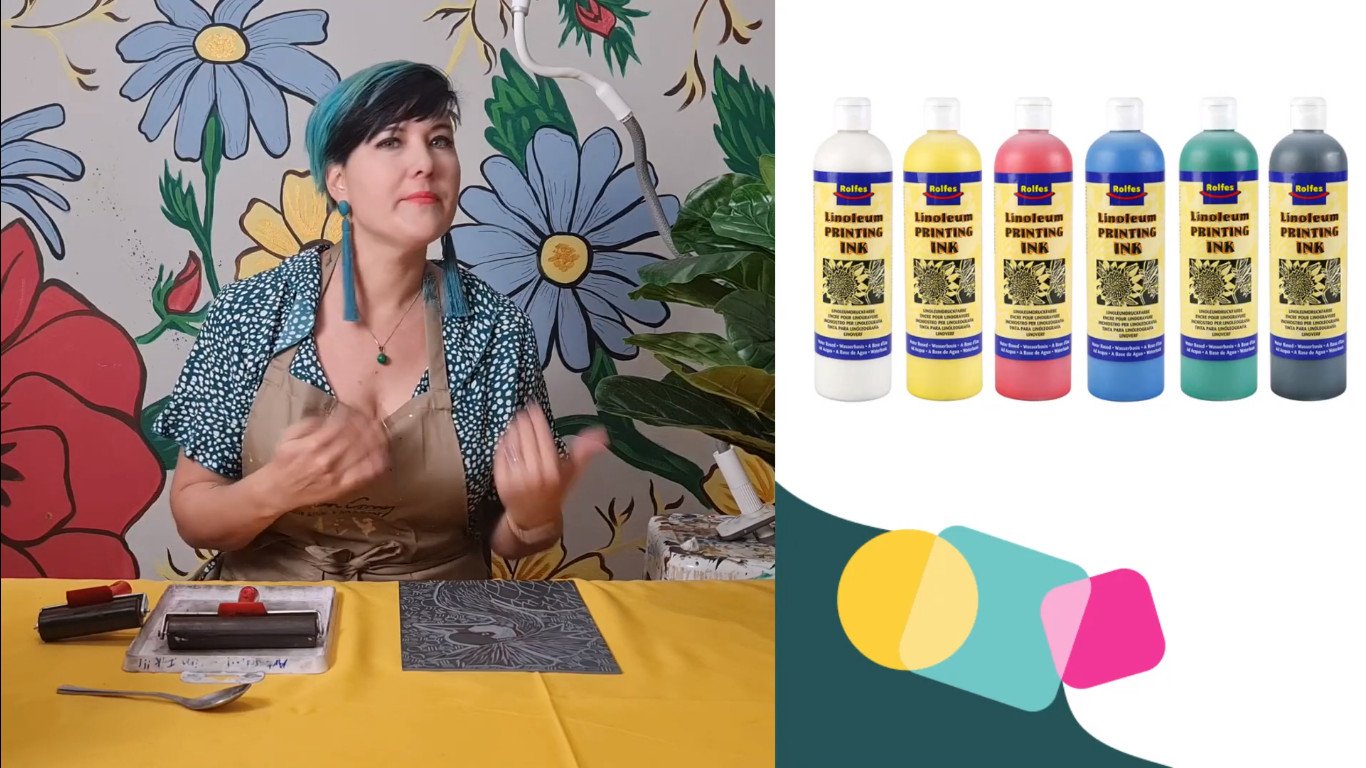
I have placed some lino ink in my tray. You’ll see that it is very sticky and I’m going to add a few drops of water, very little, so that it just moves around and prints better. Make sure that you have enough ink. You’re going to do two or three lino prints. This is the wonderful thing about lino. You can just keep on inking and printing.

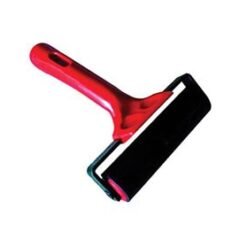
The first ink print that you are going to do is going to be black. I use the brayer to roll the ink on the lino.
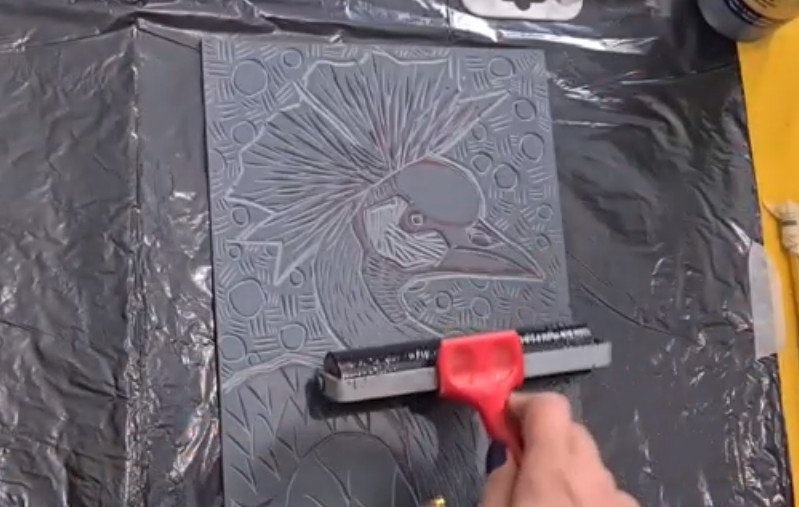
Print it landscape on the paper, so that it has a nice big, white border. Rest it softly on the paper. Use a clean brayer and starting to apply pressure.

This will not be enough pressure yet, so we’ll use the spoon. This is a cheap way to print without a printing press. I’m going to use a spoon and really start applying pressure.
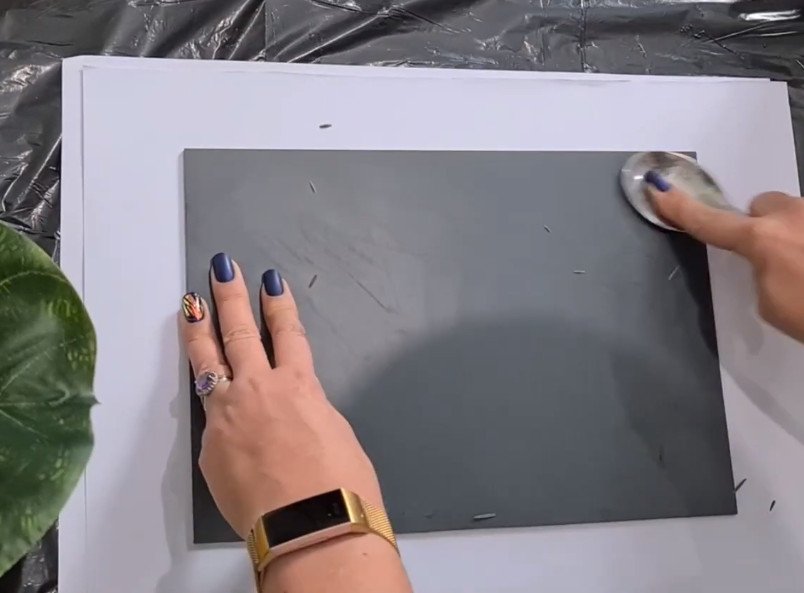
Now you are going to check how your printed image came out. This is always my favourite part.
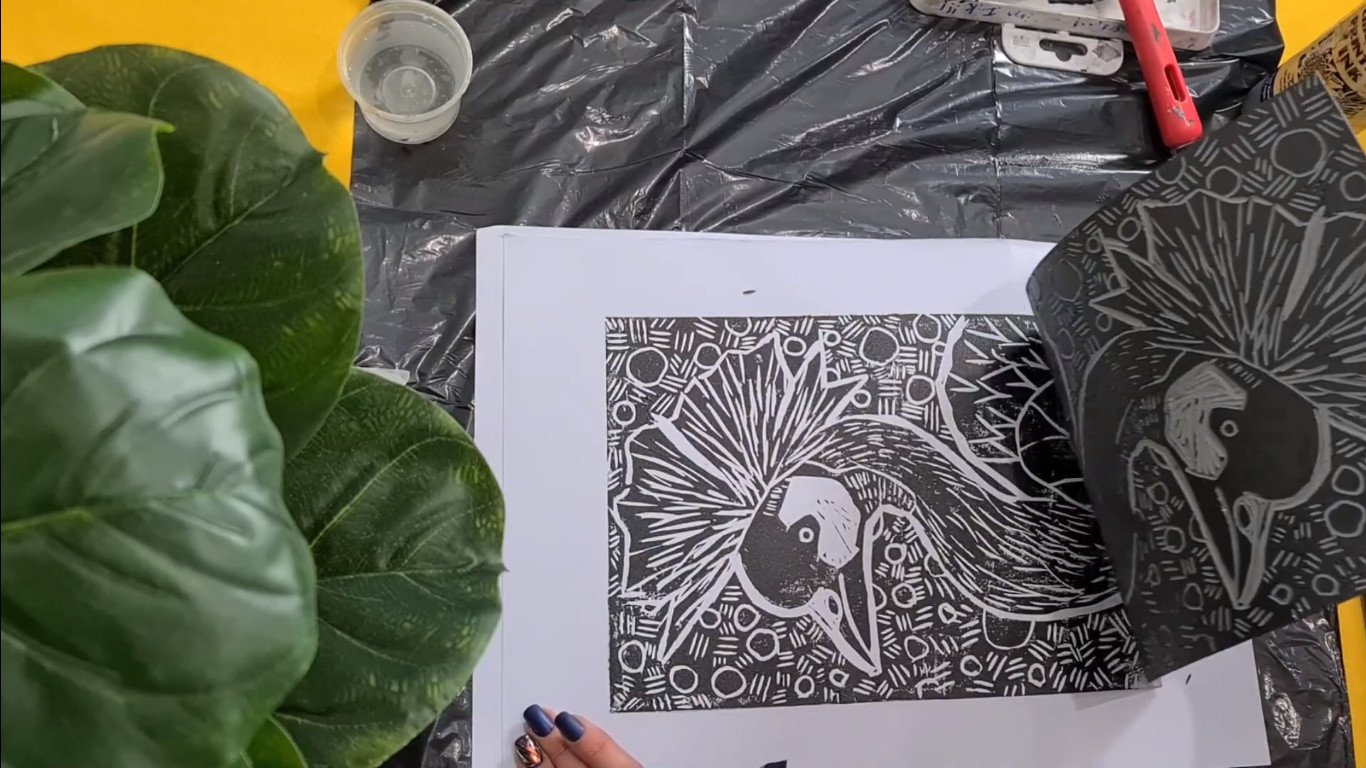
Nice!!! Now is a very good time to see if you like all the line quality. Is your outline thick enough? Do you have enough variation? Do you like the pattern? Is there anywhere else you can tweak? You can wash your lino, tweak it with your lino tools.
See if you really happy with how it came out. I do need to press much harder, it’s not a nice, solid print, and I think I need more ink. Before you refine and tweak your lino, rinse and wash it with some dishwashing soap, dry it with a paper towel and carve areas that need refining. Once you are 100 percent happy with your carving, you are ready for your final print.
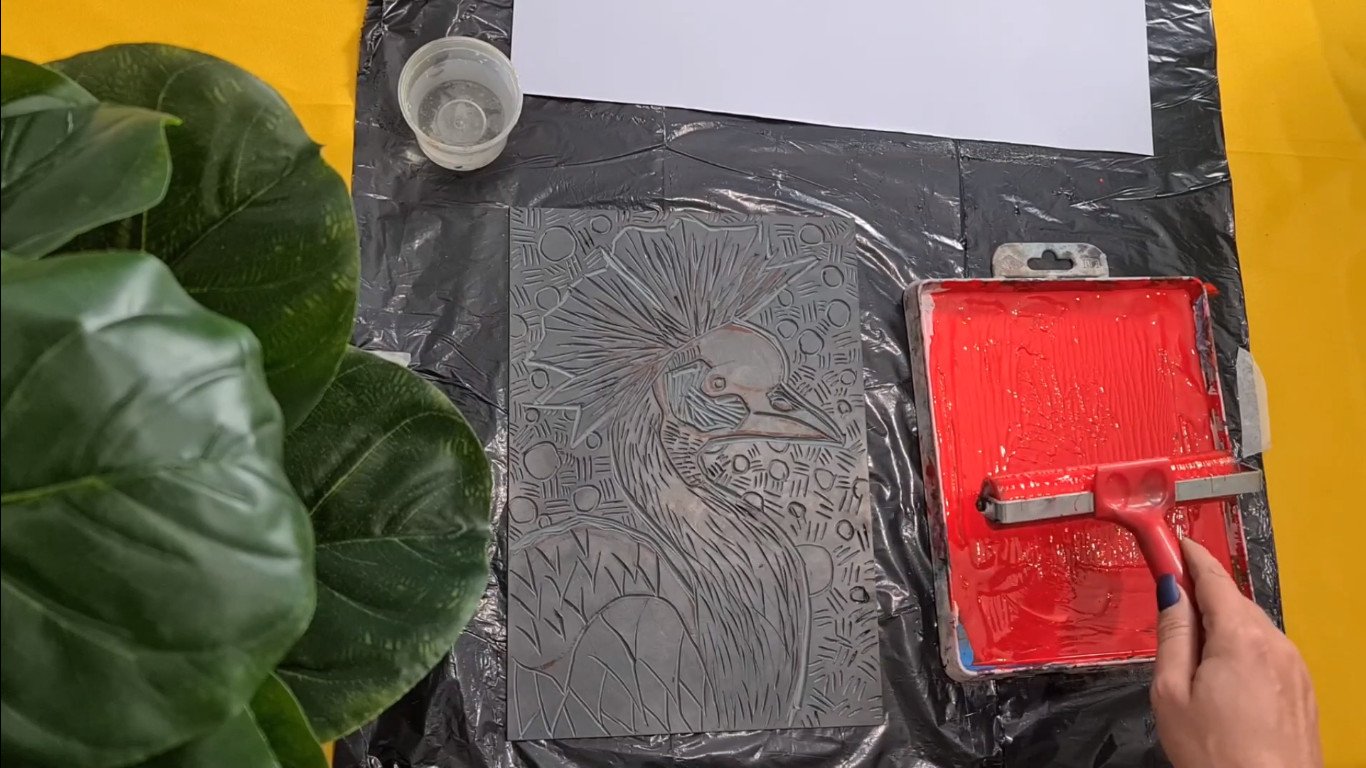
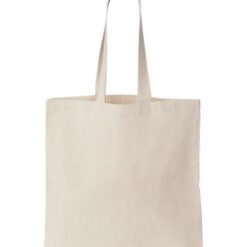
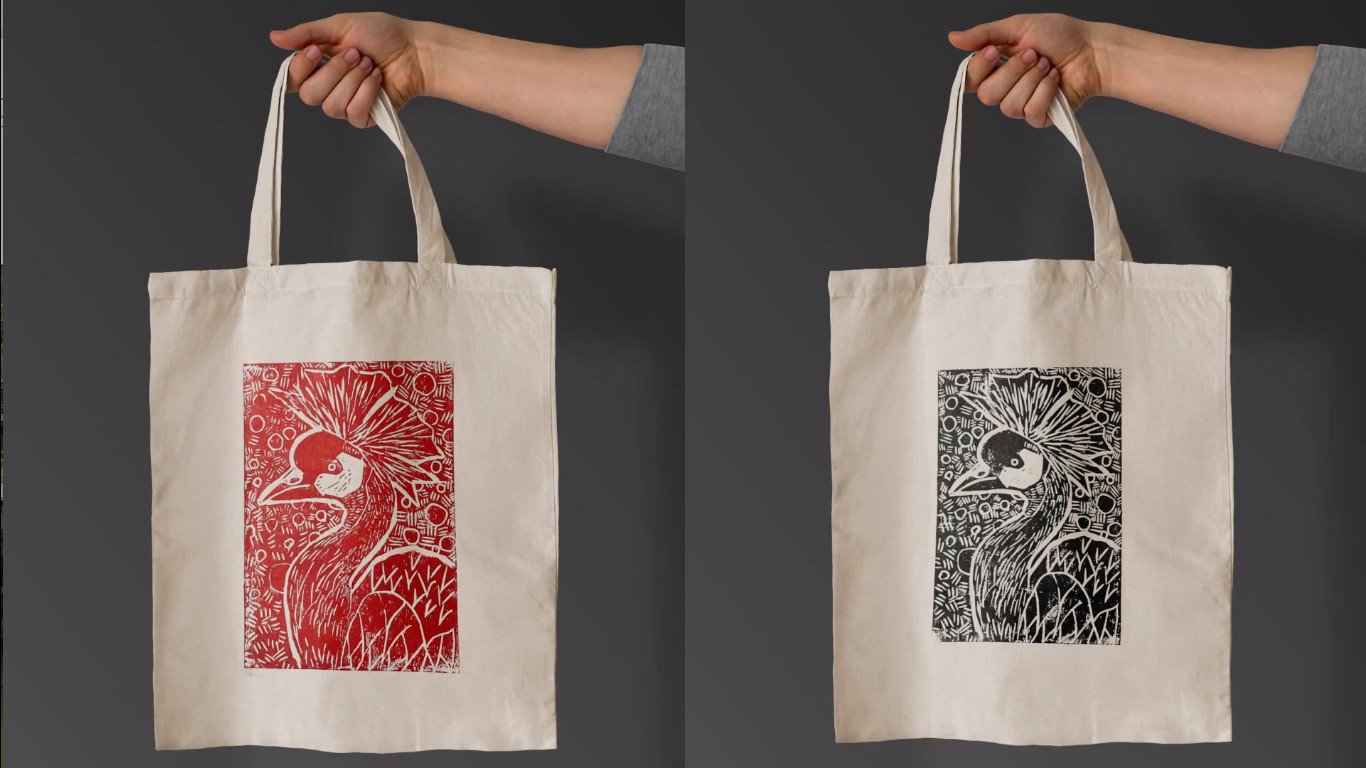
Why not experiment with different colours? Now you can keep on printing. You can print on material, make a bag out of it. There are various surfaces you can print on, which is really awesome and creative. You can stamp them together and make wrapping paper.
What is important, as an artist is that you edition the linocuts that you have made. If I have made fifteen of this bird, it will be 1/15, 2/15, or 3/15. I will just write it small, with a pencil here in the corner and sign my picture.

That is it for our lino printmaking, beautiful bird project.
I’m artist Lillian Gray. I hope you have enjoyed this lesson.
If you did, please give us a like, a thumbs-up, a comment, subscribe to the channel. It really helps our Youtube channel to grow and that enables us to create more amazing content for you.
Please share with us on our social channels photos of the beautiful artworks that you are creating at home. We would love to see it. I’m artist Lillian Gray, until next time.