Kids Art Projects
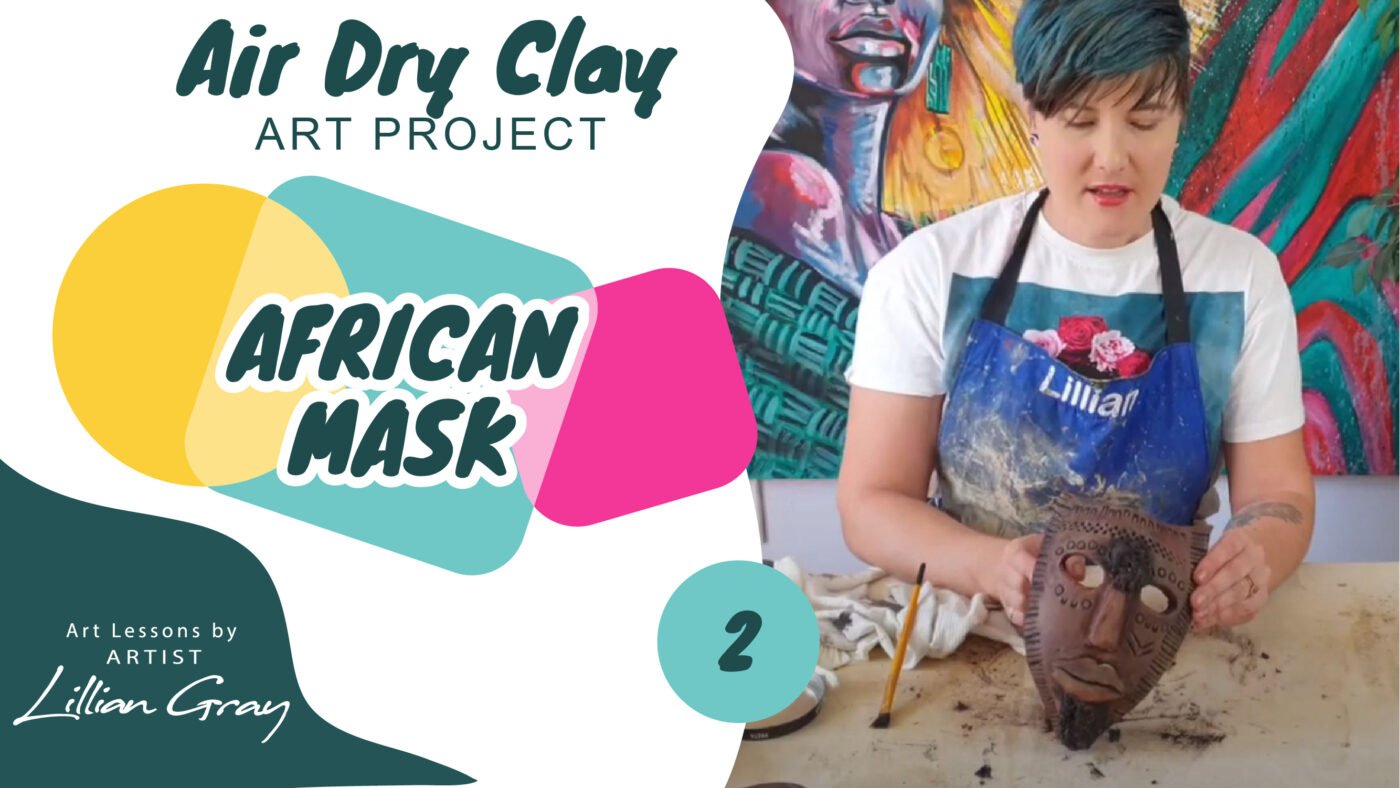
Fake the beaming oxide look on air-dry clay: 1 easy method
Jun
Hi, I’m artist Lillian Gray and today’s lesson is all about how to polish air-dry clay.
What do I need to create the oxide look
- Sandpaper
- Shoe polish
- Old brush
- Toothbrush
- Rags
How do I fake the oxide look on air-dry clay?
Once your air-dry clay is completely dry, it’s ready to get a finish. There are various options of how you can finish this. For this project, I’m going to choose to do a polish. I like this look because it kind of mimics the oxide look. We’re not working with clay that needs to go into an oven, that needs to be baked. You can’t really bake and oxide. You can fake the look of oxide on air-dry clay. The first thing we need to do is just prepare the sculpture.
This is my African mask, and there are some rough edges as you can see, so we want to take a bit of sandpaper and just really sand that out and get our clay nice and smooth before we polish it up. I’m just using a hundred grit and you get much smoother ones as well. I’m powdering this off so you’ll see it’s like filing your nails.

I’m done sanding so this is an African mask. You don’t have to sand it too much because Africa it’s a bit ragged and rough. I don’t want to get rid of all the textures that I’ve created, but I do just want to smooth my edges so that your project looks really, really professional. Now let’s move on to the polish. The polish I’m going to use is just basic shoe polish.
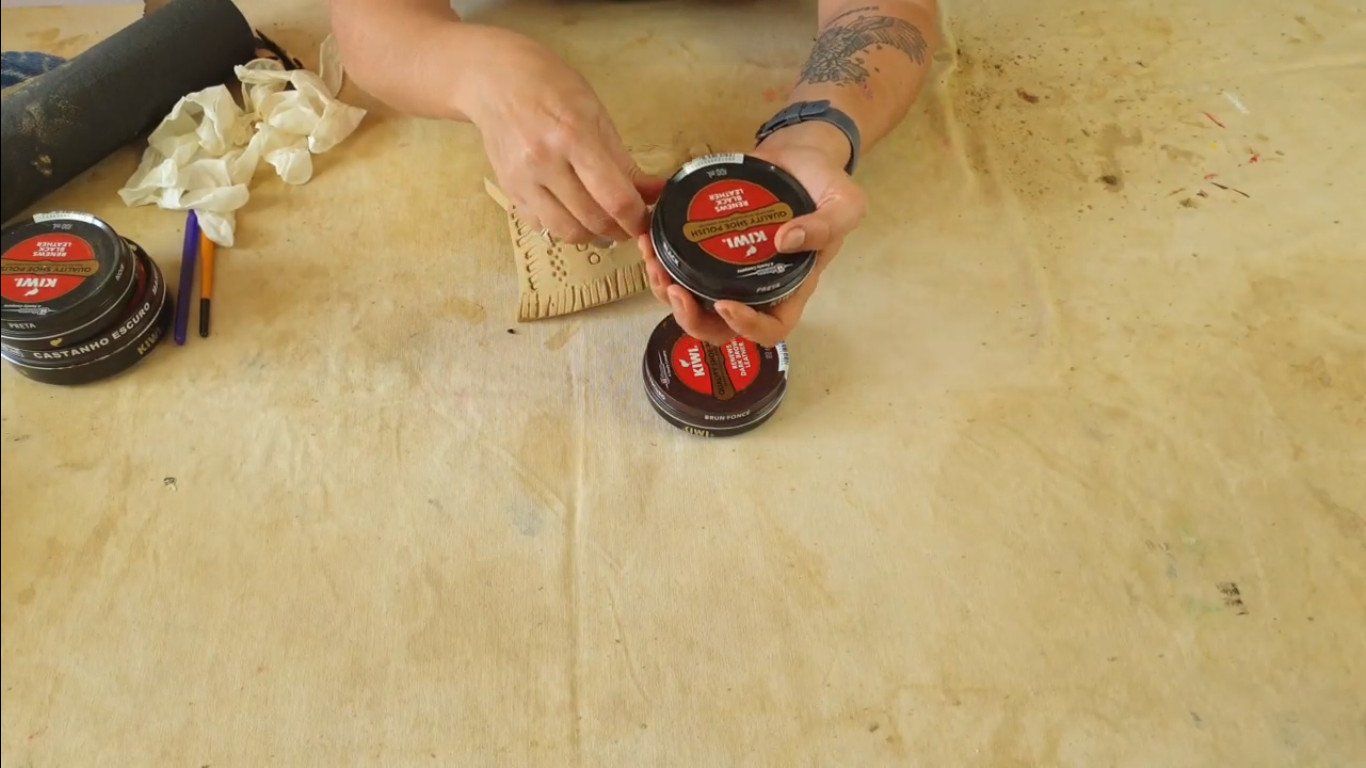
I like mixing colours, so I like using black and reddish-brown, mixing them together. If it’s really cold outside, your polish is going to be really hard and difficult to work with. What works well, is adding just a tiny bit of boiling water to it just to get it malleable and moving.
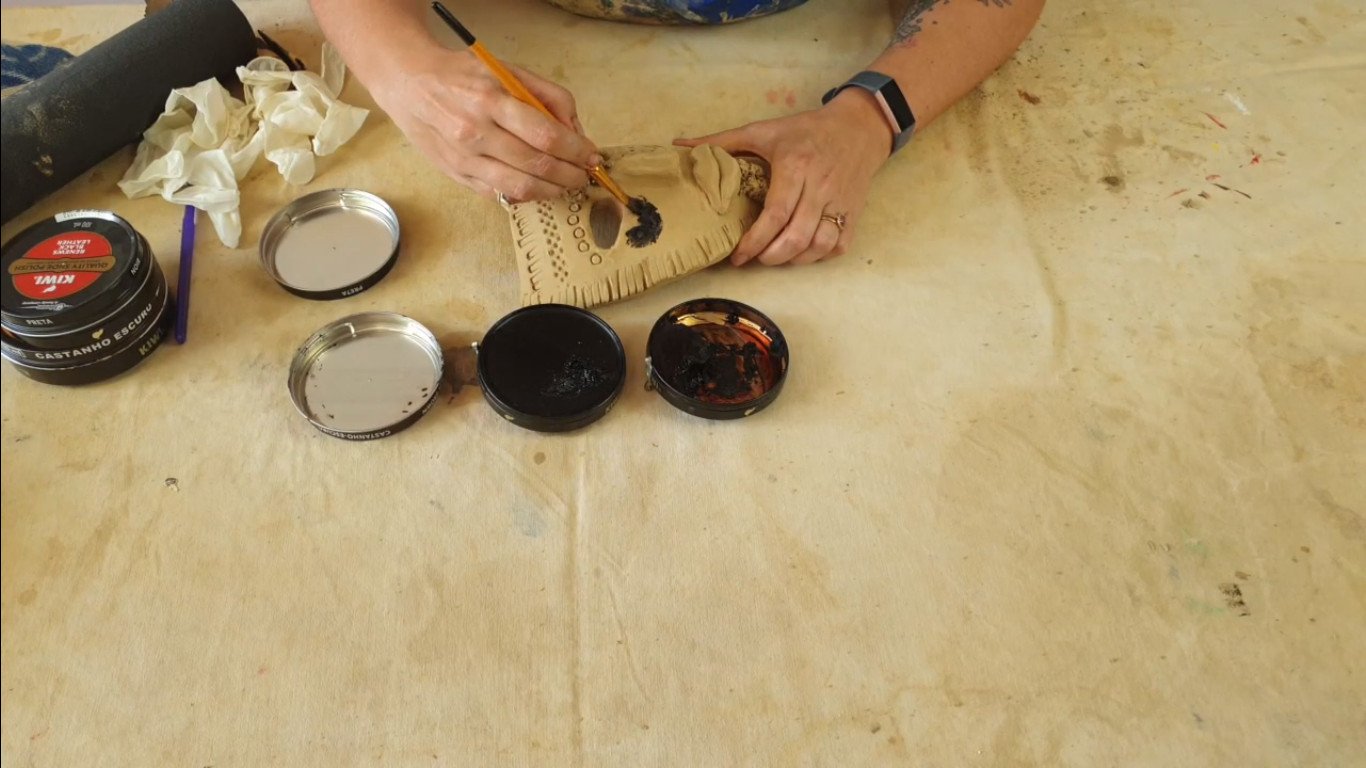
I’m making it quite smooth with a brush. I’m first going to add my black. I really want to get into all the little crevices. When you start your clay is going to look very dark. Don’t stress about it. You’ll polish and shine it up. For this step, I’m just really trying to work the black into all the little dots, because I want my textures to really stand out.
Another option is to use a toothbrush. That also works really well.

I’ve worked in my black. You can also wear gloves because your hands do really get dirty with polish.
If you don’t want to wear gloves, then you’re just going to have to wash your hands a lot. Now I’m gonna move on to my reds and I’m going to start brushing in my red polish. The brown is like a brownish-red, burgundy. I’ve covered it nicely now and used quite a lot of polish. I’m sure I’ve got it everywhere.
This next step is optional. If you want to be the back, do the back. I think it’s nice because you never know where the mask may end up, hanging on a wall maybe and you can see the back. But maybe plonked on a coffee table and people can see the back. I would just rather be on the safe side. Just finish off everything. I’m using all this excess polish and just get it in there.
You are done with this step. You can now go and put your dad’s toothbrush back.
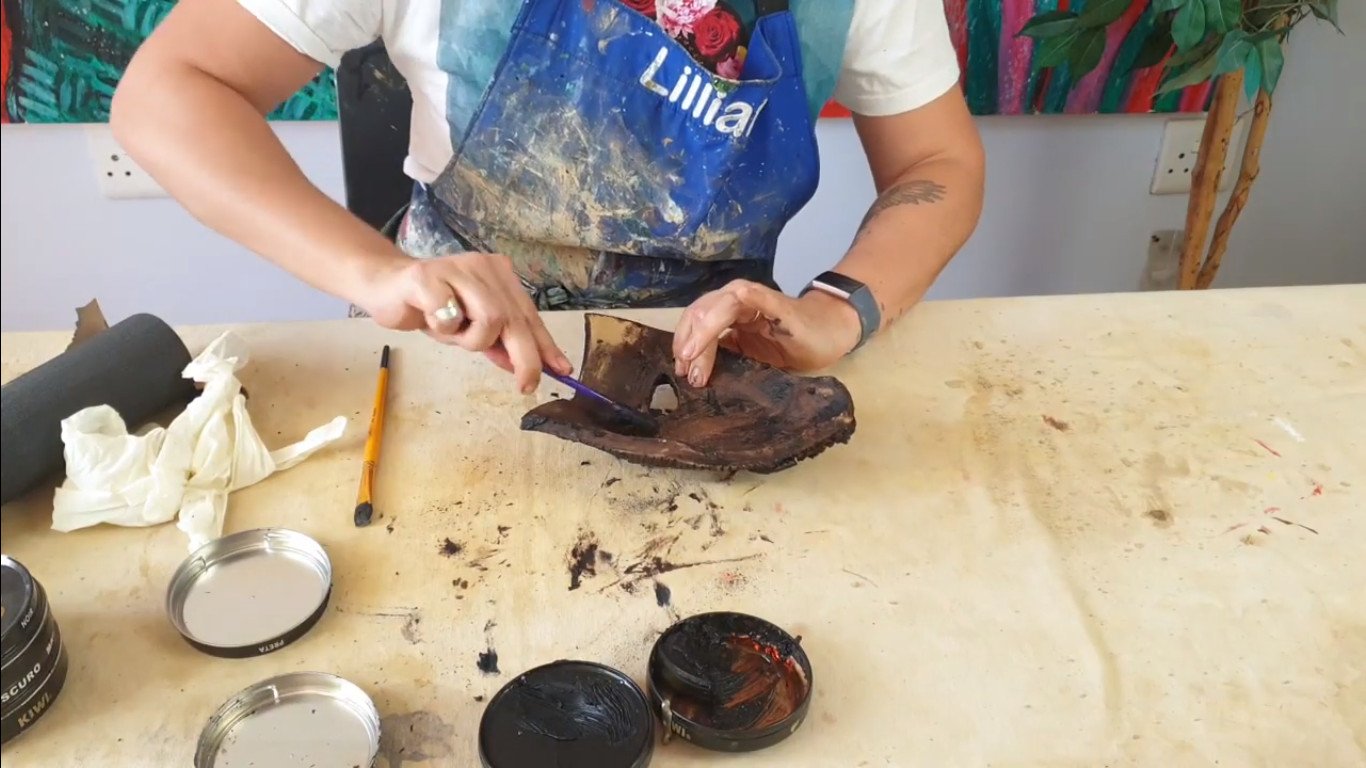
I have two cloths here, like an old rag. I’m going to take off most of the excess, the big bulk of the extra polish.
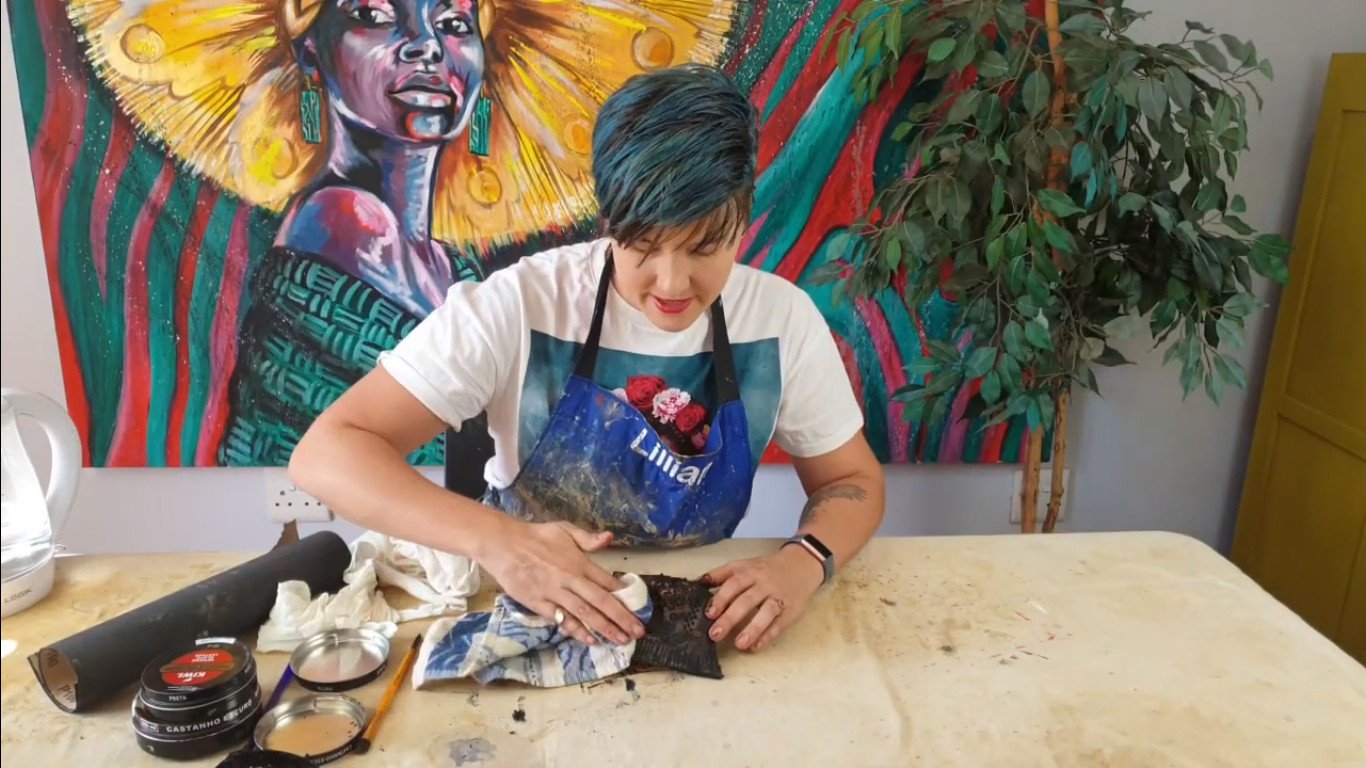
Then I’ve also got a really smooth rag, a piece of an old shirt. I’m going to use it to actually polish this baby up. Now for the shining part, we are really going to start shining it now.

That’s our polished sculpture. I’m going to leave it a bit. It will become a little more reddish over time,
depending on which polish you use. I just want to show you some of the others. They look like ancient artifacts we dug up, right from Africa. This is one that’s already done and it shines and doesn’t give off polish anymore.
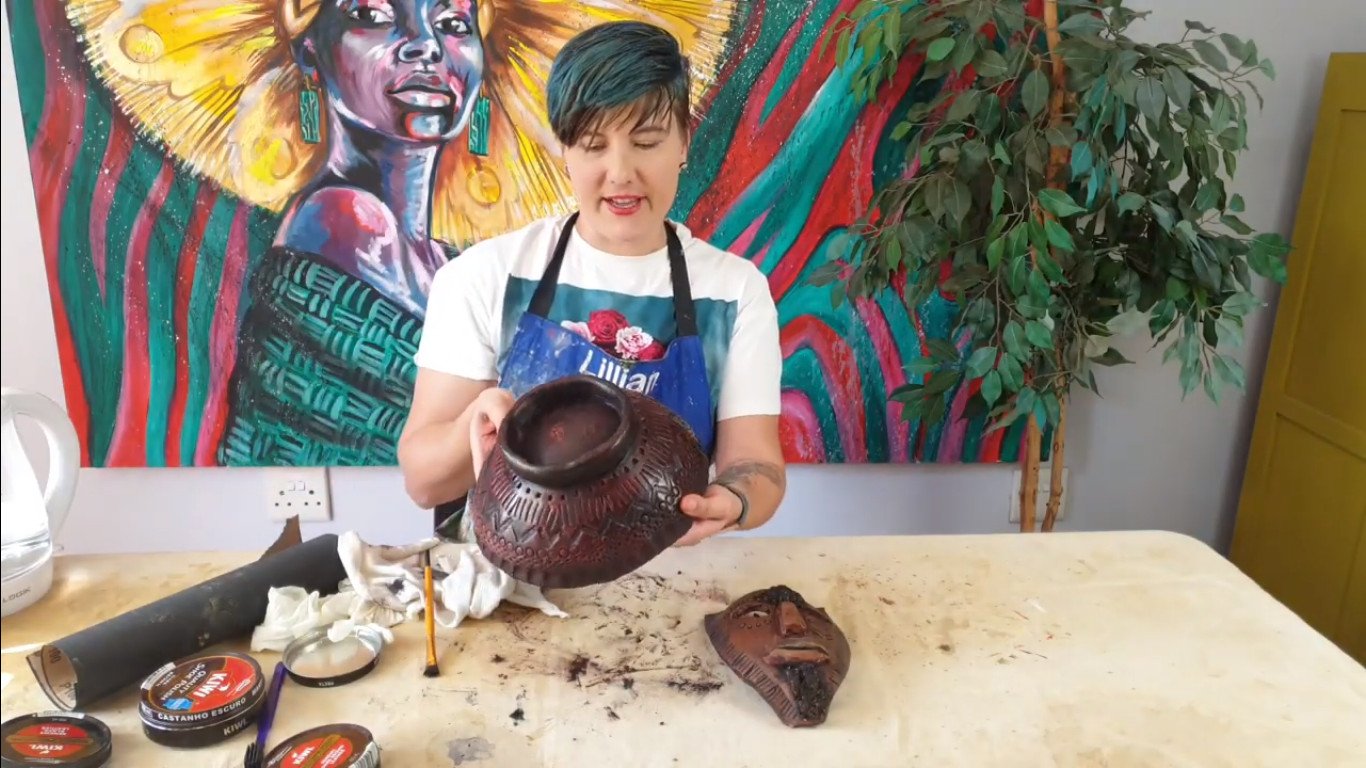
This was done about three days ago. So that one is done. This is a sculpture done without any black added, so this is just a burgundy, red mahogany. And just to show you how the black really brings out all the little patterns and how beautiful and shiny this is.

If you really want you, and you are scared that the polish will still come off after a while, you can spray it with see-through spray paint. You get matte or gloss. For the African stuff, I prefer matte. I don’t think it should be that shiny, but it depends on what you are making. I hope this was an awesome lesson on how to fake the oxide look on air-dry clay.
Check out our other air-dry clay projects: Making a pig, a chicken or a penguin
If you liked this video, please make sure that you like and subscribe to our Channel and, stay tuned for the next fun art project. Also, visit our blog for some more art project ideas.