Kids Art Projects
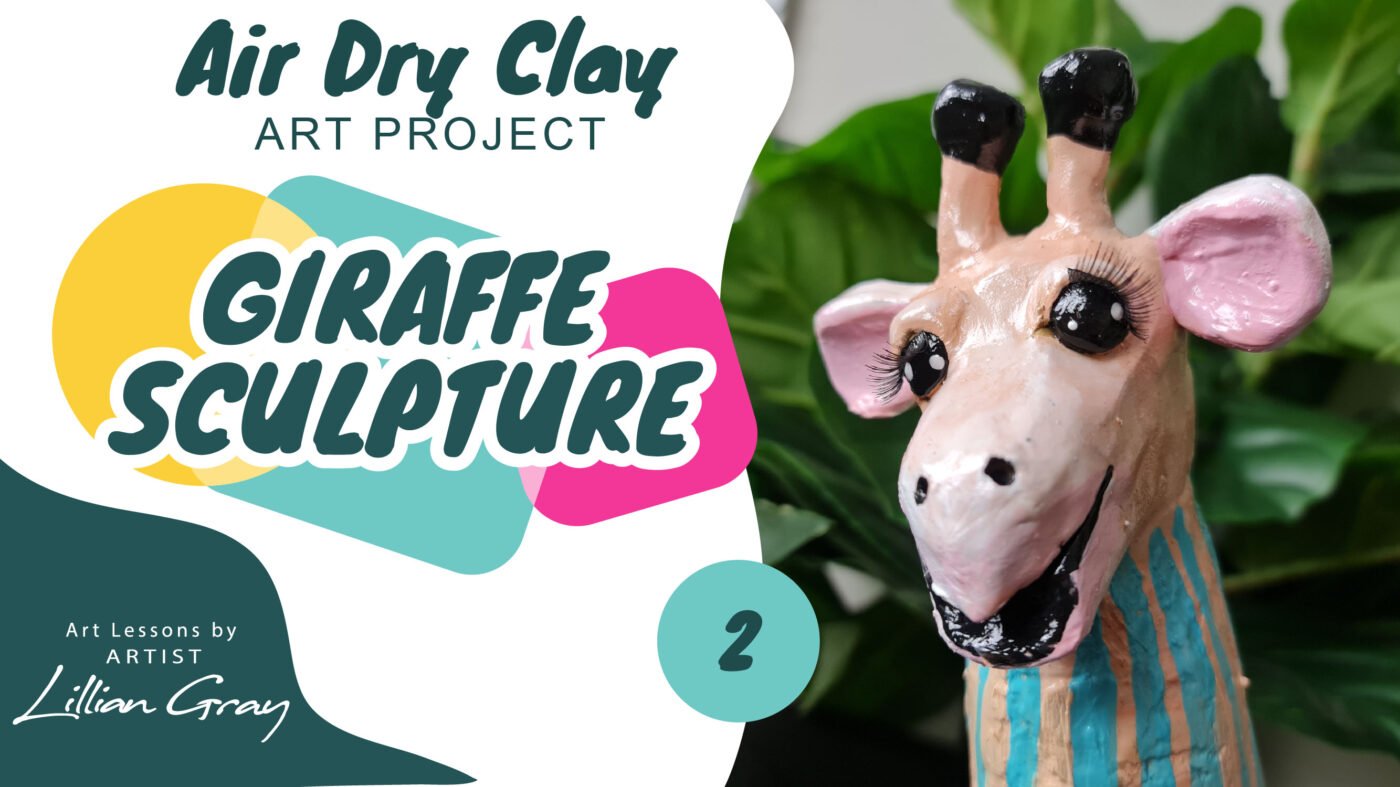
Painting Gregory, our beautiful contemporary giraffe in 6 steps.
Aug
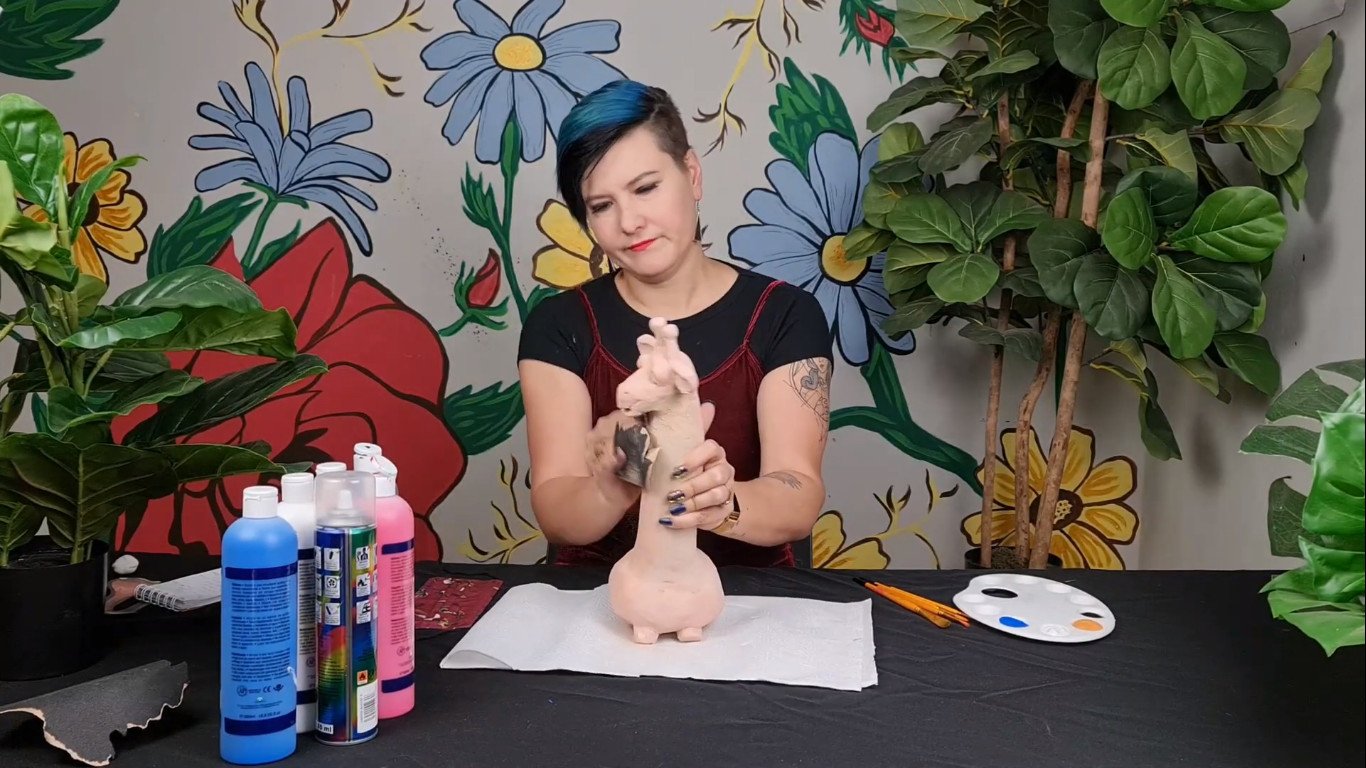
Hi, I’m artist Lillian Gray and for today’s lesson, we are finishing off beautiful Gregory the giraffe that we created in a previous video.
For today’s lesson, you will need:
- Fine sandpaper
- Various colours of acrylic paint
- Different size brushes
- Paper towel and a water jar
- Clear spray paint
Step 1:
We need to lightly sand our sculpture. I am using light, fine-grit sandpaper and I’m just going to get rid of all the little bumps on my sculpture before I start painting it. If you’ve spent a lot of time smoothing out your sculpture as I showed you in the previous video with a wet brush or a wet sponge, this won’t take that long, there won’t be as much to smooth out.
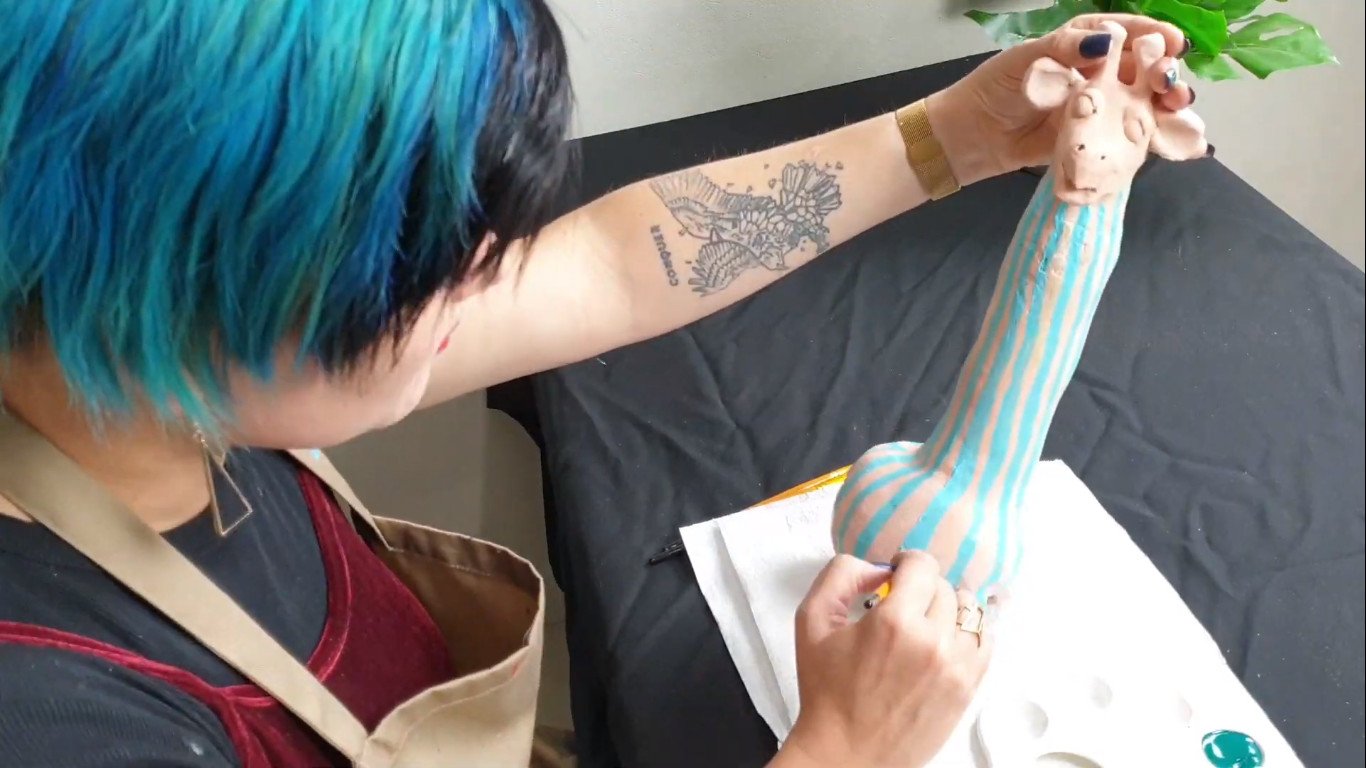
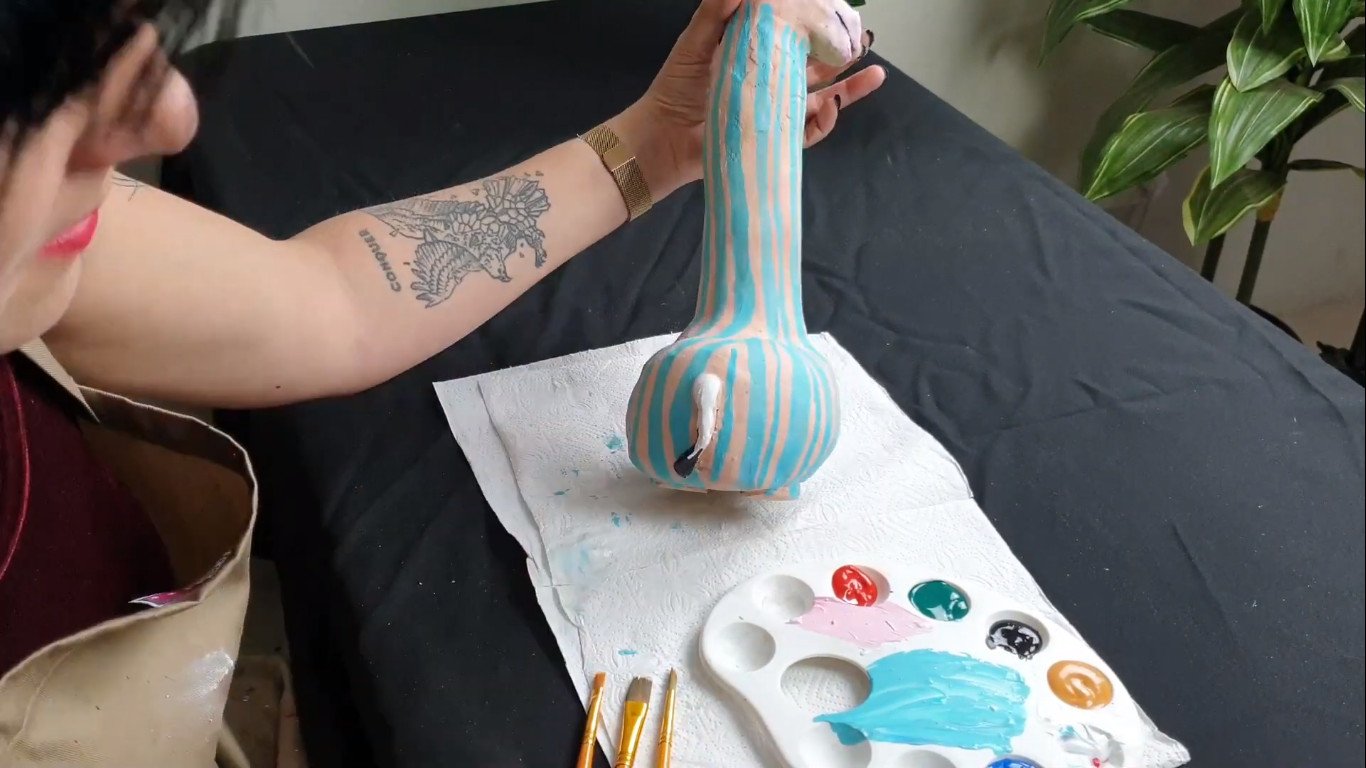
Step 2: Paint Gregory the Giraffe
Let’s create the beautiful patterns on Gregory. As I stated in the previous video when we were building Gregory, that I am making quite a contemporary giraffe. My idea is to create quite a statement little decor piece for my home. I am going to not stick to the traditional patterns of these beautiful animals, but rather do something a bit more contemporary. There are various ways that you can make the sculpture contemporary and add some modern patterns.
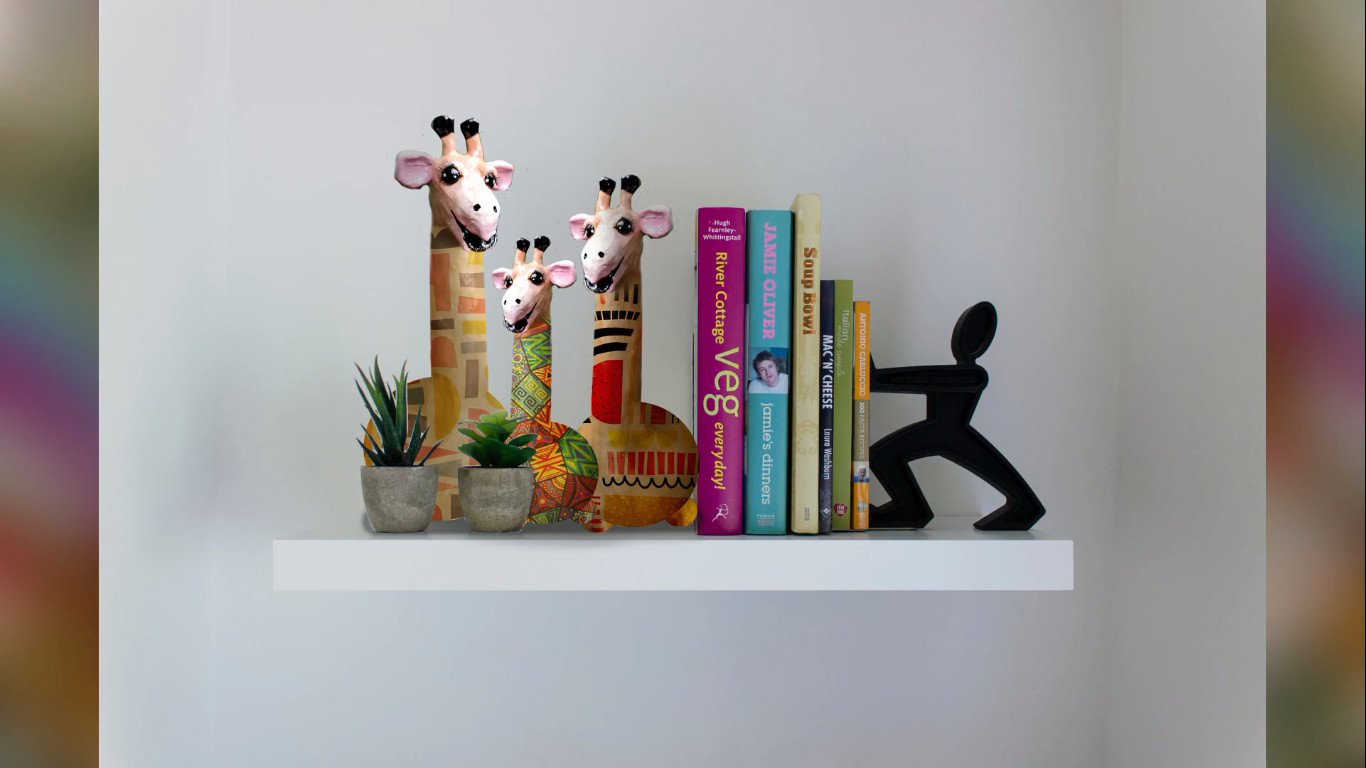
What I would also recommend is maybe building a few of them, in different sizes. Why not create a little cute giraffe family for your bookshelf?
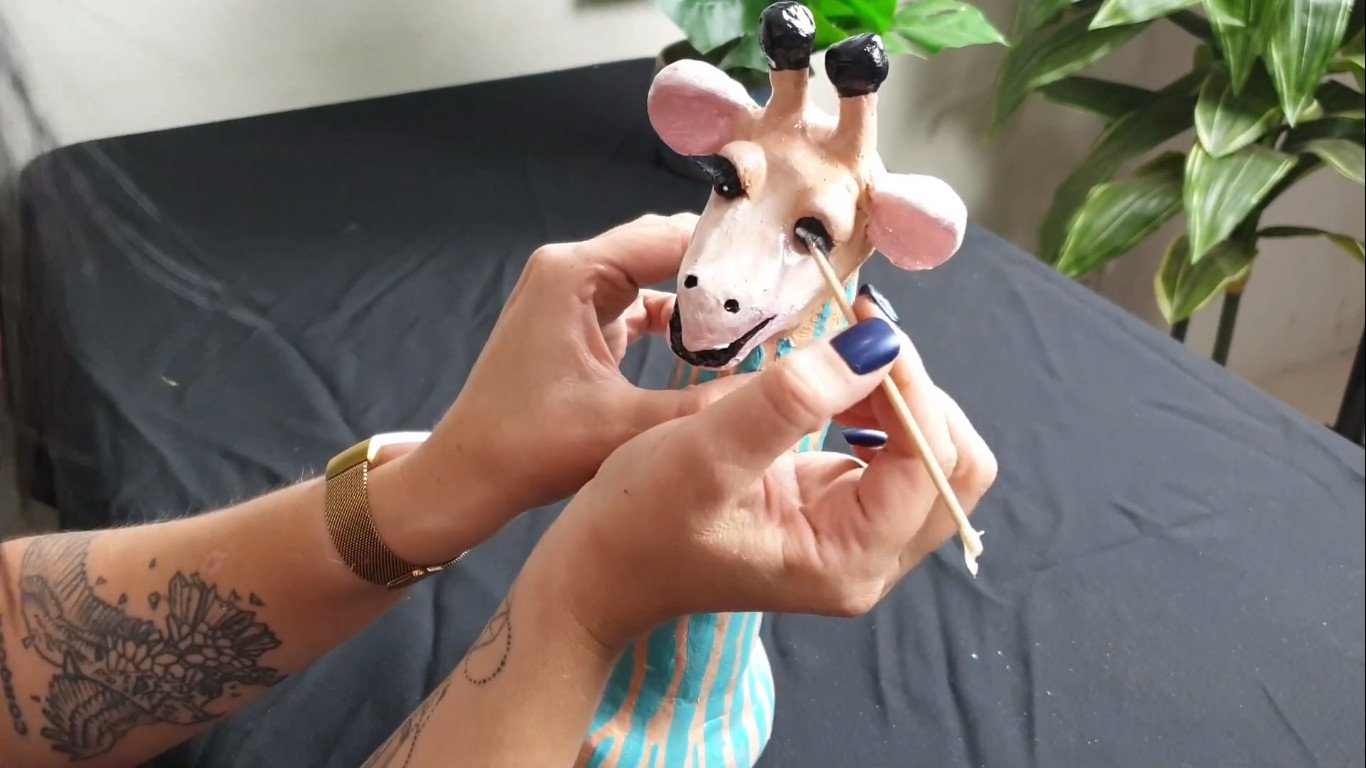
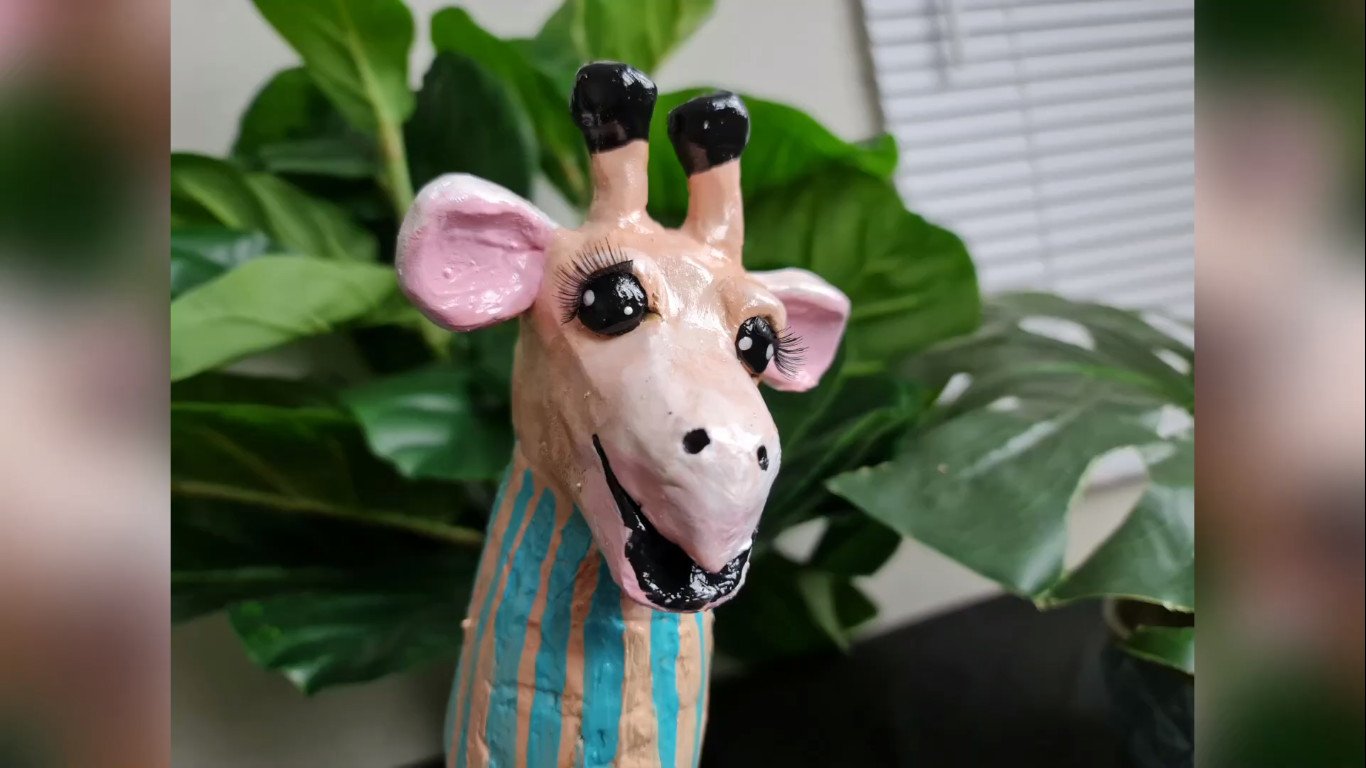
Step 3: Completing Gregory’s face
Let’s give Gregory a beautiful face. We have now reached step three and I’m going to create Gregory’s beautiful face and expression. I’m going to switch to tiny brushes to really get all the little details in. For the highlights in the eye, I’m going to use the back of the brush because it actually makes a much nicer dot than the front. I’m also going to blend and pat in some colour with my finger because I find it much easier to blend with my finger. Let’s go!
Step 4: The tail
Let’s add the detail on the tail. I’m now going to paint little Greg’s tail, and giraffes have quite long hair at the bottom of their tail, so I’m going to do that black, and I’m going to pat in some white at the top of the tail with my finger.
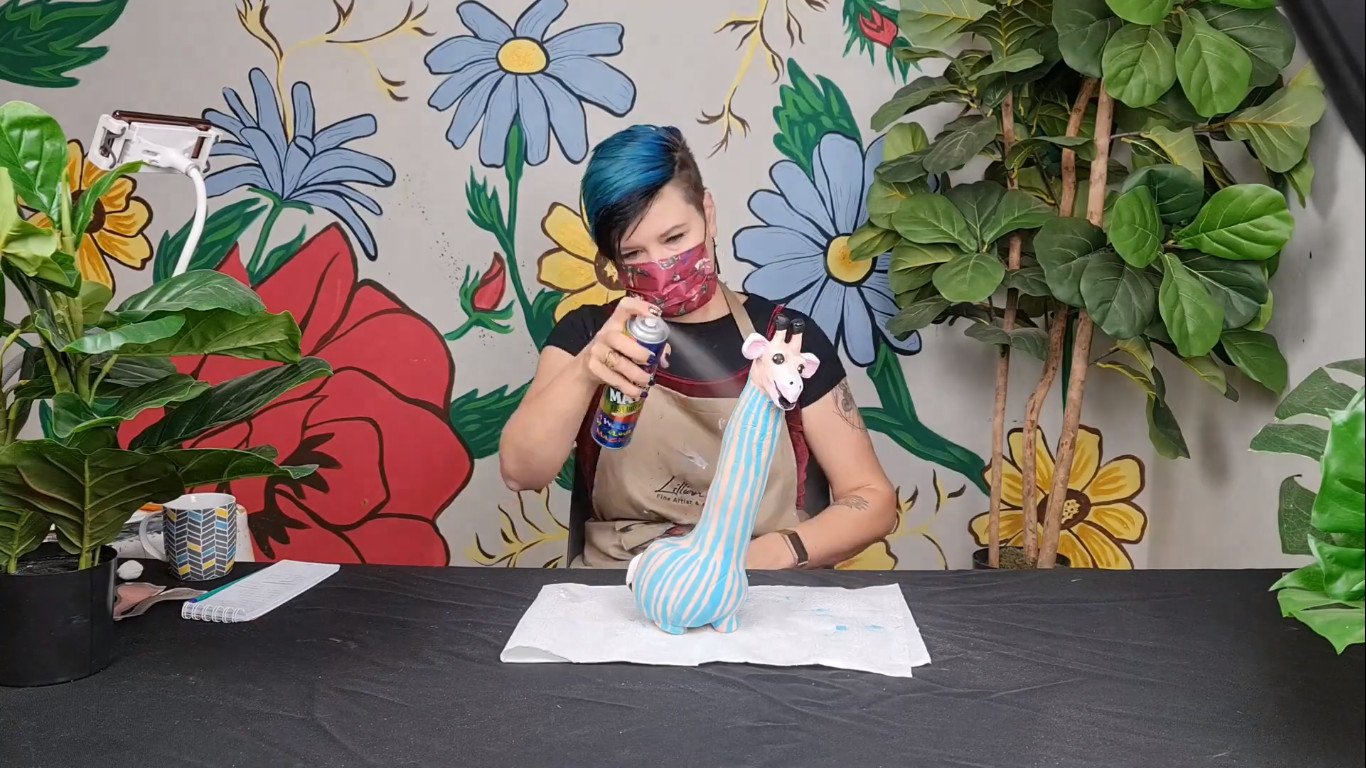
Step 5: Seal your sculpture
it’s time to seal our sculpture. We are done painting the beautiful Greg, so now we need to protect him. Remember this is air-dry clay. It’s much more porous than the clay we bake in a kiln and we’ve also used acrylic paint, so we need to protect this so it doesn’t chip. I usually spray my sculptures twice with clear spray paint. Make sure you are in a well-ventilated room, you’ve shaken your can quite properly, and that you have a mask for safety. If you’re a minor, please get an adult to help you with this step. Let’s get spraying!
Step 6: Eyelashes
We are done sealing Greg and I’m so chuffed with him. I think he looks great in his pinstripe suit, or maybe it’s pajamas, I don’t know. But I thought, as an extra little thing that I just would like to add, and this is completely optional.

Giraffes have the most stunning eyelashes. Have you ever noticed? I haven’t and now I know about it and it’s so beautiful, I thought it would be quite cool to stick some fake eyelashes on Greg.
I just love how Gregory turned out. I think he’s gorgeous. He’s going to look amazing in my lounge.
If you enjoyed this lesson and creating Gregory with me, please visit our blog and Youtube channel for more amazing art projects.
Feel free to share your photos of what you have created on our various social media channels.
I’m artist Lillian Gray until next time!
-
 Brush Set – Art Board Golden Taklon A 6 PieceR110.00
 -
Primo Acryl Fine Acrylic Paint WhiteR55.00
-
Primo Acryl Fine Acrylic Paint Ivory BlackR55.00
-
Brush Set – Art Board Golden Taklon D 10 PieceR212.00
-
Prussian Blue – Rolfes® Acrylics 500ml AcryloR120.00
-
Primary Blue – Rolfes® Acrylics 500ml AcryloR120.00
-
Black- Rolfes® Acrylics 500ml AcryloR120.00
-
White – Rolfes® Acrylics 500ml AcryloR120.00