Kids Art Projects
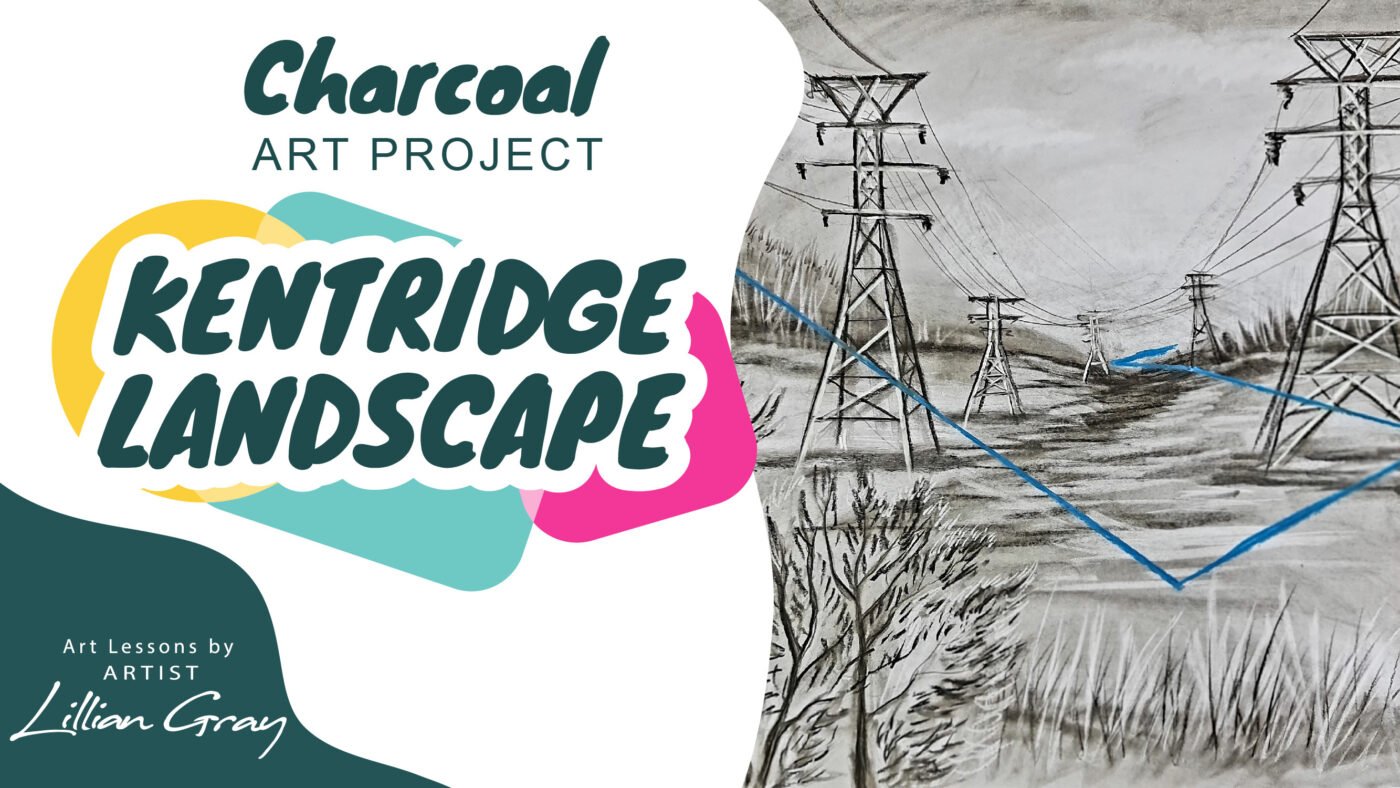
10 Steps to an unique Kentridge-inspired charcoal landscape
Jul
Intro
Hi, I’m artist Lillian Gray and in today’s lesson, I am going to teach you various tips and tricks, and some advanced skills on how to use charcoal. At the end of the lesson, I will be showing you how to do a beautiful charcoal landscape, inspired by the famous South African artist William Kentridge.
Charcoal as a versatile Medium
When working with charcoal, it is important to realize that it is an extremely versatile medium. It can range from super abstract, messy, loose, gestural lines to something that is super realistic. It all depends on how you apply the medium and how you work with it. There are various kinds of charcoal that you can use when we draw. As artists using graphite, we tend to use a pencil set containing various kinds of pencils, so that we can achieve a large value scale
Some Realistic Charcoal Artists
Robert Long
Dan Pyle
Elizabeth Gunther South African Artist
Some Expressive Charcoal Artists
Dennis Creffield (1931-2018) British artist
Käthe Kollwitz (1867-1945) German artist
Leon Kossoff (1926-2019)
Frank Auerbach (born 1931) German-born painter,
Henry Moore (1898-1986)
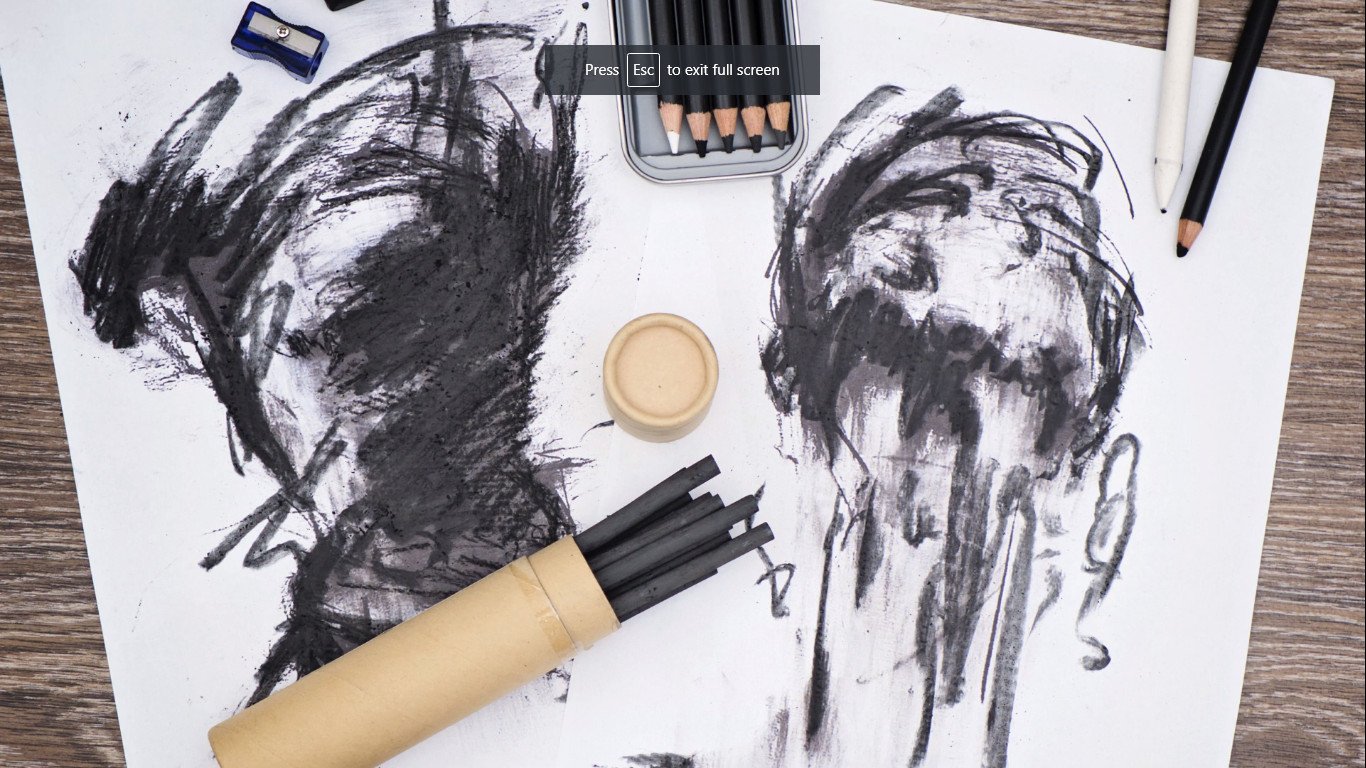
Various types of Charcoal
We have various kinds of charcoal. I would like to explain the various kinds of charcoal you can buy, as well as some additional tools that you will need to create a successful charcoal drawing.

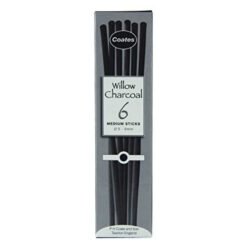
Willow/Vine Charcoal
First up is willow charcoal. Willow charcoal is probably in its most natural state. If you look closely you can actually see the little twigs, the branches, the knots in the wood. Willow charcoal is also known as vine charcoal since you can actually see the actual vine. They do come in various thicknesses.
There are some thin ones and some thick ones, depending on what you buy. What’s important to know about the willow charcoal is that it breaks super easily. It has not been compressed, so it snaps easily and it makes an extremely light line. It can easily be erased and brushed to create a light gray. I love using willow charcoal to start building my base for my charcoal drawings.
Compressed Charcoal
- Hard
- Medium
- Soft
- Extra Soft
Compressed charcoals come in a wide variety. You will usually find them in hard, medium, soft, and extra soft. They are made of ground charcoal that is mixed with gum and other binders. Then they get compressed together in a machine at various densities, which creates the medium, hard and soft. This charcoal is much darker and denser than willow or vine charcoal and it’s a bit more difficult to erase.
Charcoal Pencils
Charcoal pencils contain a core of compressed charcoal that is then covered in a wooden shaft. It can be sharpened to a point, which is great when you want to add fine little details. You have to be very careful with your charcoal pencils. If they drop, the core of the pencil will shatter and break, which makes it a nightmare to work with, and to sharpen later. Charcoal pencils are also available in different colours where they add pigment to the charcoal when they manufacture it.
Woodless Charcoal Pencils
Woodless Charcoal pencils are slightly harder than willow and create a dark, rich mark. You can use them for covering large areas or creating fine lines. They are different from charcoal pencils that are placed in a wooden shaft. The woodless charcoal usually just has a hard lining around them.
Charcoal Powder
Charcoal powder usually comes in a tub. I prefer applying it with a fluffy makeup brush but you can also apply it with your blending stump, or with a bit of paper towel. This is great to quickly cover large areas in charcoal.
Other Charcoal Tools
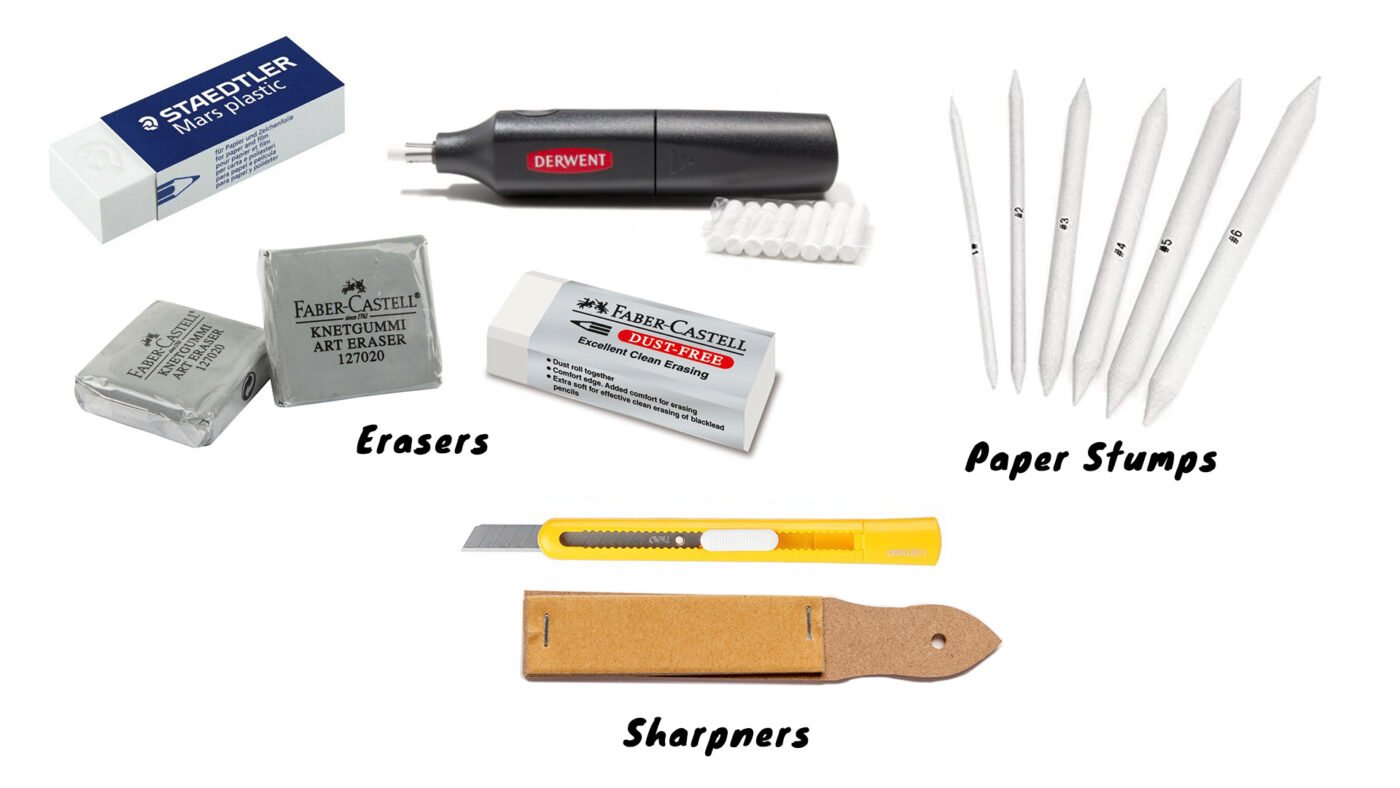
Erasers
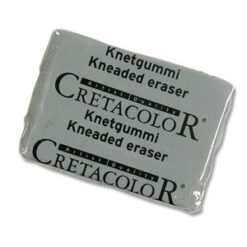
- Putty Eraser
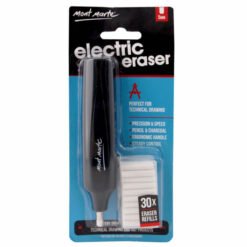
- Electric Eraser
- Rubber Eraser
To create a successful charcoal drawing, you’re also going to be needing other tools in your kit. There are various kinds of erasers and I love having all of them when working with charcoal because every single one of them gives you a different mark-making technique. I use my erasers to draw with. They’re not there to really erase. They’re there to add highlights back into your artwork.
I have a putty eraser, also known as a kneadable eraser. I have an electric eraser that gives me beautiful fine lines. Then I have my plain old trusty rubber eraser. You can cut your rubber eraser using a blade to create a sharp mark to also add some finer lines into your artwork. When buying a rubber eraser, if you’ve got money to spare, opt for one that doesn’t lose flakes. You actually get wonderful erasers that do not create those little rubber hairs that get stuck in your artwork.
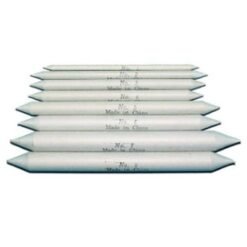
Paper Stumps & Tortillians
Paper stumps come in various shapes and sizes and they are made of compressed paper that is tightly rolled. Paper stumps are super important because you do not want to use your fingers to smudge and blend your charcoal. When you use your fingers, all the oil on your hands, the hand sanitizer, last night’s lasagna, whatever you just touched will go onto your page and can potentially leave oily marks.
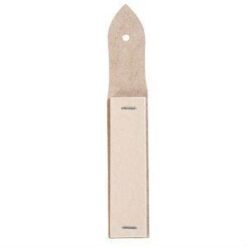
Sharpeners
There are various ways to sharpen charcoal. For my compressed charcoal, I often use a little sanding block. It’s called a charcoal sharpener. You can also use a cutting knife to sharpen your compressed charcoal pencils. Charcoal is a very fragile medium and it needs to be stored properly. A good quality fixative will reduce the risk of smudging. A professional quality fixative will work best, but a tough hairspray is very economical if you’re on a budget. Let’s see all the tools in action.
All the art supplies that I am using today, you can buy online with us. The links are in the description down below.
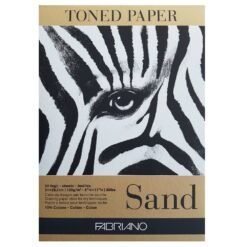
What kind of paper to use for charcoal drawings
What kind of paper to use when working with charcoal? A lot of people will recommend using a paper with a rough texture that has more tooth because this helps to give your charcoal something to grip to. You can also use charcoal on toned paper. It comes in beautiful varieties of colours.
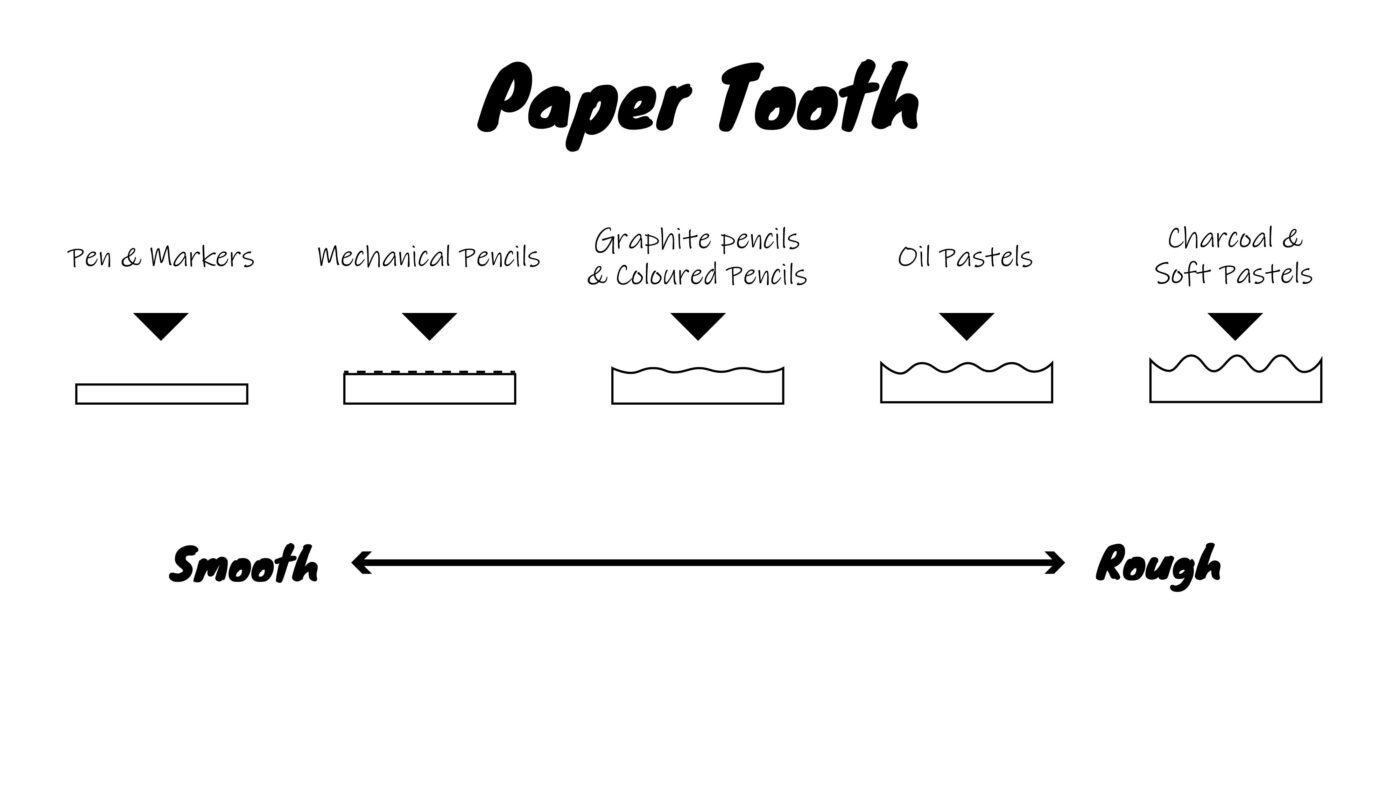
Smooth
When I’m trying to create a super realistic charcoal drawing, I opt for very smooth paper. In today’s lesson, I am using a 160 gram plain, smooth, white card.
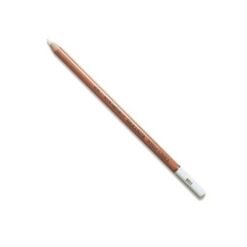
Toned Paper
When I am creating a charcoal drawing on toned paper, I also add white using white content, or a white chalk pencil.
Helpful Tips and Tricks
- Work on an easelPlace paper towel under your hand
- Work from light to dark
- Don’t combine graphite pencil with charcoal
Tips and tricks for when you are drawing with charcoal. To prevent smudging: I love working on an easel. When I tend to draw upright I mess and smudge a lot less than working flat on a table. I also love placing a piece of paper towel underneath my hand to prevent smudging. Don’t go too dark from the start, rather build towards your darks in layers.
Some artists like to combine graphite pencil with charcoal. I strongly recommend against this. My reason is that pencil tends to have quite a shiny finish and I’ve often seen these beautiful charcoal drawings, and then you can spot those glimmers of shiny graphite marks. I don’t think they work that well together. if you want to draw your basic shapes very lightly with a pencil on your card do so, but do it quite lightly so you can’t see the graphite afterward.
The 7 elements of art
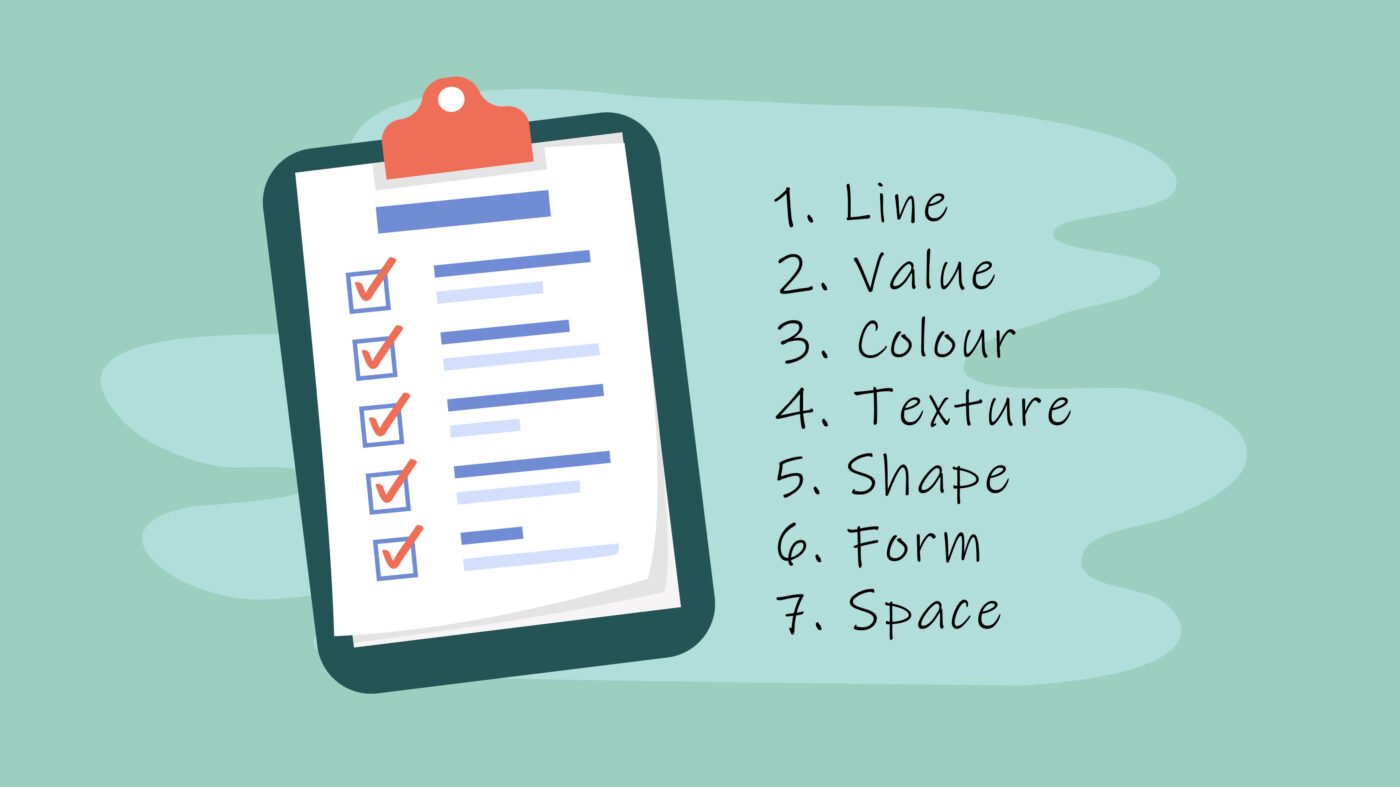
As artists, we are always applying the seven elements of art.
They are the building blocks of art. You can either apply them consciously or unconsciously, but I like being conscious about what I’m doing. I would recommend that you consider and think about which of these seven elements of art you are using in your artwork before you start. Very important is going to be line. Applying line quality: line quality is when we create a line that is not visually boring, that is thick, thin, hard, fast, exciting to engage with. So consider how you are going to create line and apply different mark-making techniques in your artwork.
Value is super important when working with charcoal because it also gives us another element of art which is form. We need to communicate the illusion of 3D on a 2D surface. So how are you going to apply your value to communicate form? To create the illusion of 3D. Another element of art that we are going to be using in this artwork is texture. We need to tell our viewers this is a shrub, this is grass, this is gravel, this is a fluffy cloud, this is the vast smooth expansion of the atmosphere, and how are we going to create that in our artwork using various textures?
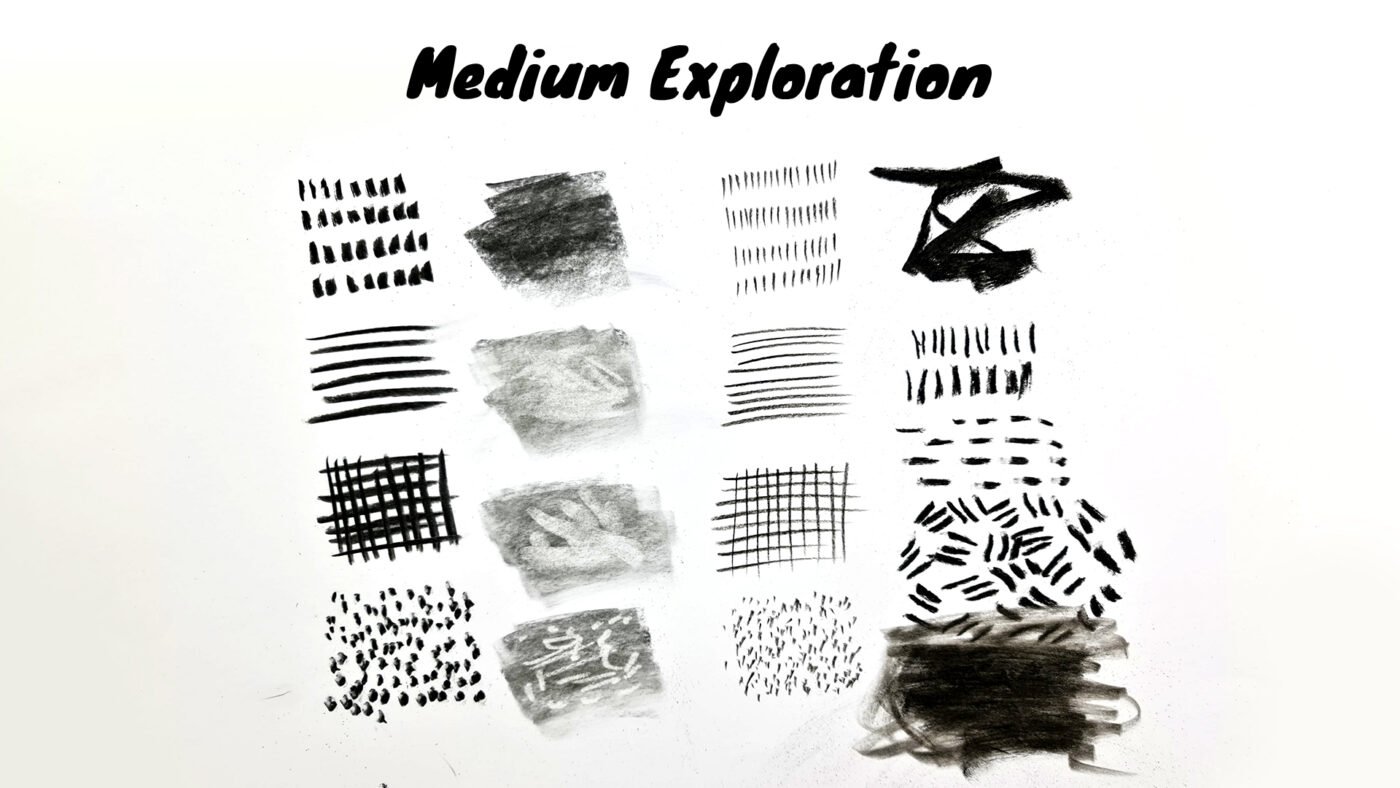
What kind of mark-making techniques would communicate these various textures and elements in your artwork correctly? I would encourage you to do some medium exploration before you start. Medium exploration is when you play around with a specific medium such as watercolour, oil paints, pen and pencils, exploring various mark-making techniques.
Some of the most helpful advice that I have received as an artist is to simply press on. When you’re halfway with your artwork, it usually sucks and it looks terrible and you might have somebody walk into the room going “what’s that?” and they think it’s an apple and actually you’re doing a landscape or whatever the situation is. Just keep on going do not abandon your artwork. You’re just not done yet. Keep at it until it looks stunning and you create that wow moment.
Other Tools
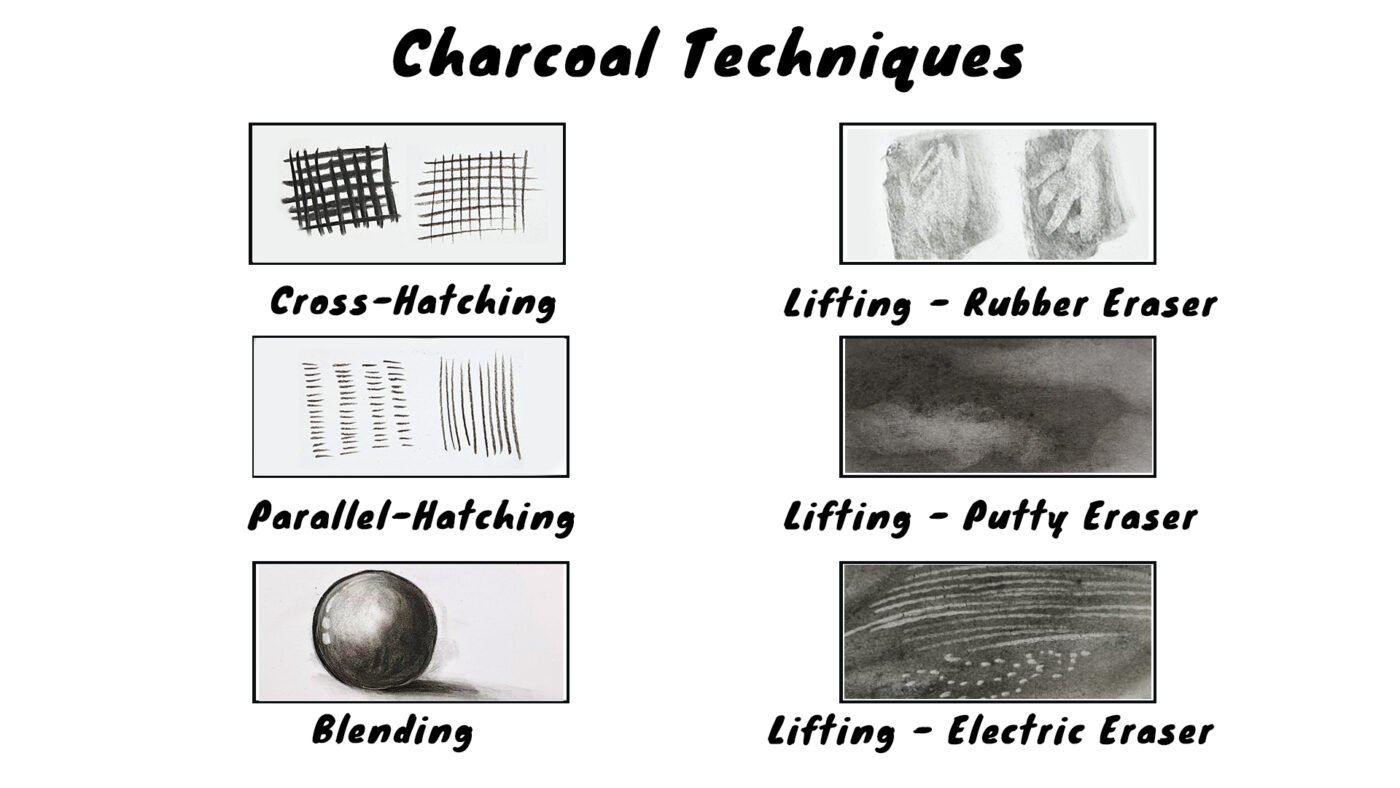
Various Techniques
Medium Exploration
Charcoal Techniques
There are various mark-making techniques that you can apply when working with charcoal.
- Hatching – parallel hatching and cross-hatching
- Rubbing – Paper towel and blending stumps
- Blending – paper stumps
- Lifting – remove charcoal with erasers
Some of the most common ones are hatching, which can either be parallel hatching or cross-hatching, rubbing, that we do with tortillas or paper towel. Blending that we usually do with our paper stumps, lifting when we actually remove some of the charcoal off our page by using our various erasers.
Now that you know all the various tips and tricks, and techniques in drawing with charcoal, let’s create an amazing artwork together. In today’s lesson, I would like to show you how to create a beautiful landscape inspired by the famous South African artist William Kentridge. If you would like to know more about William Kentridge, please watch my videos that I have created on William Kentridge’s life, themes, and styles.
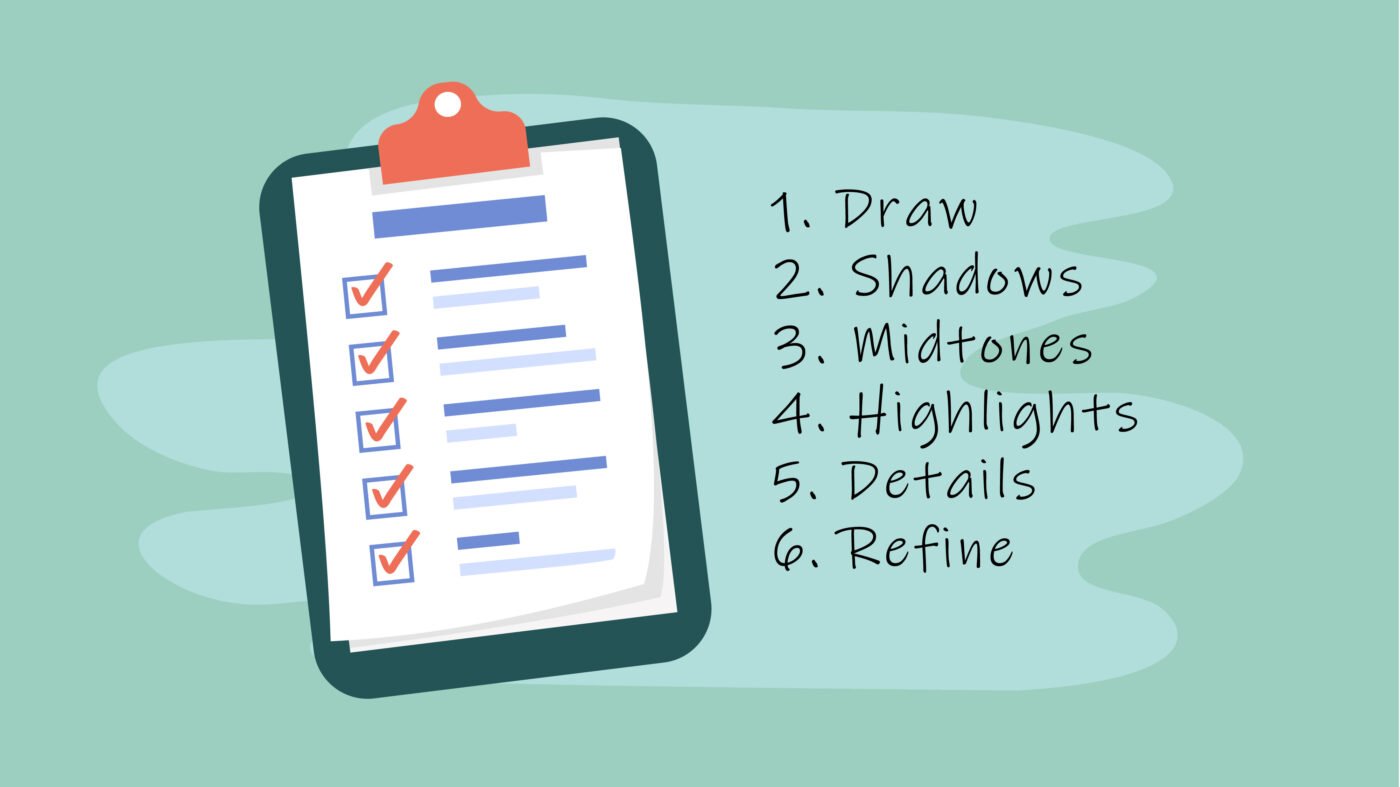
Step 1 – Plan your artwork
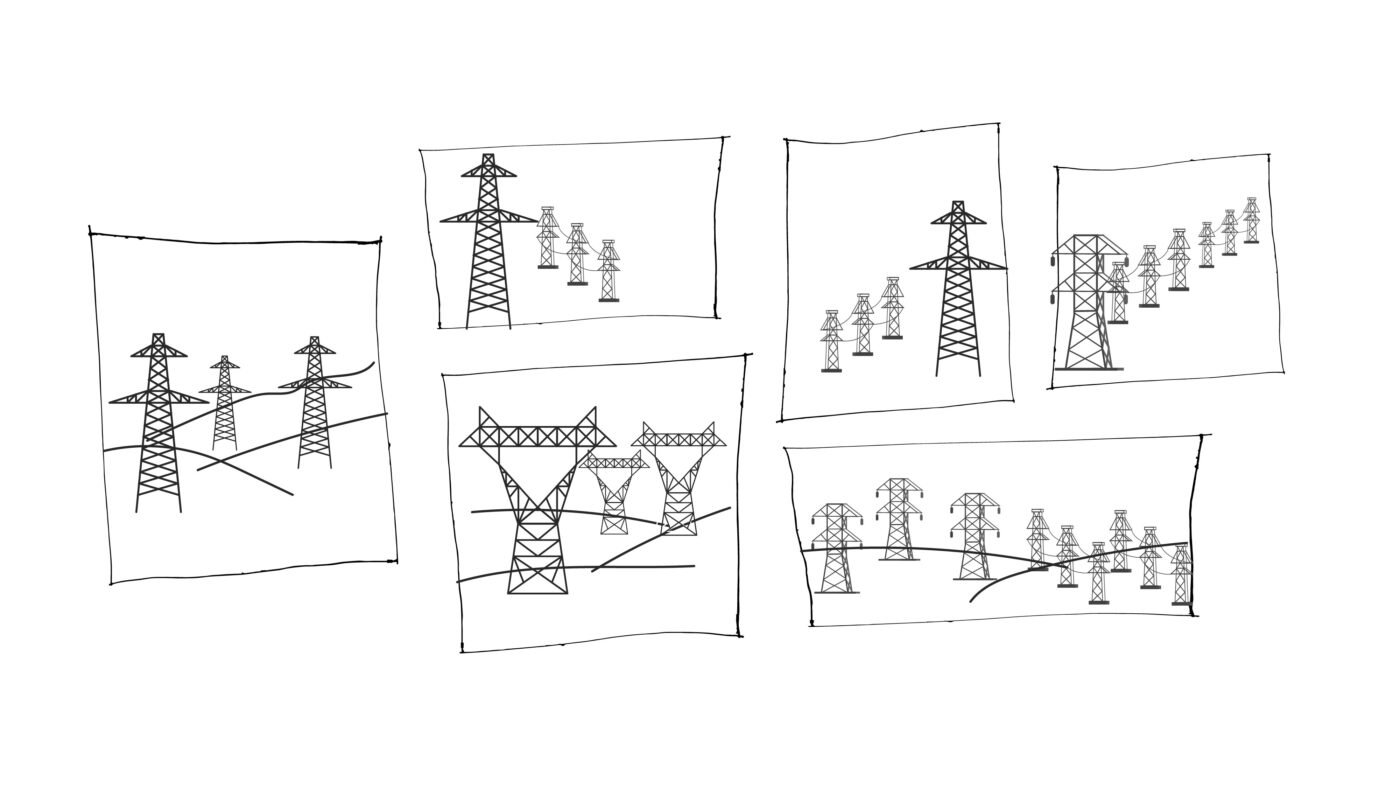
Step one is to plan your artwork. I always tell my students, good art takes planning. Just take a moment to do some quick thumbnail sketches. We call them scamps, and decide on your composition, your structure, and pick the best layout for your artwork. Also just take a moment to think about the steps that you need to follow to create this artwork.
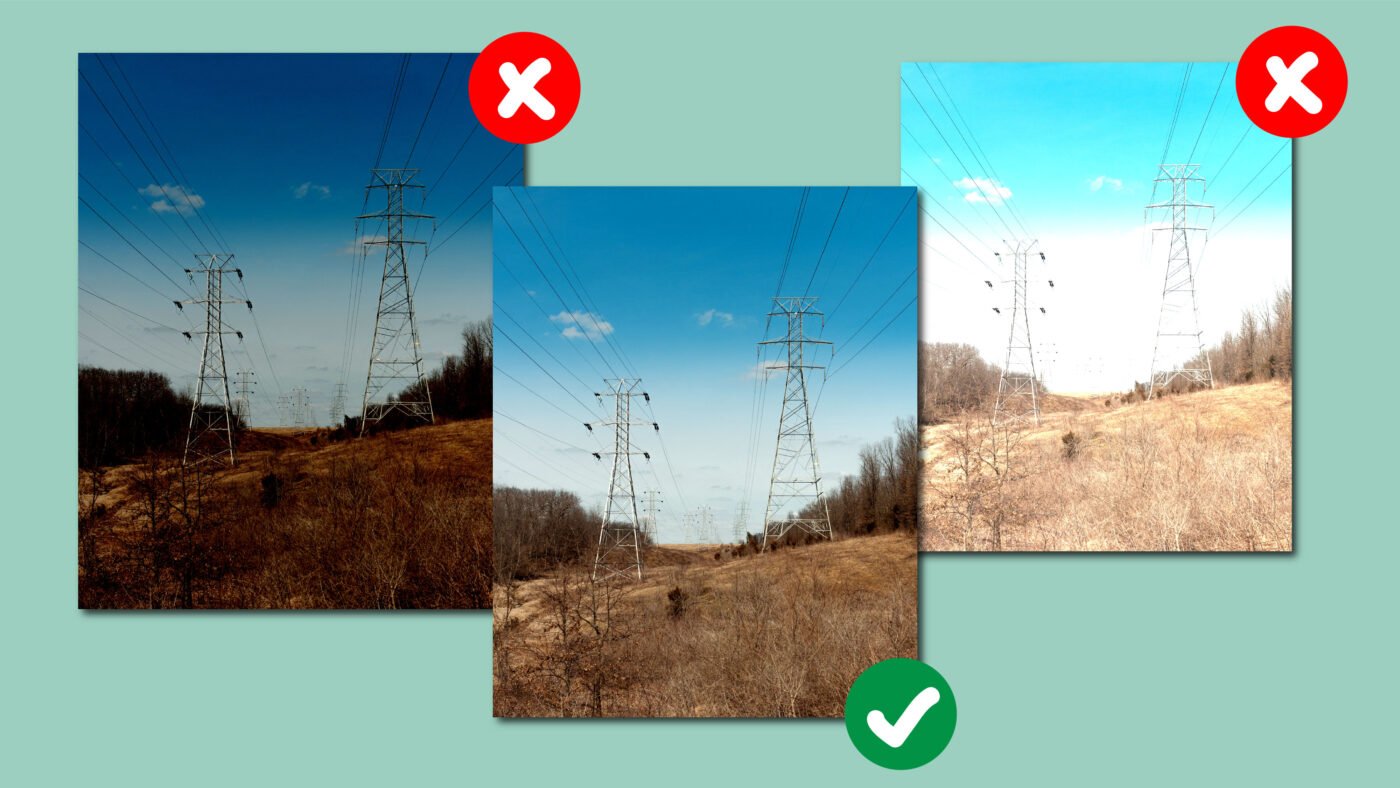
Step 2 – Find a good reference
Find a good reference for your artwork. Unsplash is a website with various images for artists that are not copyrighted. It means you can sell this artwork afterward. You’re allowed to use it in your artwork and all they ask is that you link back to Unsplash. When selecting a photo to work with, make sure it has a good value range, where there are beautiful dark areas and beautiful highlights, and you can also see all the details in between. I would recommend converting your reference to black and white. This really helps you to discern the various values.
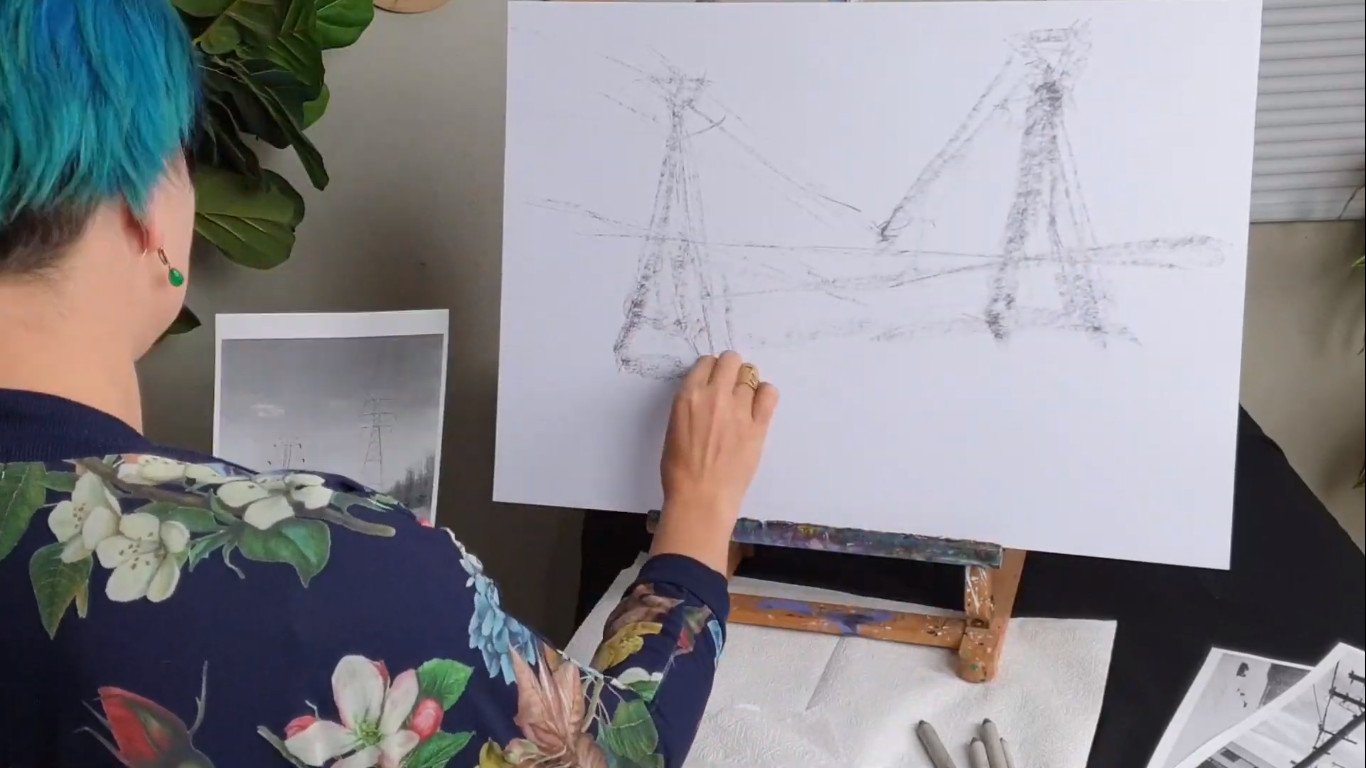
Step 3 – Draw basic shapes
Let’s draw the basic shapes. For step three we need to simplify our reference into basic shapes. There are five basic shapes: a triangle, circle, square, oval, and rectangle. As artists, we use these to make drawings super easy.
Here you can see how I have simplified my reference into basic shapes. Once you have drawn your basic shapes it is really important to double-check your proportions. The drawing is the foundation of your artwork and you want to build on a solid foundation.

Step 4 – Draw the outlines
I am now going to commit to where my outline is on my artwork. I usually use fine charcoal or willow charcoal, because it’s light and easy to erase.
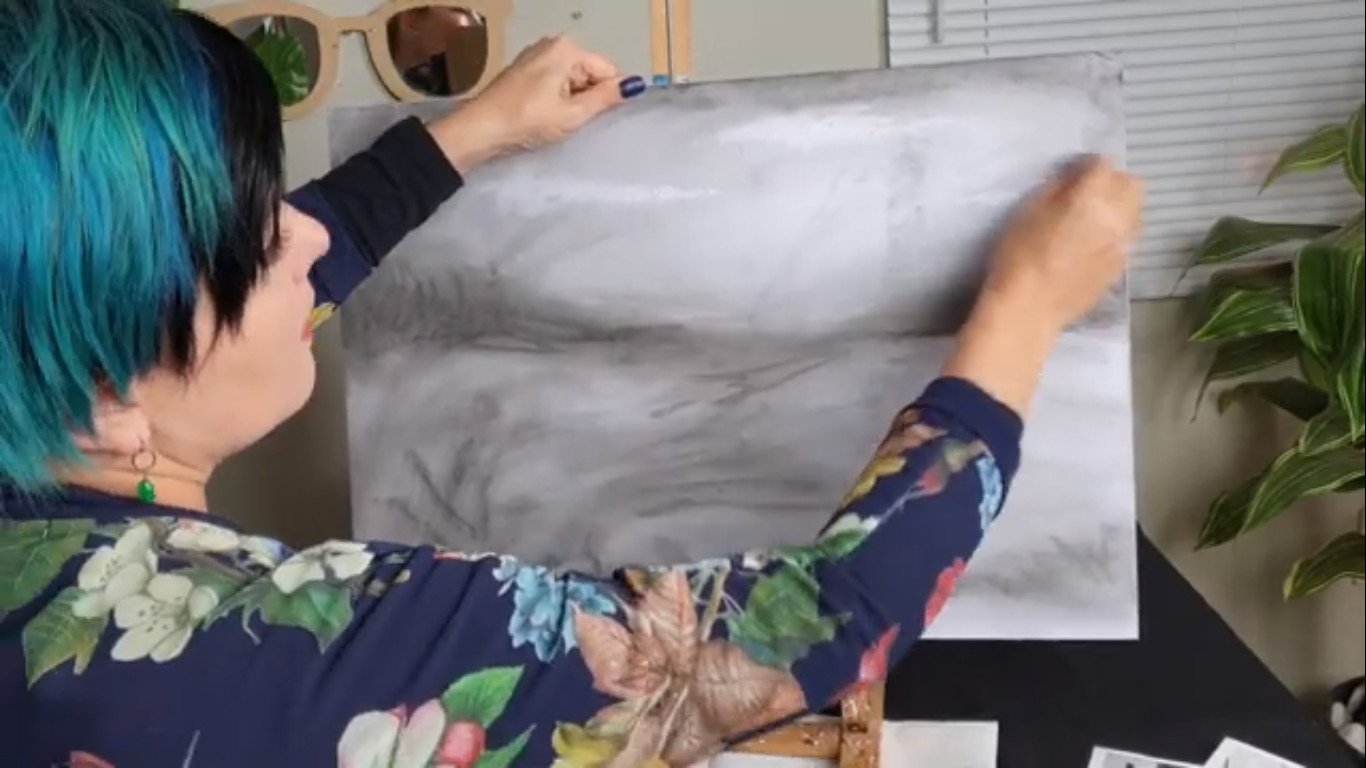
Step 5 – Shadows
For this step, I usually switch to compressed charcoal to start placing the darker tonal areas.

Step 6 – Midtones
Here I usually start smudging my charcoal with paper towel to create a good strong base for my drawing.
Step 7 – Highlights
I add highlights and lighter areas back into my artwork, using my various erasers, bringing back the light to certain areas and emphasizing the form.

Step 8 – Details
I now start adding finer marks and thin lines, and all the little details using my charcoal pencils.
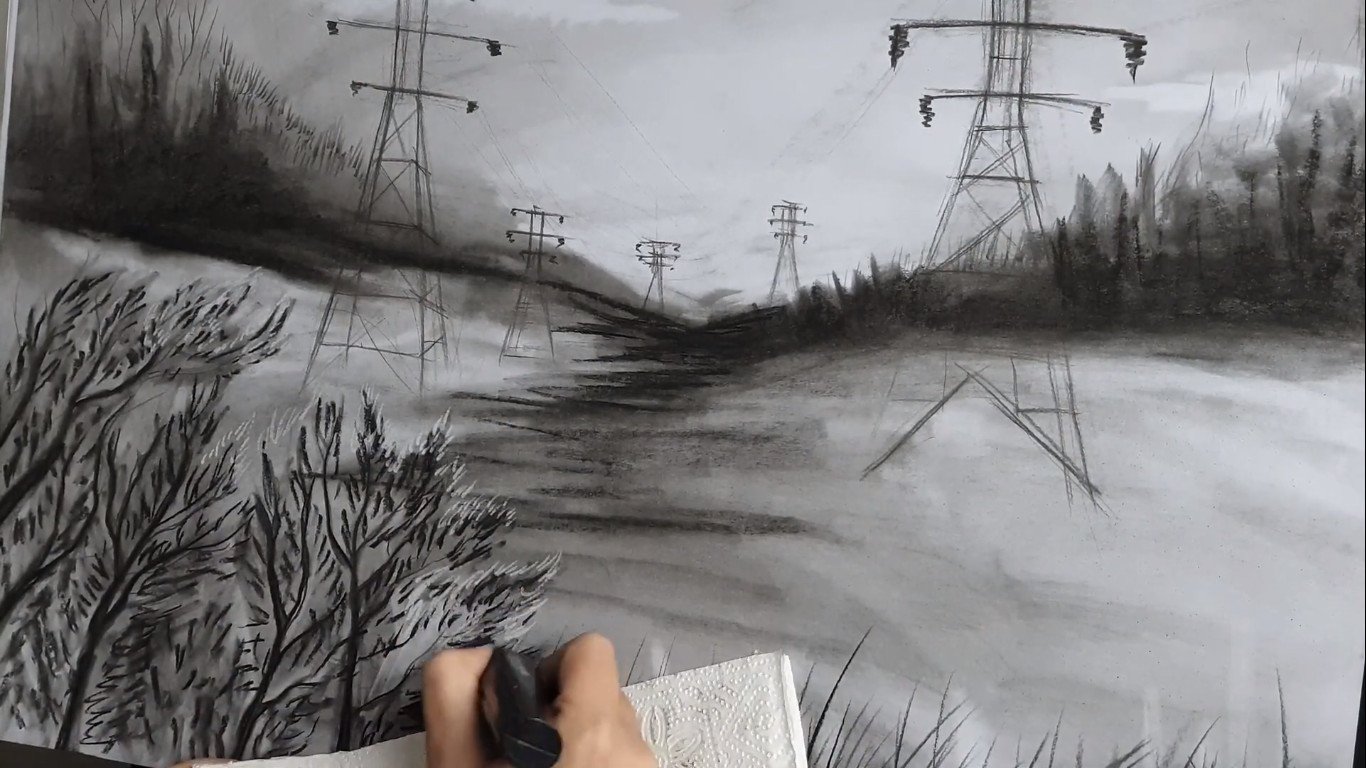
Step 9 – Refine
I start building up the layers and the complexity of my artwork and I really ensure that every single element is well crafted. As a checklist for myself, I usually run through the seven elements of art.
Have I applied them all successfully?
Optional Extra
I am going to add an optional extra. You don’t have to do this, but because today’s artwork is inspired by the famous William Kentridge, I’m going to add one of his signature moves, and that is to add either a blue line or a red line to his artwork. Now, why does he do this?
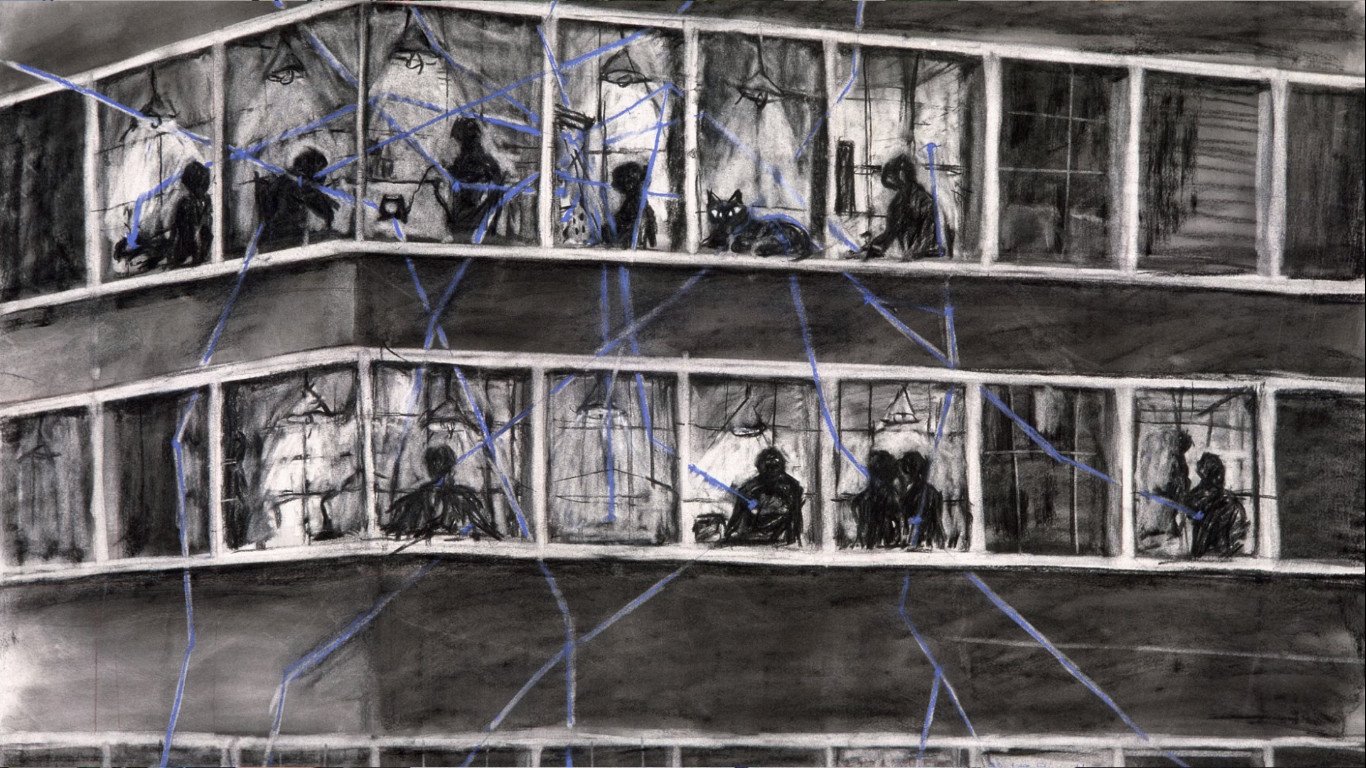
William Kentridge is known for his charcoal animations. So often the line is animated in his films to draw our attention to a specific aspect of the story or the narrative. In his film Felix in exile, the red line is reserved for the character Nandi’s perspective, and she uses it to mark out the violence on the landscape. In his other films, a blue line often symbolizes communication and the way mass media works, so it really depends on the narrative and that specific artwork that he used it in.

For this artwork, I’m going to add a striking blue line. For the blue line, I would recommend using soft blue pastel and not really an oil pastel because the soft pastel is much chalkier and has the same kind of texture as charcoal.

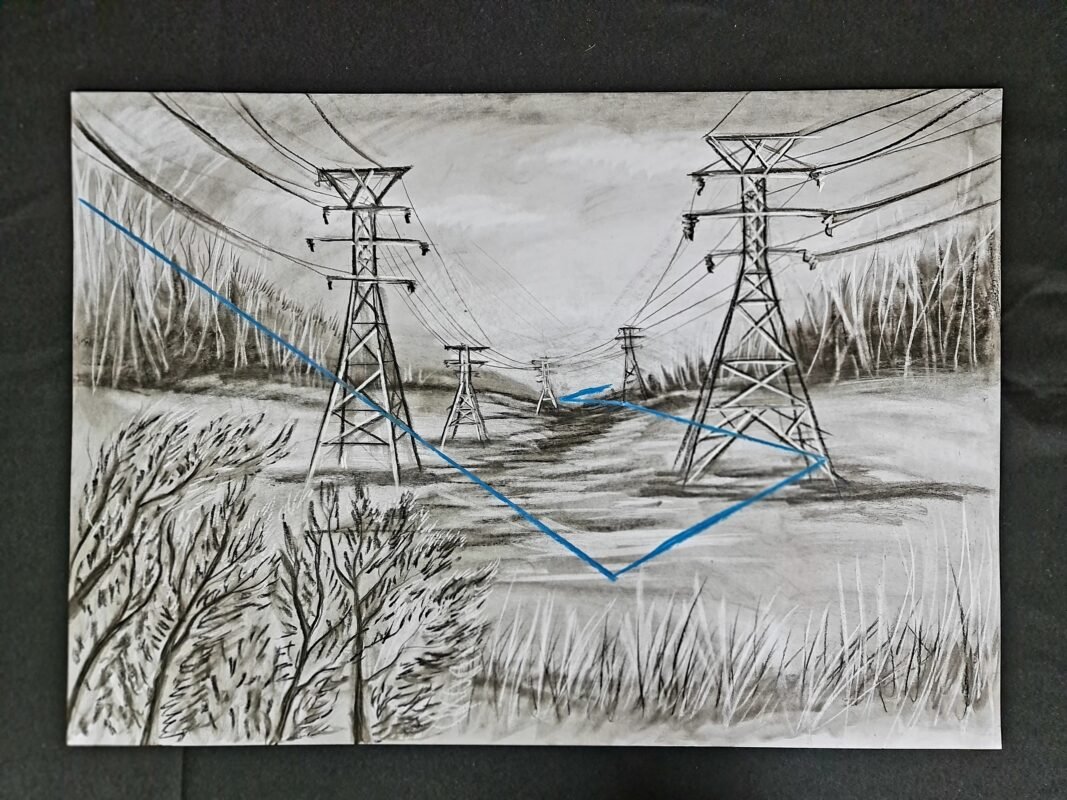
Step 10 – Protect your artwork
Now that you are done with your beautiful drawing I would recommend protecting it. We do so by spraying fixative and framing it behind glass.
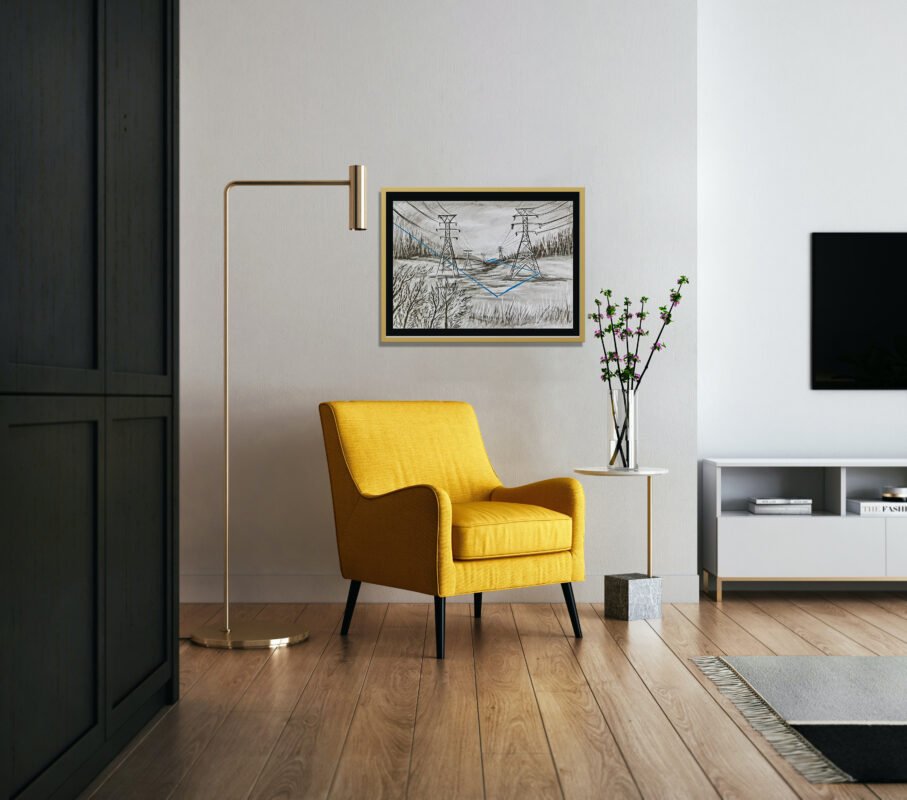
And that’s it. That’s how I created a beautiful landscape inspired by artist William Kentridge. I hope all of you enjoyed this lesson.
Visit our blog and Youtube channel for more amazing art ideas
Supplies
-
 Brevillier’s Cretacolor Graphite Pencils 12 SetR110.00
 -
20pc eraser refills for Electric Eraser SinoArtR15.00
-
Compressed Charcoal SinoArt 6 pieceR55.00
-
Primeart Sand Paper Sharpening BlockR35.00
-
A3 Toned Paper Clay Pad 120gsm FabrianoR380.00
-
A3 Toned Paper Sand Pad 120gsm FabrianoR300.00
-
Cretacolor Kneadable EraserR25.00
-
Electric Eraser with 30pc Erasers – Mont MarteR139.00
-
Coates Willow Charcoal Sticks MediumR55.00
-
White Chalk Pencil Koh-i-NoorR45.00
-
Set of Paper StumpsR52.00


OTHER VIDEOS TO WATCH