Kids Art Projects
Make an extremely cute pig sculpture with air-dry clay in 10 steps

Jun
Preparing the air-dry clay for your pig sculpture
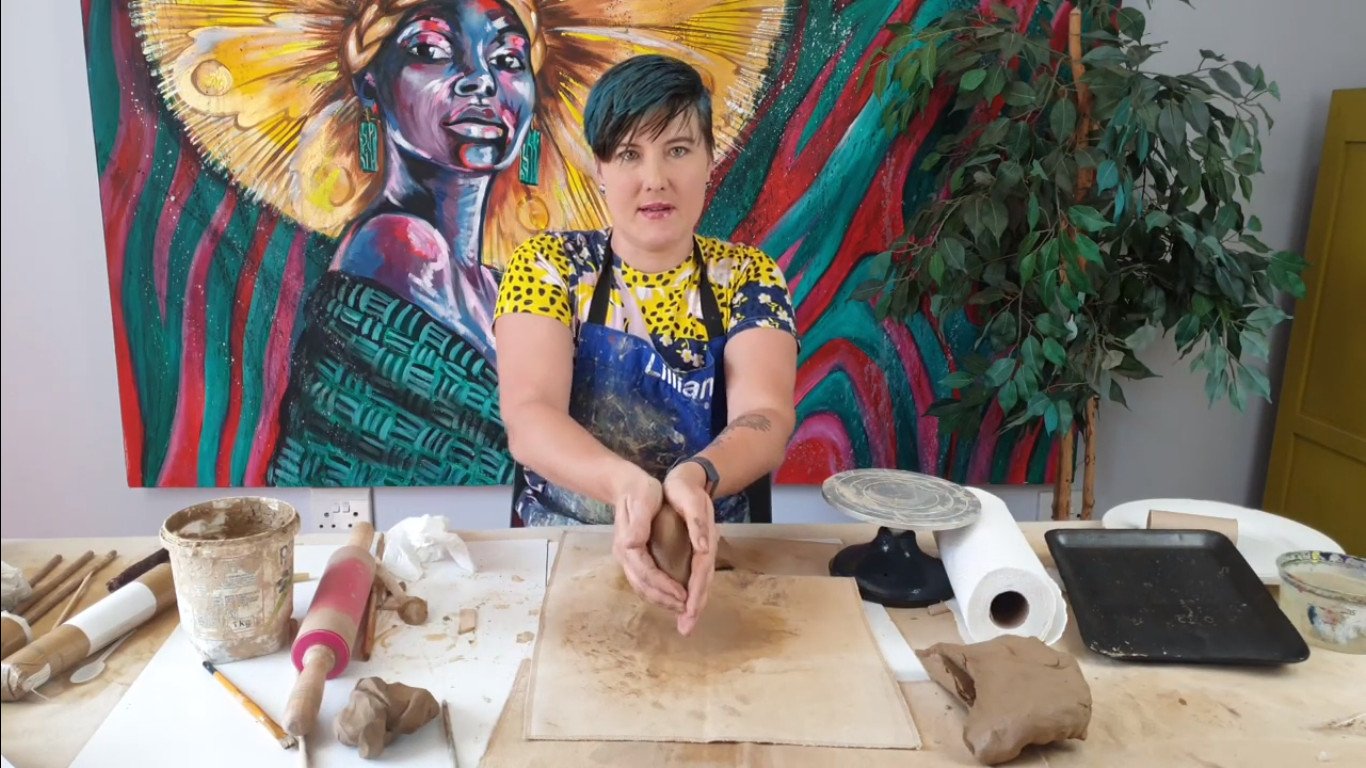
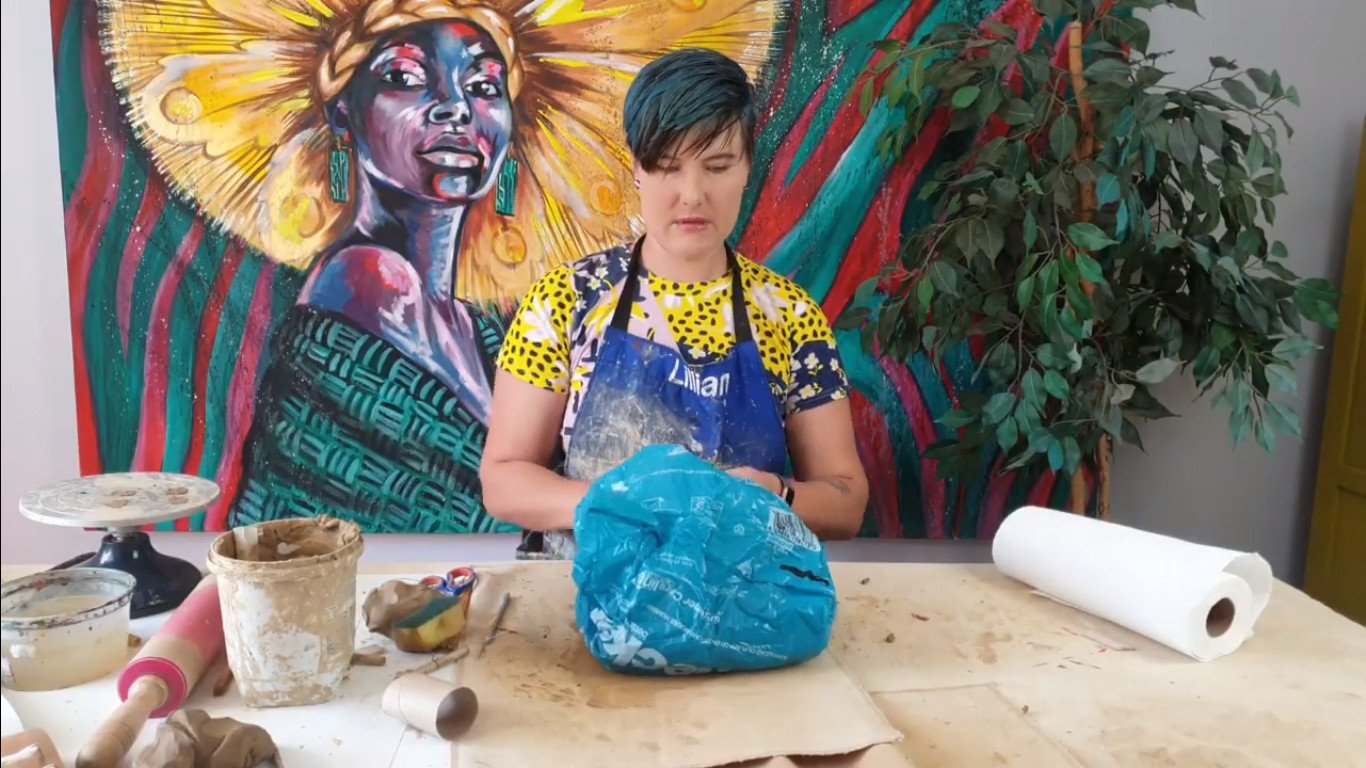
Hi, I’m Lillian Gray and today’s lesson is about making a pig with air-dry clay. Before you watch this lesson please make sure you’ve watched my other lesson on the basics of working with air-dry clay, so you guys know how to wedge clay, how to cut clay, how to join clay, and how to make slip. That is vital for this video.

I’m sitting here with some wedged clay and it is nice and soft and malleable. We are just going to tear off the piece that we actually need. So when we build a sculpture it is a lot like drawing, where we build everything out of basic shapes. I’m not going to make my pig too big because my sculpture wheel isn’t that big.
Step 1: Making the body and the head
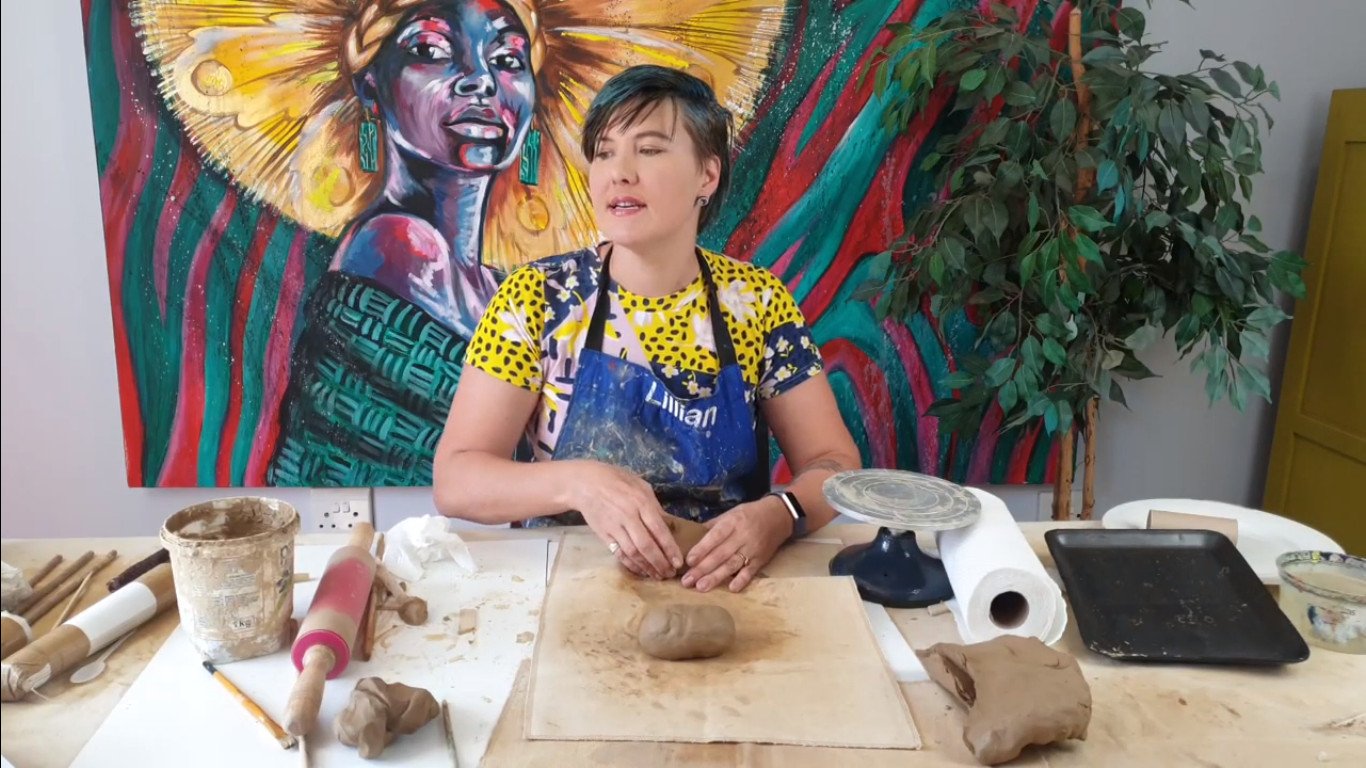
I’m basically going to start by making an oval, which is one of the five basic shapes. I’m going to wedge it now in my hands and make sure I pat it into an oval shape. Then I’m going to proceed to make my head, which is going to be the circle, it’s like a snowball or making a pancake, and there’s my head. I’m also going to be making my four little feet.
Step 2: Making the legs
I am making a pig today, but this could be anything with four legs. You can turn it into a dog, you can turn it into a wild dog, it could become a cat if you want. The most important part of this lesson is that you can see how to prop up a head and how to prop up a body that needs to stand on four legs.
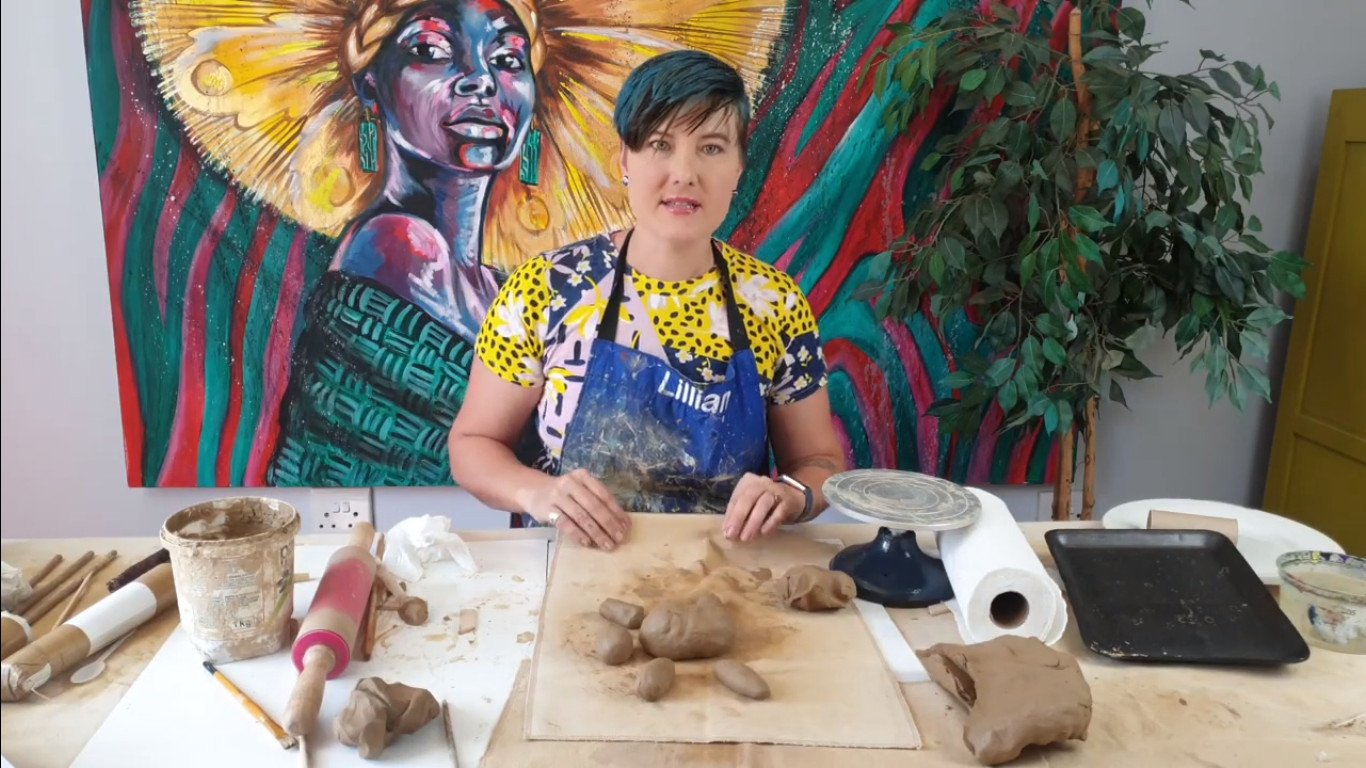
Remember, when we are halfway with a project, don’t panic this looks atrocious and these are just our basic shapes. Now let’s make a pig. I’m now going to place this little guy on my sculpture wheel. If you don’t have a wheel just build it on a surface like a small table so you can keep walking around and changing your direction.
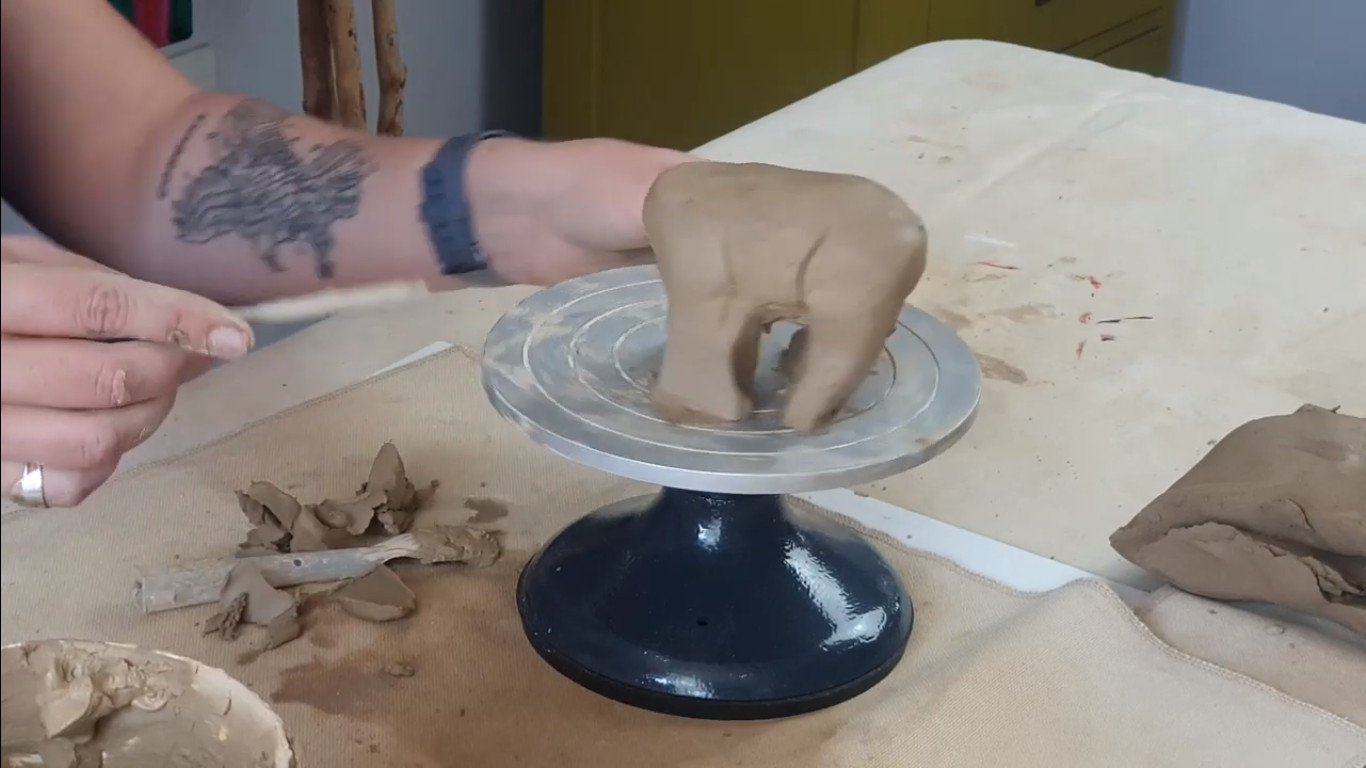
Step 3: Assembling the body
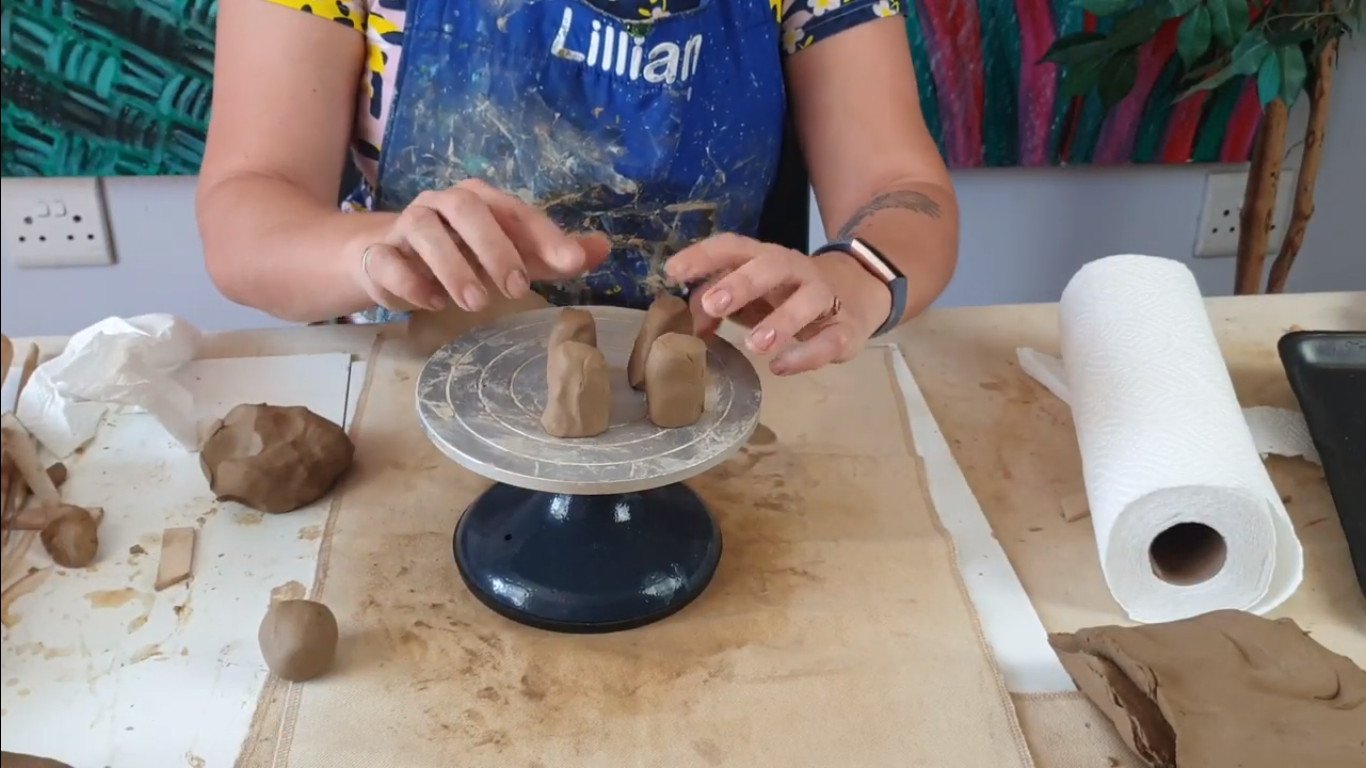
So you just start. It’s going to look a little bit like a mangled pig. Don’t worry about it, we’ll get there. I’m going to have my little body and it’s going to rest on the four legs. I’m making sure that they’re really plopped down. They’re kind of the same height and it looks a little bit like Stonehenge. I’m now going to scrape my clay at the bottom where this belly has to adhere to. I’m going to scrape, scrape, scrape, and I’m going to apply slip. So we have scratched the body, scratched the legs, and we are going to apply slip. And I am going to plonk this on.
This looks like something Obelix would build. Okay so this is very wonky, looking like a wonky donkey, a wonky pig, so this is what we’ve got now, but don’t stress about it. We’re going to start building this little body and really making it look like a piggy. So I’m now just going to work this in and really start smoothing it out. It’s very good to have a reference. Always have a reference photo that you work from so that you can really see what a pig’s legs look like and how the hips join. Let’s get cracking on our pig’s body.
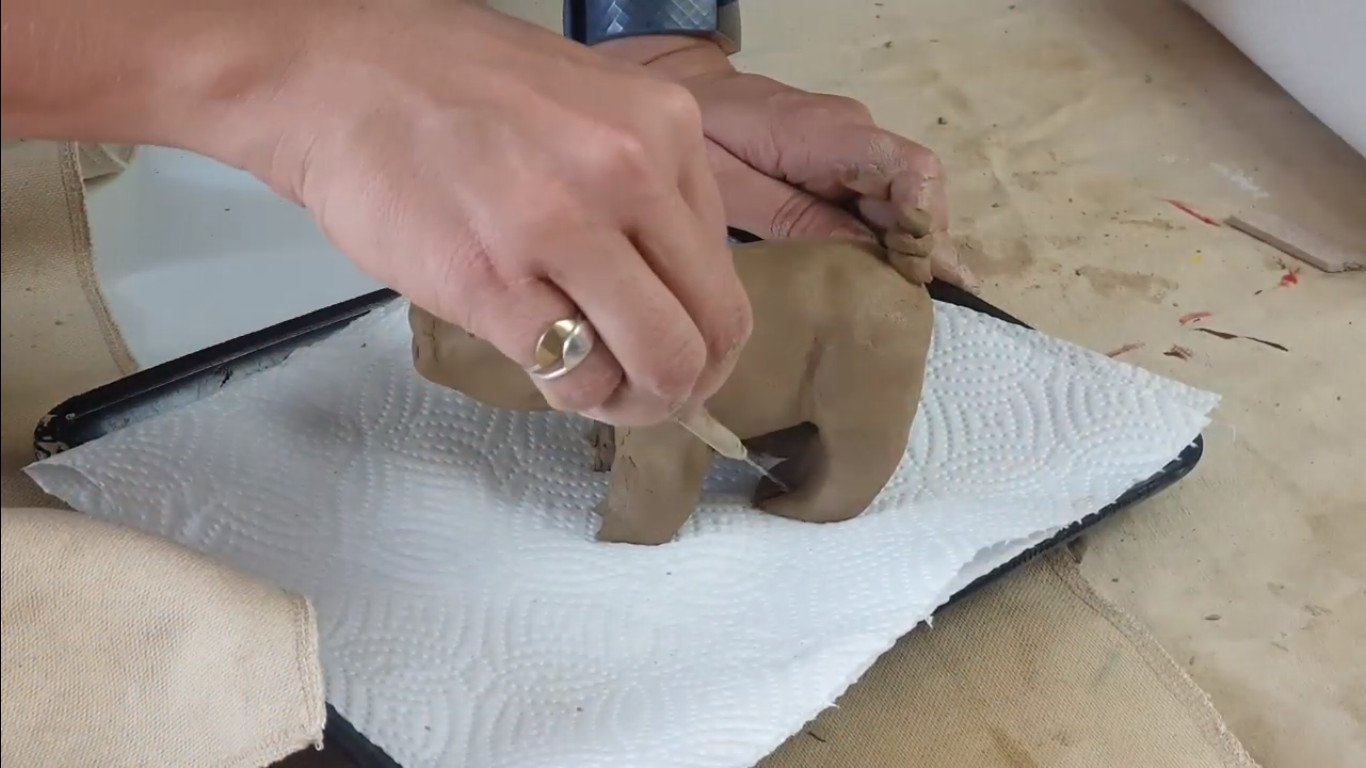
Step 4: Carving away excess clay on the legs
All right, so now I’ve got my legs. They’re quite thick for a pig but I’d like to have more clay so that I can cut away. It’s much easier to just cut away more and more and more. I’ve bend these,
curved these back legs in like this. I hope you guys can see that. I’m now going to use my pin and we’re going to get up close so I can show you guys how I’m going to carve and shape this leg. So that is kind of like the hip of my pig coming in and then it’s going to slide down, and I’m going to cut away the excess clay I don’t need.
I want to do that for both sides Yes, it’s really starting to look like the hind legs of a pig. I’m also going to be cutting the V in between the legs a bit bigger now.
It’s really starting to get that pig shape which is so nice. It’s really what we want. I’m now going to start shaping the front. I’m also going to start by cutting this V out here.
We’re having it much slimmer at the front. Piggies legs are quite small. I’m really just sculpting it here at the back. I’m also going to make it slide down. Remember that this shoulder is coming from there and that shoulder is coming from there. I’m kind of following those lines
Depending on what you guys are making, my legs are quite close together so my sculpture will actually, stay up. If you’re making a bigger animal like a wild dog or a horse, you’re going to have to bubble up paper and really prompt your body up so that it is stable. You can always remove that afterward. Let’s add the head. For my head, I made that circle. I’m also just going to change it a little bit and just add a bit of a snout. I’m just making a flat thing with my hand and making a realistic-looking pig and not a cartoony pig. I’m just really starting to build that snout. They actually have these longer, oval kind of heads.
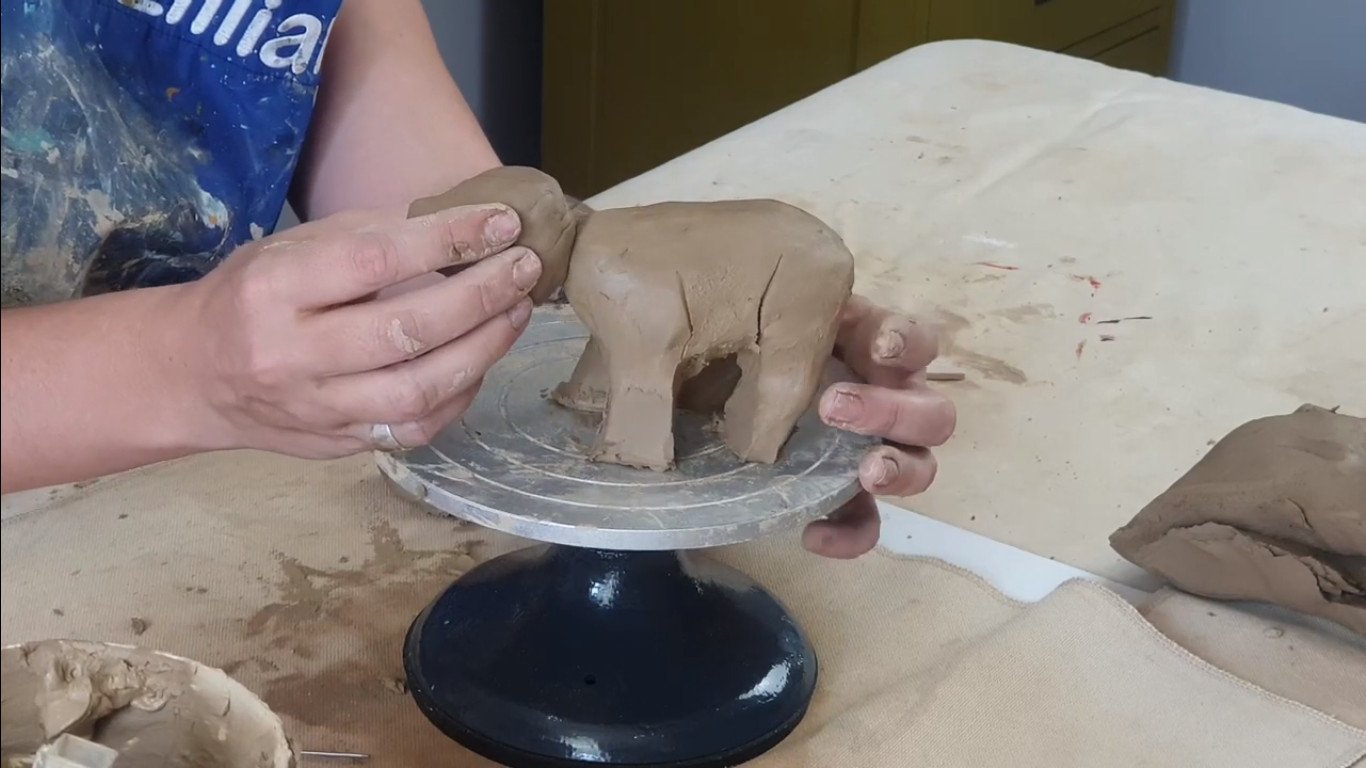
So that’s really really, taking shape and that’s going to be my pig’s head. So your pig’s head is actually there, it’s attached there and not there, okay that’s more like a sheep. This is going to be more like a pig. The same principles apply for joining which is always scratching both sides, and then we’re going to use some slip and we’re going to wedge this clay on. It’s very important that you guys join this right. We don’t want this head to fall off. It’s not fun at all.
This almost looks like a little grizzly bear. Well, there is a lot of things this can become.
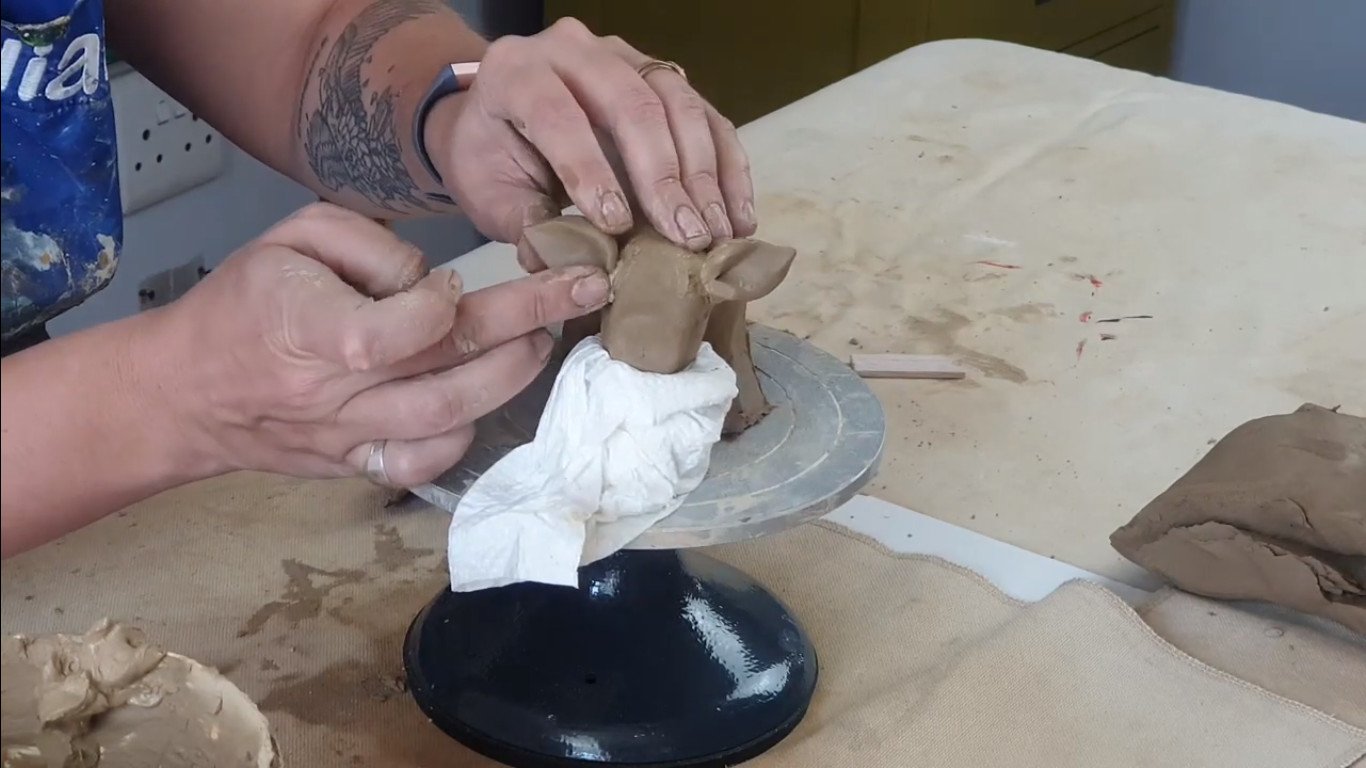
Step 5: Adding support for the head
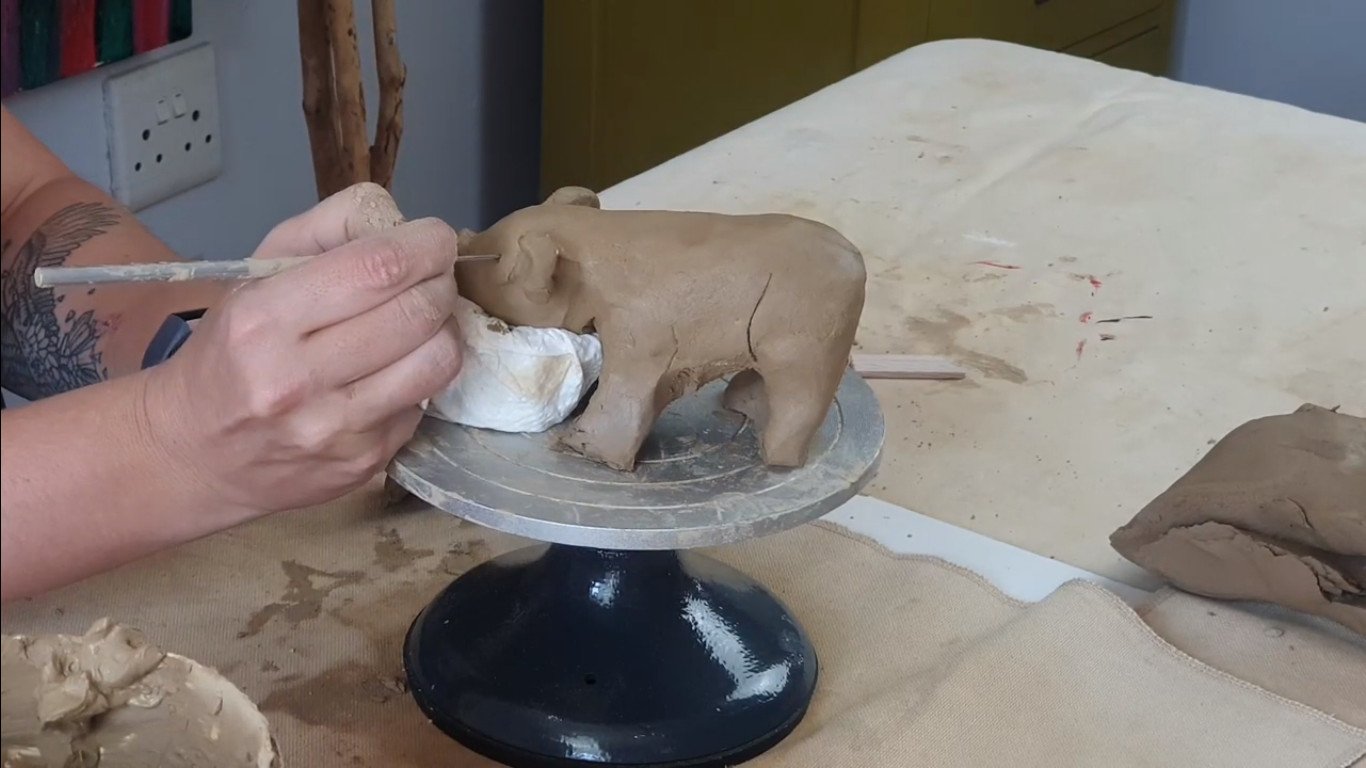
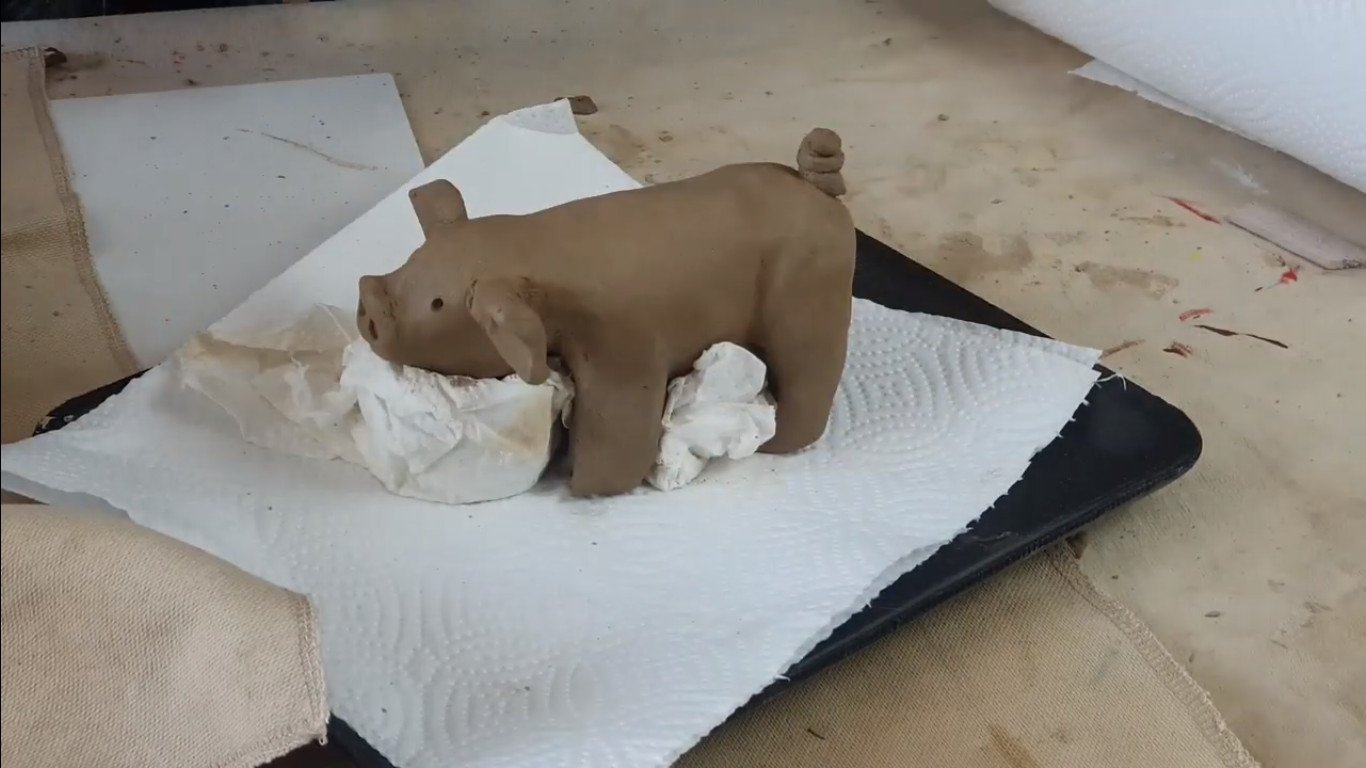
If you feel like you need to give the head support, which I definitely feel like I need to do right now. I’m going to be taking a paper toilet roll and I’m going to cut it to the exact height that I need. So I’m going to take my paper toilet roll, I’m going to cut and measure, cut the little section that I need. I’m going to cover it in paper towel so that the rugged edges don’t squirm in my pig.

I’m going to prompt this head up. I’m going to leave this under my sculpture so this baby can actually dry like this. I’ll remove it once it’s completely dry. This is really going to give me stability. If I need to I can also put a structure under his stomach to keep him upright. but I just want to finish all the little hooves and stuff before I do that.
Step 6: Making the ears
Let’s move on to ears. Working with my basic shapes principle, I’ve got two circles that are going to become the clay for my ears. You want to squeeze them flat. You don’t want to make this too thin. I’ve seen a lot of people make this way too thin.
If it cracks like that on the side just take a wet finger and just smooth it out. Then pig’s ears actually have a bit of a tip like that. I’ve kind of made that and then I unusually wedge these two together when I make a little ear. It already looks like a pig’s ear. Their ears are quite on the side, it’s not on top like a rabbit, so it’s more on the side. I’m just going to repeat this, make two ears and then join them.
I’m going to join these ears I’m going to scratch where I want to insert them. I can take the back of my pin and make a bit of a hollow where they need to go in. Make sure you scratch a lot and that you use your slip, which is your clay glue to really, really join these. Now I’m going to plonk on my ears. Remember if your fingers are too big you can use a paintbrush. Get in there and really glue them down, making sure you get all the air out.
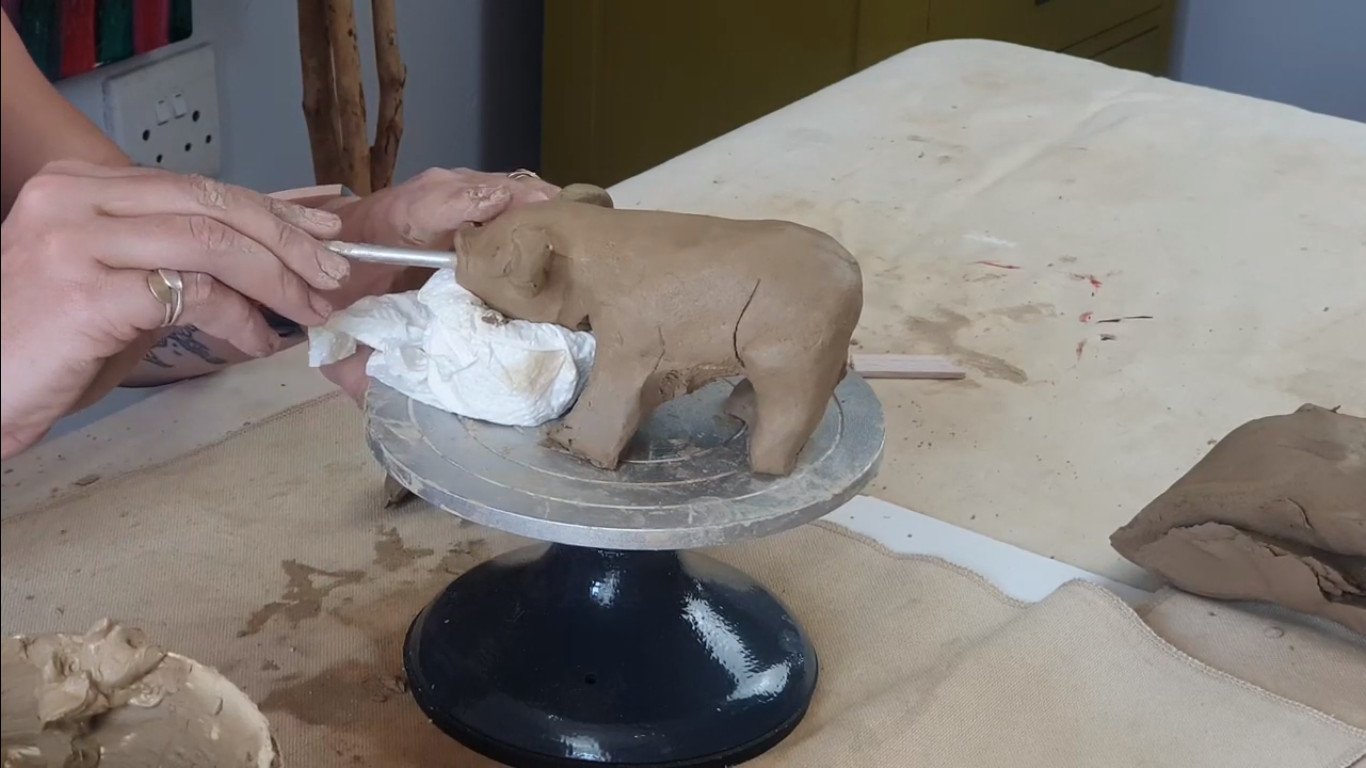
Step 7: Adding finishing touches to the face
I’m now going to come from the front and I’m going to be doing quite a few things. I’m going to indent my little nose here so I can get the roundness of the nose. I’m gonna use my fingers and my little peg to do that with. I am also just going to use my thumb’s to kind of press a hollow where the eyes are. Do you have this ridge where the eye actually, sits in the eye socket of the skull? I’m going to be using my pin to make my little eyes.
Look at your reference photo to make sure you put the eyes exactly where they need to be. I’m also going to be making two little holes in my nose. I’m going to make them, oink, oink. So I’ve got my little snap and I can hear this guy. He’s coming to life now, which I really love.
The best part of the sculpture is when you get to meet the little character. I really like my little piggy. I’m now going to make sure that the muscles in the hips and stuff are built up properly. I’m going to try and add a mouth as well and I’m going to make sure that I added my little hooves in the detail. It’s really just tweaking and fiddling now.
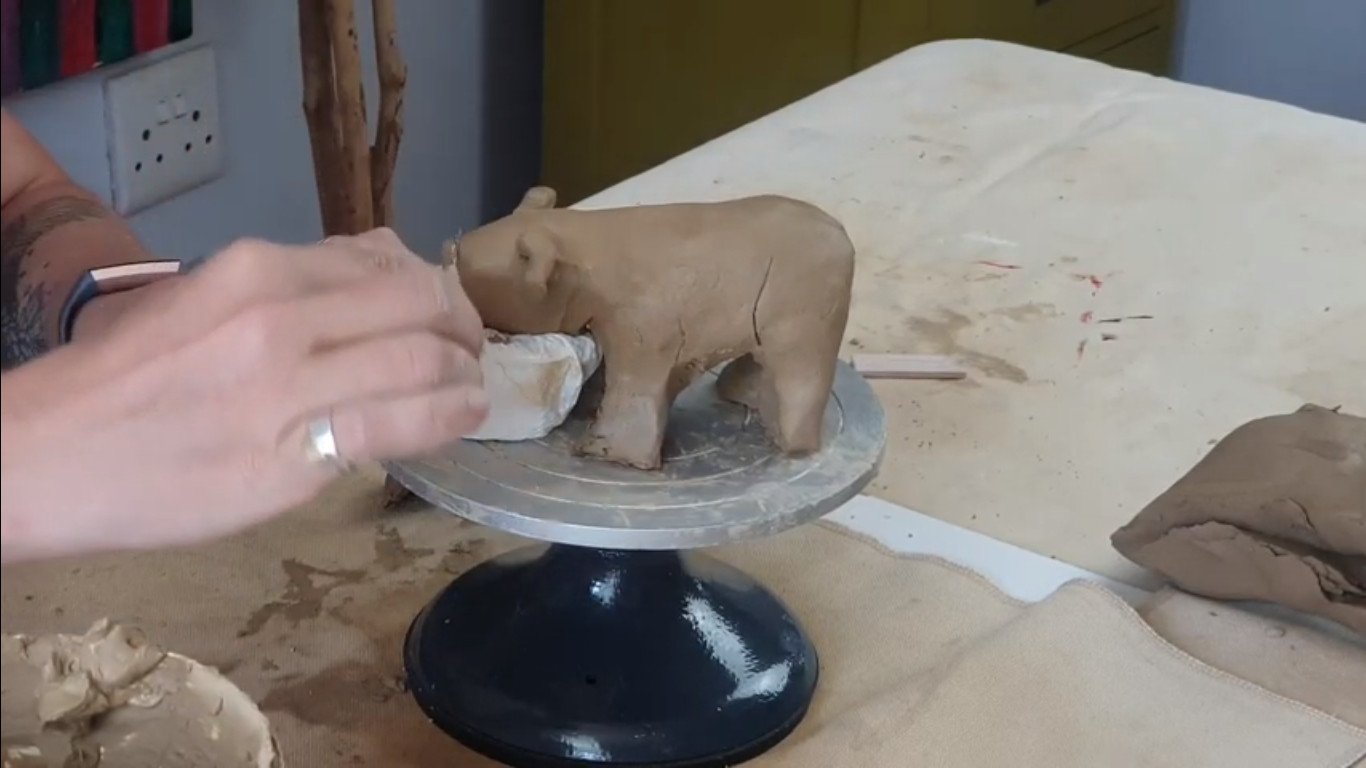
Step 7: Rounding off your pig sculpture
For rounding off your project, you need a sponge, you need a paintbrush, you just need a little bit of water, not making a mud bath. Just a little bit of water and brushing and really finishing off your pig. Getting it nice and smooth either way you want it. Taking a paintbrush and just brushing away whatever little flakes there are.
Step 9: Adding it’s cute little tail
Okay, we’re now going to add the little tail. You can’t really have a wire tail that’s going to break off.
You have to improvise and you’re going to have to make it rest on its butt. I’m going to be making a little snake coil and I’m going to wind it up like a pig’s tail. Their tails are actually quite long and then I’m going to place that there. I am going to be scratching and I’m going to be using my slip as always. I’m going to glue that on there, which is super cute. I can use my brush just to make sure that I’ve joined it everywhere.

Step 10: Removing and drying your little sculpture
I’m going to get ready to remove my clay. I’m going to put a paper towel on polystyrene. The proper way to remove your clay off your stand is with a wire. I bought this little wood so you don’t cut yourself and just glide it through, and make sure you cut it loose. Once it is loose, you can prop it up. Now it’s the perfect opportunity to really sort out this bottom. I’m going to cradle it softly in my hand.

I’m going to be using my paintbrush and I am going to get in there and make sure my stomach is smooth, my legs are nice and far apart. Make sure you don’t fiddle with the length of your legs because you don’t want a wonky pig because the legs are not the same height. I’m just really going to sort out his legs where I couldn’t get in before.
I mean if you want you can make some little teats here for your piggy. It’s a mama piggy.
I’m just gonna double-check that I’ve worked in my neck properly as well. Just tidying up my toes here, make sure that I like them.
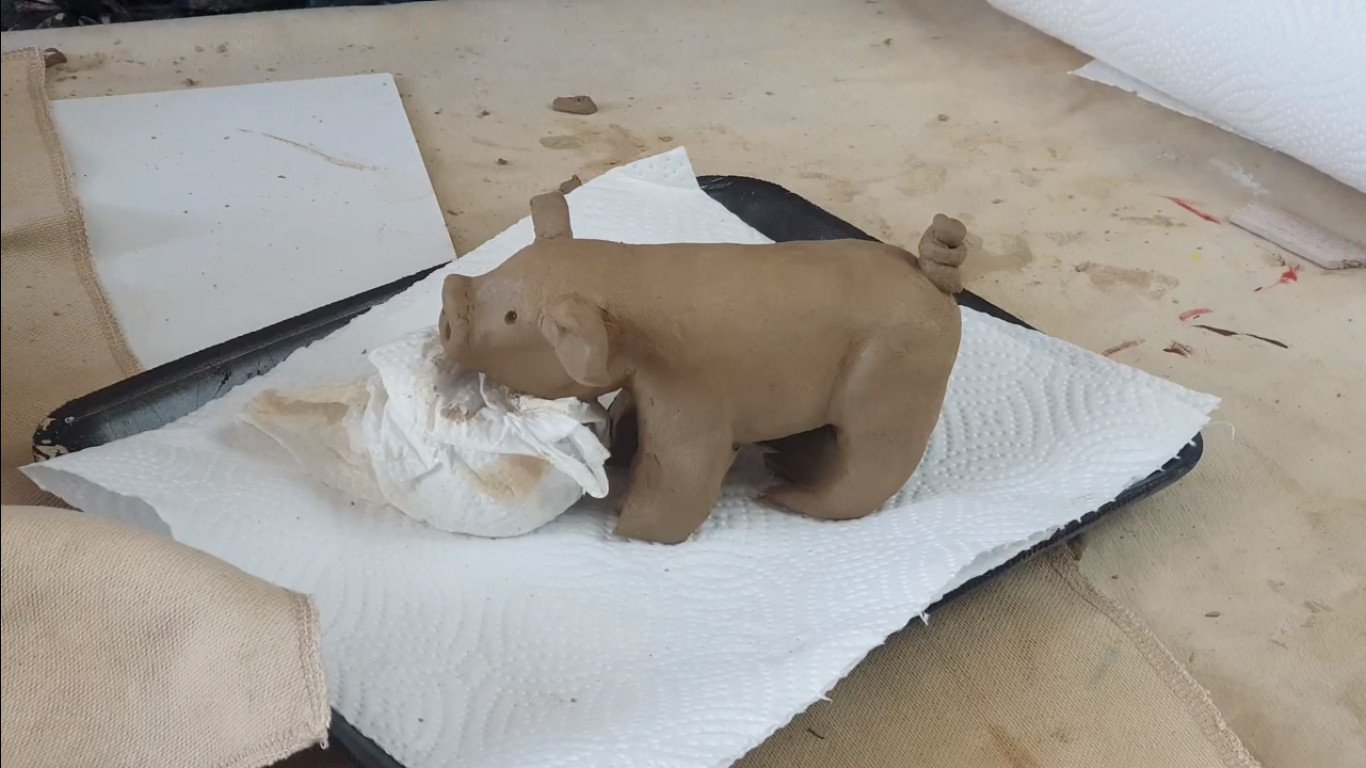
I think I’m happy. It looks much more manicured. I’m now going to plonk him on my paper towel. Once I’ve got in there I just want to cut the toes for the back legs. Very important, you now put your structure back, because, you’re going to leave this baby for a few days like this.
You’re going to come back and he’s going to be all sad and mopy. You need to pop his head back up.
I’m also going to take some paper towel and shove it under his stomach, to make sure he’s got support where he needs it in life.
Once you’ve propped up your pig, make sure you have not manhandled him anywhere, that he’s still nice and, you know, ready to go to the market. Now we’re just going to cover this baby up. You’re going to cover it with plastic. You’re going to cover it from the one side of the bag and on the other side of the bag and keep it like that for three days in a dark cupboard. After three days you’re going to take the plastic off. Open the cupboard door and let it air out a bit.
You want this baby to dry really slow. It takes about a week for it to dry. If you’re in humid situations and it’s very cold, it will take even longer. Longer is better. Please don’t stress about it. Do not rush the drying process and never put your clay in direct sunlight.
That’s it for how to make a pig out of air-dry clay. I hope you guys enjoyed this lesson.
Please give it a thumbs up and like if you really did, and remember to subscribe to our channel to not miss out on our next awesome art project.
Check out our blog for other cute air-dry clay sculptures: An Emperor penguin and a chicken