-
×
 Cretacolor Kneadable Eraser
1 × R25.00
Cretacolor Kneadable Eraser
1 × R25.00 -
×
Fundamentals Of Drawing 3 - Leonardo Collection
1 × R245.00
Subtotal: R270.00
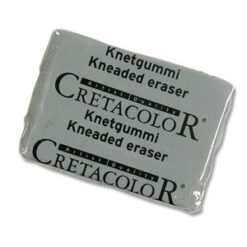 Cretacolor Kneadable Eraser
1 × R25.00
Cretacolor Kneadable Eraser
1 × R25.00 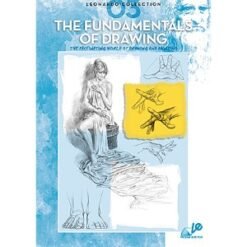 Fundamentals Of Drawing 3 - Leonardo Collection
1 × R245.00
Fundamentals Of Drawing 3 - Leonardo Collection
1 × R245.00 Subtotal: R270.00
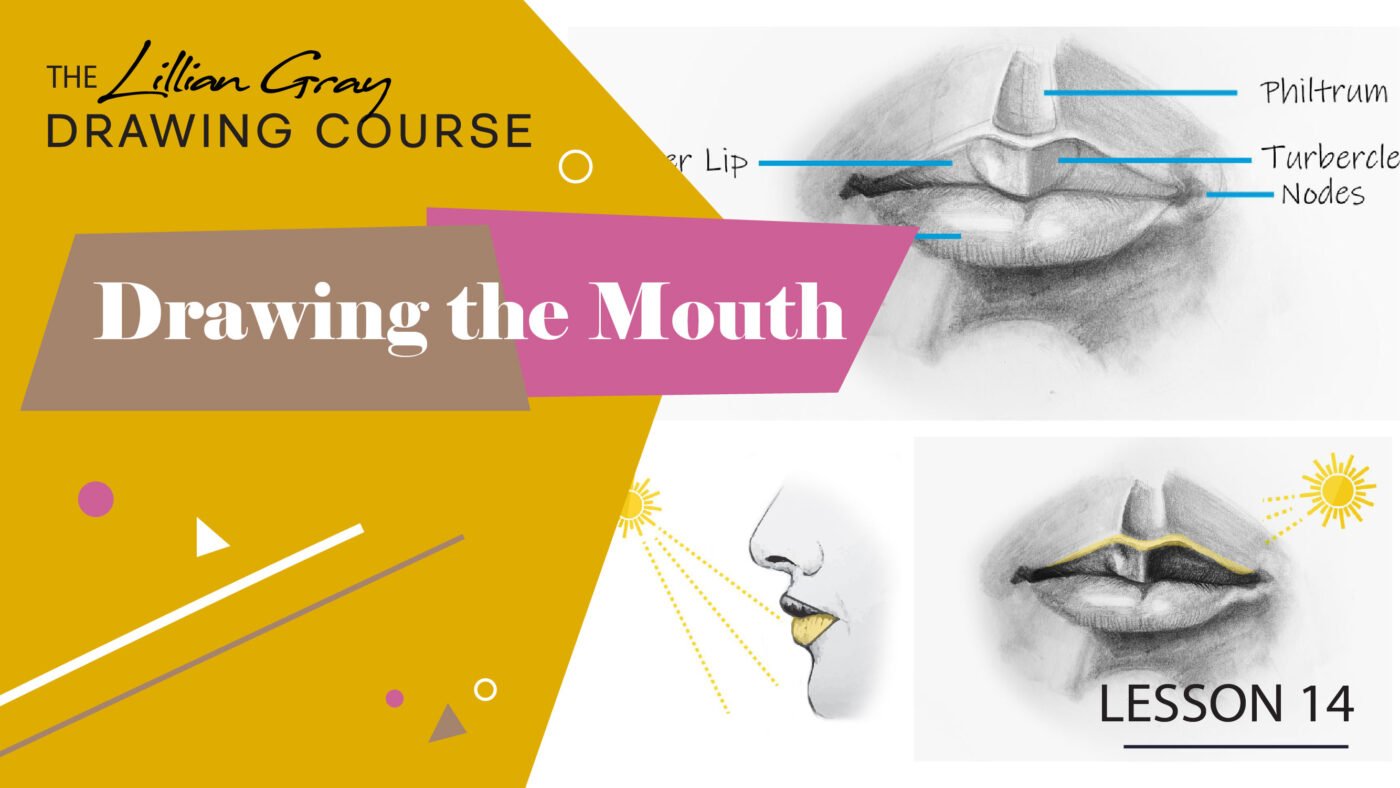
Watch the lesson for free on our YouTube channel
Like the eyes, the mouth can convey a lot of emotion; happiness, sadness, excitement, and disgust. Drawing the mouth can be tricky since everyone’s mouth is different. The shapes also change as the facial expression changes. So for this lesson, we are going to keep things simple and focus on drawing a closed mouth first. Once you understand the anatomy of the mouth and how to draw the lips from various views, it will be much easier for you to draw various expressions. First, understand the basics and then proceed to challenge yourself by drawing mouths that are open with teeth showing.
Because the mouth is not a separate element of the face, and it’s closely tied to the nose, I recommend you take a look at my How to Draw a Nose video as well. To draw the mouth in proportion to the face please watch my How to draw a face video. This will help you figure out how to start drawing the mouth in the right place on the face.
If you are a beginner the easiest way to start drawing the mouth is using these basic shapes. I draw the middle line to add two small circles on the top and use half an oval for the bottom. For the top line, I simply go over, in and over again to give me the top lip. This is a mouth in its simplest form.

Build your confidence with this technique and then let’s move on to an even deeper understanding so we can draw a super realistic mouth.

To understand what we are drawing it is important to familiarise yourself with the basic structure of the mouth.
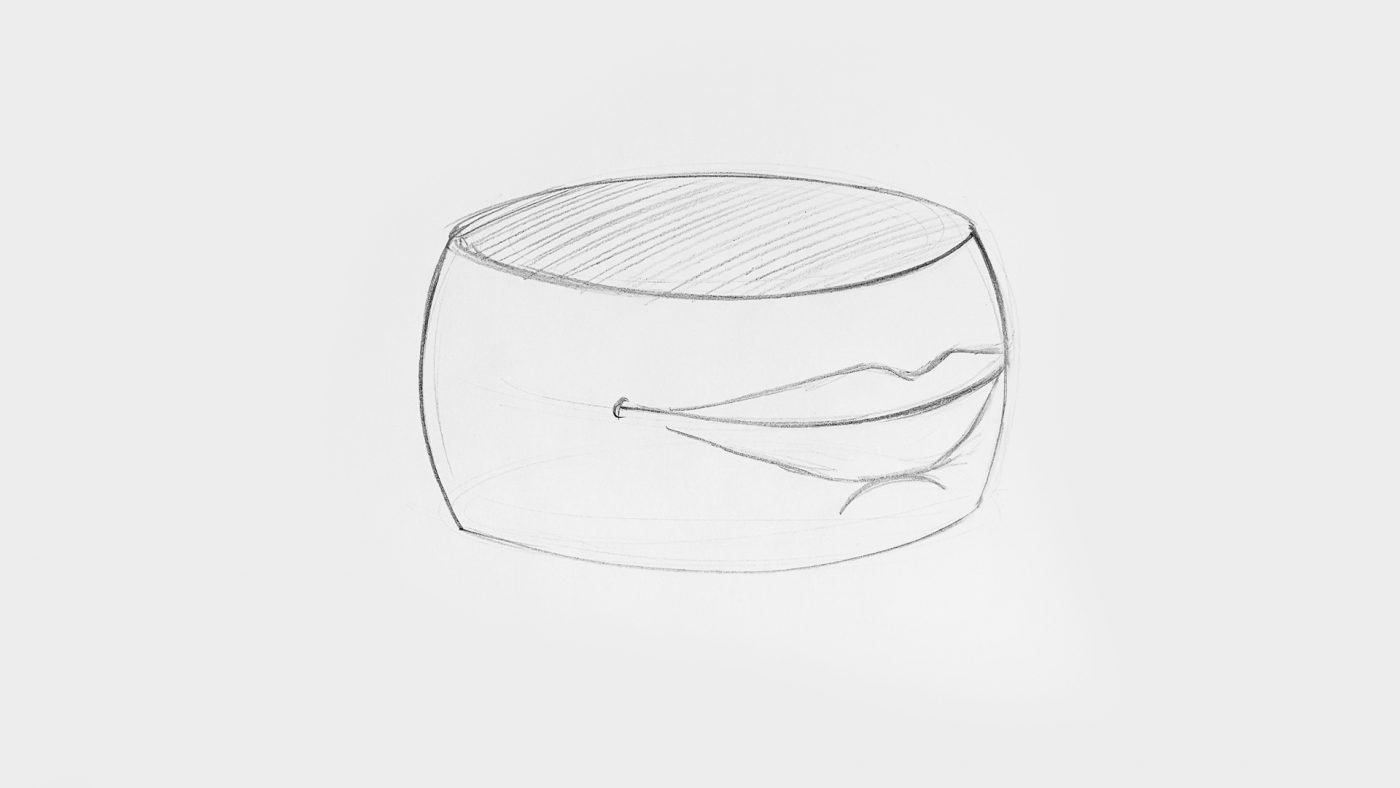
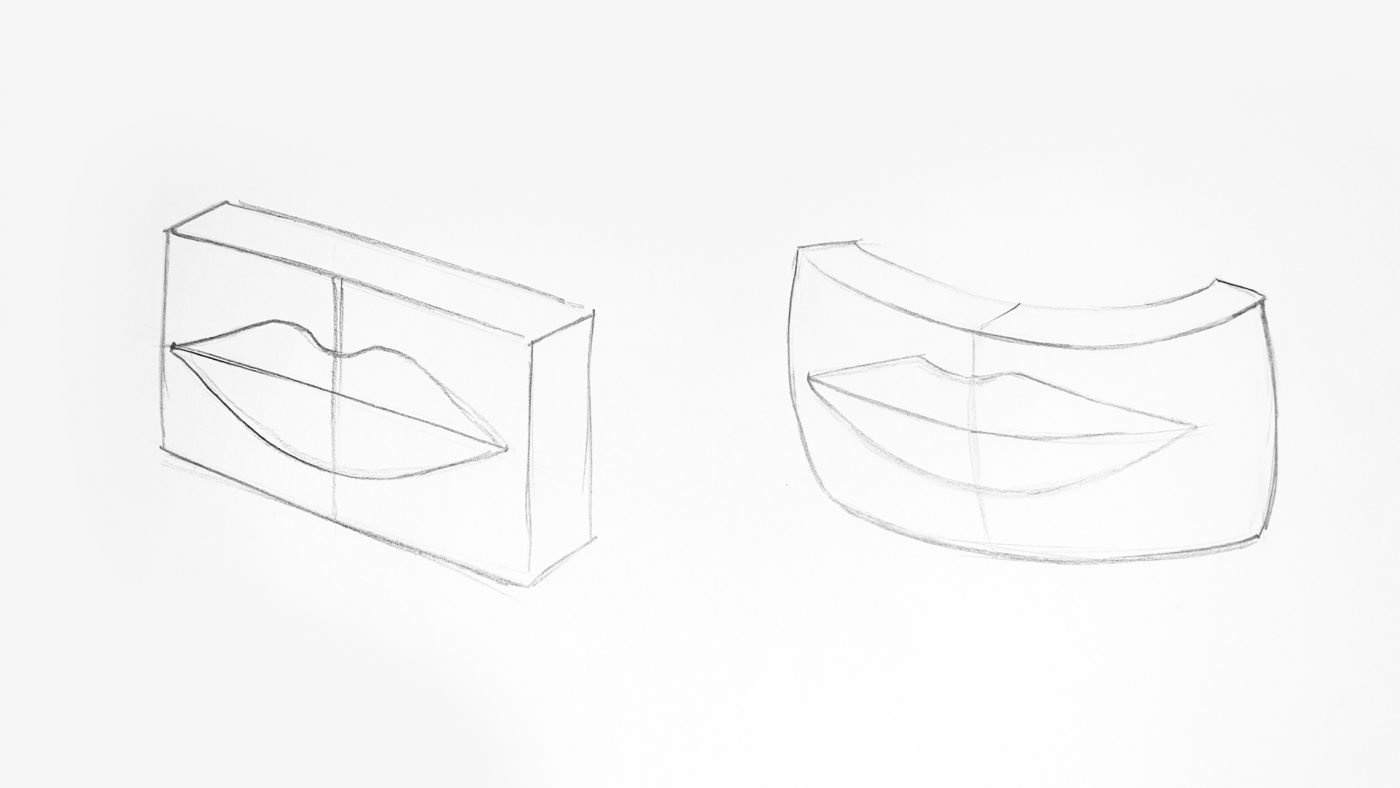
I want you to think of the mouth as if it is placed on a cheese wheel. This is super important when looking at the lips from any angle. You need to be aware of how the lips wrap around the cheese wheel. The center line curves as it gets pushed out. When viewed from the top or bottom the lips wrap around the cylinder. This is important for when you practice drawing the mouth.
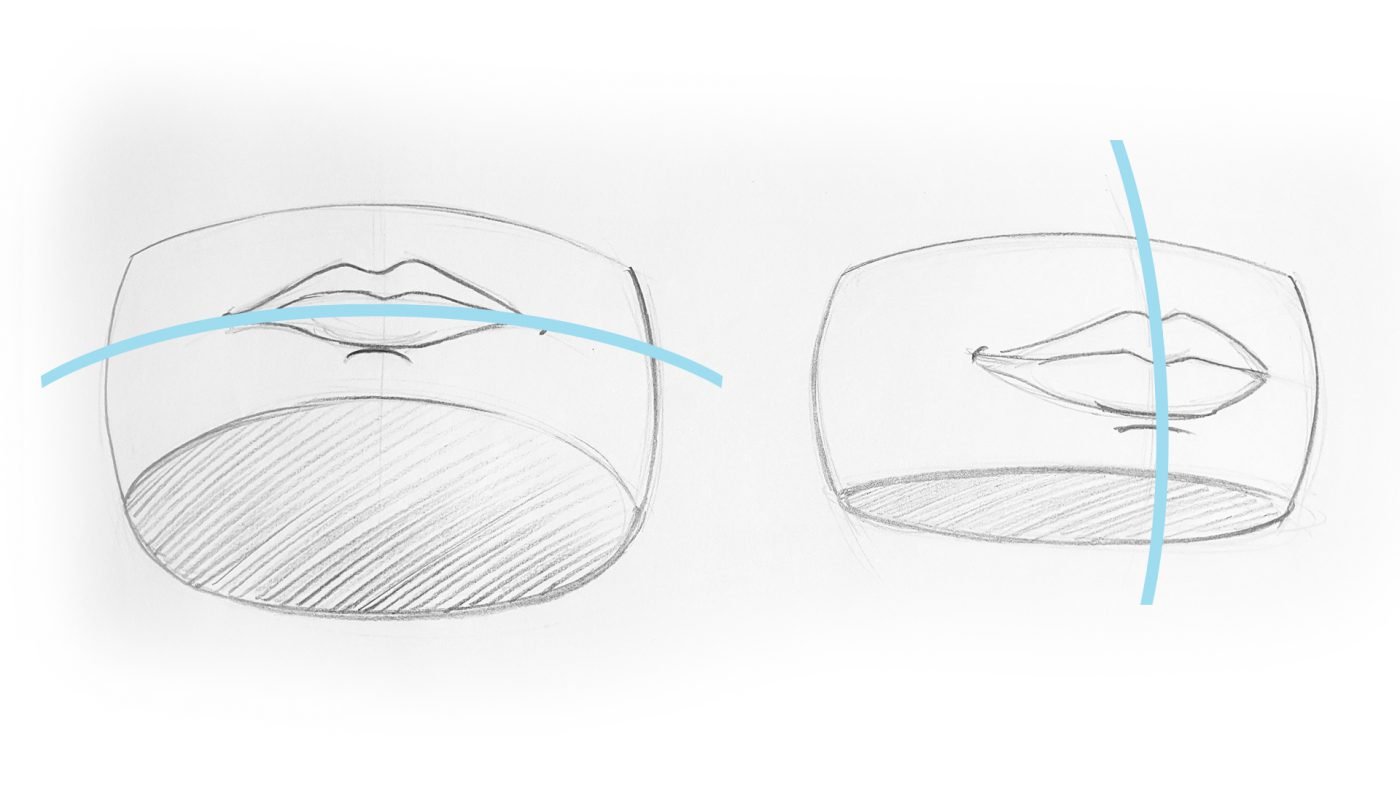
AVOID DRAWING LIPS AS IF THEY ARE ON A FLAT PLANE. Even when you view the lips from the front the middle line is never really straight. It is much more nuances with bumps and curves.
Looking from the front let’s identify the various sections of the mouth.
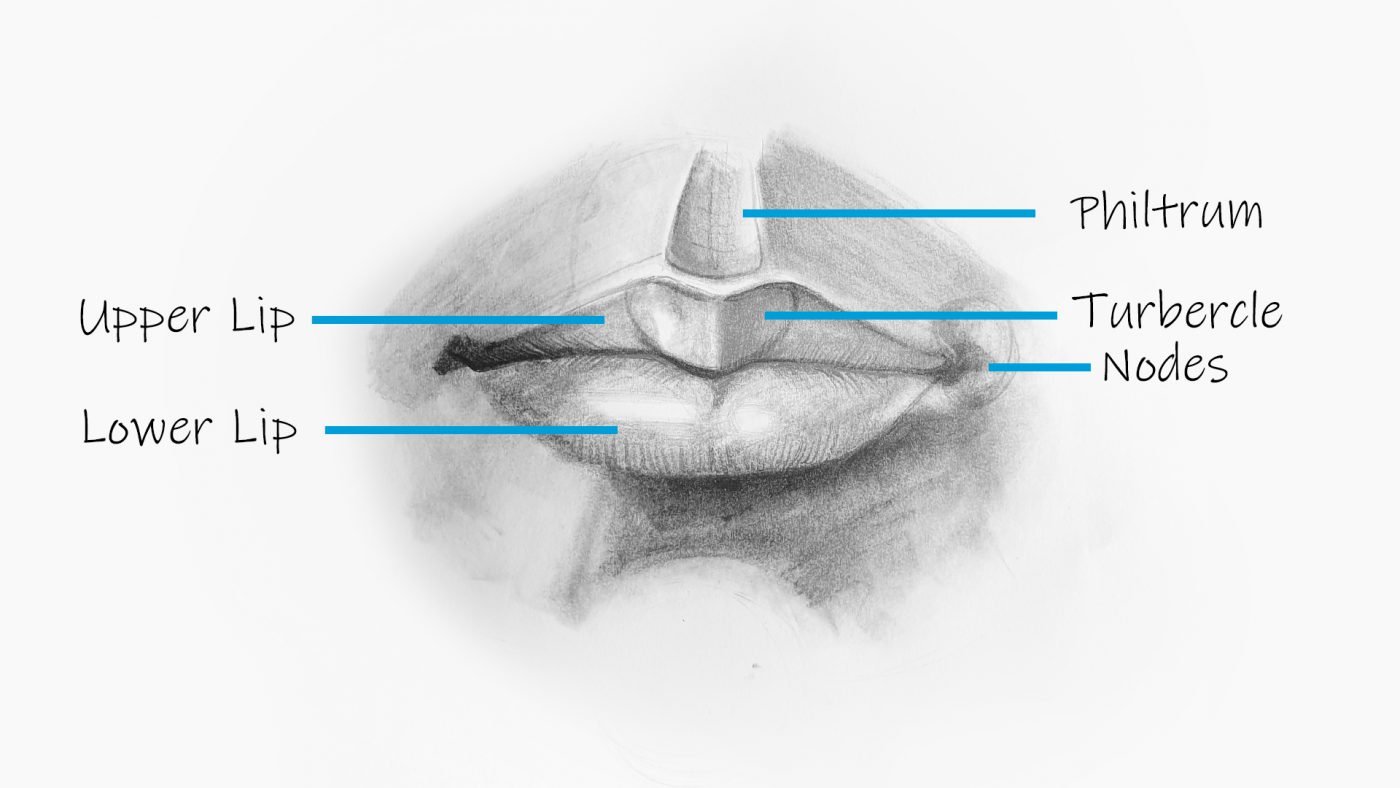
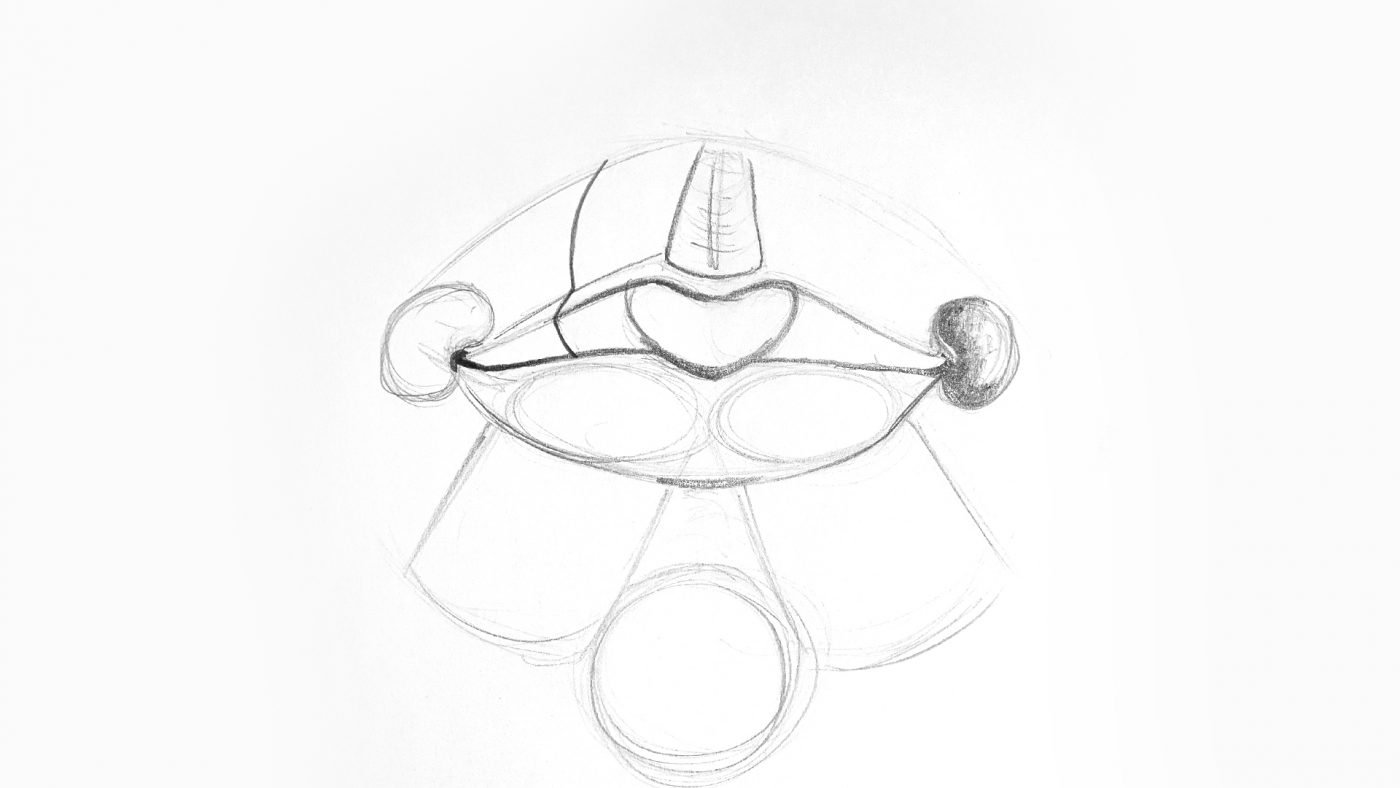
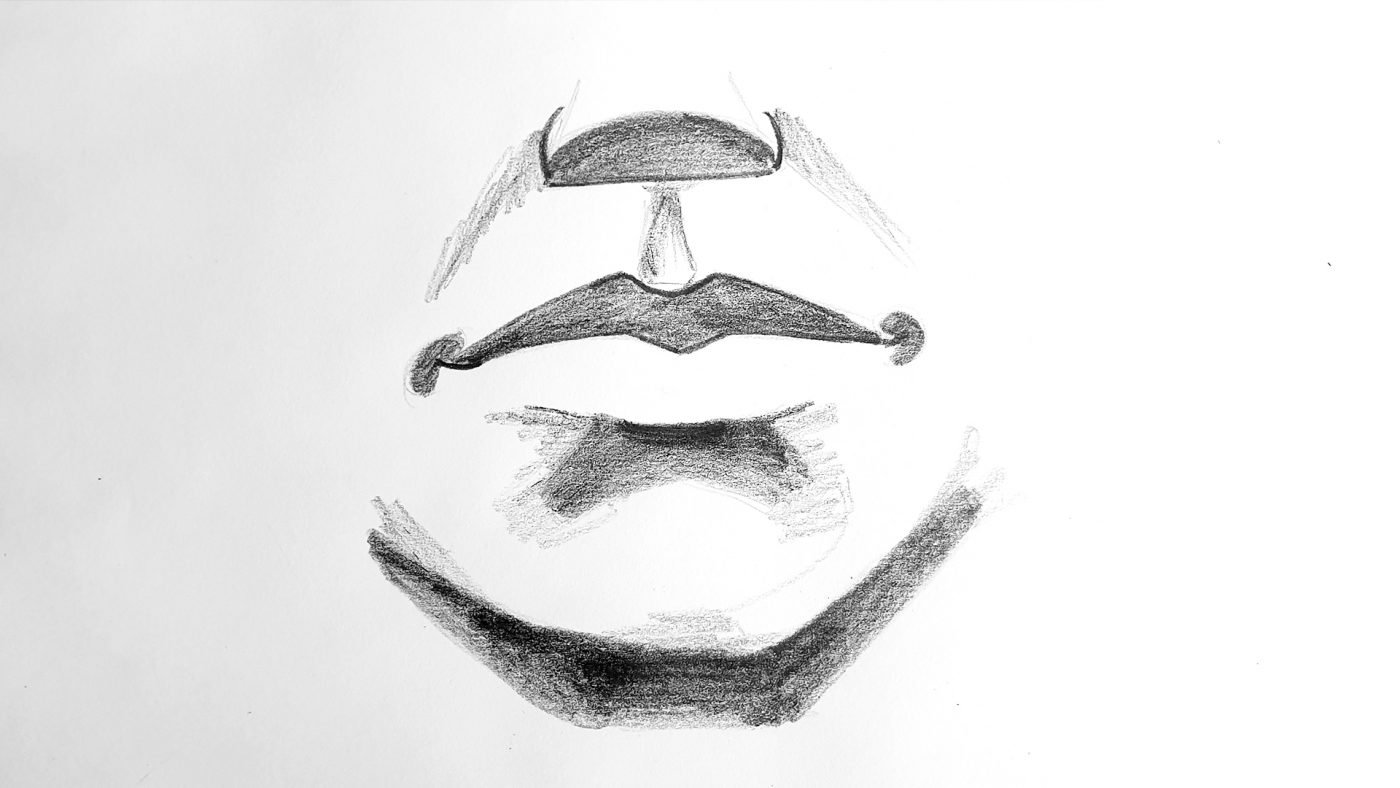
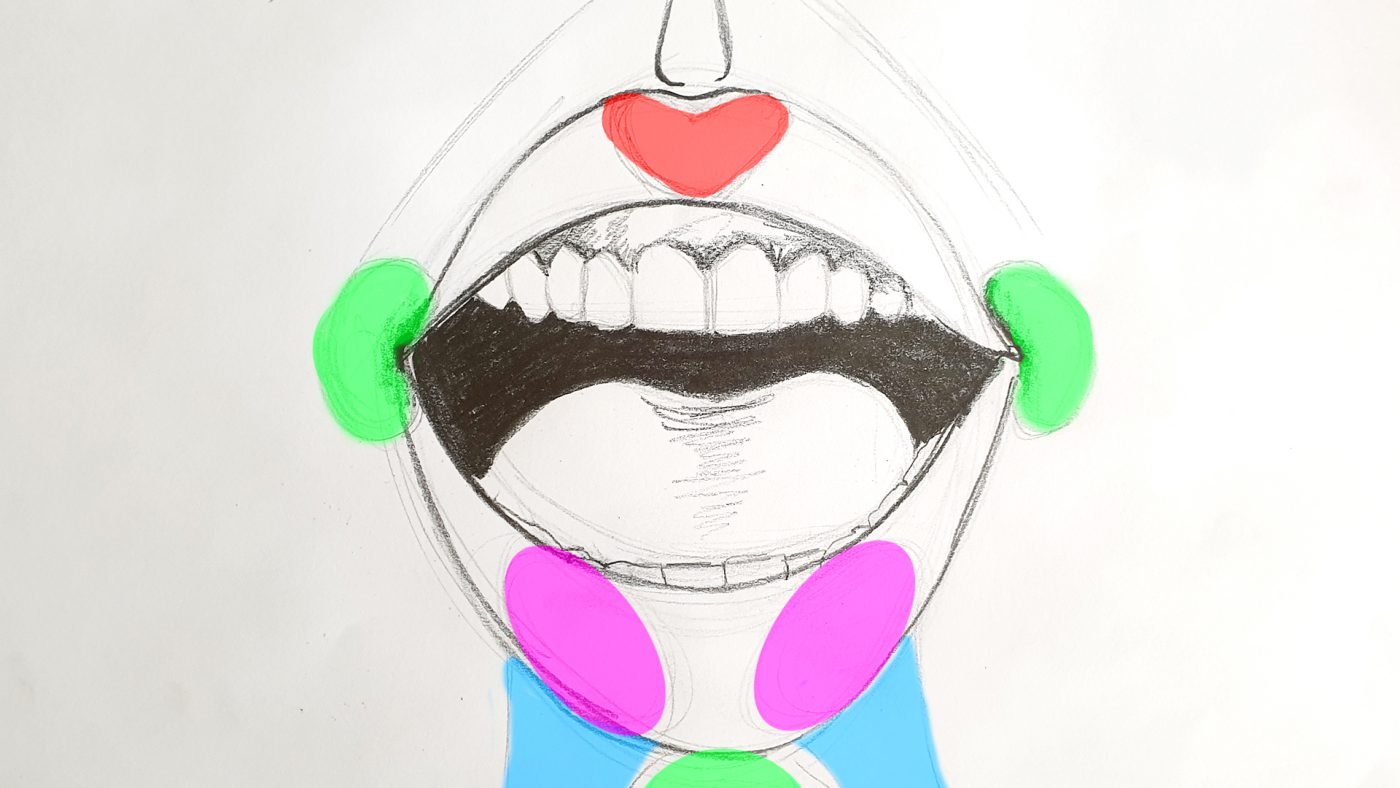
Let’s break the mouth into basic shapes. The top middle part of the lip is shaped like a heart called the Tubercle, on the side are two shapes making the upper lip. The bottom section consists of two ovals. The two ovals are resting on two pillars leaning in towards each other. Between these two pillars is the circle that makes the chin creating a curve that makes a dark indent under the bottom lip.
To get a better idea of all these forms, take a look in the mirror and try to identify them on your own face. Don’t be afraid to be your own reference!
Once you are familiar with the basic shapes of the lips where and how you place the ovals/circles change the lips. There are no perfect lips. We are all unique and different. Generally speaking, artists talk about “masculine lips” and “feminine lips”. Masculine lips are thinner and less pronounced, and feminine lips are fuller, with darker pigmentation. This, however, is quite a simplification based more on a certain beauty standard than on reality.
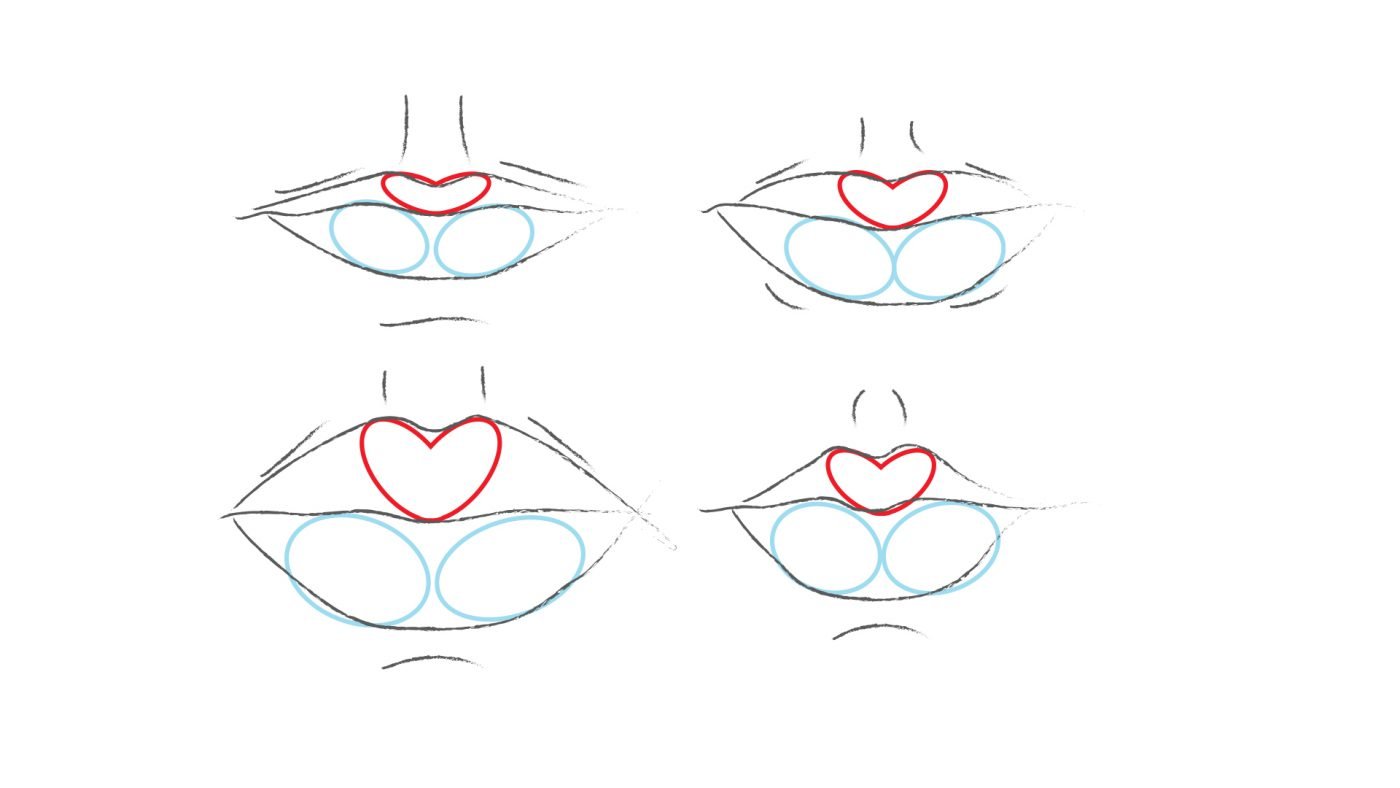
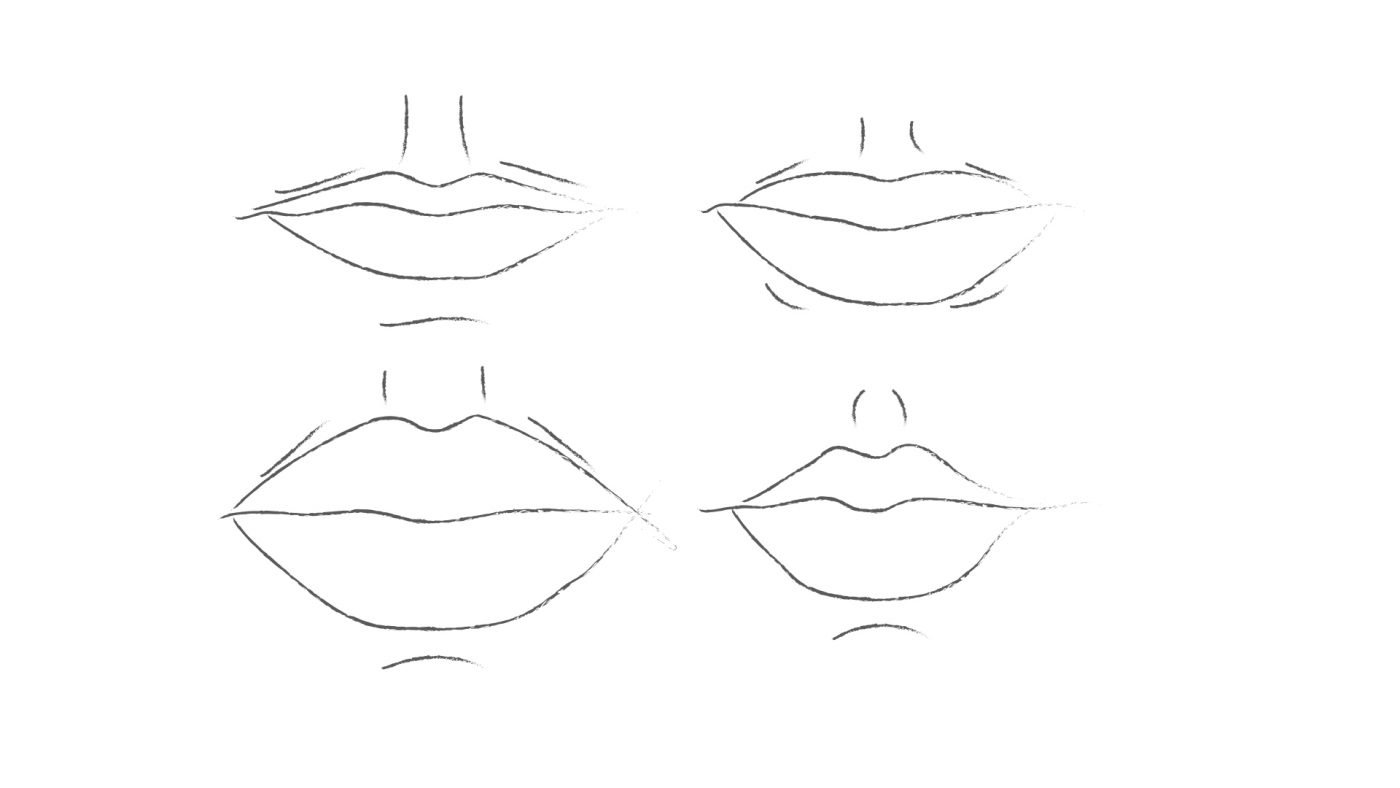
This simple structure is not set in stone, though. The lips have many different shapes, created just by changing the proportions of the elements slightly.

In the profile view, you can see more differences than simply the size and width of the lips. Notice how they can protrude and curl differently.
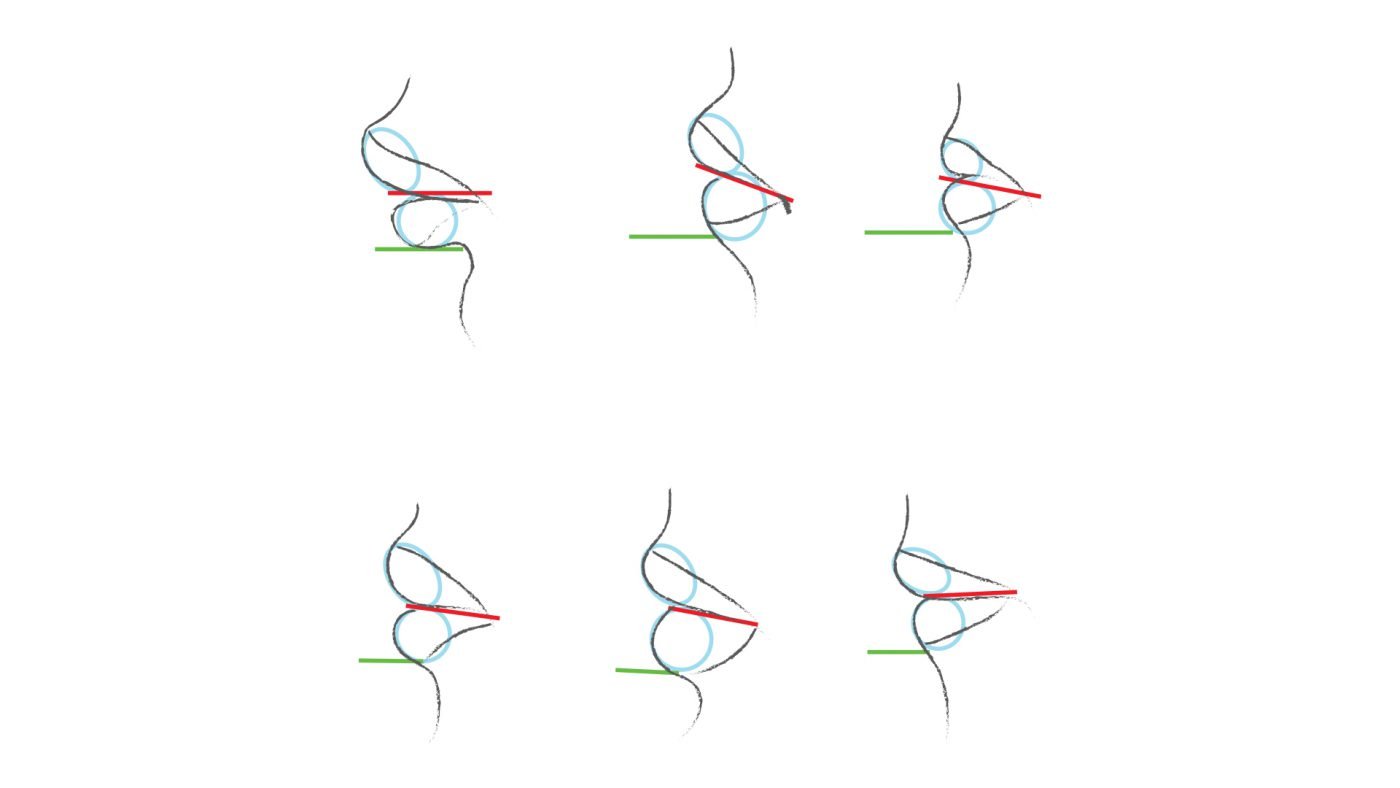

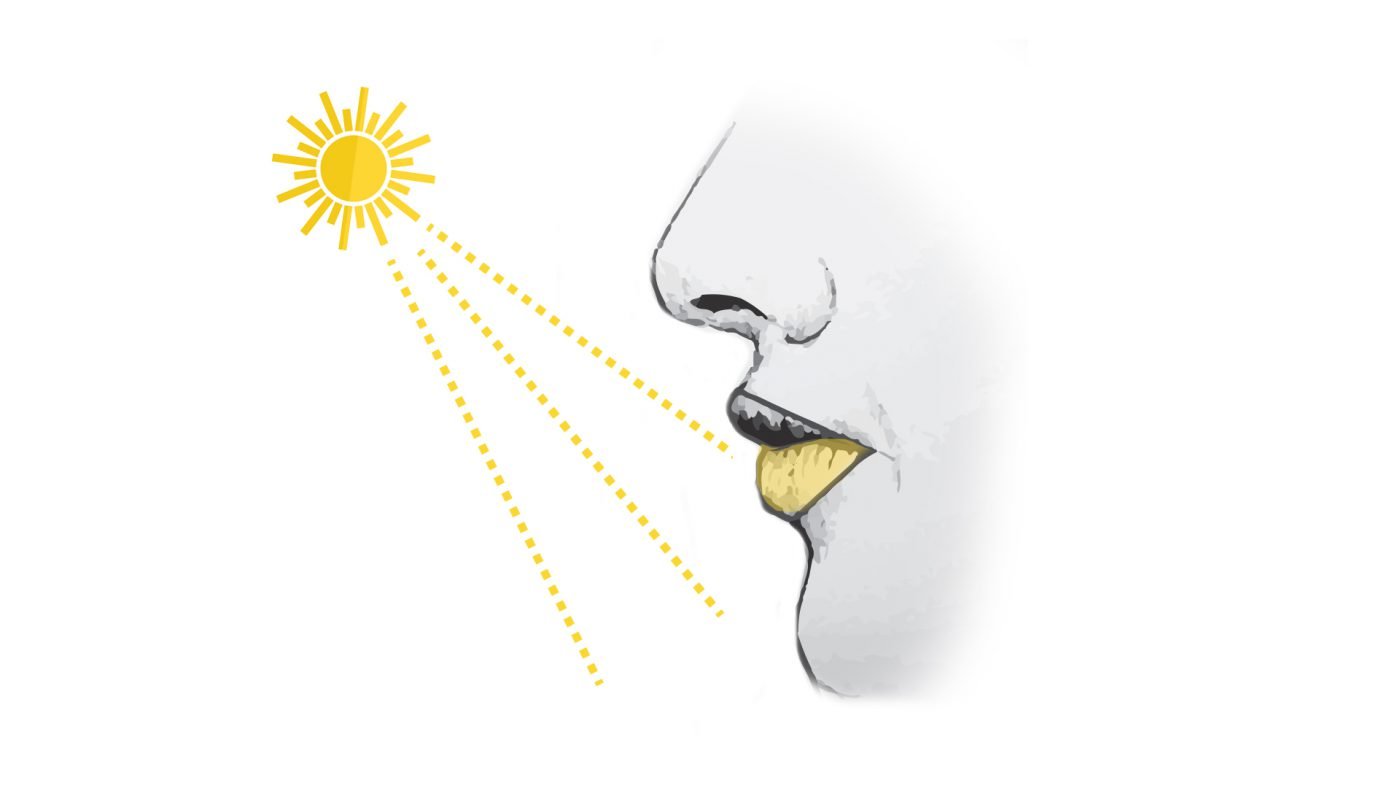
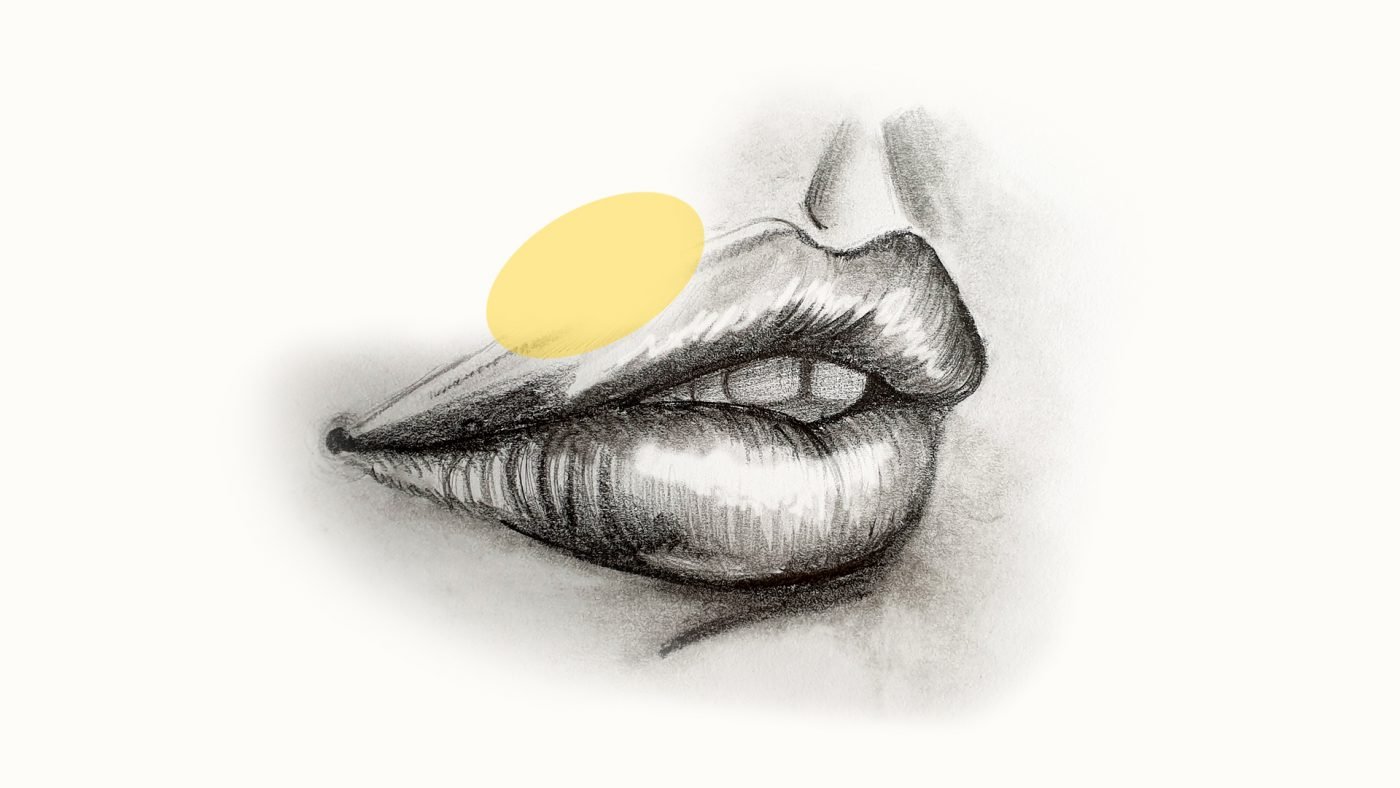
Usually, the top lip is darker than the bottom lip. This is because the light falls directly on the protruding bottom lip and the top lip is bent away and cast in shadow. As a general rule of thumb, the top lip is darker than the bottom lip. It is important to understand where the light falls when you begin drawing the mouth.

Because our lips tend to have moisture on them the highlights on the lips are much more crips and shiny than on our skin. This is even more evident when we wear lip gloss.

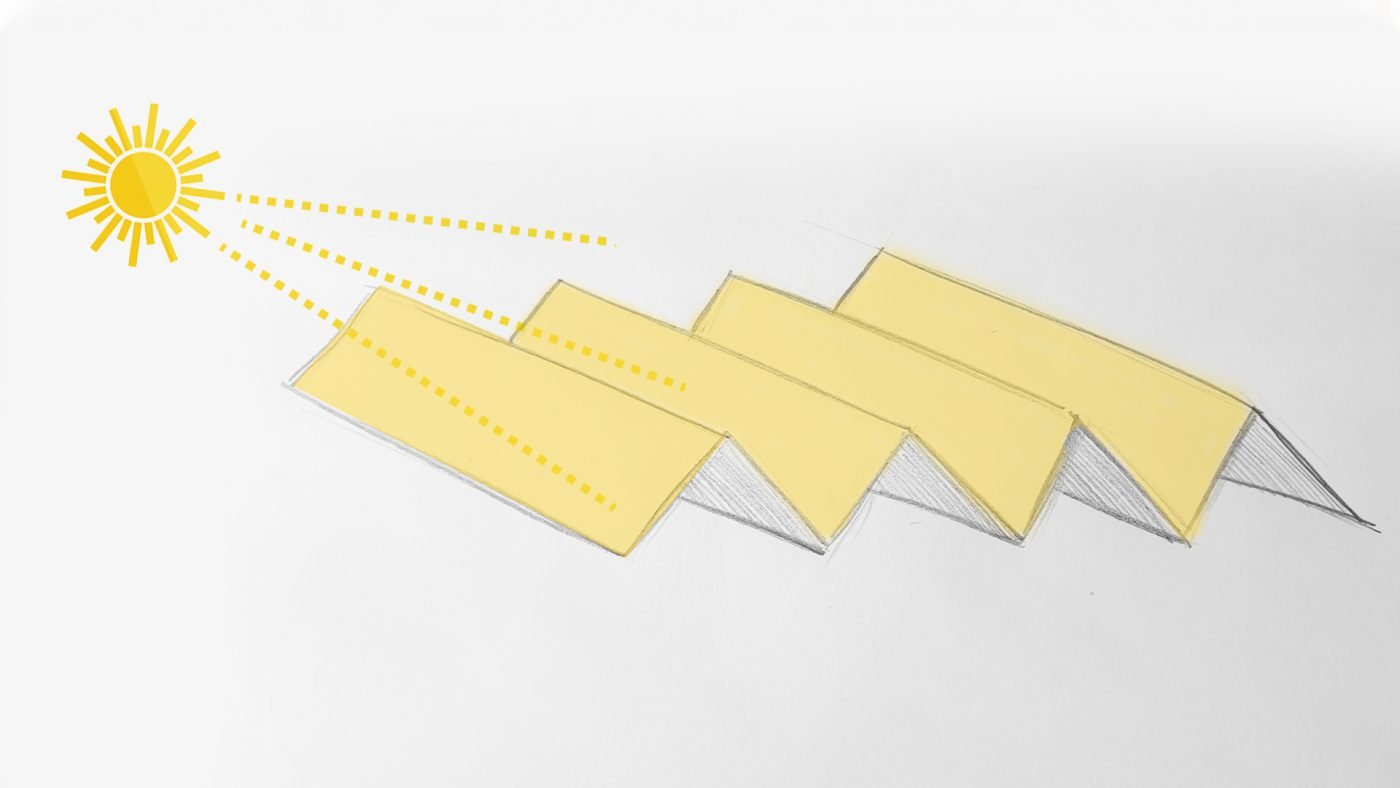
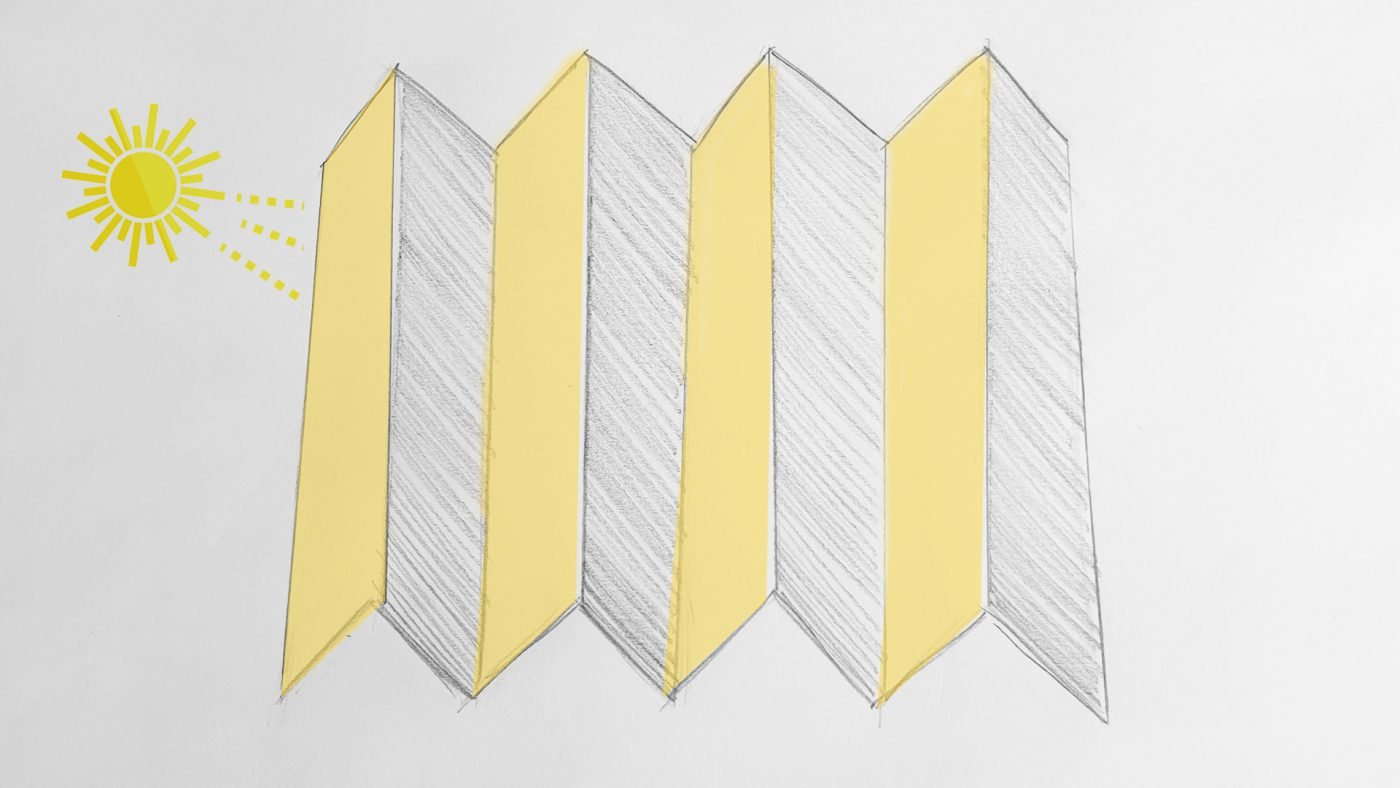
For an even deeper understanding of the light on the chin, mouth and nose area think of a paper folded into strips. The light will fall on the one strip and cast a shadow on the next strip. It will follow a pattern of Dark, Light, Dark, Light, Dark, Light. In the same way, the lips can be broken down into folds it follows the same shading. Dark, Light, Dark, Light, Dark, Light.
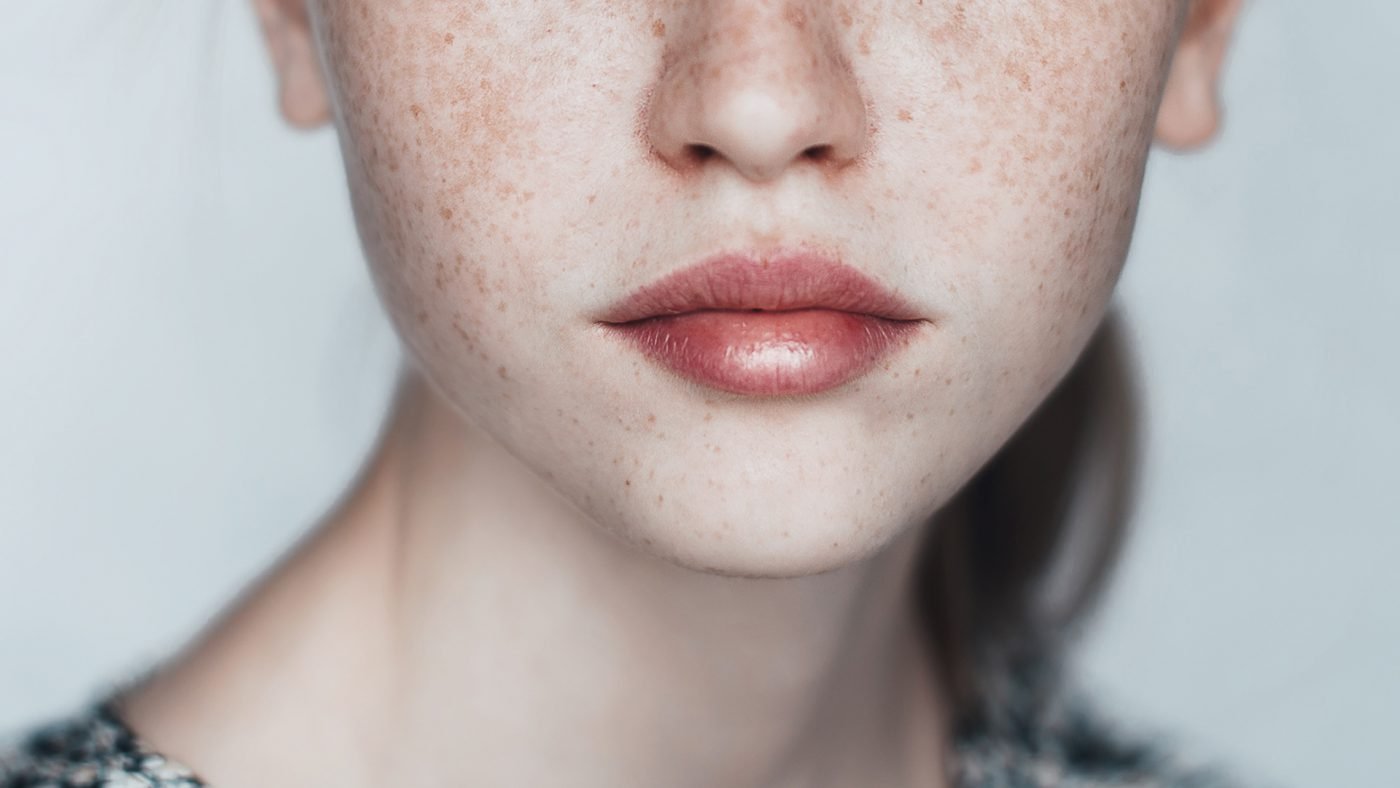
Usually, lips are pigmented differently than the rest of the mouth. They’re more pinkish or reddish. The local value of the lips really depends on the race of the person. Normally, the lips local value is darker on lighter skin and lighter on darker skin.

The upper lip is usually framed by a small edge that catches the light. Do not make this too prominent since it could look like a white outline.

When we are not wearing lipstick and the lips are in its natural colour, some edges of the lips can fade into the light of the skin. Pay careful attention to this since it can really make your lips look more realistic and fleshy.
When shading the lips be aware of the contour lines. The contour lines bend out from the centre and make all the little creases in the lip skin. She shadows usually follow the contour.
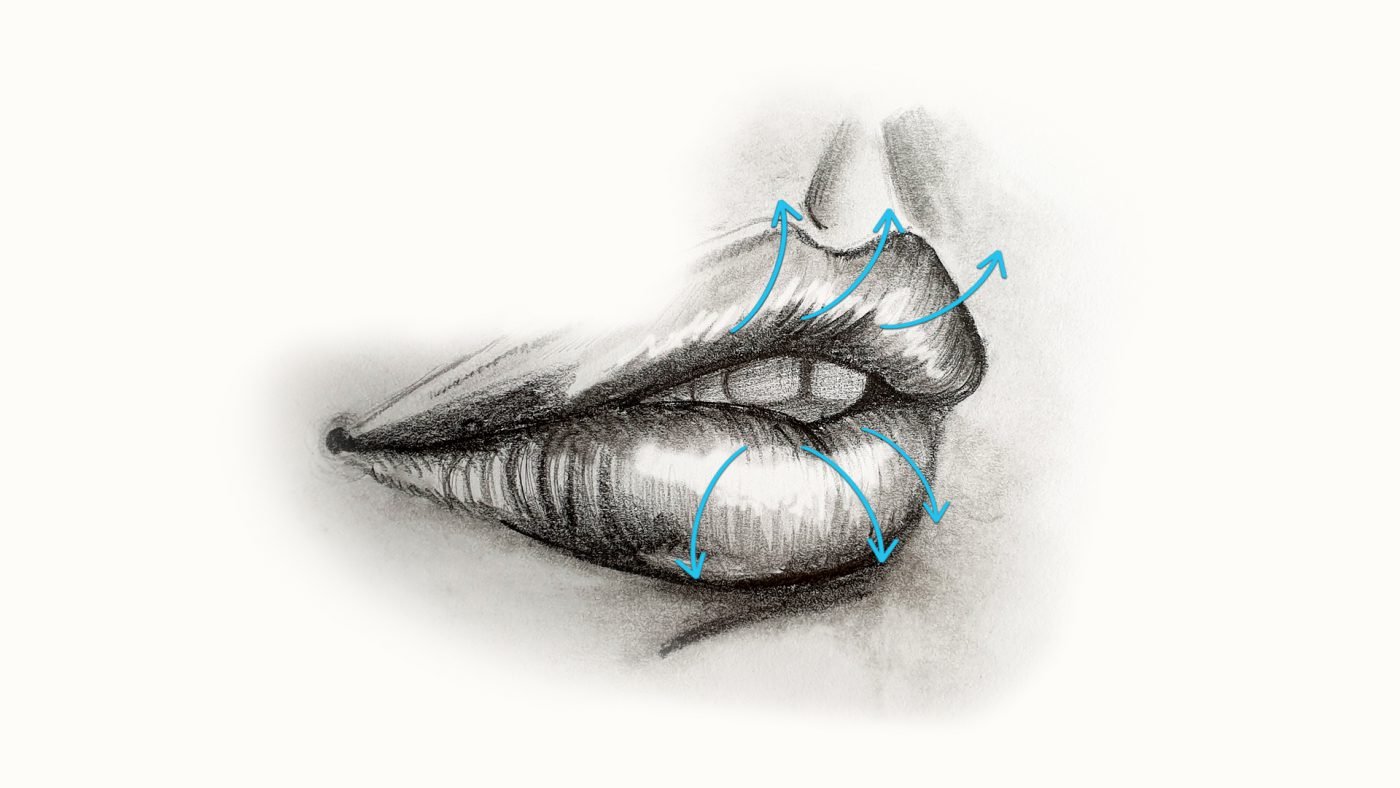
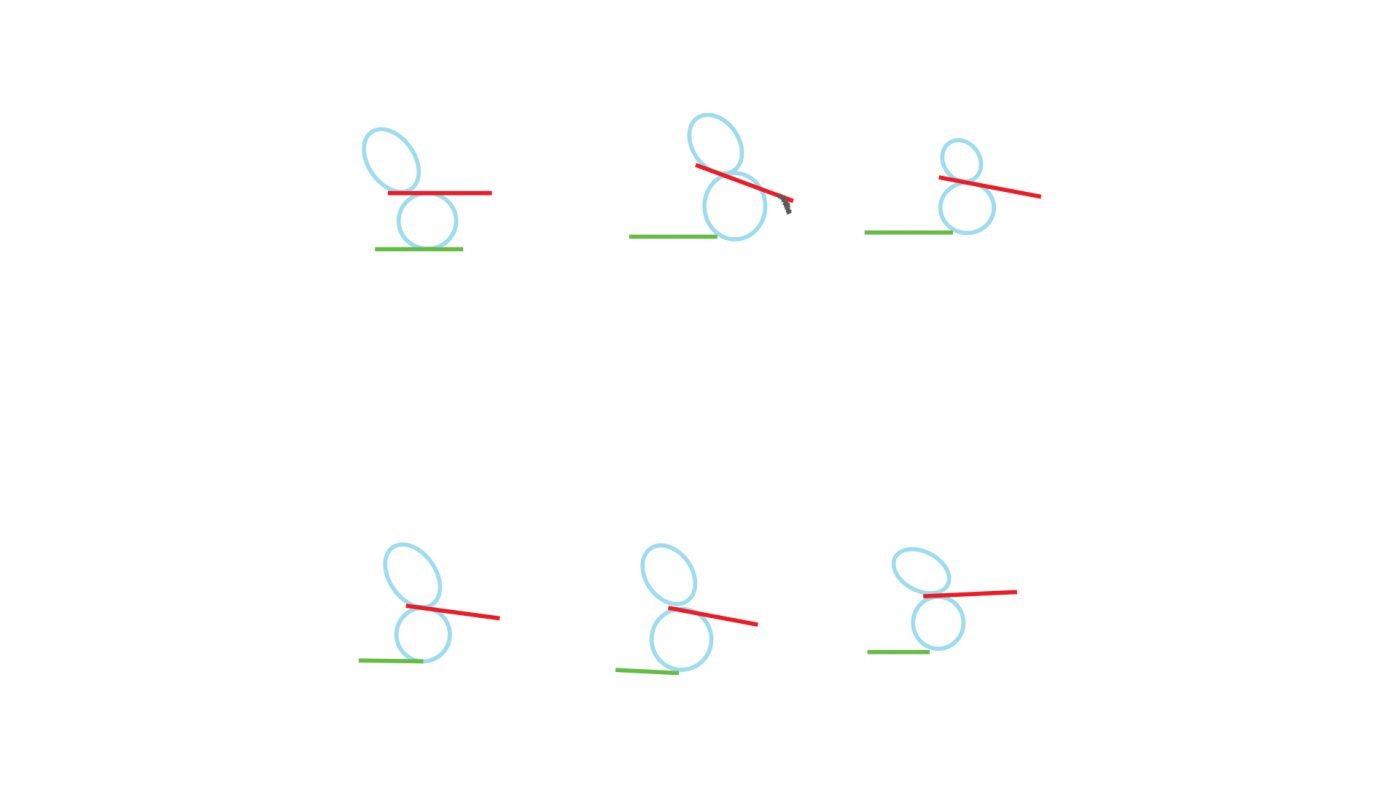
Lips are very mobile—there are so many muscles in and around them that they’re able to change their shape in hundreds of ways. This makes them extremely expressive! Experiment with the position of the “nodes” (the balls in the corners of the mouth) to drag the corners of the lips up, down, and to the sides.

You can learn a lot about the mobility of your lips just by observing yourself in the mirror!
Familiarise yourself with the basic shapes of the mouth. Practice drawing the ovals, heart, pillars and chin from the front.
Now draw a closed mouth from various angles keeping the cheese wheel in mind.
Move the jelly beans – aka nodes around to show various facial expressions.
Remember to draw what you see and not what you think you see.
Always simplify into basic shapes.
Also, try and draw the mouth from various ages. When we are young our lips are plump and full and with age, our mouth tends to thin out and the skin around our mouth has more wrinkles. Keep in mind when you begin drawing the mouth it may not be perfect so you will need to practice.
Our online store aims to remove all confusion when it comes to shopping for art supplies. We only stock what is really needed and don’t flood you with choices. To view drawing supplies: