-
×
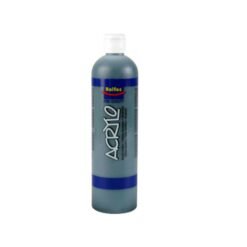
 Primary Red - Rolfes® Acrylics 500ml Acrylo
1 × R120.00
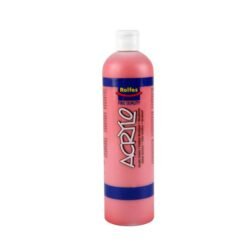
Primary Red - Rolfes® Acrylics 500ml Acrylo
1 × R120.00 -
×
Brush Set - Art Board Golden Taklon A - 5 Piece
1 × R90.00
Subtotal: R210.00
 Primary Red - Rolfes® Acrylics 500ml Acrylo
1 × R120.00
Primary Red - Rolfes® Acrylics 500ml Acrylo
1 × R120.00  Brush Set - Art Board Golden Taklon A - 5 Piece
1 × R90.00
Brush Set - Art Board Golden Taklon A - 5 Piece
1 × R90.00 Subtotal: R210.00

Hi everybody, I’m artist Lillian Gray and today we are adding colour to cute little Amy, the armadillo that we created in a previous video.
Enjoy!
For today’s lesson, you will be needing the following:
This creates a really beautiful, smooth finish. If you spent more than enough time with a wet brush in our previous video, finishing off and smoothing out your sculpture, you don’t need to sand that much, but just spend some time to really refine your sculpture. It makes it look beautiful and almost like a shop finish.
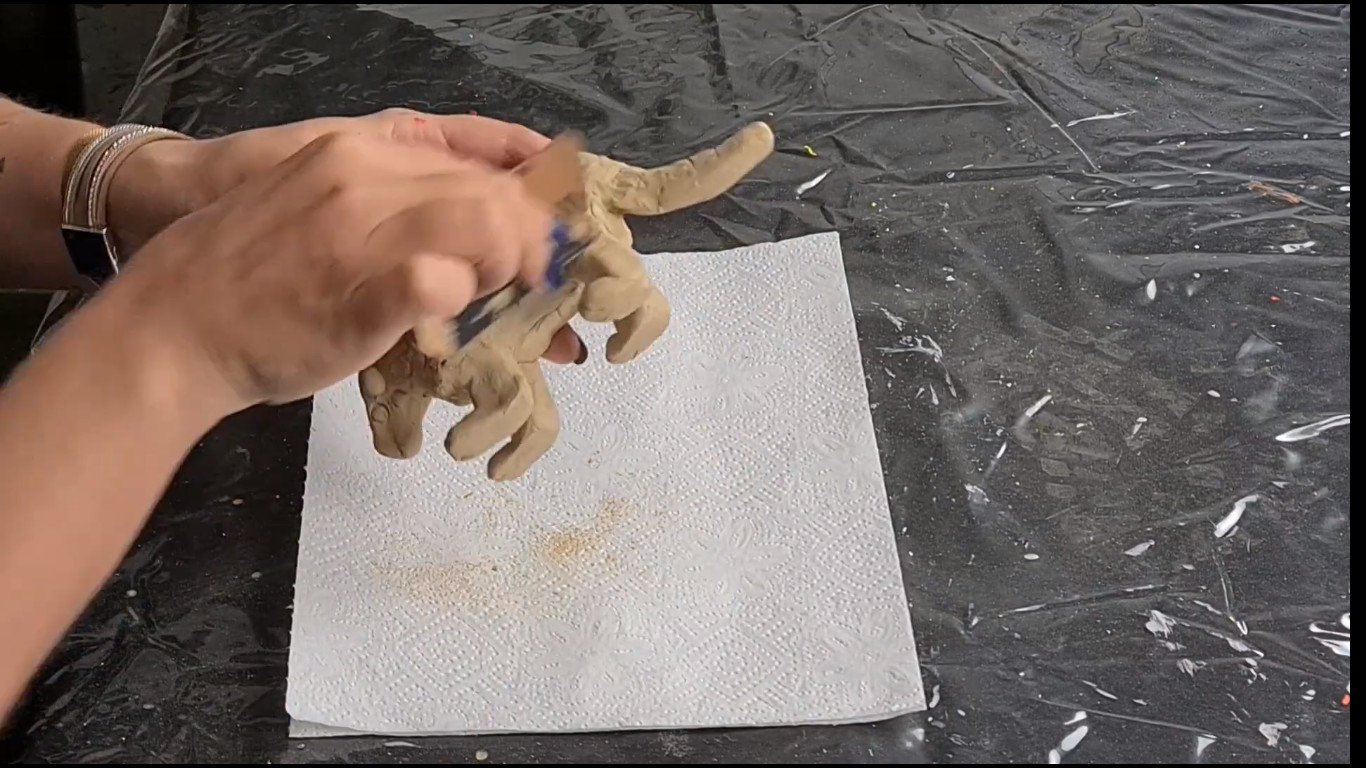
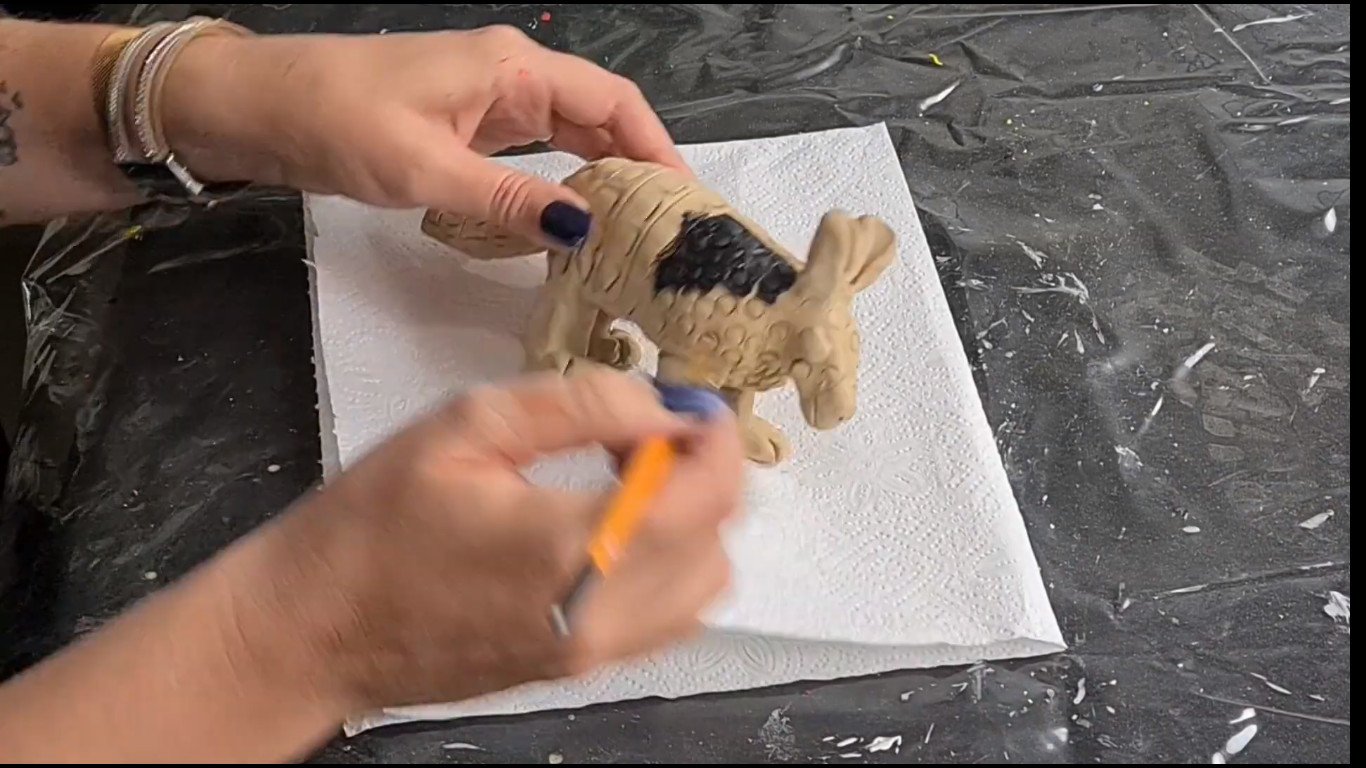
Step two is to decide on the base colour for your sculpture. We are going to accentuate the patterns that we have created on Amy’s body to really create that leathery texture that an armadillo skin has. Take a brush and start filling in black into all the little crevices, making sure you can bring those patterns to life. As you are using black, make sure you’re only painting on the areas that are patterned. You will notice I’m leaving Amy’s ears, snout, and legs open to expose the bare clay.
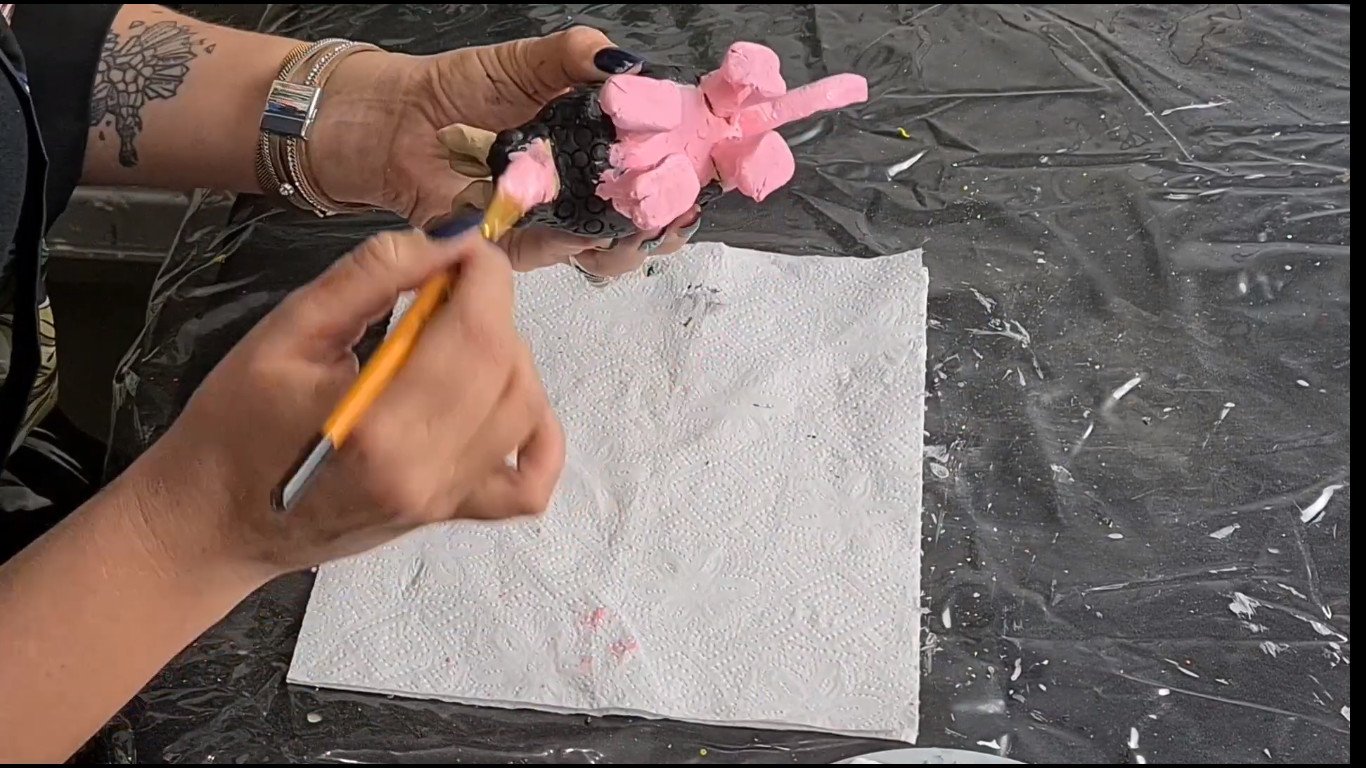
We have now reached step three where we get to paint the beautiful little pink of her snout, the inside of her ears, and her legs. Mix a nice pink by using white and red and then start painting them.
We have now reached step four. With step four we’re going to mix a bit of an ochre, just to tone down some of this pink, and really start brushing with a dry brush on her back to bring out the patterns. When you’re doing the patterns on your back, make sure you don’t have a lot of paint on your paintbrush because you do not want it to go into the little deep crevices of the patterns. That would ruin the black effect we’re just trying to create.

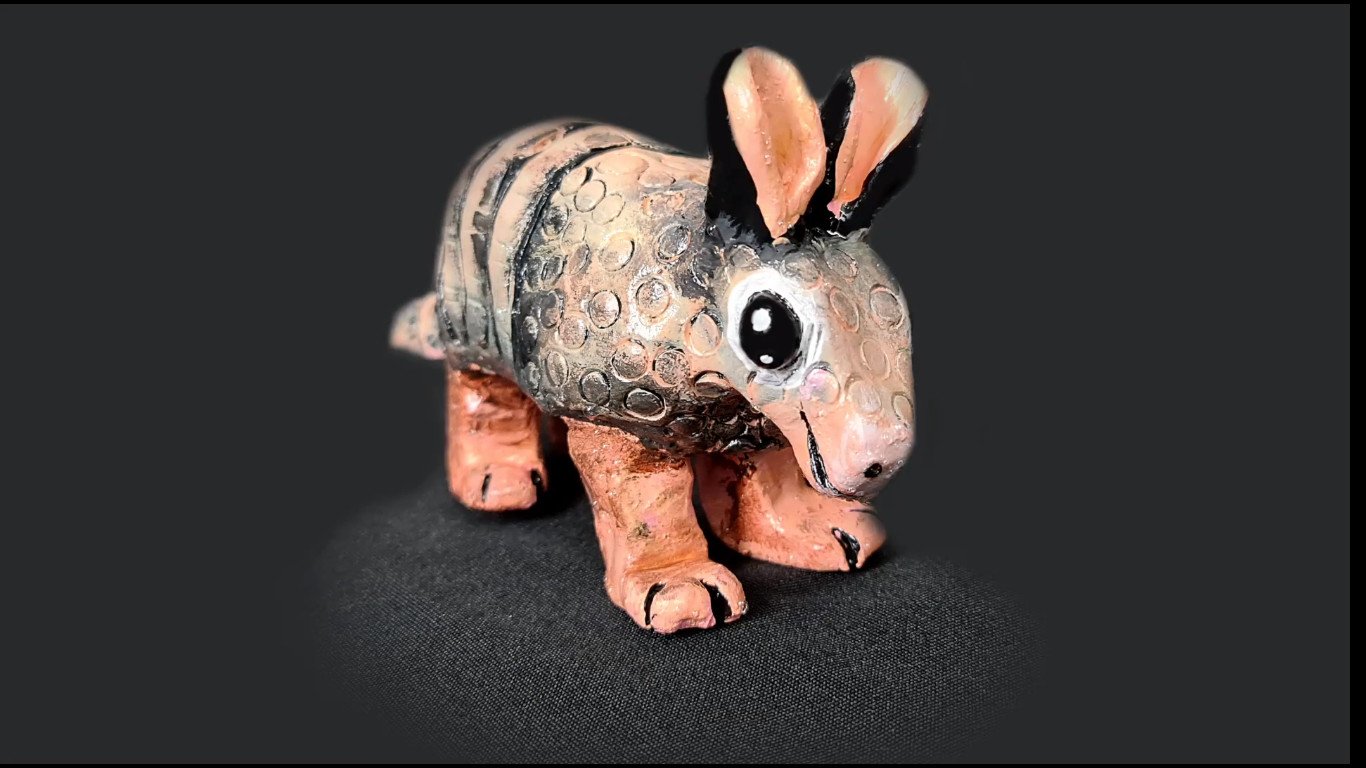
We have now reached step 5 where we’re ready for the details. We’ve created quite a beautiful base for Amy and we’re now going to move to our tiny brush, using black and white, adding all the little details that really bring out her personality. I would say in this step, the eyes, are the most important. The eyes really add to the character. Highlight the circles around the eyes and nose with white paint. You really want to build your little character. Paint the eyes, nostrils, the back of her ears, her toenails, and the folds on her back black. Use your fingers to blend the black paint on the folds.

We have now reached step six which is our final step. We are going to seal beautiful little Amy. Remember, we’re working with air-dry clay. It’s not as hard as clay that we bake in a kiln or an oven, so we need to protect our acrylic paints as well. I usually give about two coats.
Remember to spray in a well-ventilated area, always wear a mask, and if you’re a minor, get an adult to help you. You’ve got to shake your can really, really well and then we’re off to spray. And that’s it for cute little Amy the armadillo. I’m really chuffed with how she came out, and I hope all of you learned a little bit more about armadillos watching our two videos on how to create her and now how to finish her.
I’m artist Lillian Gray. If you really enjoyed this lesson. Feel free to share your Amy the armadillo that you have created on our various social media channels. We’d love to see what all of you are up to.
Check out our blog for amazing art history lessons as well as more great art projects.
I’m artist Lillian Gray and see you next time.